


WordPress lets you create any website in minutes. But you need to have a domain name and a hosting plan to make your website live. What if you want to test your website before making it live?… Here comes localhost to the rescue.
When we talk about WordPress in general, it means WordPress.org which is a community-based free website builder, not WordPress.com. You can check the differences between WordPress.org and WordPress.com. WordPress.org is a self-hosted CMS and there’s no way to run your website without a domain name and hosting platform.
So, localhost providers help you build a WordPress site just like a live one to check and learn WordPress. It’s a free service from the WordPress community and everything is easy.
This post shows you how to install WordPress locally on Mac or windows PCs, which localhost service is better for you, and more.
Why Need a Local Environment for WordPress?
Let’s check some scenarios first.
Scenario 1: You want to build your first website and someone suggests you try WordPress, the most popular CMS on the market. Will you start investing your money in buying the domain name and hosting plan or will you prefer to give WordPress a try first?
Scenario 2: You have a business website running on WordPress, so there’s a need to add new functionalities. You bought a plugin. Would you prefer to install and activate it on your live site or install it on a local server and give a check first?
Scenario 3: You are a WordPress marketer, preparing target user personas, and marketing strategies, or planning to make a product review; so product knowledge is a must for you. How would you explore and get updated about your products? Should you buy domain-hosting and install those products on a live site? If there are multiple products with different types; would you build a new domain each time?
Scenario 4: You are a WordPress developer- added a new feature to your plugin o theme. Should you merge your code directly on the live version or check and review it on a staging or a private server?
Editing a website that are running ‘live’ is not a wise decision, especially when you’re maintaining a stable and professional business. Your website can go down, or some buttons may not work during the testing phase of your editing process.
So, local WordPress sites are necessary for-
- Beginners to learn and experiment with WordPress
- Website development professionals to create a site offline that no one can see in its half-finished state
- Blog or business site owners to redesign a live site, or make large-scale changes to it
- Technical SEOs/Experts to perform troubleshooting and fix an error, or other issues
- Developers to check their code before merging it to a live plugin/theme
Hope the scenario is clear to you.
Now, let’s introduce some popular localhost servers dedicated to WordPress.
Popular Platforms to Host WordPress Locally
WordPress makes it easy to install the solution, both in a c-panel or local host. Most hosting providers offer one-click installation for WordPress.
However, if you want to create a local WordPress site on your Mac or Windows PC, you need to depend on a localhost web server solution.
There are many popular solutions out there to set up your local sites. We have selected 5 best ones for you-
- Flywheel
- XAMPP
- AMPPS
- MAMP
- WAMP
These are the popular platforms that enable you to create a local environment on your Mac or Windows PC by utilizing web server software Apache, PHP, and MySQL.
Apache is the most popular webserver software for WordPress (like others CMSs and web). PHP (Hypertext Processor) is a programming language and MySQL (My Structured Query Language) is a database management software. All are required to run your WordPress site.
Working directly with Apache, PHP, and MySQL is difficult and time-consuming. That is why you need to rely on localhost solutions like Flywheel, XAMPP, WAMP, AMPPS, or MAMP.
In this post, we will show you how to install WordPress on localhost using Flywheel Local. Flywheel is famous for its overall support, additional features, 3rd party plugins, multiple environment, and quick response.
You can install WordPress using XAMPP, AMPPS, MAMP, or WAMP in the same way. We have added a detailed comparison table at the ending part.
How to Install WordPress Locally on Mac with Flywheel
We will show you the installation process of WordPress with Flywheel local in 4 easy steps-
- Download and Install Flywheel
- Add site credentials and Install WordPress
- Go to the Admin dashboard and check your WordPress site
- Start adding and checking posts, pages, users, plugins-themes
Let’s dive into the step-by-step tutorial.
1- Download and Install Flywheel Local
Go to localwp.com and download Flywheel local software. Check the screenshot below-
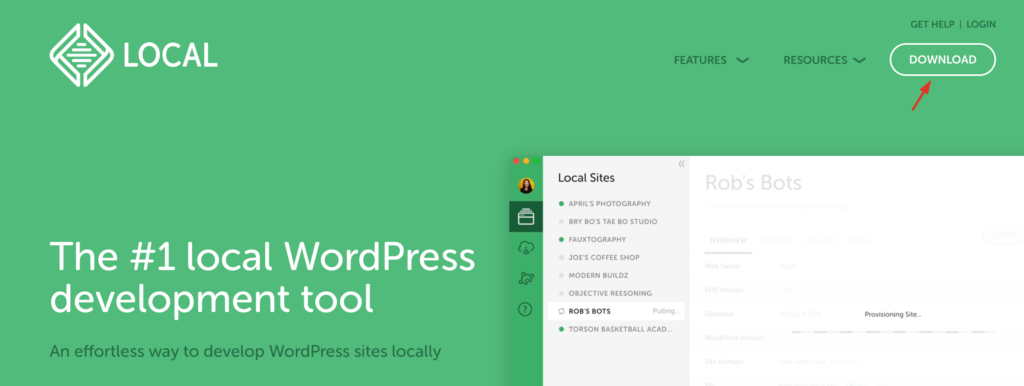
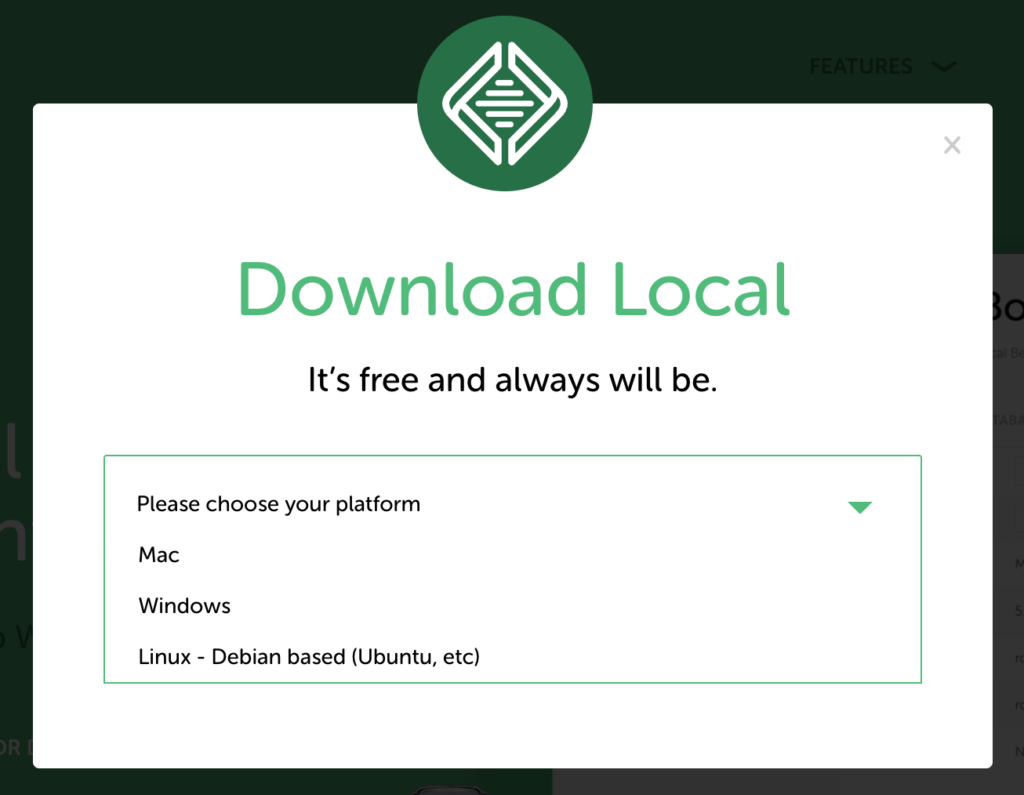
When you click on the Download button, this welcomes you with a popup where you can choose your preferred version based on your device’s operating system- MacOS, Windows, and Linux.
Select your operating system and go ahead with downloading. Keep patience, Flywheel local software can take a few minutes to get downloaded.
Did your download get completed? Select the software and start installing.
2- Add Site Credentials and Install WordPress
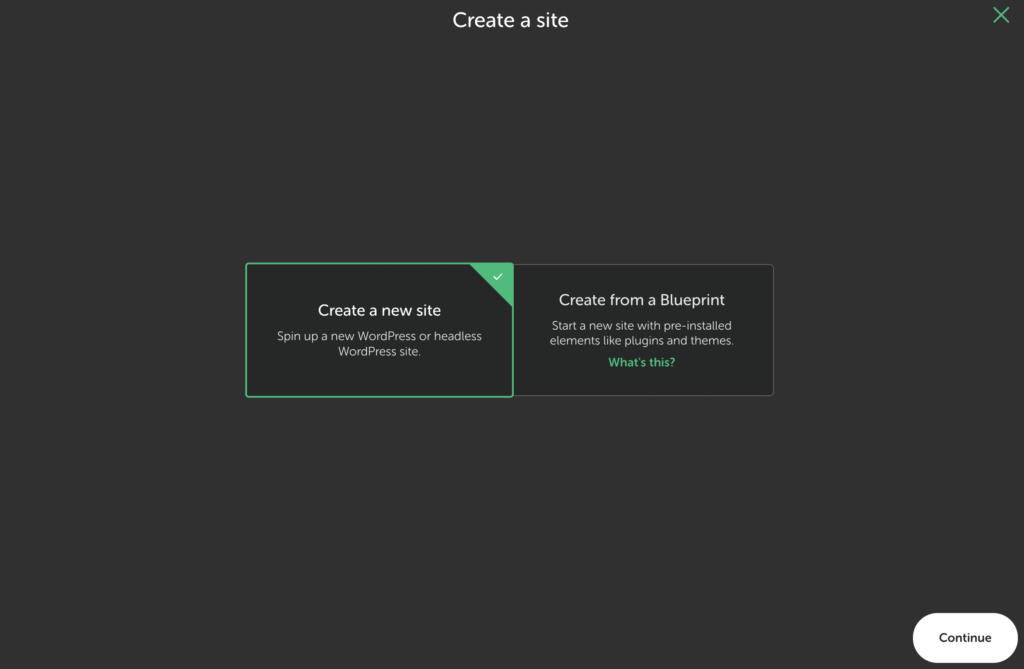
When you start installing the software, Flywheel welcomes you with an easy and smart setting wizard. First, choose your site specification. If you want to create a fresh local site then choose the ‘Create a new site’ option.
You have another option to create your site with pre-installed elements like plugins and themes. If you want to start with Blueprint then choose ‘Create from a Blueprint’.
Give your local site a name, anything you want. It’s a private site, no one can see it without your knowledge or device so nothing to worry.
But yes, if you have multiple sites or have a plan to create more local sites in the future, better to name them based on your specific purposes. One could be for learning and testing WordPress, another one for checking any plugin/theme before making it live on your site.
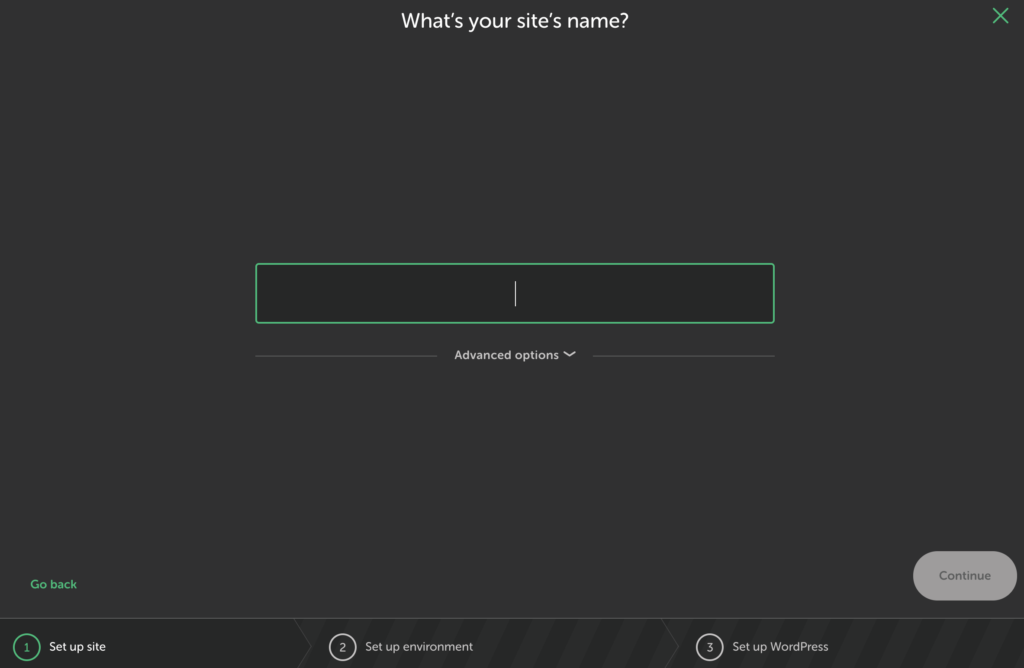
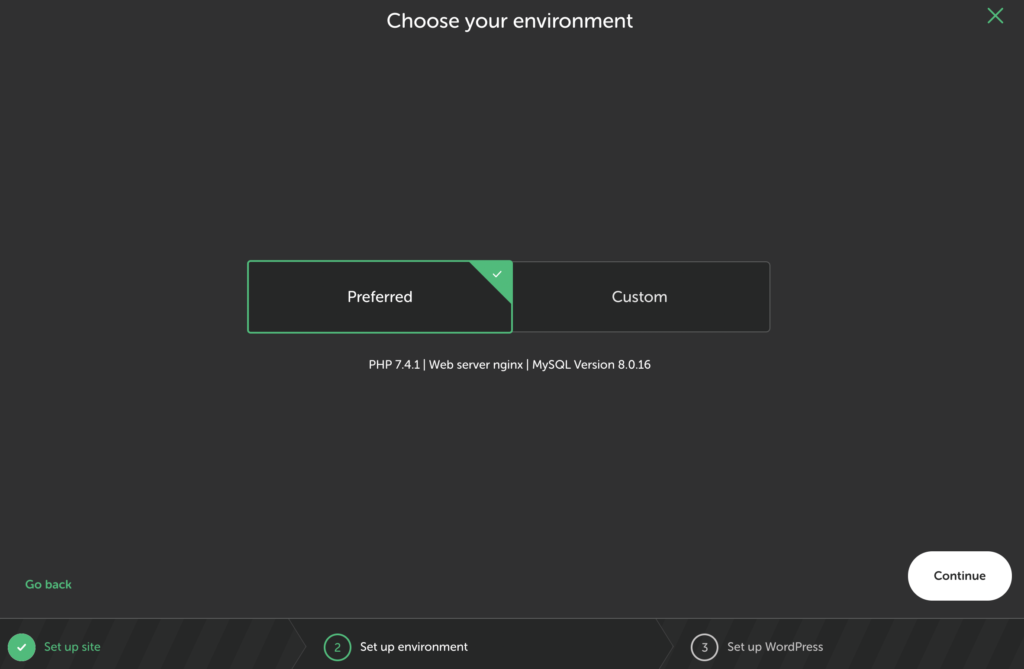
The next step is to choose your environment. There are two options for you- Preferred and Custom. It’s a technical point. You can hover your mouse over both of the options and see the specific environment like PHP version, Web server nginx or MySQL version, etc.
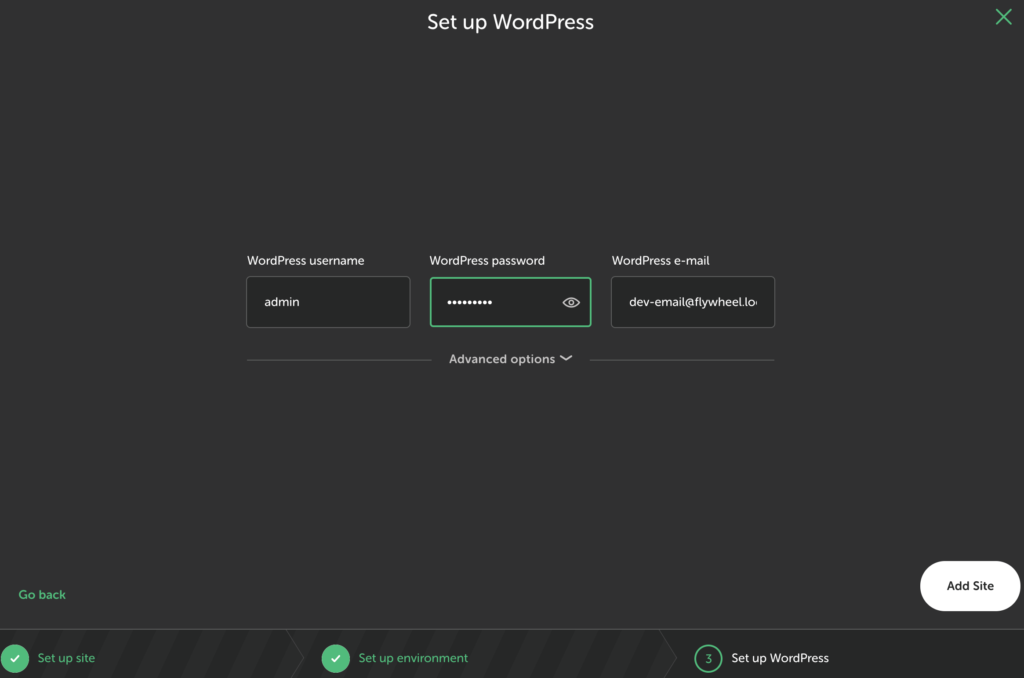
Time to install and set up WordPress. Add a username and password you like but remember it. There’s a WordPress email account given by default, keep it this way.
As it’s a local site, you don’t need to get regular notifications or password resetting. But of course, you can change it with your personal email anytime you want.
When you are done, click on the ‘ Add Site’ button at the right bottom.
Please wait, Flywheel Local takes a few minutes to download-install WordPress, create a database and make your site ready to use. Don’t worry, it’s a 1-click WordPress installation process.
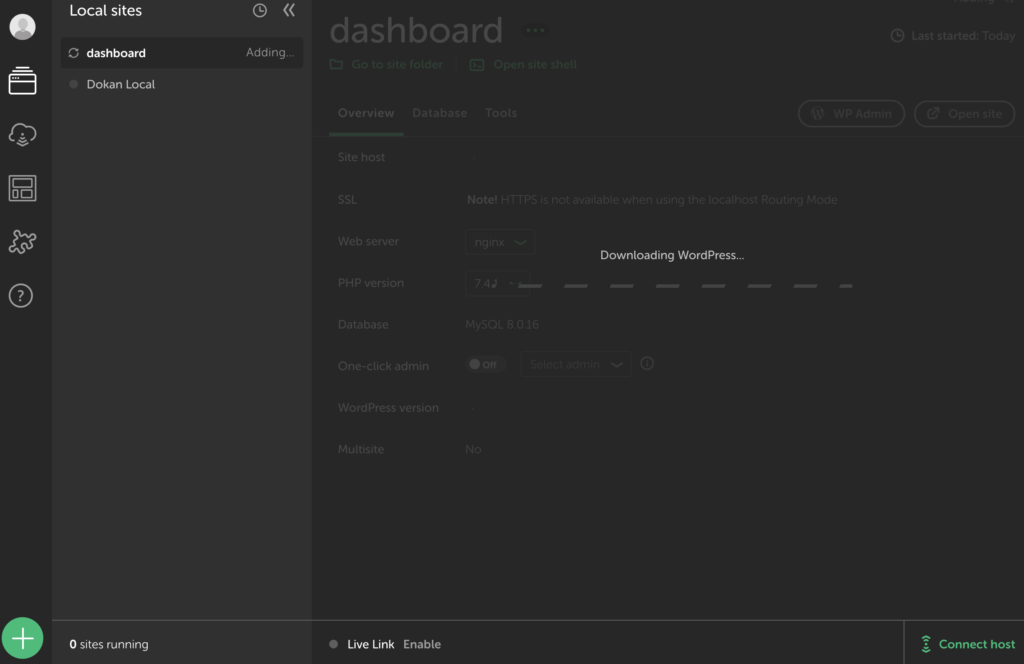
Congratulations! Your local WordPress site is ready now.
Here’s your Flywheel dashboard and you can do everything you need from this dashboard. Like- running your local site, stopping it, getting an overview, checking the database and other tools, and more.
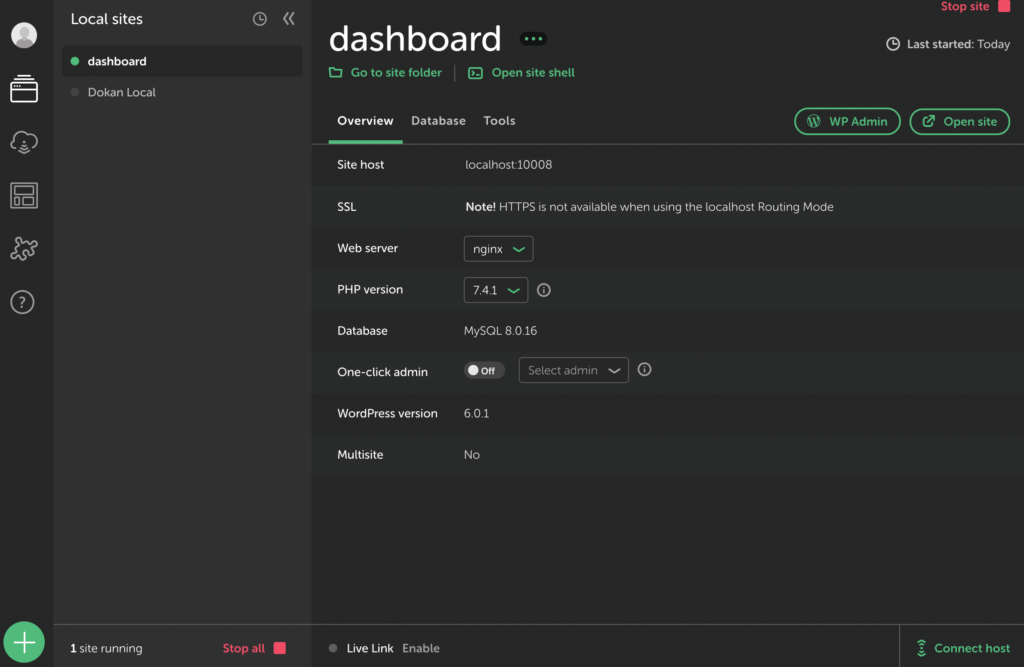
3- Go to the Admin dashboard and check your WordPress site
Time to log in to your local site admin dashboard or you can directly have a look at your local site’s home page. Check the image above- there are two buttons-
- WP Admin
- Open site
Check how to check the Admin panel or the site’s home page.
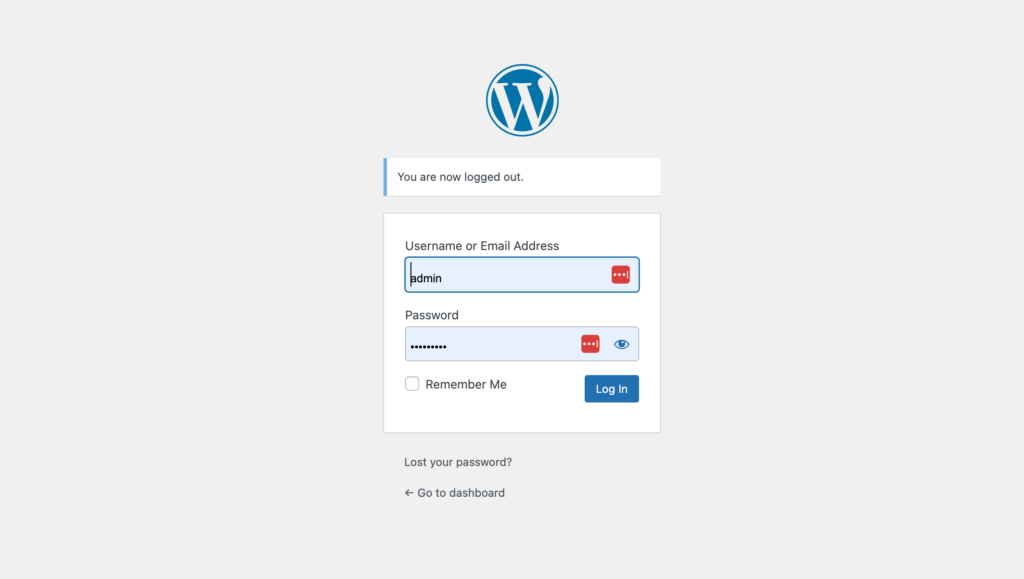
WP Admin
Click on the WP Admin button from your Flywheel local user dashboard. This redirects you to your browser and WordPress dashboard. Type your site’s user name/email and password you provided earlier and log in.
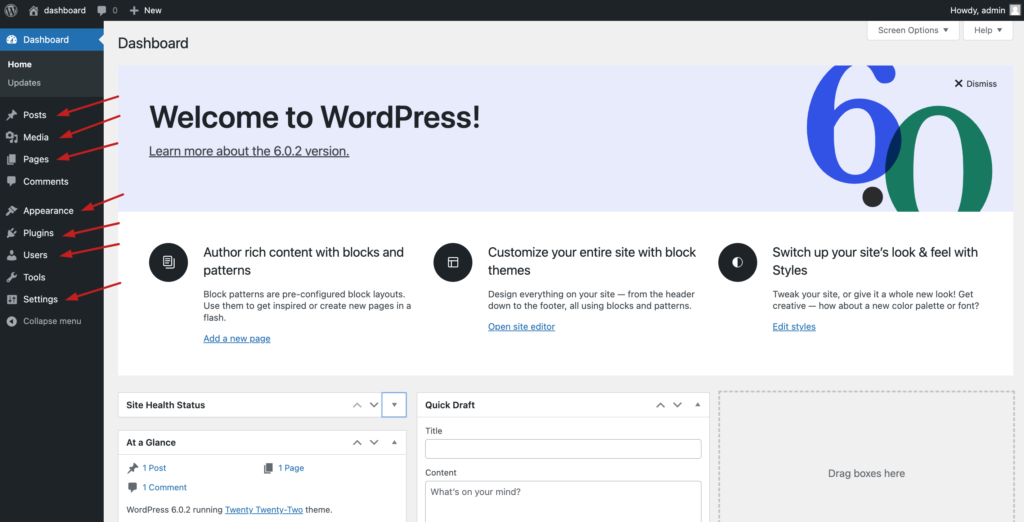
This is your WordPress dashboard, it’s the same when you install WordPress on your live server. You have your site name, user name, WordPress logo, and a few editing options under the ‘New’ button on your header section. It’s your secondary editing panel. The left one below is your primary editing panel. Check the marked options from the screenshot below-
- Posts
- Media
- Pages
- Comments
- Appearance
- Plugins
- Users
- Tools
- Settings
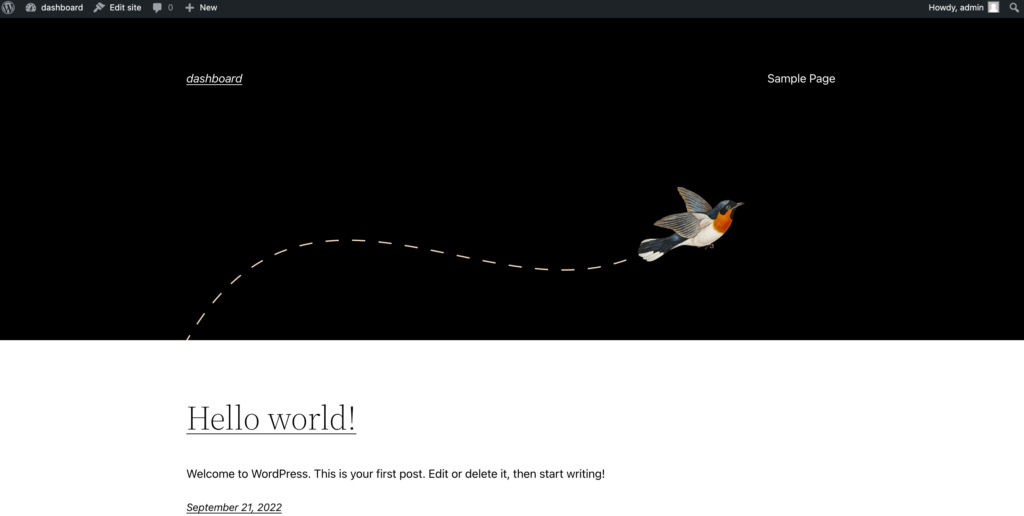
Open Site
Check your default site’s look from the front. You can check it by clicking on the ‘Open site’ button from the Flywheel user dashboard and when you are on your dashboard or admin panel, it’s just a matter of a click to go frontend or back to the backend or dashboard.
4- Start adding and checking posts, pages, users, plugins-themes
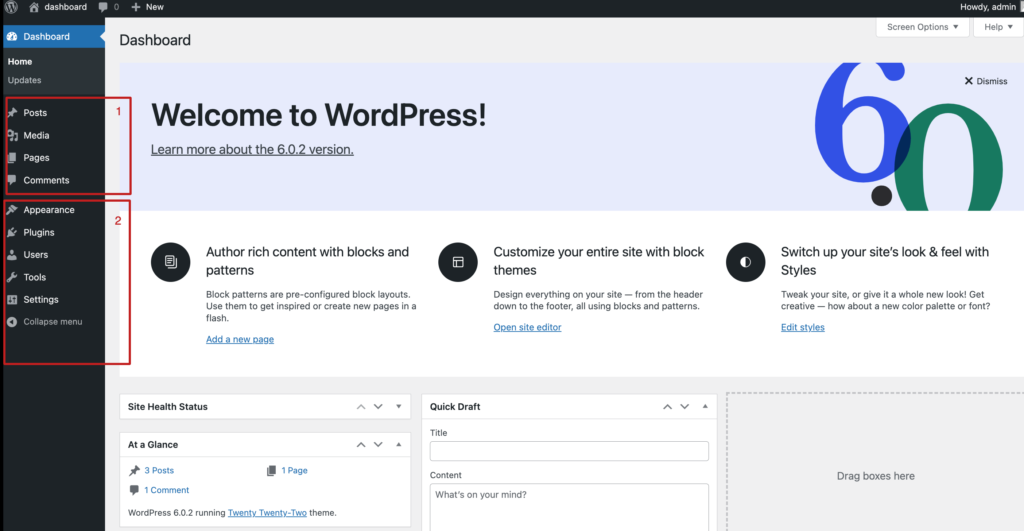
There are actually two parts in your Admin panel. Check the screenshot below. With options marked under 1, you can create-add new posts-pages, media files, or edit existing ones.
2nd part will let you add themes/plugins or make any changes you want.
Let us show you how to add a post to your local site.
Log in to your dashboard and select Posts- Add new post
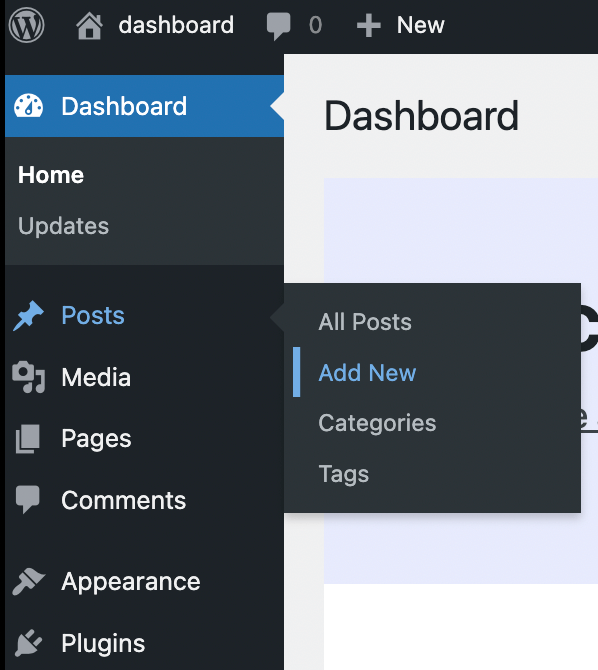
This redirects you to WordPress blog editor. Below is the overview of WordPress default blog editor called Gutenberg-
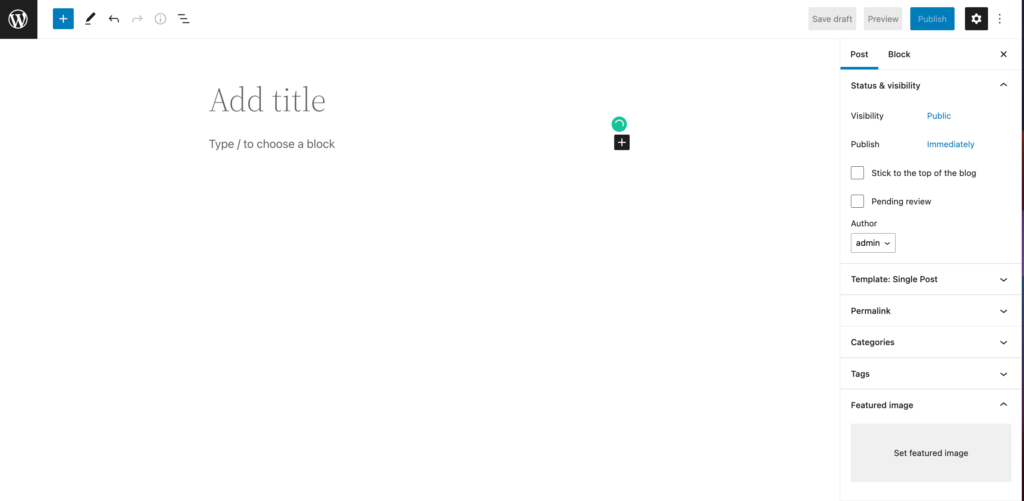
Now start writing your post by adding a title and paragraphs. You can add text, image, or any element you want by clicking on + icon.
There’s another editing panel for you on the right side. You can add/customize post publish date, permalink, category, tags and more to make your post professional and search engine-friendly when it’s live. As it’s a local site, you’re free to customize these option or leave it. Here’s an overview for you-
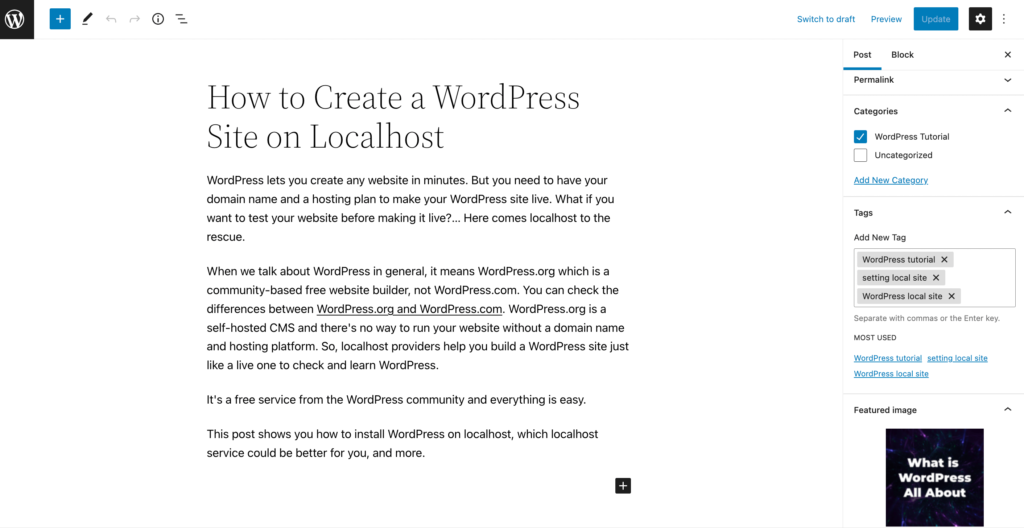
We are almost done with writing and customizing our first post. Let’s publish the post and see how it looks on the front. This is how your users see it on your live site as well.
Flywheel vs XAMPP vs AMPPS vs MAMP vs WAMP: Which One is Better for You as a Localhost and Why?
Let’s compare top 5 localhost service providers out there- Flywheel, XAMPP, AMPPS, MAMP, and WAMP, based on the essential features you need.
| Fields/Platforms | Flywheel | XAMPP | AMPPS | MAMP | WAMP |
| Introduction | Flywheel is designed for speed and simplicity. Comes with a one-click WordPress installation, flexible environment, Simple Demo URLs, etc. | XAMPP is an abbreviation for cross-platform, Apache, MySQL, PHP, and Perl, it’s a web server package | AMPPS stands for Apache, MYSQL, PHP, PERL, Python, and Softaculous. It’s a free, local server that can be installed with just a few clicks | MAMP stands for Mac OS X, Apache, MySQL, and PHP. can be installed with just a few clicks | WAMP stands for Windows, Apache, MySQL, and PHP. It’s a local server for Windows that is easy to use |
| Supported devices | All (Windows, macOS, and Linux) | All | All | macOS and Windows | Windows only |
| Storage Space | around 1 GB | around 1 GB | around 1 GB | around 1 GB | around 1 GB |
| Loading time | Super Fast | fast | Can take a bit longer | Fast | Fast |
| Free and open source | Yes | Yes | Yes | Yes (premium versions available) | Yes |
| SSL certificate | Yes | Included | Yes | Yes | Yes |
| Multiple sites support | Yes | Yes (with some tinkering) | Yes | Yes (with some tinkering) | Yes |
| Migration to live server | Easy | Moderately difficult | Easy | Moderately difficult | Moderately difficult |
Flywheel is the clear winner here regarding easy to install and manage, multiple site support and easy migration from local to live or vice versa. Just one point, Flywheel eats a bit of more space of your hard disk than XAMPP and AMPPS.
You can check how to install WordPress on local environment with XAMPP or AMPPS as well.
How to Install WordPress on Localhost using XAMPP
There are five steps to install WordPress on your Mac/Windows PC with XAMPP-
- Download XAMPP
- Install & Run the XAMPP on Your PC
- Download WordPress Latest Version
- Create a Database
- Install WordPress on Localhost
XAMPP supports multiple devices and it’s one of the oldest and powerful solutions out there. Get a detailed guide on- installing WordPress with XAMPP.
How to Install WordPress on Localhost using AMPPS
There are six steps to install WordPress on your Mac/Windows PC with AMPPS
- Download AMPPS
- Install & Run the AMPPS on Your Mac/PC
- Download WordPress.org Latest Version
- Create a Database
- Name your local website
- Complete installing WordPress on localhost
You can use AMPPS for other CMS like Joomla, Megento and more. Check a detailed guide on- installing WordPress with AMPPS.
FAQs
Can I export websites developed locally to another hosting provider?
Many users use a backup plugin like Duplicator or BackupBuddy to download the site files. Where you host them after that is totally up to you! Flywheel local makes it easy to make your site live or import from live to local.
What are the minimum requirements of the hardware to run it
Local by Flywheel minimum requirements are OS X 10.9 and 1GB of free disk space. There are other popular tools as well. For example-
-XAMPP: 512 MB of RAM
-AMPPS: 1GB RAM
-WampServer: 1GB RAM
How can you share with multiple developers on a local network?
Flywheel local lets you share your local site with multiple developers or clients. Here’s how-
-Click on the site you want to share
-Go to Utilities
-Enable “Live Link”
-Share the URL shown (it will have “ngrok” in it)
-Leave Local and your computer running for the duration you’re sharing the site to your client
But usually, the purpose of a local site to use and explore in a private environment. Better to build a staging site if you need regular collaboration.
How can I set up my site without WordPress?
Yes, you can use other CMSs like Joomla, Wix, Squarespace, Webflow, and Weebly. Or you can develop your site from scratch using a coding language you know.


Leave a Reply