Looking to learn how to build an online marketplace for grocery products? WordPress makes it easy to create an online marketplace for groceries.
Popular grocery marketplaces like Big Basket witnessed exponential revenue of US$1.2 billion, in FY23.
This should tell you the growing popularity of grocery marketplaces and a huge opportunity waiting for you to grab!
Turning your eCommerce store into a multivendor marketplace is a great idea. You have more control, more variety, and a higher chance of expanding your business.
Today you will learn how to create an online grocery marketplace using Dokan multivendor, one of the most popular multivendor marketplace plugins. Before that, let’s learn about,
Checking The Growth Rate of Online Grocery Shops
Turning your eCommerce store into a multivendor marketplace is a great way to open new doors for earning. The global marketplace market size was valued at $3.67 trillion by the end of 2020.
Moreover, it is forecasted to expand at a compound annual growth of 9.7% from 2021-2028.
Creating a grocery marketplace not only helps you but also helps the local vendors as well.
Here are some facts that should help you know why it is a great time to create a grocery marketplace.
- In 2023, online grocery sales in the US are expected to hit $160.91 billion, spurred by approximately 147.8 million digital grocery buyers across the country.
- The number of digital grocery buyers in the US is also expected to rise. It’s set to rise by 2.5 percent in 2024 to hit 151.5 million, surpassing the 150 million mark for the first time.
- It is projected to surpass around US$ 2160.7 billion by 2030, growing at a CAGR of 19.97% from 2022 to 2030.
(Source: Market Research)
Now, let’s jump right in showing you how to create a marketplace with WordPress.
6 Steps to Build Your Multivendor Marketplace for Groceries
Thanks to WordPress, creating an online store has become quite easy. With plugins like WooCommerce, anyone can start their own eCommerce store and earn.
And with the help of Dokan, you can turn that eCommerce store into a multivendor marketplace with a few clicks. Dokan Multivendor is a popular marketplace plugin with 50000+ active installations and has all the features to get your marketplace off the ground.
We will show you how to build an online marketplace for groceries using them. Let’s jump right into it.
What You Need To Set Up an eCommerce Marketplace
To start an eCommerce marketplace, you need the following items:
- A WordPress Site (associated with the right domain hosting)
- Dokan Multivendor – Best WooCommerce Multivendor Marketplace Solution
- A Compatible Dokan theme
Now you need to follow these steps to create your grocery marketplace,
- Install & Activate Dokan Multivendor Marketplace Solution
- Install a Dokan Compatible Theme
- Configure the Basic Setting of Dokan
- Upload Products and Setup Admin Shop
- Allow Vendors to Register
- Start Selling from Your Marketplace
Step 1: Activate Dokan to Create Your Multivendor Marketplace
As WooCommerce creates a single store for your website you need Dokan to create a multivendor marketplace for your grocery shop.
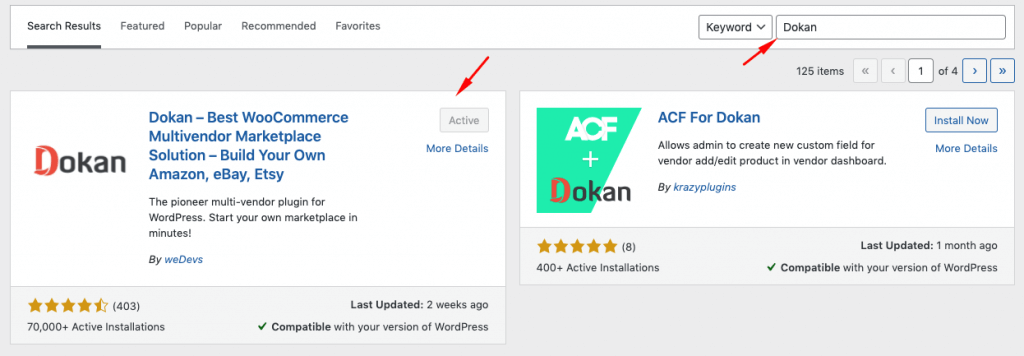
Installing Dokan multivendor is as simple as installing any other WordPress plugin. You can either install the plugin from the WordPress dashboard by,
- Navigating to Admin Dashboard -> Plugin-> Add New-> Click the search
- Type Dokan -> Install -> Activate.
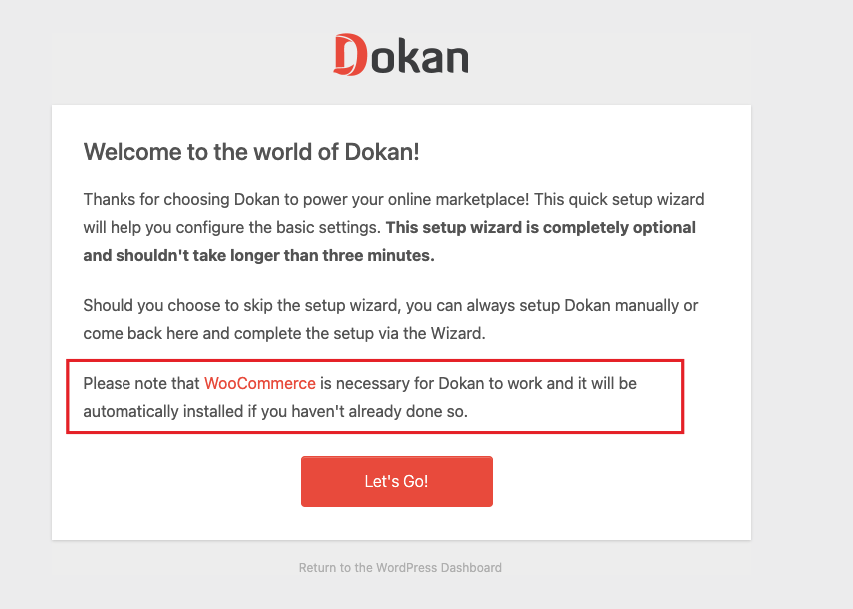
Dokan multivendor will also provide a setup wizard that will help you easily set up your marketplace. Configuring Dokan is very easy by using its own Wizard.
As the Dokan multivendor plugin is powered by WooCommerce, you need WooCommerce to create your marketplace.
However, you don’t need to install WooCommerce separately. When you install Dokan, it automatically installs WooCommerce.
If you still have any confusion then go through the video tutorial on Dokan installation.
Step 2: Install a Dokan Compatible Theme
After installing the Dokan multivendor plugin, you need to install a Dokan-compatible theme. Any theme that is compatible with WooCommerce is also compatible with Dokan multivendor.
However, Dokan has its own theme “Dokani” that you can use for your convenience.
You can download the Dokani theme.
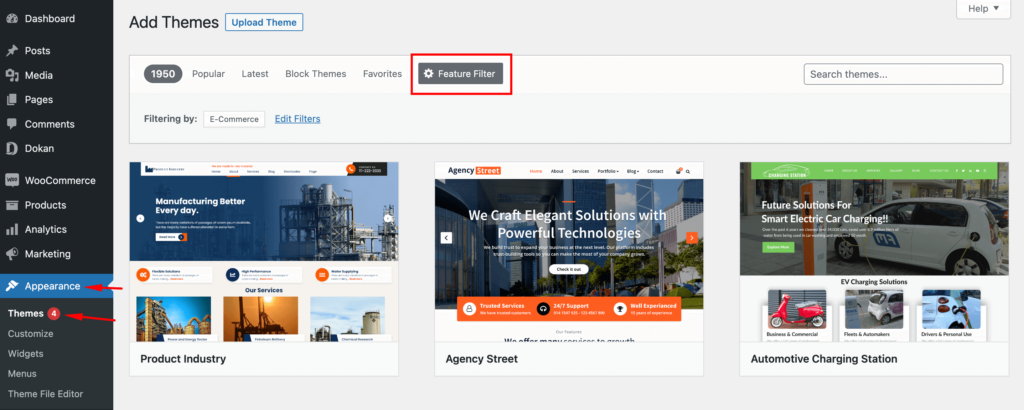
You can find the themes in WP-Admin-> Appearance-> Themes. But make sure the theme is Dokan compatible. You will need to customize the theme to make it compatible with your marketplace otherwise.
Step 3: Configure Dokan Basic Settings
After installing and activating Dokan multivendor plugin, now you need to configure all the basic settings. You will find all the settings options at WP-Admin–> Dokan–> Settings.
From here you need to:
- Set up your store terms and conditions
- Create store category (so that vendors can add different categories for their stores )
- Enable payment gateways (more on this in the next part)
- Configure withdrawal methods (more on this in the next part)
- Allow vendors to upload new products
- Create new tags
- Set new product status
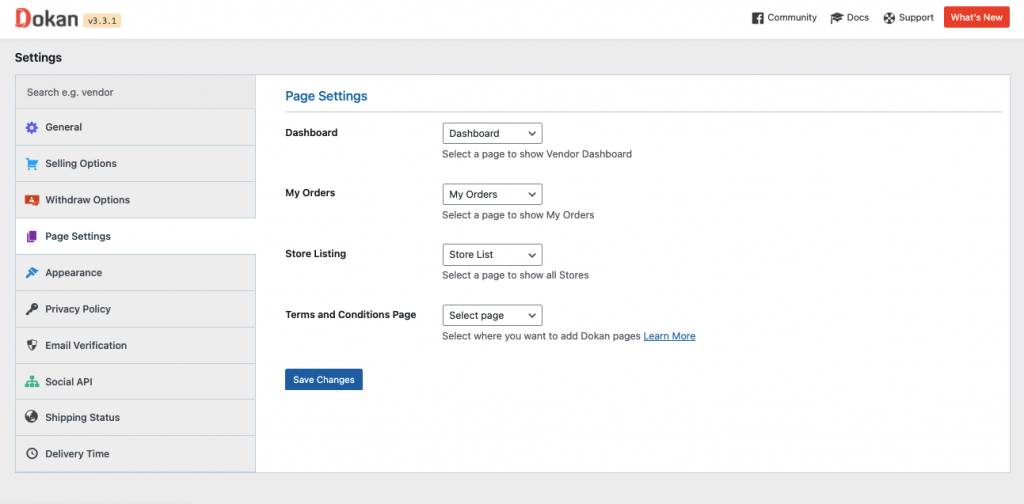
You can select the pages for the vendor dashboard, order page, store listing, and terms and conditions page.
Don’t forget to click the Save Changes button after configuring all the settings. Otherwise, you will lose all your settings.
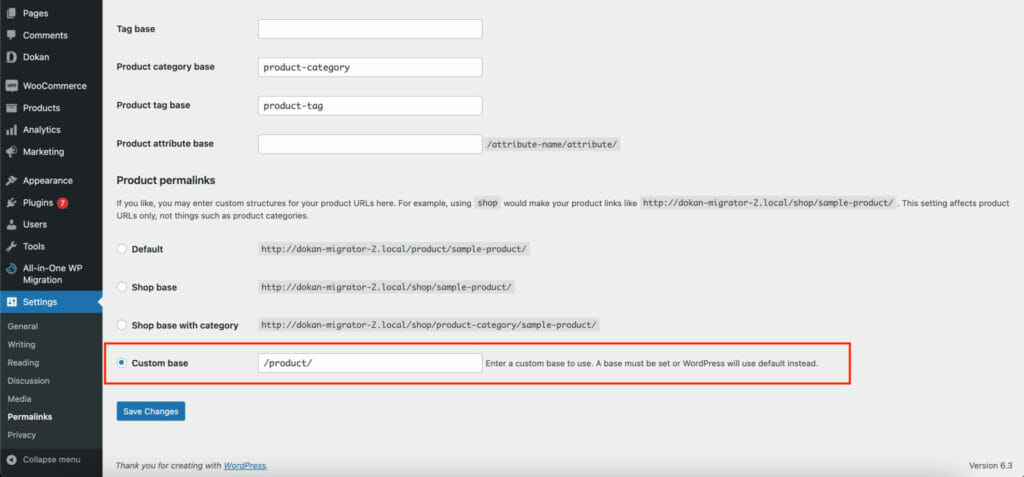
Also, you need to configure your permalink settings as well. Otherwise, you may get a 404 error on certain pages.
Go to WP Admin -> Settings -> Permalinks -> Permalink Settings ->Product Permalinks. Select the check box “Custom Base” for product permalinks and write “/product” on the box.
You have to set your commission rate as well. Go to WP Admin Dashboard -> Dokan -> Settings -> Selling Options -> Admin Commission.
You’ll find different options to insert the percentage or fixed amount. Dokan supports various types of vendor commissions.
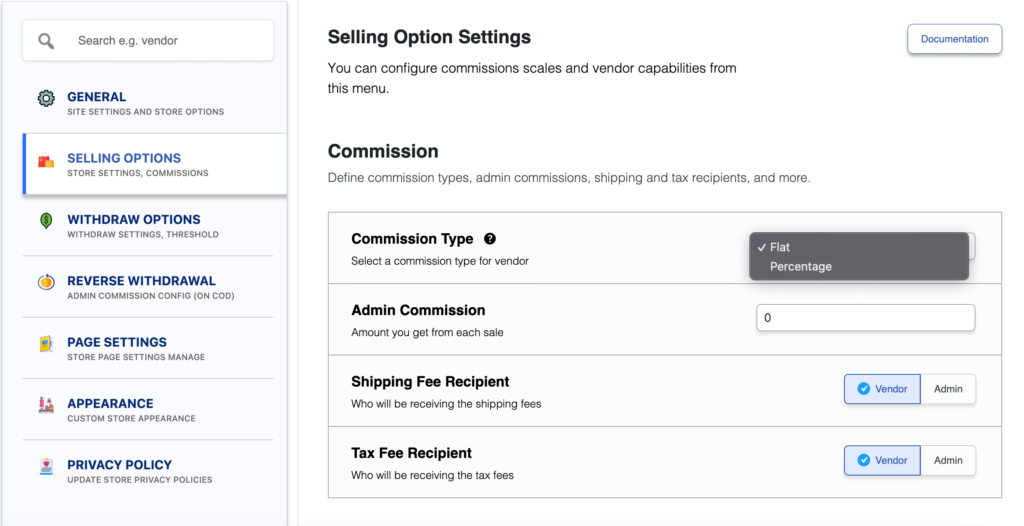
Dokan also enables you to set the category-based commission rate for the vendors. So you can define individual commission rates for different vendors.
Learn more about Dokan by exploring Dokan features
Configure Payment Gateways
Dokan multivendor plugin supports all WooCommerce-compatible payment gateways. This means you get a wide range of choices to make the transaction process easier on your marketplace.
With Dokan Lite you can use non-adaptive payment gateways like check payments, bank account transfers, cash on delivery, etc. You can install the WooCommerce Payments plugin to get support for credit cards, debit cards, and other payment methods.
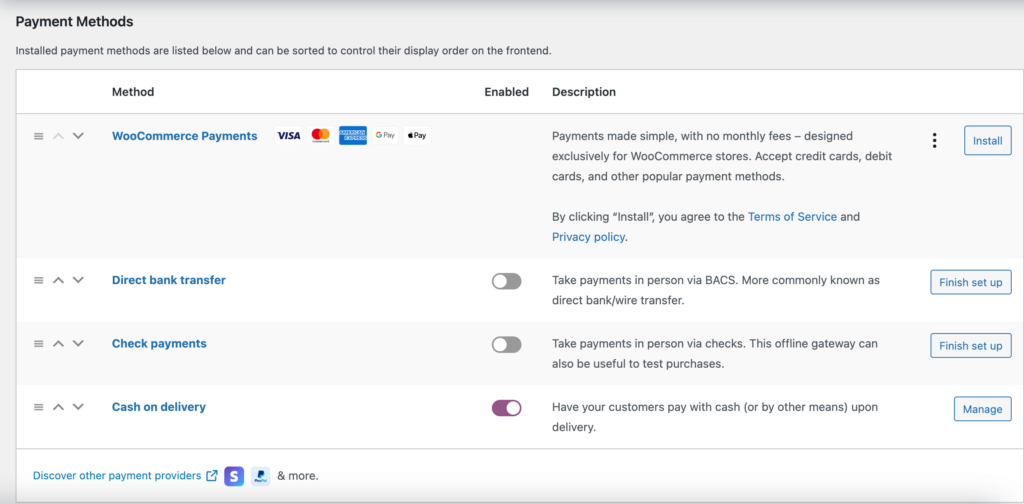
However, if you want your marketplace to support adaptive payment solutions like Stripe Connect and MOIP you need to install the Dokan Pro version.
Enable Withdraw Methods
Another important part of running an interactive online marketplace is to ensure a smooth withdrawal system. Dokan multivendor plugin helps you take care of this section as well.
Go to WP Admin -> Dokan -> Settings -> Withdraw Options. Here you’ll find options to customize the withdrawal method and set the minimum balance a vendor needs to make a withdrawal limit.

You will get more withdrawal options with the Dokan Pro version.
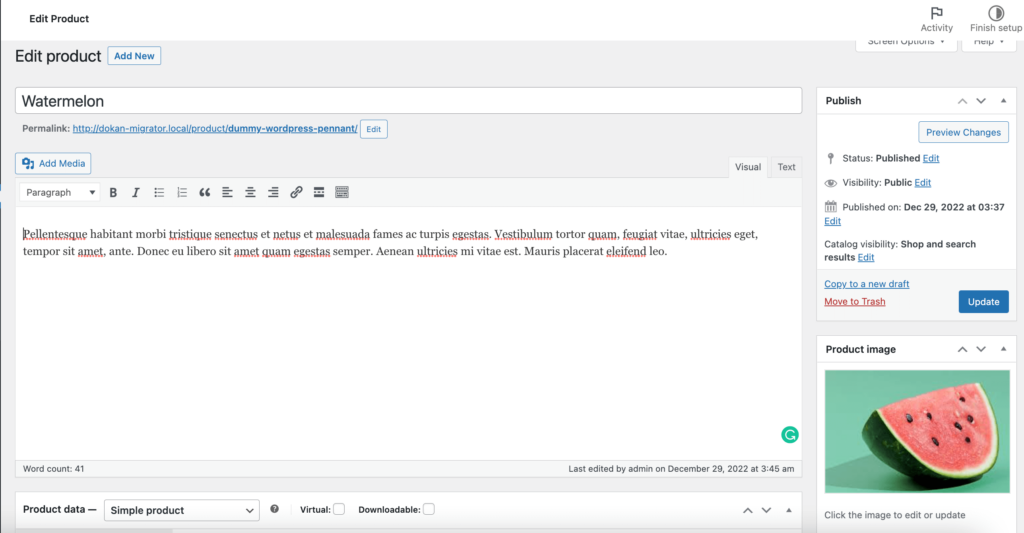
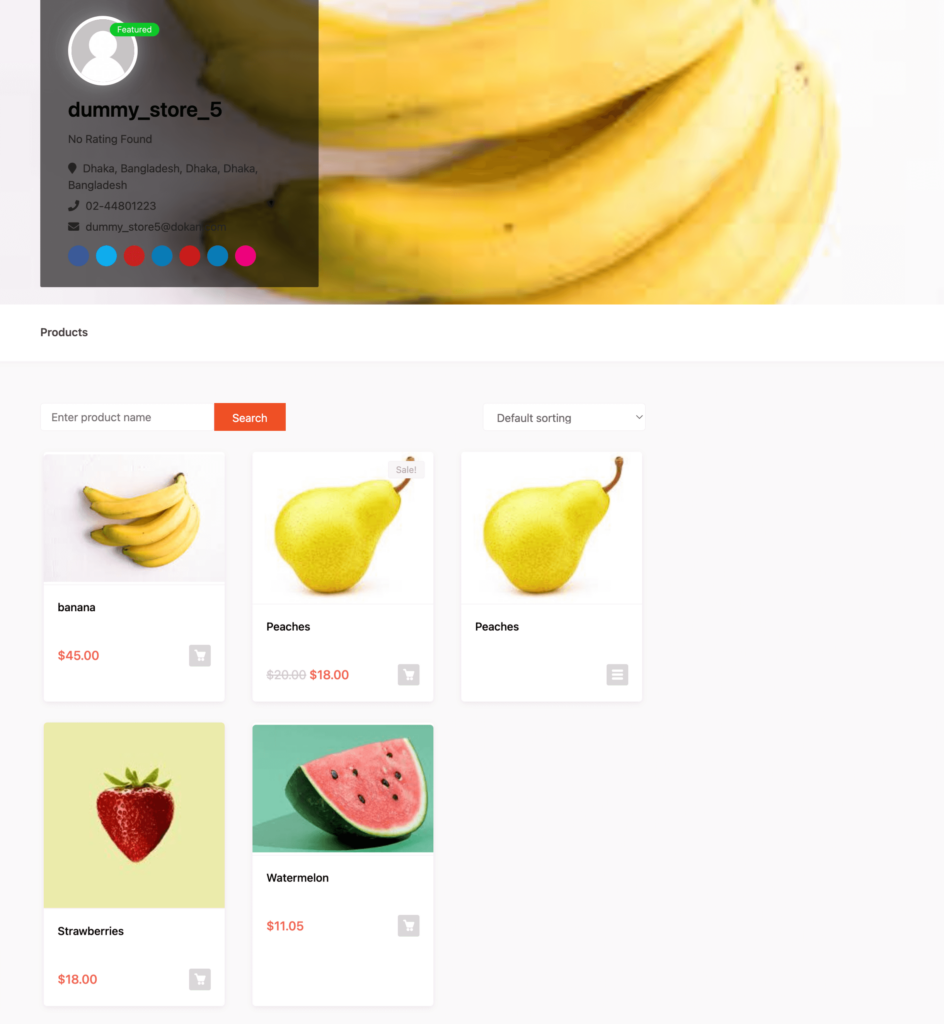
Step 4: Upload Products and Setup Admin Shop
This is an optional step. If you want to earn some extra money, you can create your own store on your marketplace. All you need to do is enable yourself to sell.
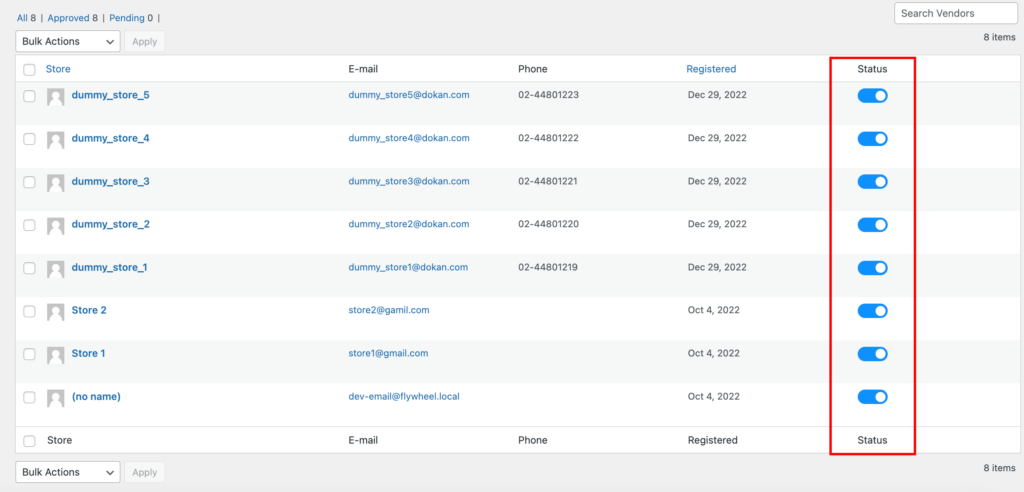
Go to Dokan-> Vendors. There you need to enable selling by toggling the button. You can upload your products by navigating to WordPress Backend -> Products -> Add New.
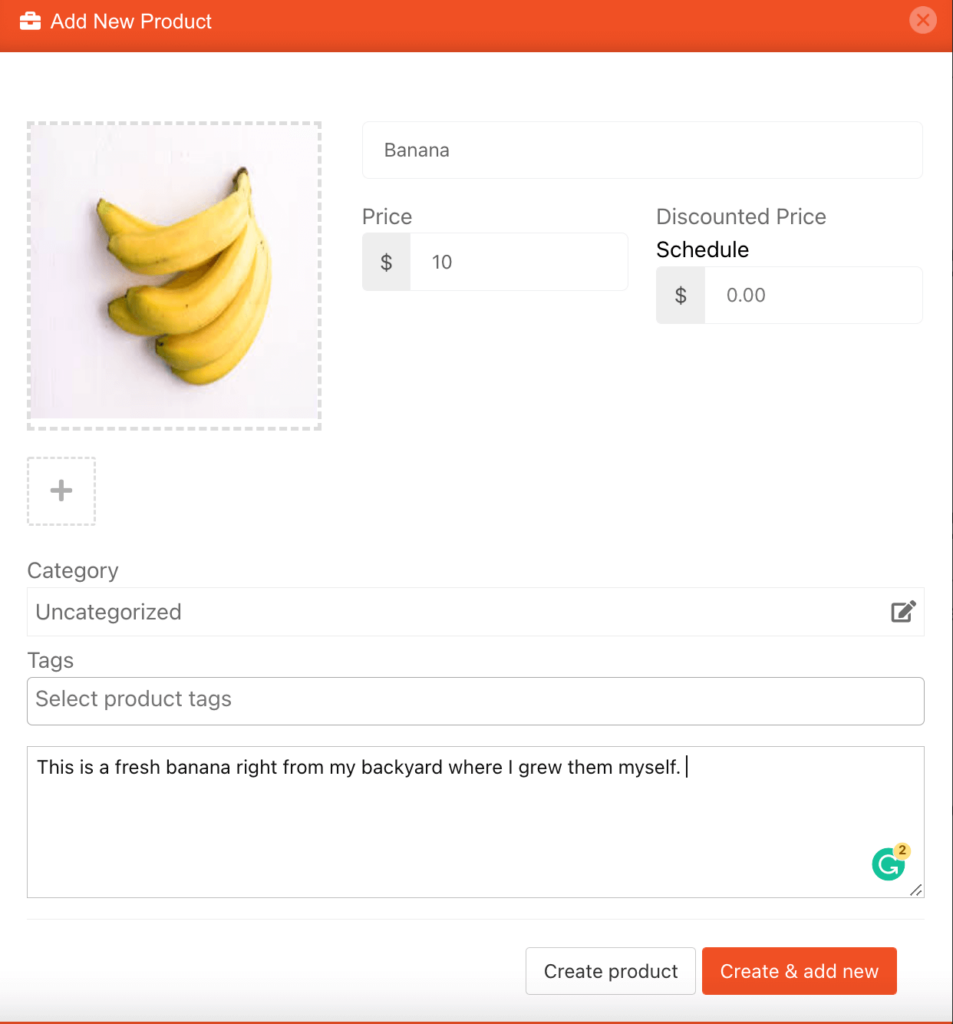
And in order to upload products from the front end navigate to, WordPress Dashboard -> Visit Site -> Vendor Dashboard -> Setting. Your registered vendors will upload products this way.
You can create variable products to offer more options to the customers. Read the guide on how to create variable products.
Step 5: Allow Vendors to Sign up to Your Marketplace
Now that you have added all the functionalities to your marketplace, you can invite vendors to sign up for your marketplace. To make sure vendors can sign up to your marketplace, enable the “Anyone can register” option from WP Admin–> General–> Settings. So, it will open the default registration form for vendors to sign up.
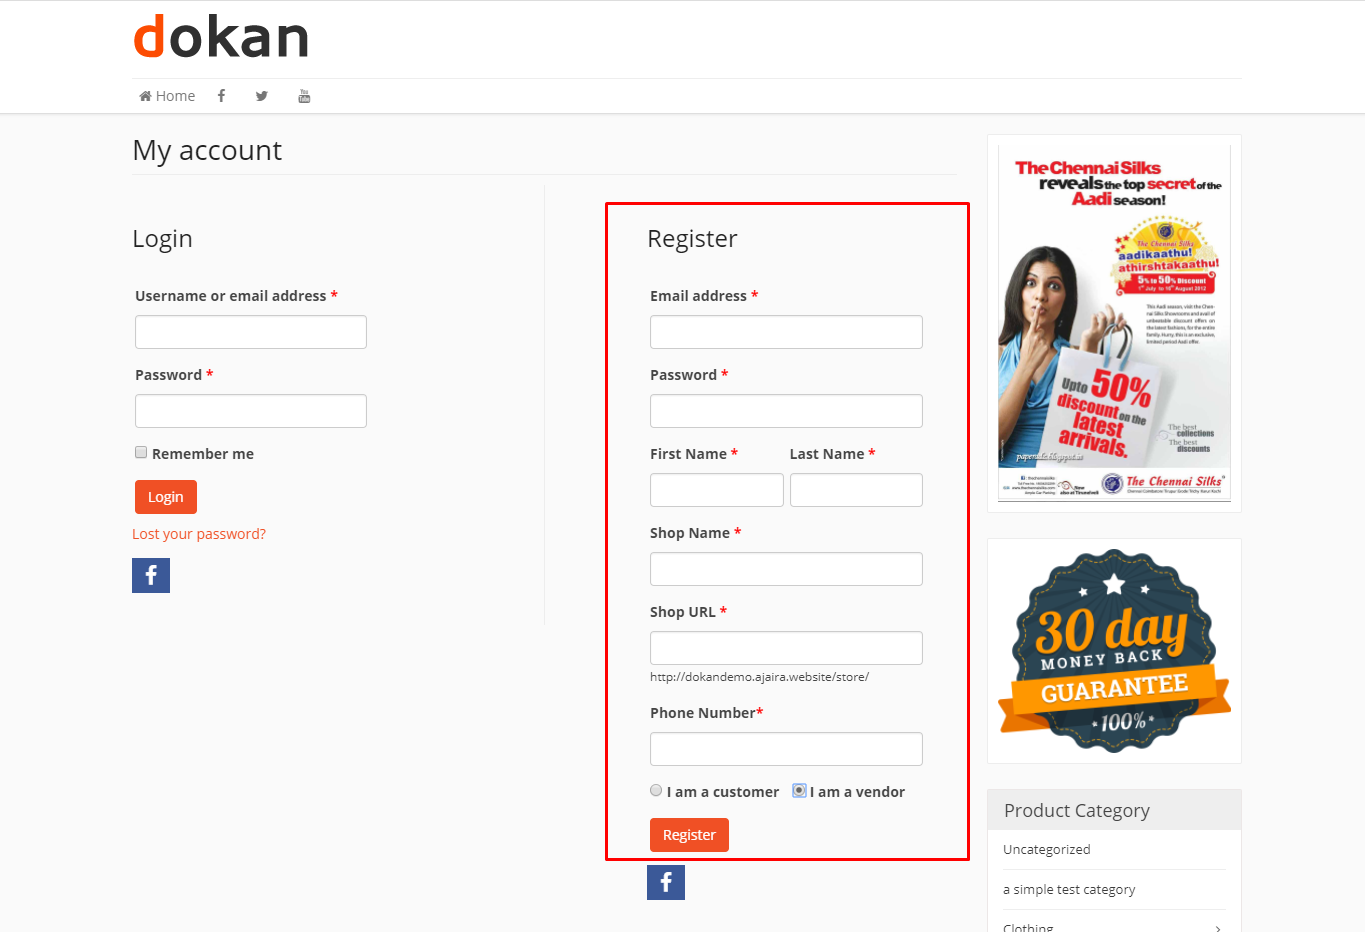
Or you can create customized registration forms with the necessary fields, especially for your marketplace.
For vendors to start selling, you need to enable selling status from Dokan-> Vendors.
Also, if you want the vendors to upload their products, then you need to change the product status from Dokan->Settings-> Selling options. You need to enable the New Vendors Product Upload

Step 6: Start Selling from Your Grocery Marketplace!
Your marketplace is ready.
Now you need to start selling and promoting your marketplace so that more and more vendors can sign up for your marketplace.
Here’s what you can do to promote your grocery marketplace,
- Use email marketing
- Look for potential vendors and customers on different platforms and forums
- Publish blogs and informational content
- Take the help of promotional videos and more.
You need to add and install some other plugins like security plugins, and caching plugins in order to run your marketplace smoothly.

FAQ(s) on Online Grocery Shopping
Here are some commonly asked questions and their answers about the grocery marketplace-
Name Some of the Best Online Platforms for Grocery in the World
Some of the best Online Grocery Stores in the world are-
- Walmart (United States)
- Schwarz Group (Germany)
- Aldi (Germany)
- The Kroger Co (United States)
- Seven & I Holdings (Japan)
- Costco Wholesale (United States)
- Tesco (United Kingdom)
- Ahold Delhaize (Netherlands)
- Metro AG (Germany)
- REWE Group (Germany)
What are the Challenges of Online Grocery Shops?
Other than some very big advantages of online grocery shopping, there are some challenges as well. Like-
1. It can be more expensive. Depending on the store, there can be additional costs for usage and delivery fees.
2. You cannot handpick each item. Buying fresh produce can be a challenge since you are unable to see the quality of the item before you buy it.
3. You may still need to go to the grocery store.

Start Your Online Marketplace for Groceries Today!
Hopefully, you have learned how to build an online marketplace for groceries and can create or turn your existing WooCommerce site into one.
After seeing the extraordinary results of popular marketplaces, you can also expect something like that. However, you need to wait some time to get that kind of result.
But if you already have a running eCommerce store, then you can earn more by turning it into a marketplace. Besides, you can still keep your store running without tampering with anything.
And if you have questions or technical queries about creating a marketplace or about Dokan, feel free to ask. We have WooCommerce and Dokan experts who can solve your problems.
Subscribe to
Dokan blog
We send weekly newsletters, no spam for sure!


Leave a Reply