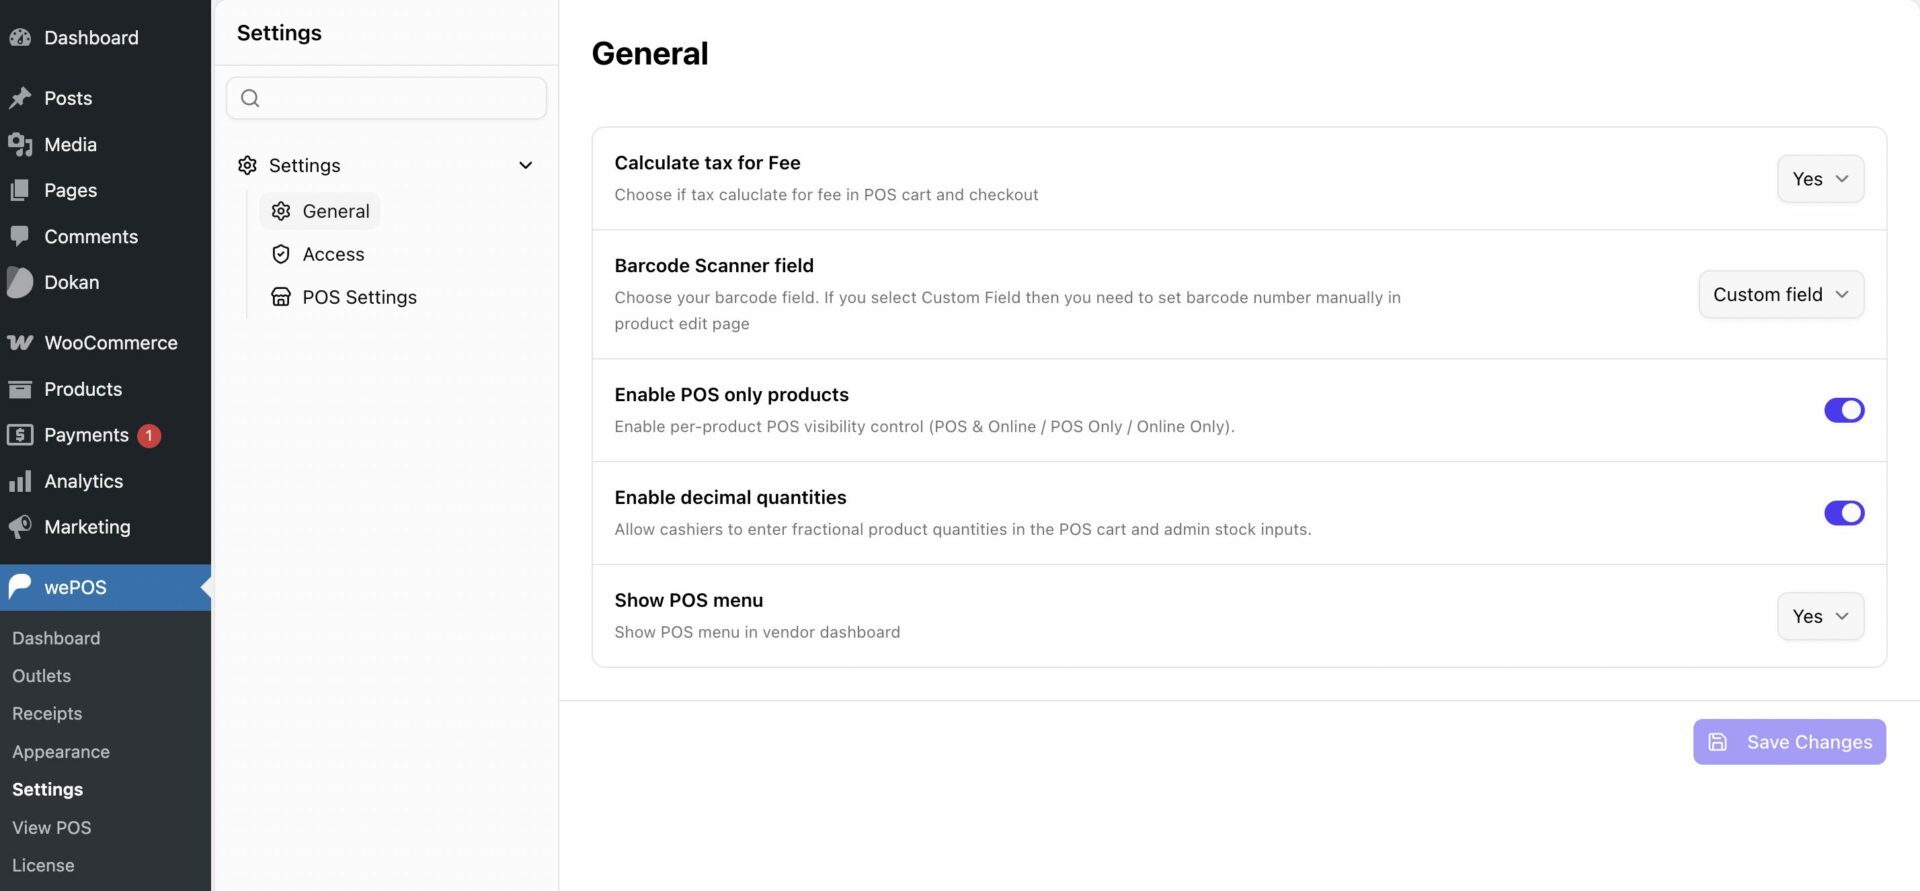
To find the general settings you need to go to wePos–> Settings–> General.
You can-
- Choose how to calculate taxes
- Choose the barcode scanner field: For the Custom Field, you need to set the barcode number manually in the product edit page.
- Enable POS only products: Enable per-product POS visibility control (POS & Online / POS Only / Online Only).
- Enable Decimal Quantities: Allow cashiers to enter fractional product quantities in the POS cart and admin stock inputs.
- Show POS Menu: Whether you want to show the pos menu in the vendor dashboard for Dokan.
How to Calculate tax for Fee
Do you want to add tax fees for your product and calculate them easily? You can do that with
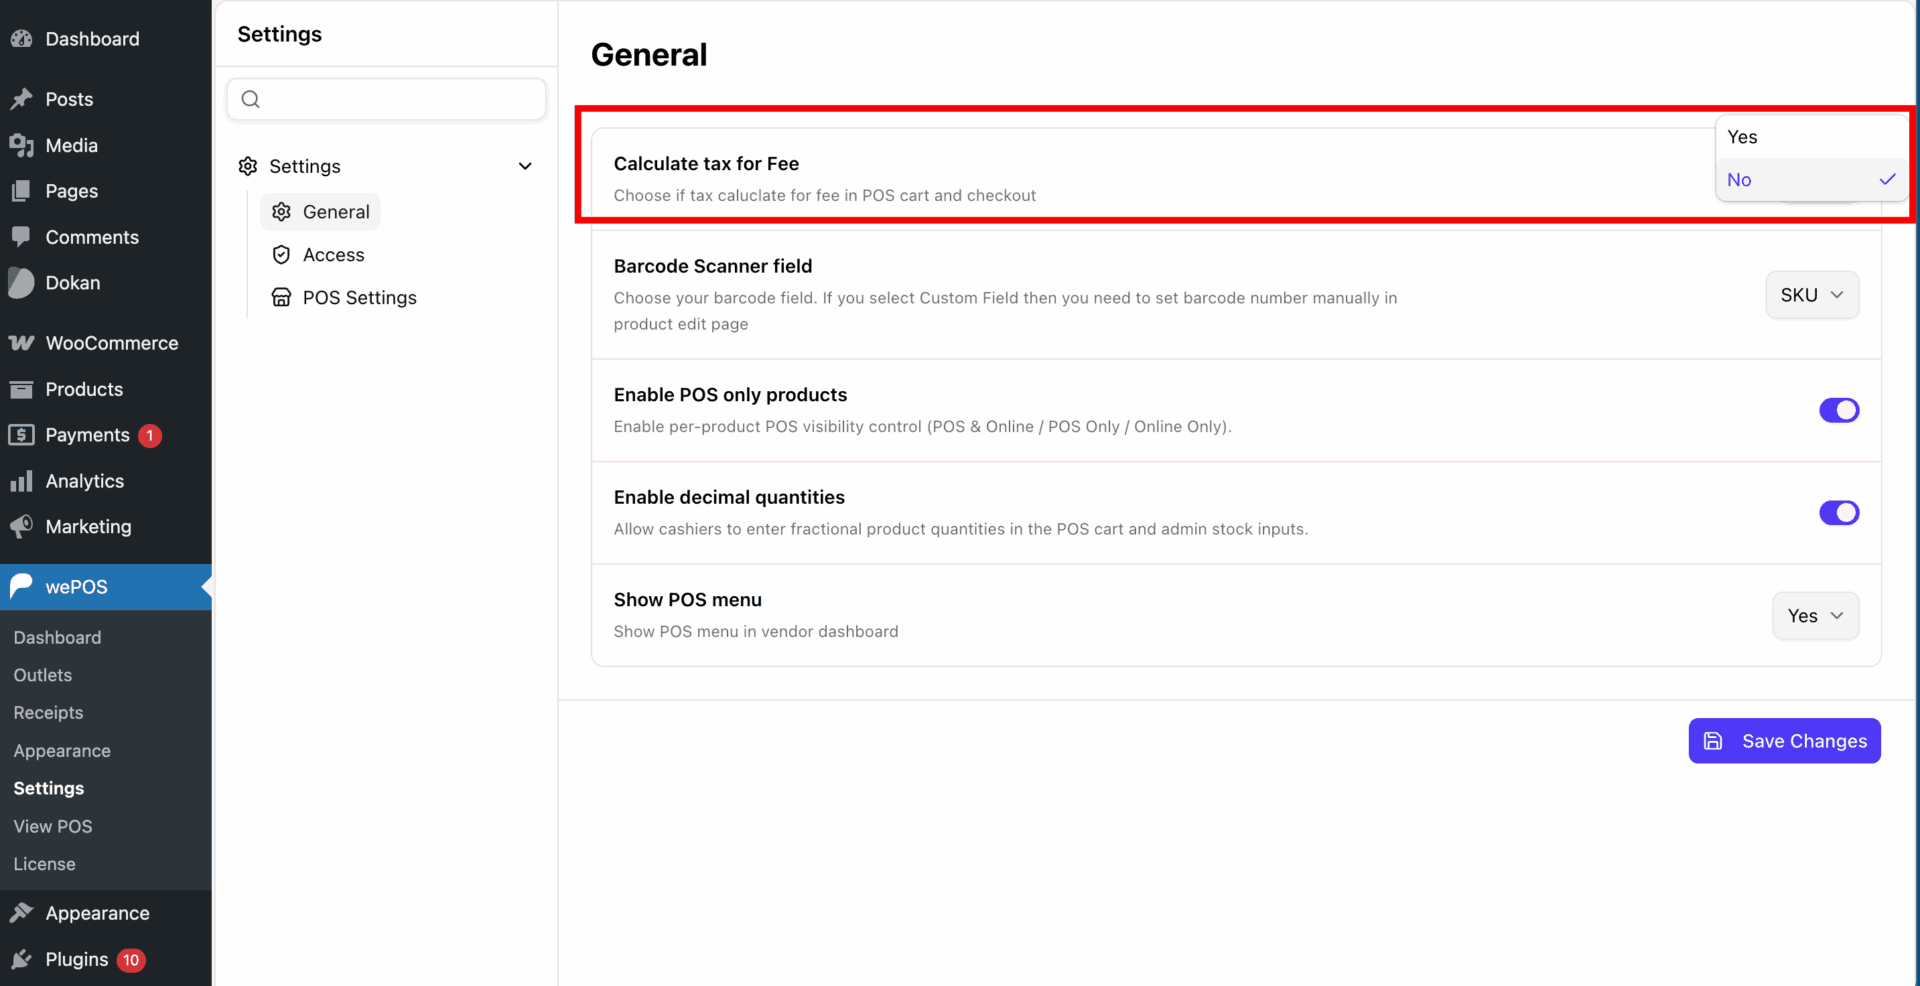
- Choose ‘YES’ – If you want to calculate Price with tax in the cart or checkout process.
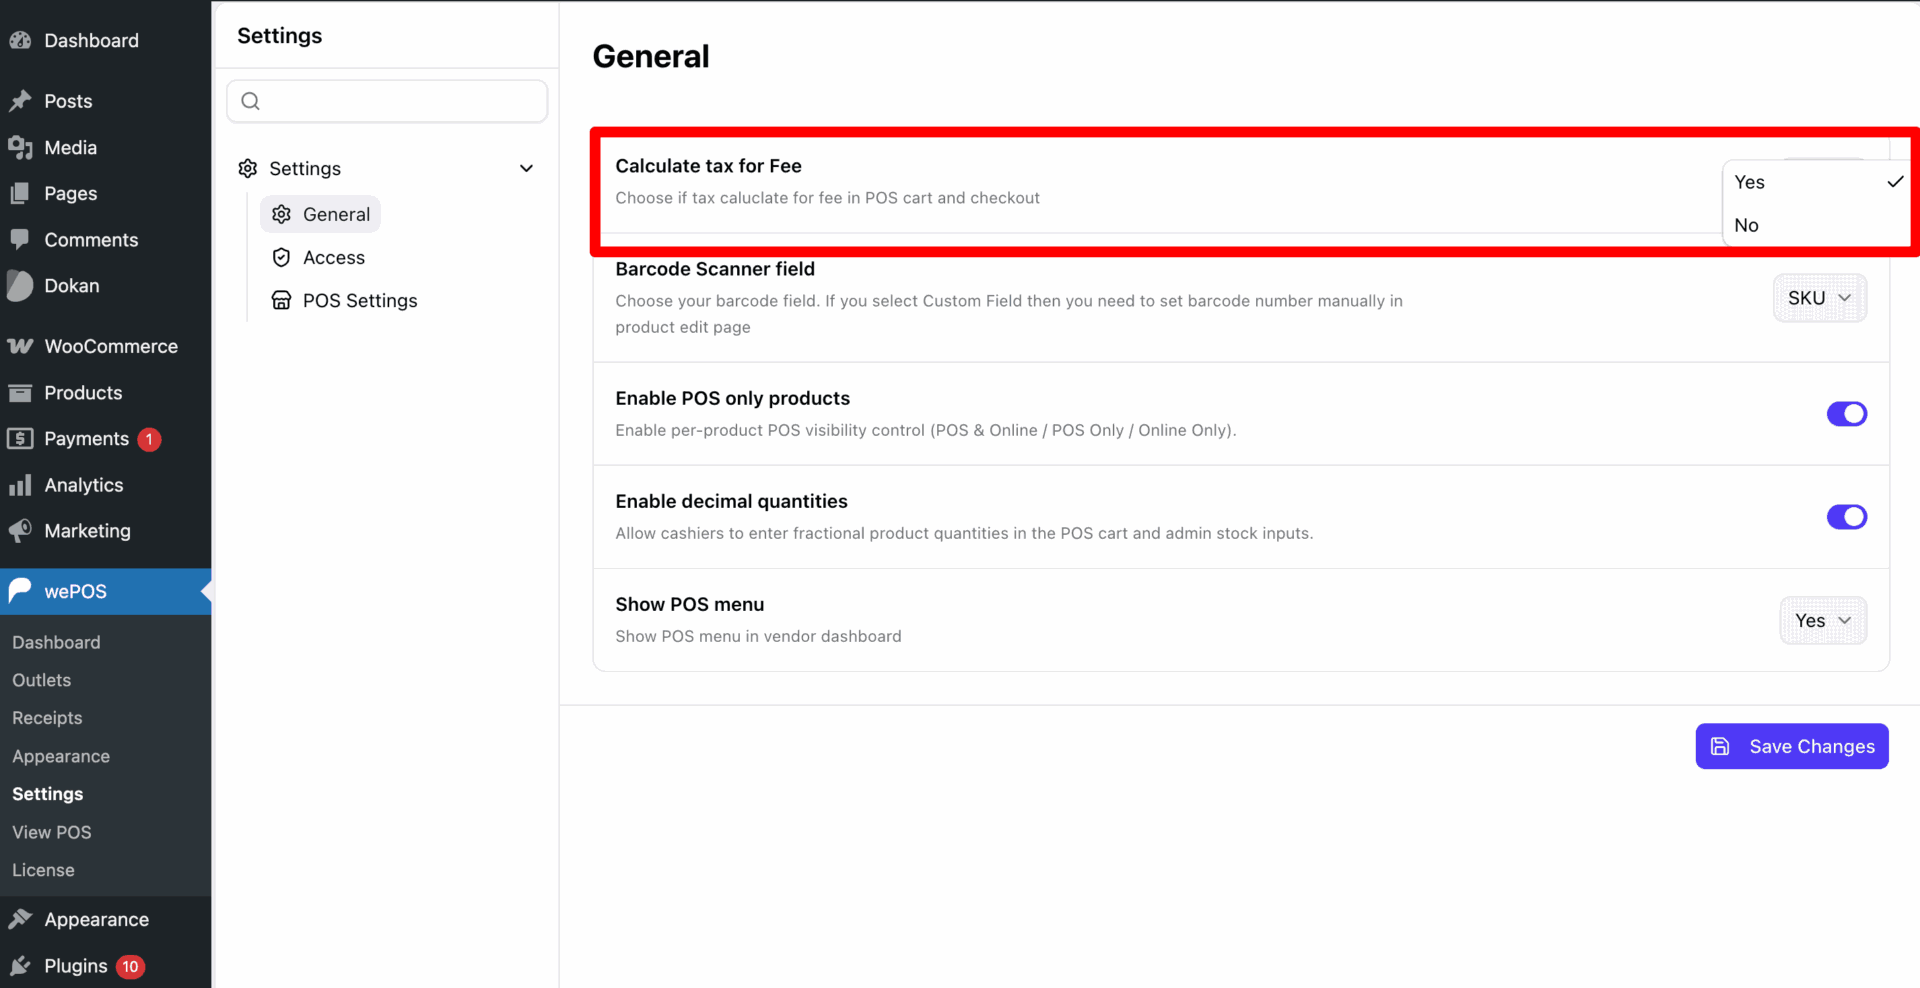
2. Choose ‘No’ – If you want to calculate Price without tax in the cart or checkout process.
Barcode Scanner field
Choose your barcode scanner unit field to get correct product data when it will be scanned.
a. ID -If you use ID on products in the store.
b.SKU – If you use SKU on Products in the store.
c. Custom field -If you want to manually set barcode number for the products.
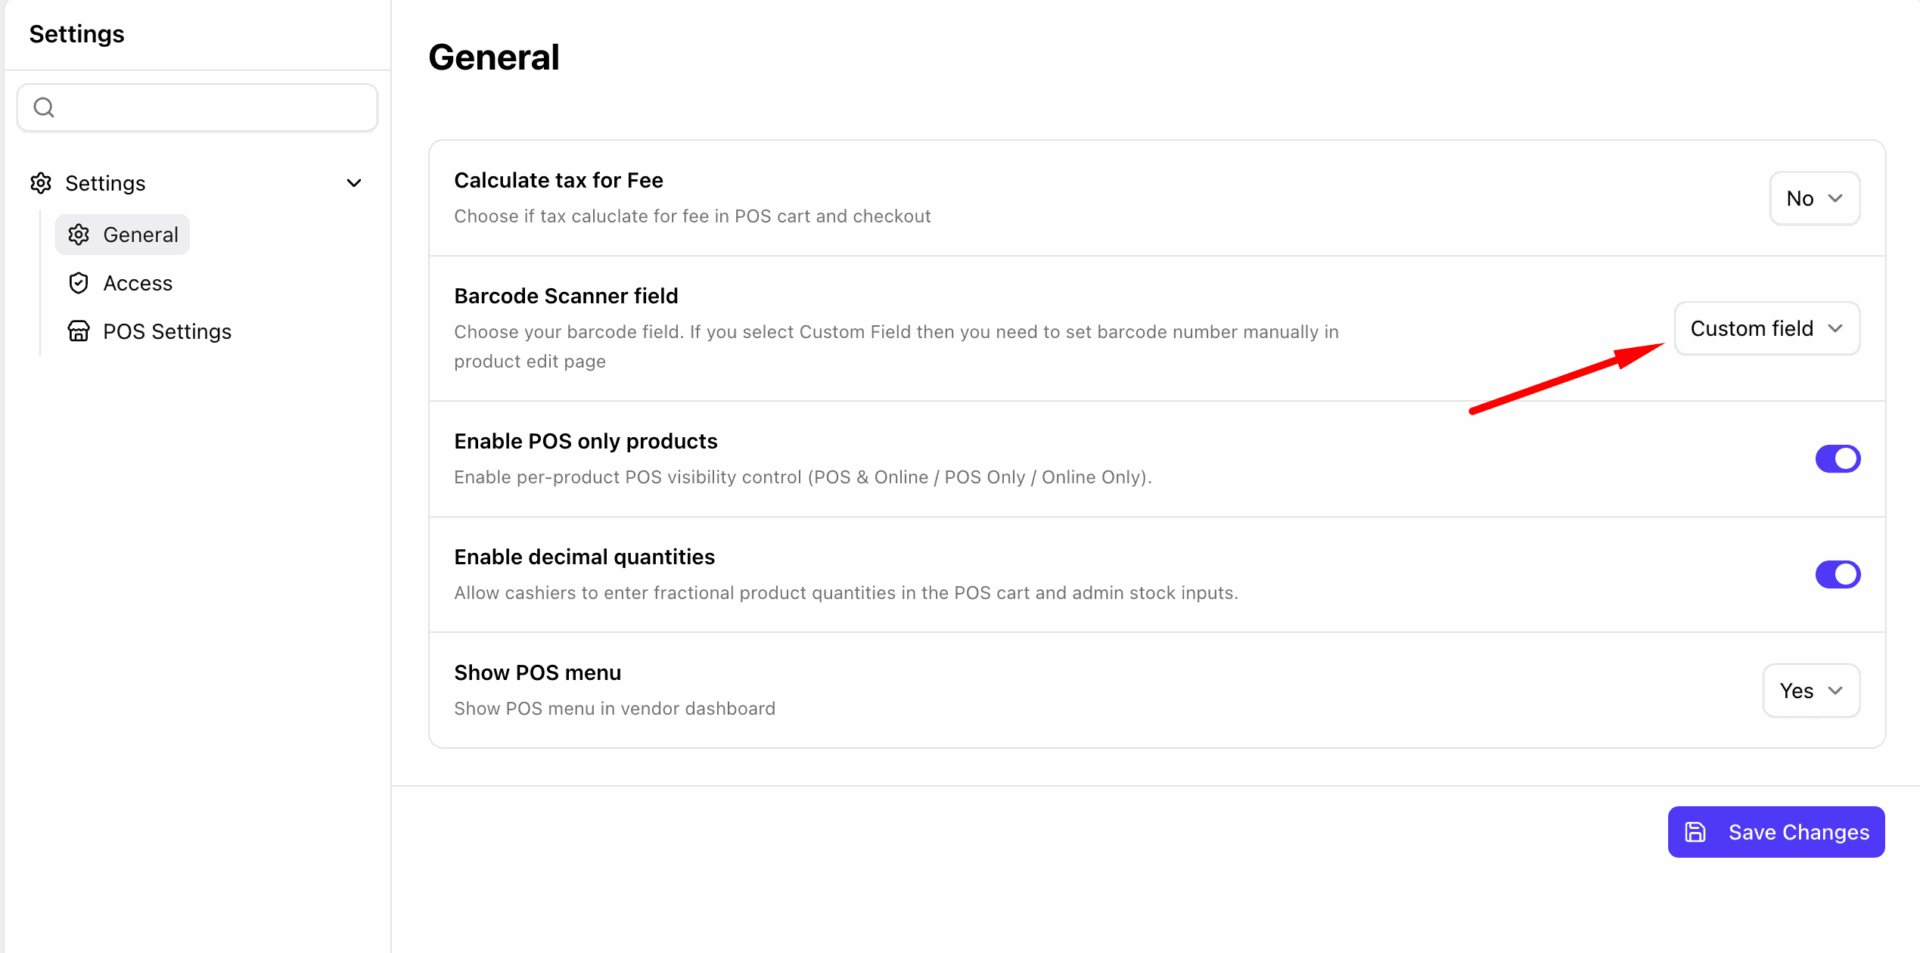
Click ‘Save Changes‘ after finish choosing.
Enabling Tax: We have not introduced any feature in tax, rather we have used the tax feature of WooCommerce. Check out this documentation to know how to enable tax.
How You Can Set Custom Field in WooCommerce for Barcode
To set a custom unit for any products for a
Follow the steps-
Navigate to
Navigate to Products → All Products → Select products → Edit Products
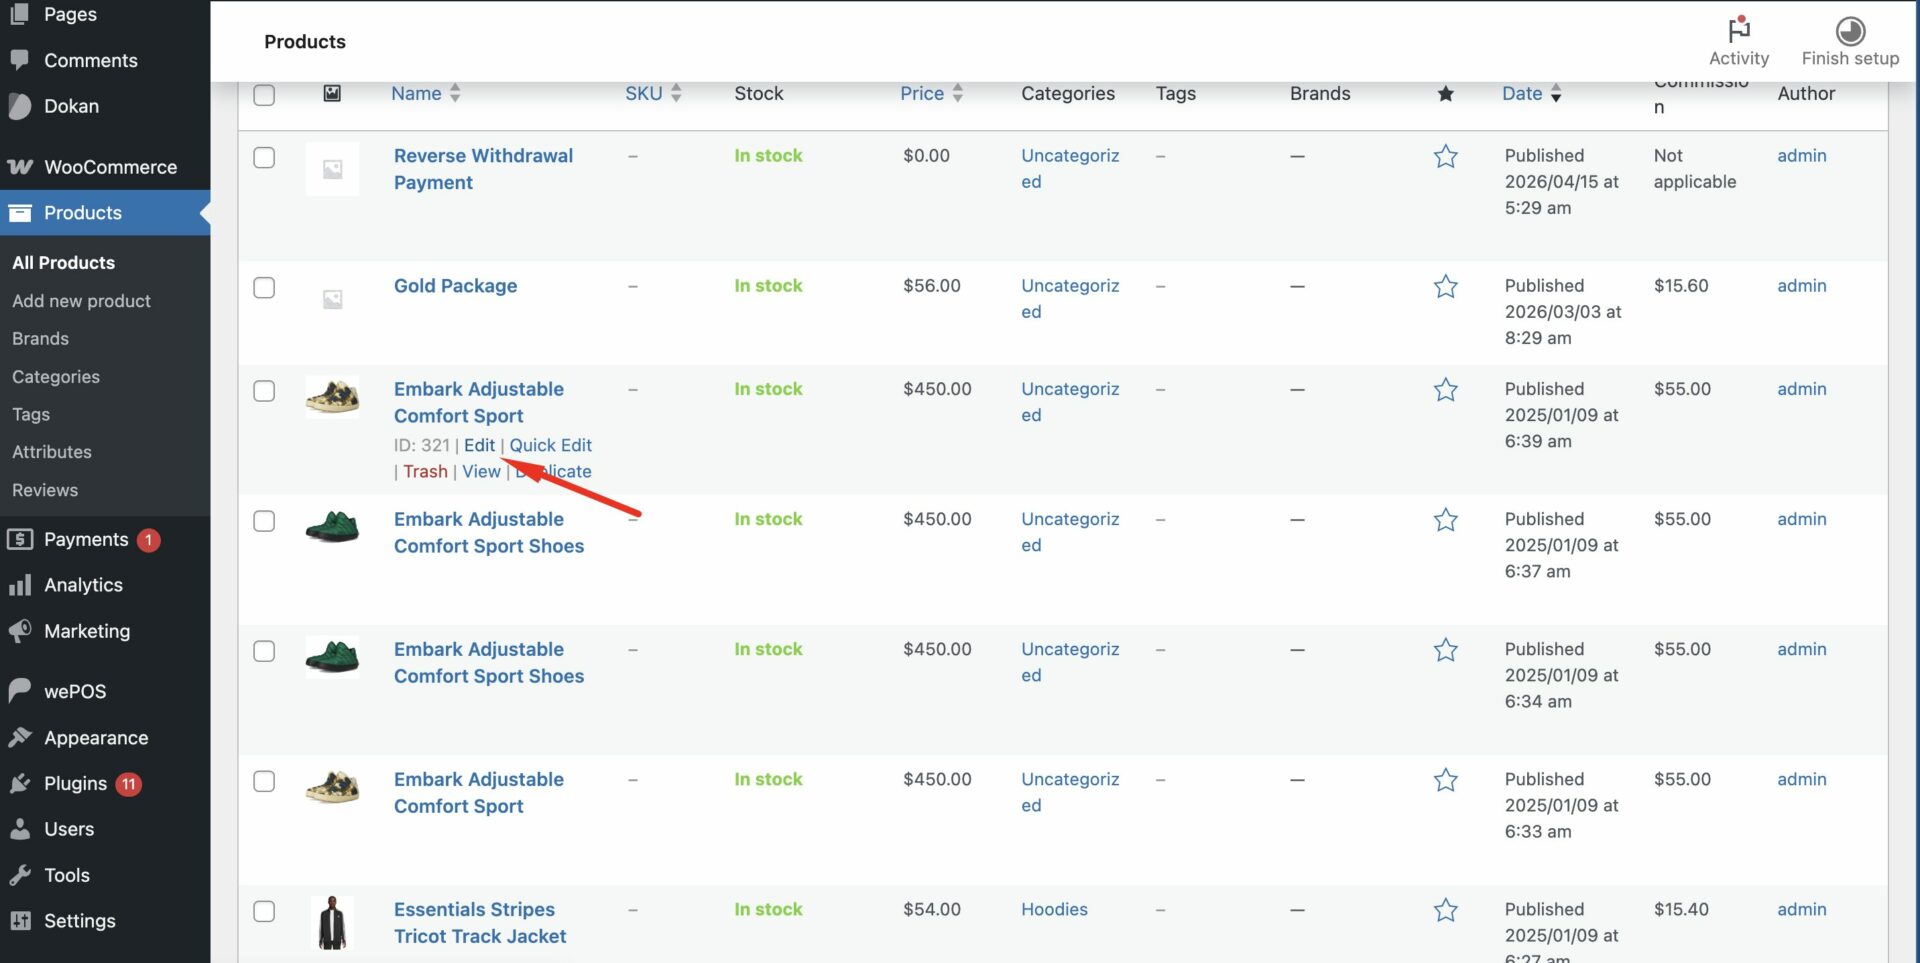
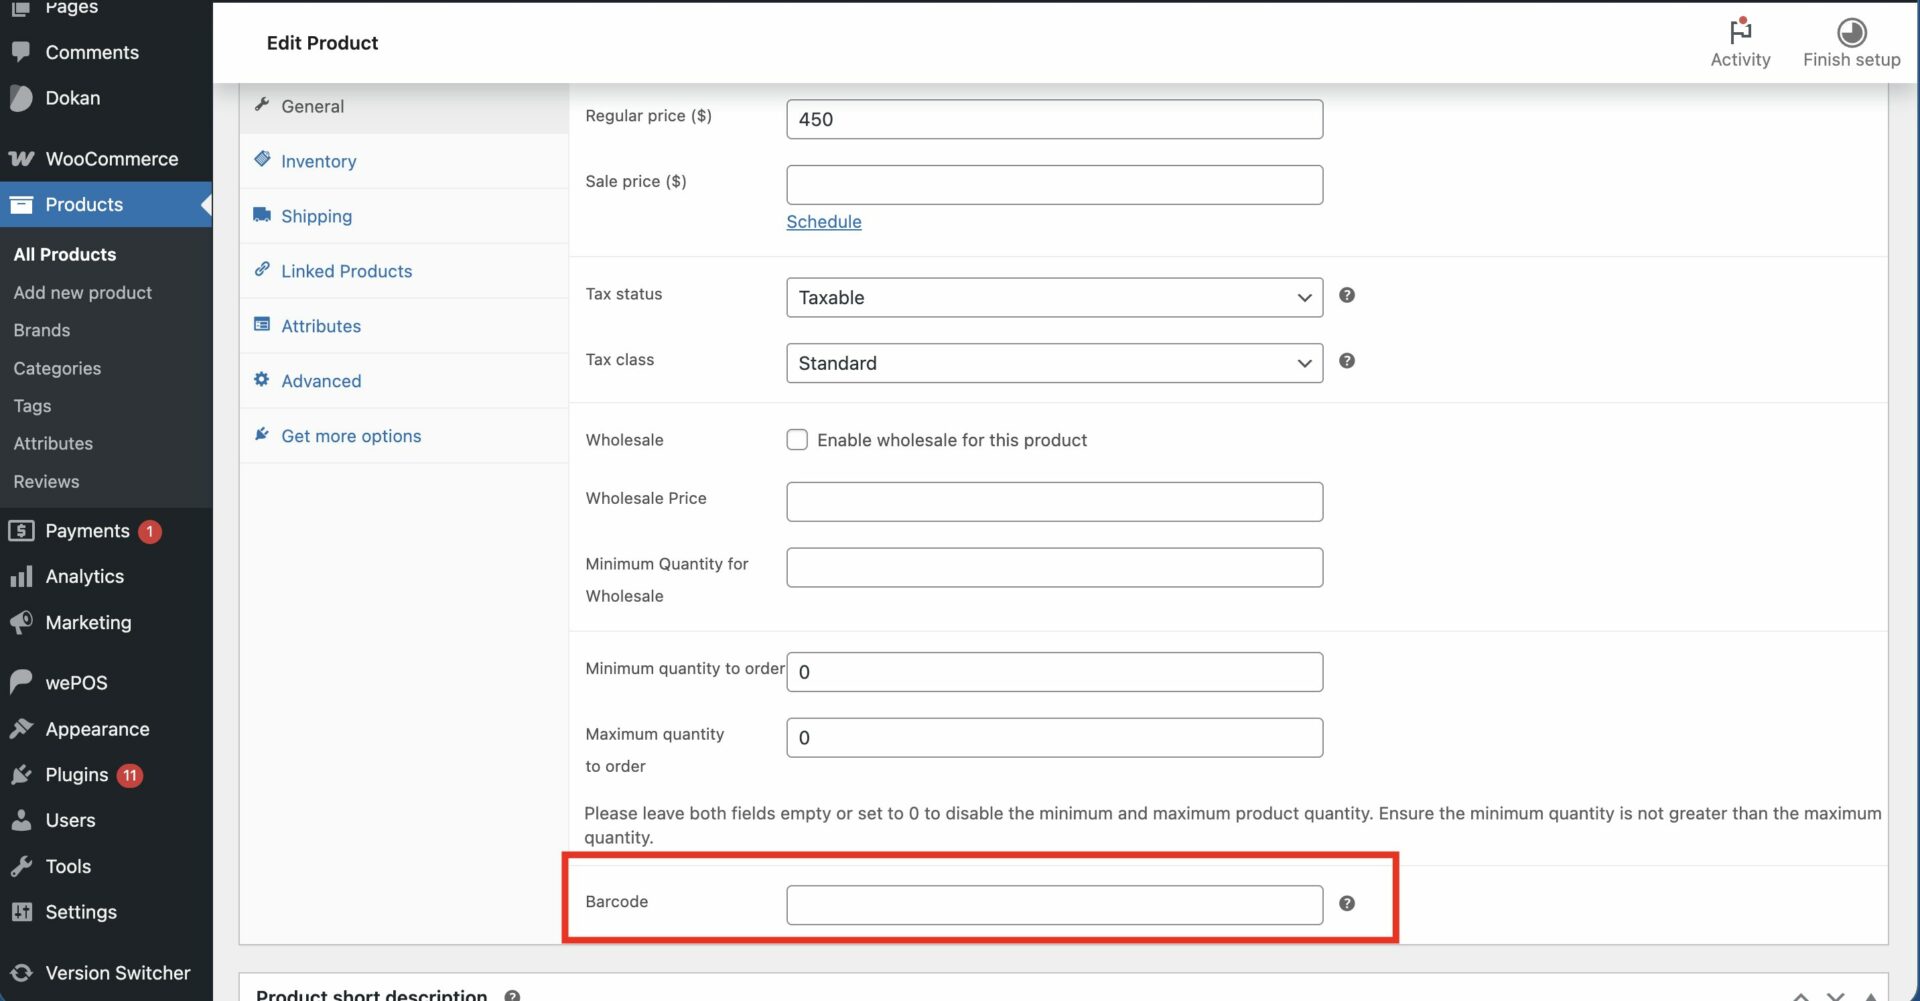
The Product Edit Page will appear now. Go to the Product data field to set your custom barcode unit for the products.
Product data → Barcode → input unit for this product → Click update
Note: ” Receipt Settings” only appear here for the wePOS free version. In the wePOS premium version, you will find the Receipt Settings in the main menu.