


Are looking for an easy way to build an online store? Check this step-by-step guide and learn how to install WooCommerce in WordPress for free.
WooCommerce is the leading eCommerce platform that powers over 28.19% of all online stores.
Although, WordPress has changed the concept of web development and made it easier for everyone. In the early days, people considered it only a blogging platform. But with time WordPress updates itself with enormous facilities and advanced features. Now, you can build any type of website in WordPress. For example, personal websites, membership sites, online stores, booking websites, etc.
Today, we’ll show you the easy installation process of WooCommerce, the customization of your shop, and how to launch your very own WooCommerce site with limited effort.
There are 3 different methods to install WooCommerce on your WordPress site–
- Install WooCommerce from your Dashboard
- Install WooCommerce Using the Zip File
- Install WooCommerce Manually via FTP
Method 1: Install WooCommerce Directly from WordPress Dashboard
Let’s walk you through the detailed steps to install WooCommerce in WordPress-
Step 1: Install WooCommerce Plugin
First, sign in to your WordPress dashboard using personal credentials. Then-
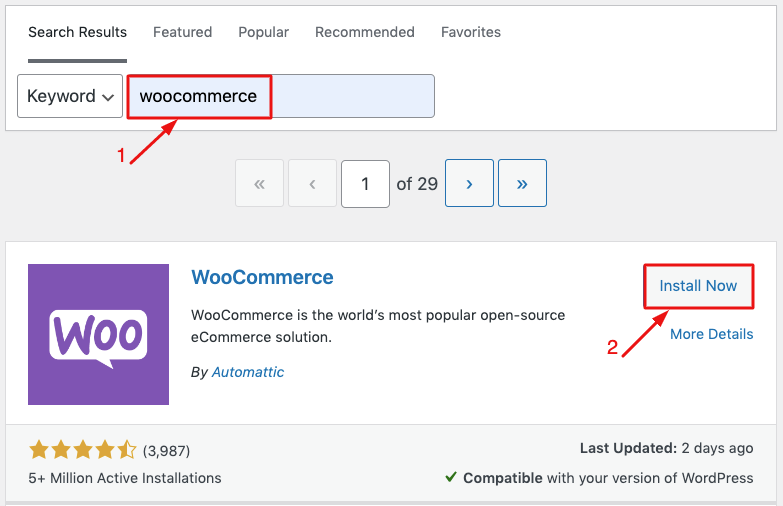
- Go to Plugins → Add New
- Search for “WooCommerce” in the search box
- And click on Install Now
When it’s ready, click “Activate now” as consecutive attempts.
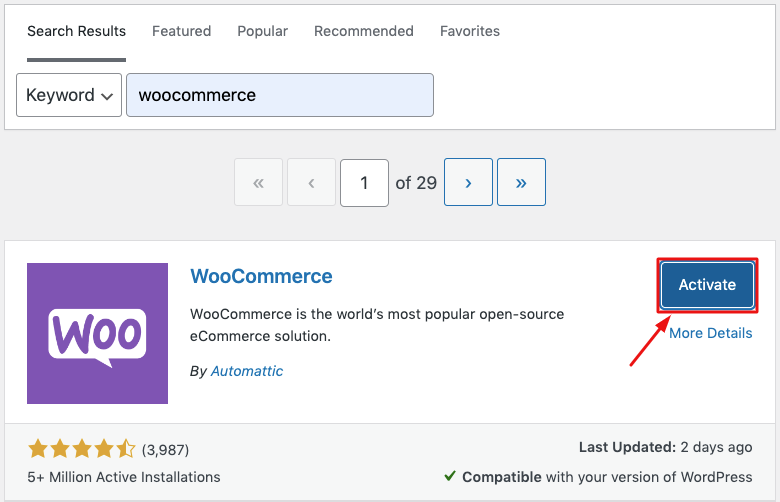
Once the process is done, you’ll get the WooCommerce configuration wizard.
Step 2: Complete WooCommerce Setup Wizard
This wizard will help you to configure your store’s key settings. It has 5 different steps to personalize your shop with basic customizations.
Note: Though it is not mandatory. You can set up your store right from your WordPress dashboard. But we recommend you go through the wizard and do the initial settings from here.
Let’s explain each step of the wizard in detail-
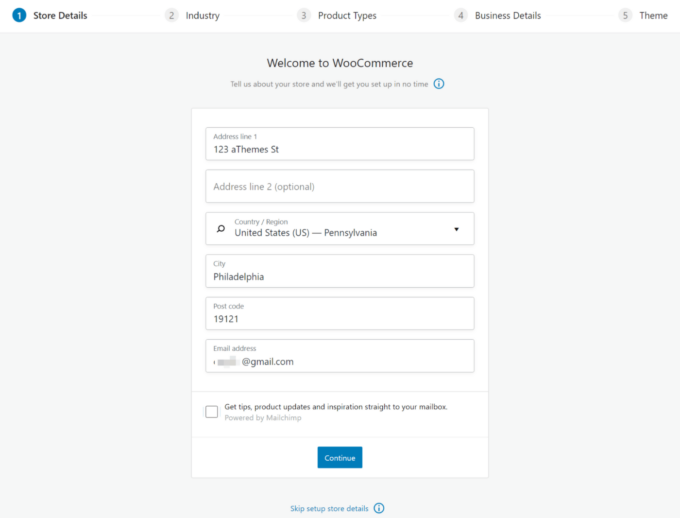
1. WooCommerce Store Details
The first page of the setup wizard asks for some basic information about your store including your address, email, etc. Tick the checkbox if you want to get updates on your mailbox.
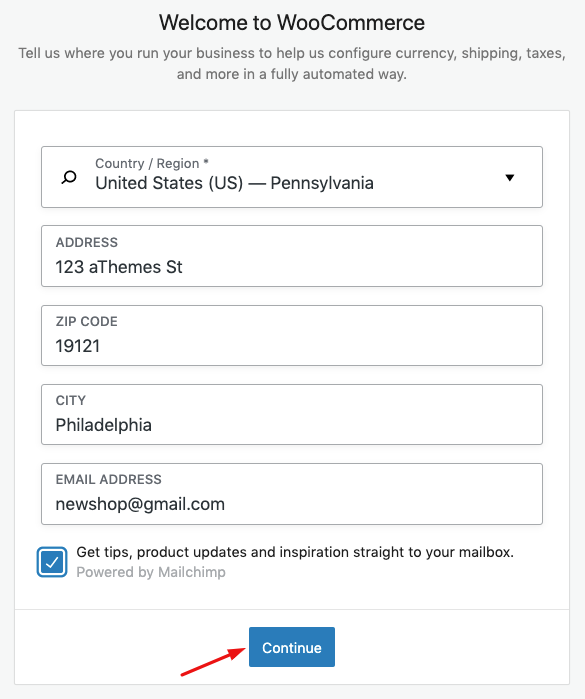
Once, you’ve done hit the Continue button.
Don’t get overwhelmed with the setting options. WooCommerce gives the flexibility to modify everything that you set on the wizard later on from the settings page.
2. WooCommerce Industry Setup
On the next screen, you can select which industry you belong to. If you can’t find your option in the list, choose other.
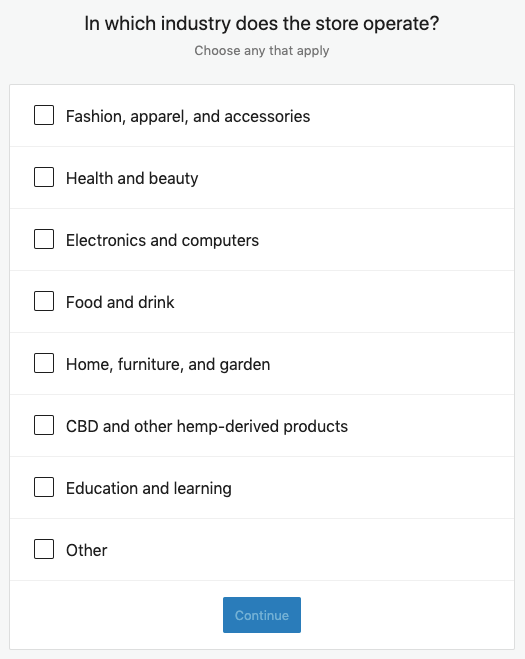
Proceed to the next step by clicking on the “Continue” button.
3. Set up WooCommerce Product Types
Here, you get the chance to specify the product types you’re planning to sell on your online store. Suppose, you’re creating an online music store then your product type would be Downloads. You can choose multiple types depending on your needs.
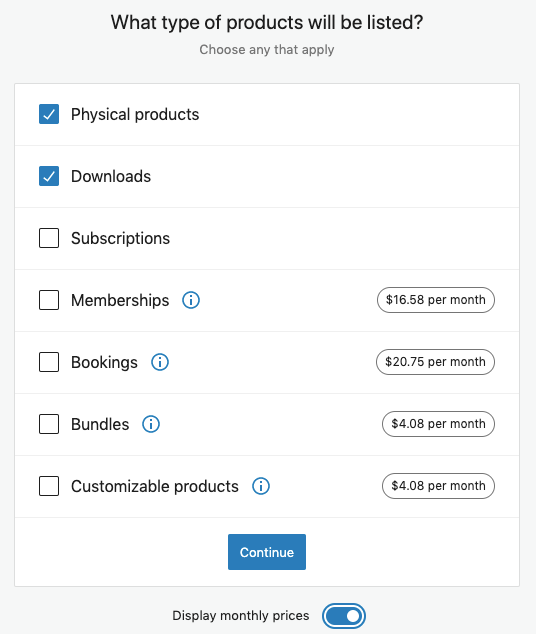
However, you have to pay an extra amount to get the premium options. Such as subscriptions, memberships, bookings, bundles, or customized products.
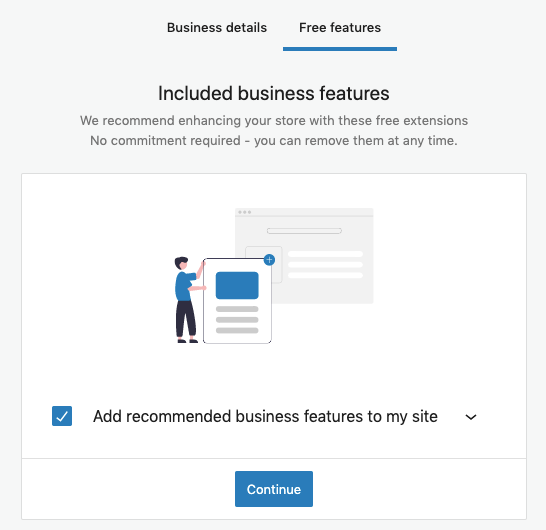
4. Business Details
In this step, add some additional business details about your store. Specify the number of products you plan to display.
Also, you have to notify if you’re currently selling products on other platforms as well.
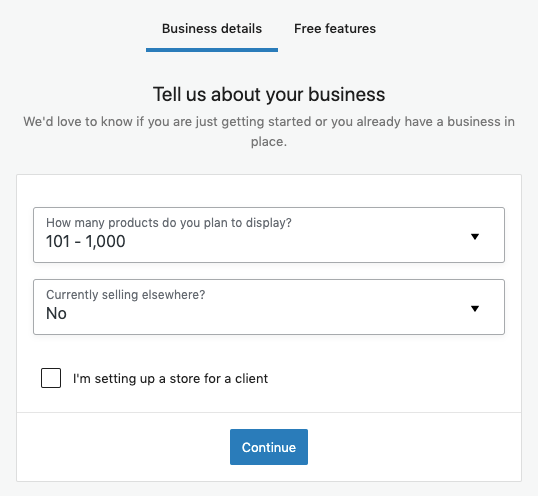
Under Free features, you get the option to add recommended business features to your store. These features are free so you can choose to install them and hit the ‘Continue’ button.
5. Theme
This is the final step of the setup wizard. Since you can change your theme at any time we recommend you go with the basic eCommerce theme “Storefront”.
Alternatively, you can choose any other theme from your personal preferences. Here you can find both free and pro themes for your online store.
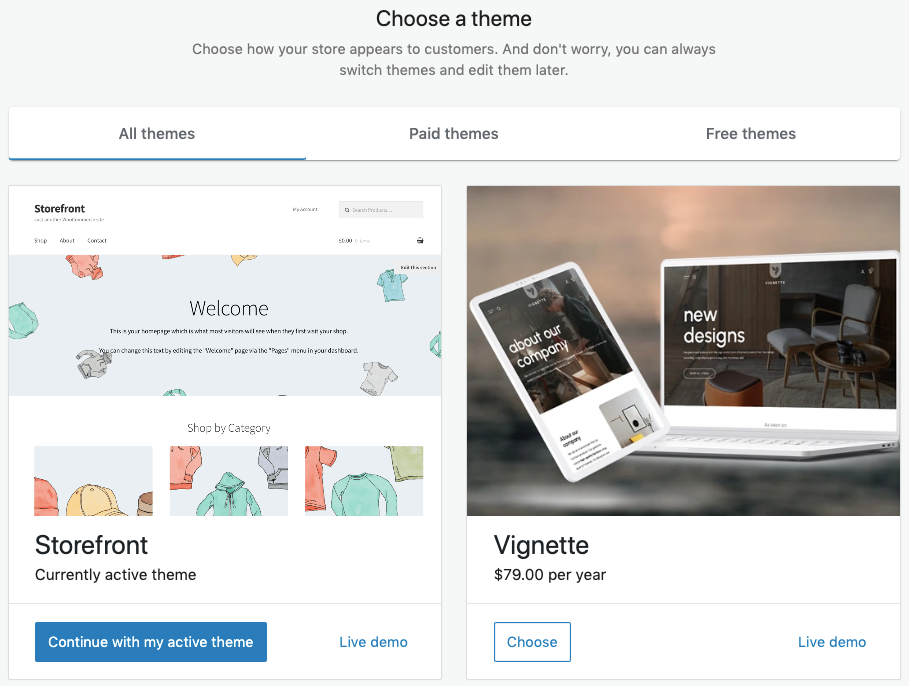
Once you’ve installed the theme, it saves all your WooCommerce settings and redirects you to the WordPress dashboard.
Above we’ve shown you the most popular way to install WooCommerce. There are other ways as well.
Method 2: Install WooCommerce Using the Zip File
Another easy way is to download a zip file of WooCommerce from wordpress.org. Keep the zipped file in a folder and do not extract it.
Now, go to your WordPress dashboard and navigate to Plugins → Add New. Then click Upload Plugin.
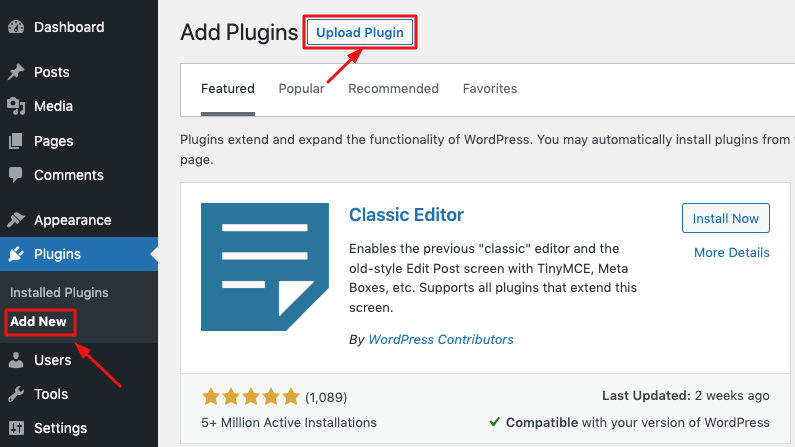
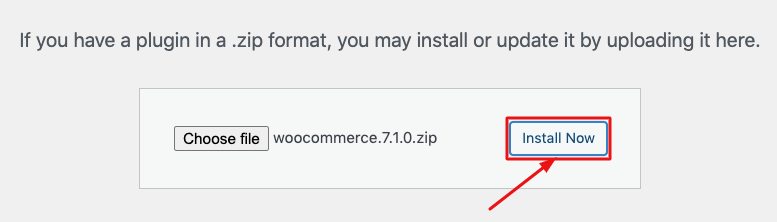
It appears with a new uploading section. Click the Choose File button and upload the WooCommerce zip file you’ve saved in your folder.
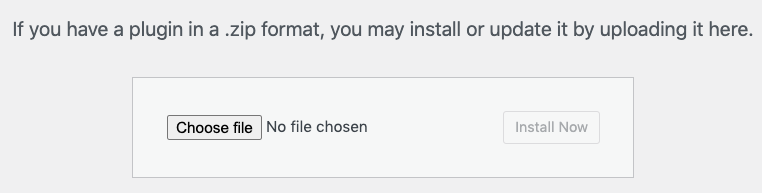
Once you uploaded the file hit the button Install Now to install the selected file.
It will take a while to install the plugin. Next, you have to click on Activate Plugin.

After that, you can proceed with the other customizations of your online store as we’ve mentioned above.
Method 3: Install WooCommerce Manually via FTP
Alternatively, you can upload WooCommerce to your web server through the FTP application. This method is a little bit more complicated compared to the above 2 methods. We don’t recommend it for the average users as you may modify the install files for your WordPress site. This can result in your website going down. Go for this if the other two methods fail or you have good control over them.
In order to execute this method, you” need an FTP client FileZilla. Using it you’ll upload the plugin file to your website. But before that, you have to log in to the FTP server using your personal credentials. Contact your hosting provider if in case you don’t have the login information.
Next, follow the below steps-
- Download the zip file of WooCommerce and extract it to a folder
- Sign in to your FTP server using FileZilla or any other FTP client
- Go to the wp-content/plugins directory of your WordPress install
- Save the extracted folder in the wp-content/plugins folder
Finally, go back to your WordPress dashboard and open the plugin page. And activate the WooCommerce plugin.
Now you know all the 3 ways to install WooCommerce plugin. You’re just a few steps away from setting up your own online store.
Read More: How to Build an eCommerce Website with WordPress for Free.
What to Do After Installing WooCommerce
You’ve installed WooCommerce successfully on your WordPress website. This means you’ve created your online store. It’s time for basic eCommerce customization.
Below are the steps you need to do after installing WooCommerce-
- Include your store title and logo; Configure the site URL
- Create and assign the essential pages & categories
- Define your site’s permalink structure
- Setup taxes
- Determine & add payment methods
- Specify shipping methods
- Include necessary emails
- Upload your Wooommerce products
- Enable user registration, setup account & privacy settings
- Create Coupons (Optional)
- Track your orders, customers’ behavior, and inventory with reports.
- Add necessary extensions
Learn all the customization options by reading this blog- How to Build an eCommerce Website with WordPress for Free.
Even if you’re running a WordPress blog site and have a loyal fan base, it would be so easy to turn your website into an eCommerce store with WooCommerce.
FAQs on WooCommerce Installation
Here are some common queries you may face during installing the WooCommerce-
Is WooCommerce beginner friendly?
WooCommerce makes itself easier for all types of users. So anyone can build an eCommerce website without having any prior technical knowledge. Having a minimum level of browsing capability is enough to start with WooCommerce.
How much does it cost to set up WooCommerce?
It costs around 3500~$5000. Though it largely depends on your business type, product range, customer base, personal expertise, and others. However, the main cost of an eCommerce site lies in-
1. eCommerce platform cost
2. Domain & hosting plan
3. Themes & plugins
4. Design & customization cost
5. Search engine optimization cost
How long does it take to build a WooCommerce website?
It requires only 20-30 minutes for the initial setup of the WooCommerce website. Since it has a wide range of customization facilities it may take time to explore all the options. But all these processes need minimal technical knowledge to execute and you’ll find so many resources to get guidelines. So, it usually takes a limited time and budget to design with WooCommerce.
What are the disadvantages of using WooCommerce?
While WooCommerce has many exclusive benefits to building and running online stores, there are some drawbacks to using this popular eCommerce platform. Such as a lack of scalability, limited customer support, and limited customization options for giant industries. But WooCommerce offers many useful add-ons to extend its capabilities.
How much RAM do you need for WooCommerce?
Primarily, a RAM of 2 GB is sufficient to manage all the processes of your WooCommerce store. As your store starts growing you can upgrade your plan and resources.
Create A Full Functional Online Store By Your Own Using WooCommerce
WooCommerce makes it easier to build your online store within a limited budget and with minimal effort. Also, it requires zero coding knowledge to customize your eCommerce site. You can check all the methods and pick one that you find suitable for you.
However, if you’re using an old version of WordPress then your WooCommerce installation might fail. WooCommerce needs at least WordPress 3.5.1 in order to perform correctly. So, keep this in your mind.
Have any further queries in your mind? Do use the comment section below!


Leave a Reply