

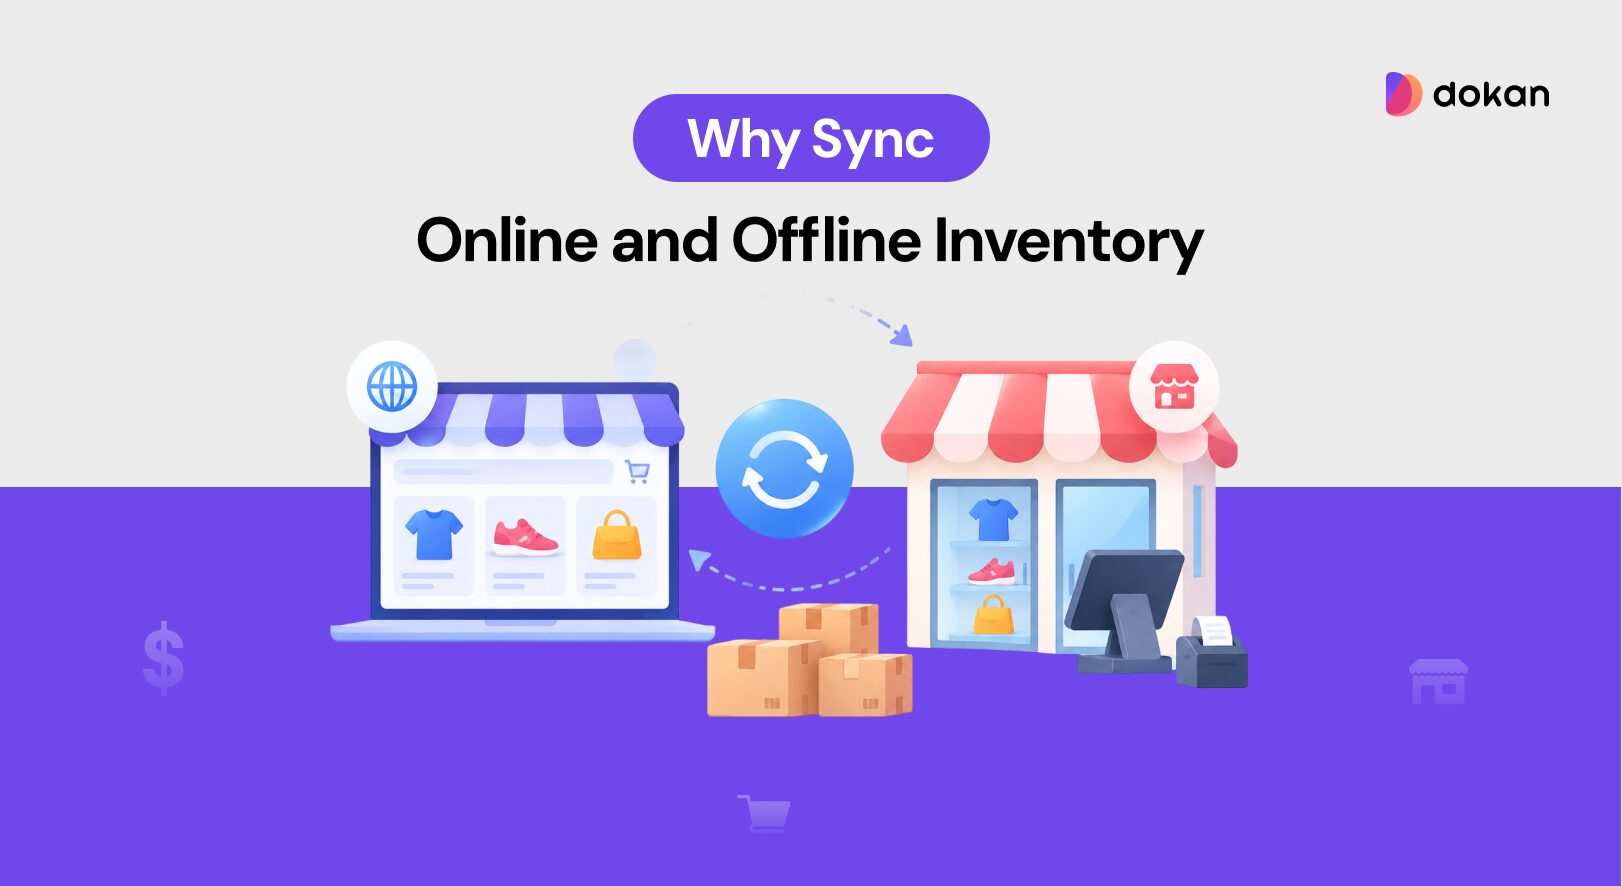
Your vendors sell online through your marketplace. Then one of them opens a shop, takes a market stall, or starts selling at events. Those sales exist nowhere in your system, and neither does your commission.
It causes real problems fast. A vendor sells the last of an item at their stall on Saturday. Your marketplace does not know, so it takes an order for that same item on Sunday. Someone gets a refund, and your marketplace wears the blame.
Meanwhile the vendor is running two sets of numbers, one in your dashboard and one at the till. Your commission only ever touches the online half.
A multivendor POS closes that gap. Offline sales get written into the same system, against the same vendor, drawing from the same stock. One product, one inventory count, one order history, whether the customer tapped Buy or paid cash.
This guide covers how to run that setup with Dokan and wePOS, from install to first sale, including the parts most guides skip.
TLDR
- A multivendor POS gives every vendor their own checkout screen that writes back to your marketplace, so in-person sales become normal orders with commission attached.
- You need WooCommerce, Dokan, and wePOS. Dokan runs the marketplace, wePOS runs the counter.
- Setup order matters. Commission and payouts first, then POS access, then outlets, then cashiers, then a test sale.
- Each vendor sees only their own products, orders, and customers. You keep admin control over what they can reach.
- The most common mistake is enabling POS before commission rules are settled, which creates in-person sales nobody knows how to split.
What a Multivendor POS Actually Is
A multivendor POS is a point of sale system where each vendor on your marketplace gets their own checkout, and every in-person sale flows back into the marketplace as a normal order.
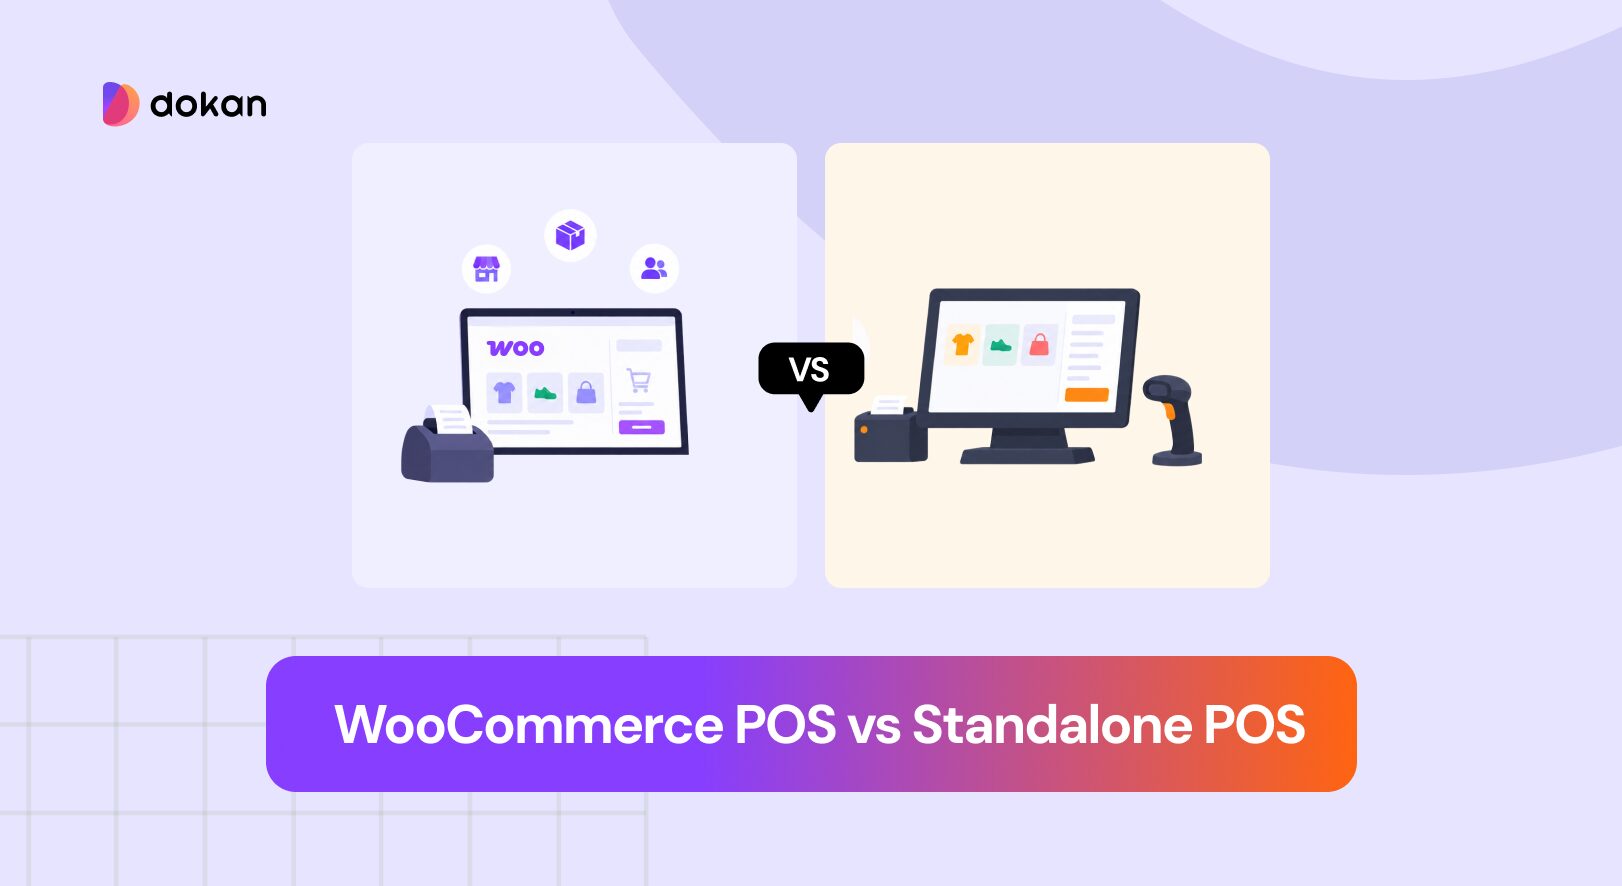
That last part is what separates it from a regular till. A standalone POS records a sale in its own system, so you end up reconciling two sets of numbers by hand. A multivendor POS treats the counter as another sales channel on the marketplace you already run. Stock drops. The order appears. Your commission calculates automatically.
If you want the wider background on how POS software connects to WooCommerce, read what a WooCommerce POS system is first. This guide assumes you already understand that and want the multivendor layer on top.
Who Needs a Multivendor POS
Four situations make this worth setting up. If none apply, a single-store POS is simpler and cheaper.
- Online marketplaces whose vendors also have shops. The vendor already sells through you online and wants their physical sales in the same place.
- Physical vendor marketplaces. Consignment stores, antique malls, artist and maker markets, and booth-rental retail. Vendors stock their own space, you handle checkout and take a cut.
- Hybrid operations. You sell your own inventory alongside vendor products under one roof, which is common in boutique retail.
- Event and pop-up marketplaces. Vendors sell at fairs and markets under your brand, then go back online afterwards.
The second group is worth calling out, because those owners are often running the whole thing on spreadsheets. Vendor sales get tallied by hand, payouts get calculated at month end, and vendors keep asking how much they earned. A multivendor POS removes that job entirely.
What You Need Before You Start
Get these in place first. Starting the install without them is where setups stall.
- A working WooCommerce store with currency, tax, and payment methods already configured.
- Dokan to run the marketplace layer, vendors, commission, and payouts.
- wePOS for the checkout itself. It supports Dokan multivendor directly, which is why the two work together without custom development.
- A decided commission rate for in-person sales. More on this below, and it needs deciding before anyone rings up a sale.
- Hardware per counter. A tablet or laptop, a barcode scanner, a receipt printer, and a cash drawer if you take cash.
For the announcement covering how the two products connect, see wePOS support for Dokan. The wider feature set arrived in wePOS 2.0.
How to Run a Multivendor POS, Step by Step
Six steps, in this order. The order matters, because steps two and three create rules that everything after depends on.
- Install and activate the stack
- Set commission and payout rules
- Enable POS access for vendors
- Create outlets and counters
- Add cashiers and set permissions
- Run a full test sale
Step 1. Install and Activate the Plugins
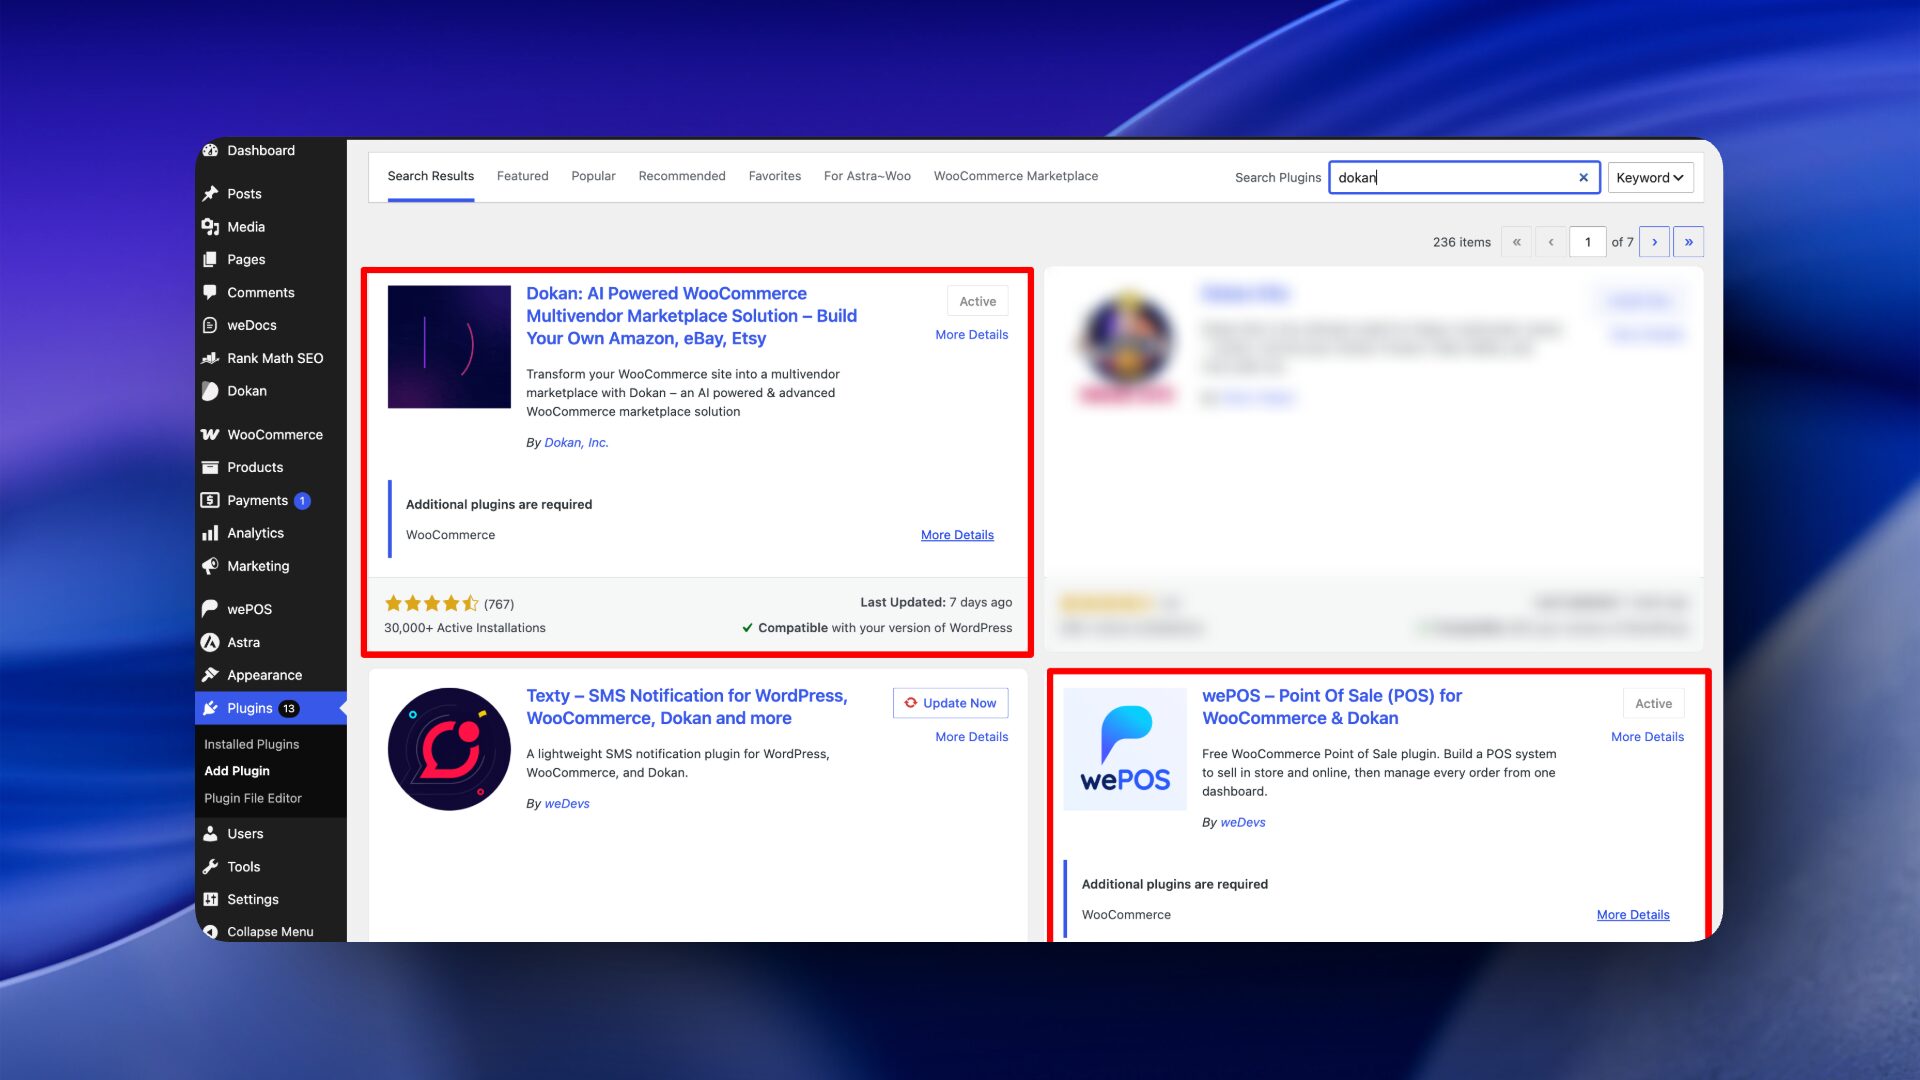
Install WooCommerce first, then Dokan, then wePOS. Activate in that order so each plugin finds what it depends on.
If your marketplace is not built yet, stop here and set that up properly first. Our guide on building a marketplace with WordPress and Dokan covers vendor registration, store pages, and the base configuration. Adding a POS to a half-configured marketplace creates problems that look like POS bugs but are not.
Step 2. Set Commission and Payout Rules
Decide how you split in-person sales before anyone can make one.
Dokan calculates commission on orders, and a POS sale becomes an order, so the rate you already use online will apply by default. That is fine if you want one rate everywhere. It is a problem if you do not, because an in-person sale carries different costs.
The vendor may be using their own shop, their own staff, and their own card terminal, which is a weaker case for the same cut you take on a sale your marketplace generated.
Settle three things now.
- The rate. Same as online, or lower for in-person.
- Who holds the money. Cash taken at a vendor’s counter is already in their hands, unlike an online payment that lands with you.
- How that reconciles at payout. If the vendor holds the cash, your commission becomes something they owe you rather than something you deduct.
That third point is the one that catches people out, and it is the reason this step sits before enabling POS access.
Step 3. Enable POS Access for Vendors
With rules agreed, turn on POS access from your admin settings. You control which vendors get it, so you can start with one or two rather than opening it to everyone at once.
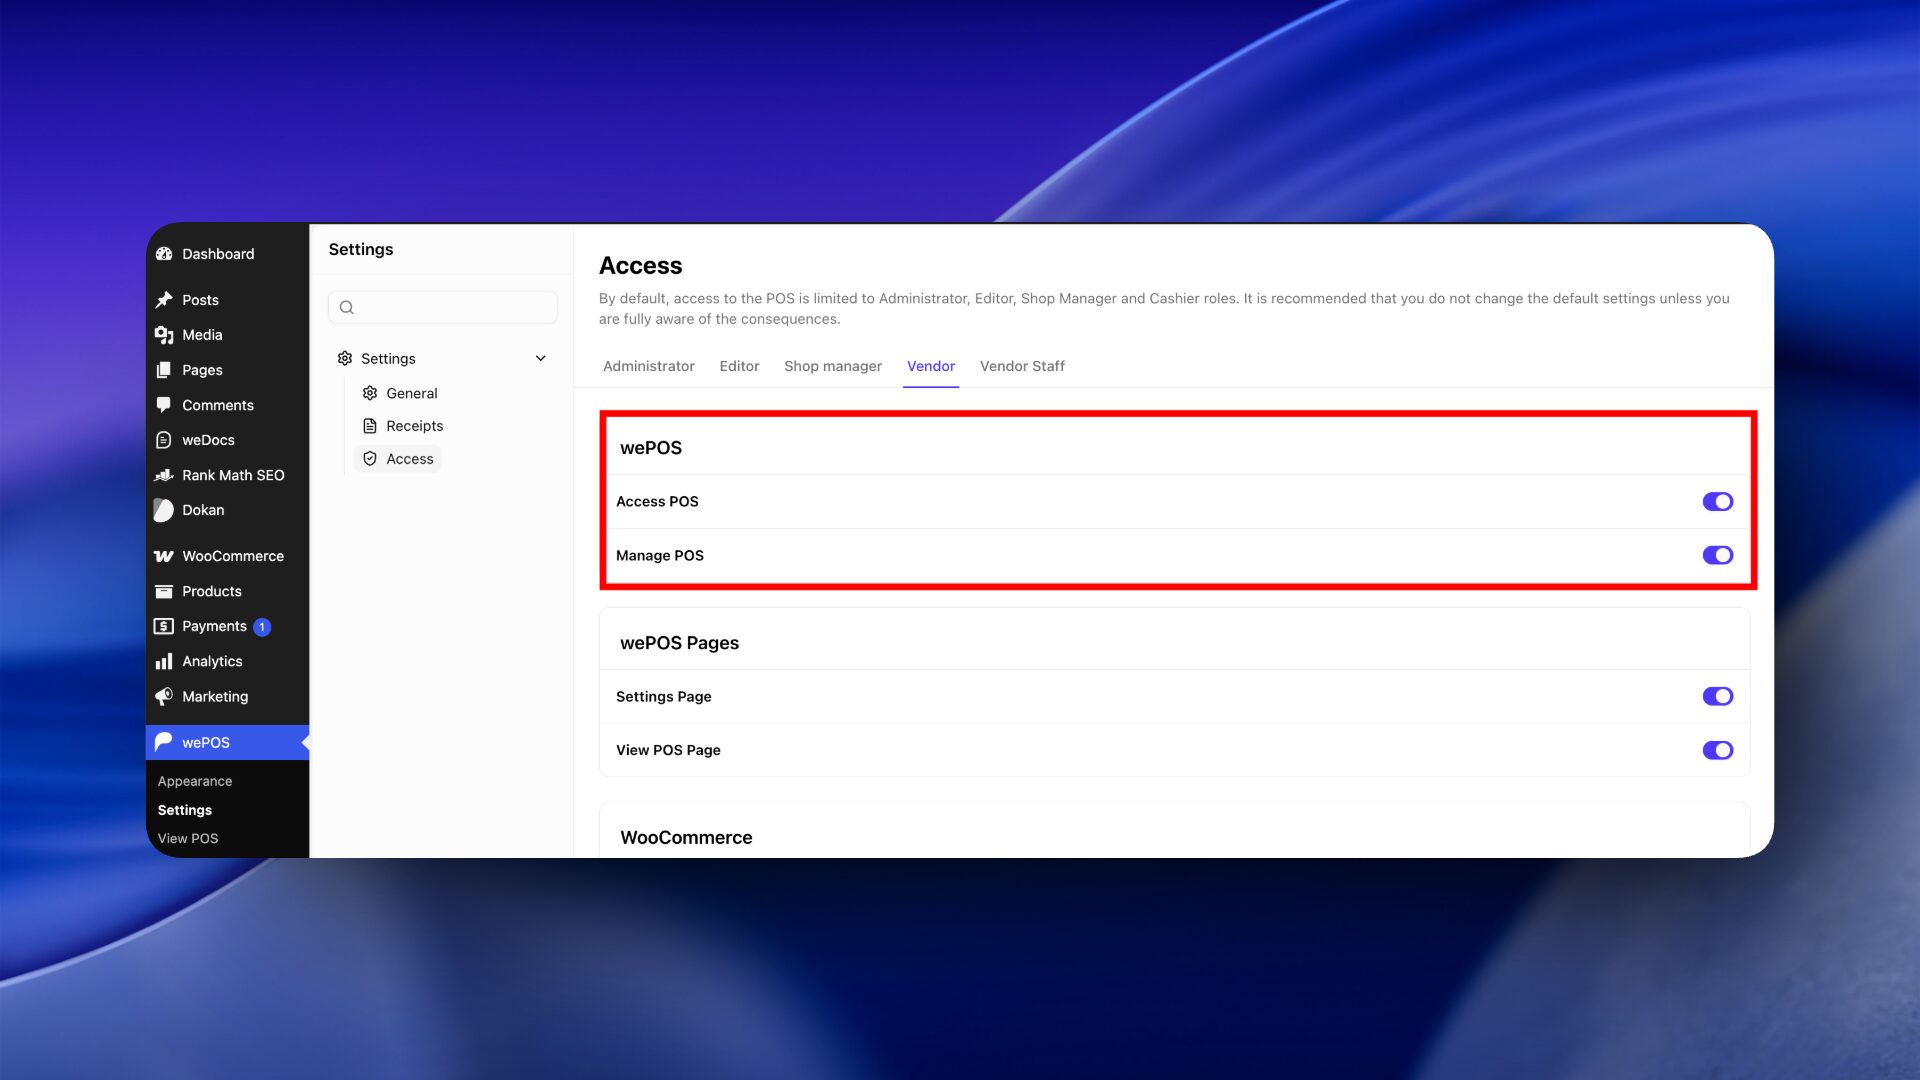
Starting small is worth doing. Your first vendor will find the gaps in your process, and fixing those with one vendor is far easier than with twenty.
Step 4. Create Outlets and Counters
An outlet is a physical location. A counter is a till within it. A vendor with one shop needs one outlet and one counter. A vendor running a shop and a weekend market stall needs two outlets.
Set these up per vendor rather than globally. Getting the structure right now means your reports can later tell you which location actually sells, which is the whole point of collecting the data.
Step 5. Add Cashiers and Set Permissions
Vendors rarely work the counter alone. Their staff need access to sell, and no access to anything else.
wePOS includes a cashier role for this. A cashier signs into the POS screen only, not the WooCommerce admin, and you control what they can reach beyond that. Taking payments and applying discounts is usually right. Editing products, viewing full reports, and managing other cashiers usually is not.
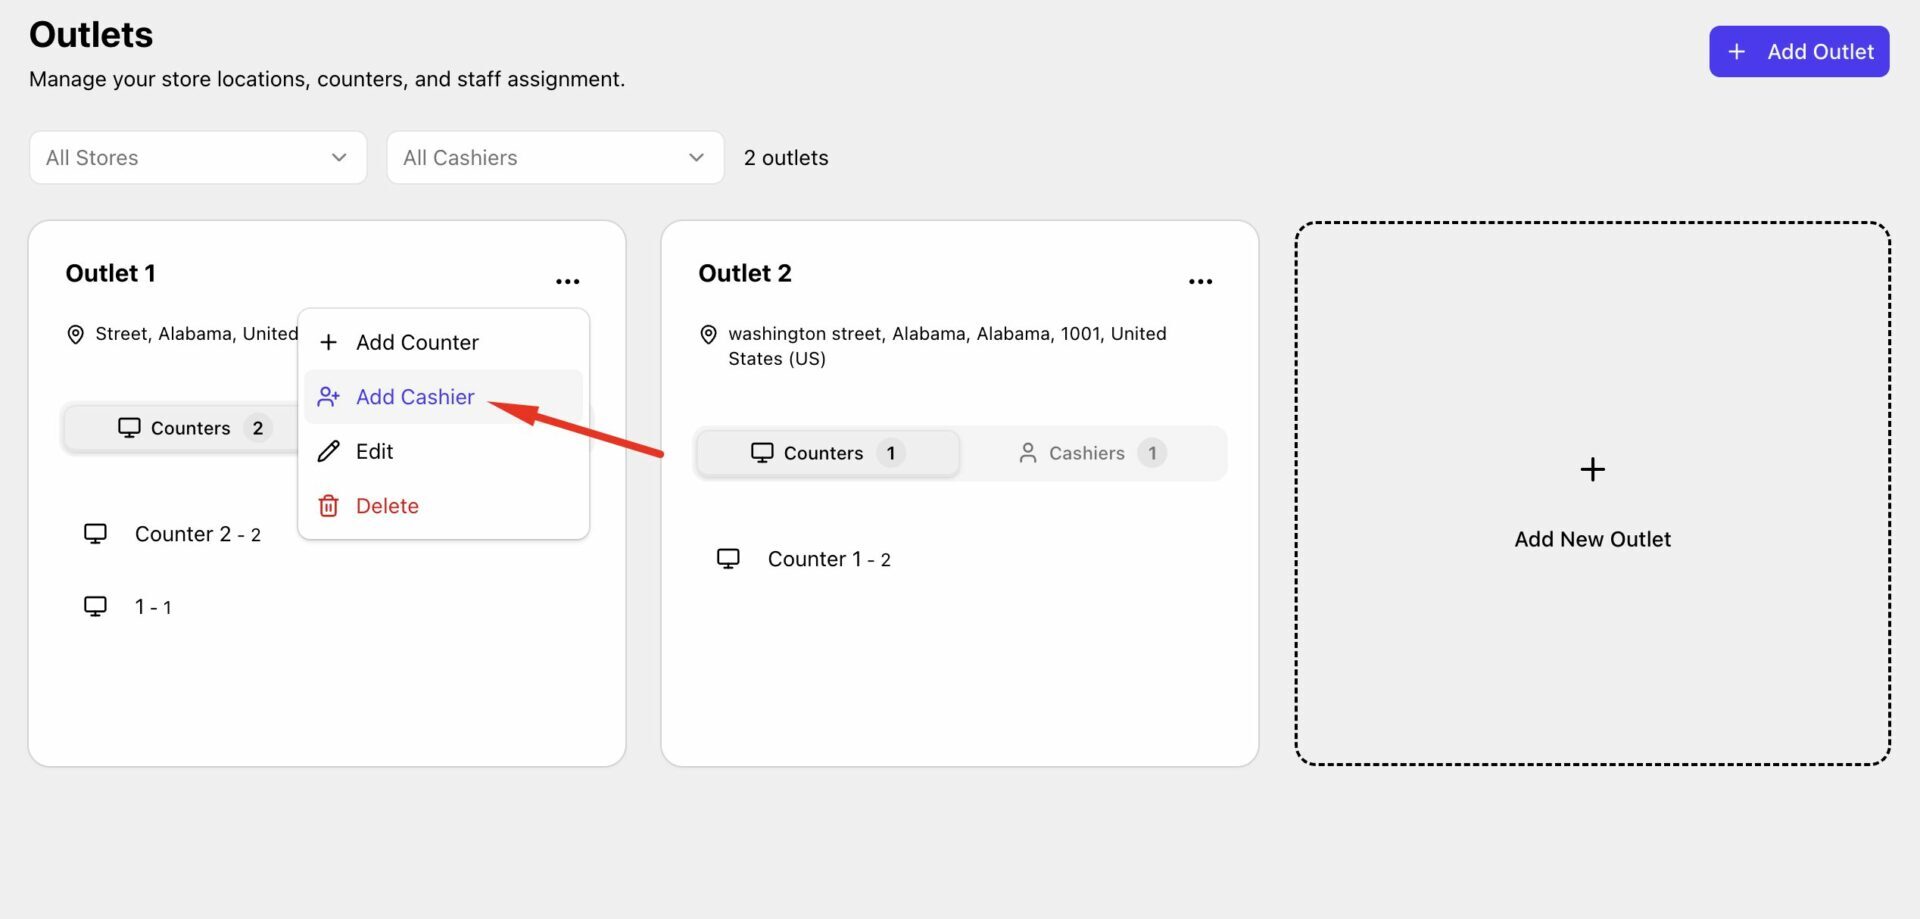
Set permissions deliberately rather than accepting defaults. Too much access risks your margins. Too little means the vendor gets interrupted all day to approve routine things, which is the faster route to them abandoning the system.
Step 6. Run a Full Test Sale
Do not skip this, and do not test with a fake product.
Ring up a real item on a real counter, take payment, print the receipt, then check four things. The order appears in the marketplace. Stock dropped by one. Commission calculated at the rate you agreed. The vendor can see the sale in their dashboard and you can see it in yours.
Then process a refund on that same order, because refunds are where multivendor setups break most often and you want to find that now rather than in front of a customer.

How Commission Works on In-Person Sales
A POS sale becomes a WooCommerce order, so Dokan applies your commission rules to it the same way it does online. Nothing separate needs configuring for the maths to work.
The complication is cash. When a customer pays online, the money reaches you and you pay the vendor their share. When a customer hands cash to a vendor at their own counter, the money reaches the vendor and your commission is now a debt rather than a deduction.
Marketplaces handle this three ways. Some net it off against the vendor’s next online payout, which works if the vendor also sells online in reasonable volume. Some invoice vendors monthly for accumulated in-person commission. Some take a lower or zero rate on in-person sales and treat the POS as a vendor benefit rather than a revenue line.
None is more correct than the others. Pick one, write it into your vendor agreement, and make sure vendors understand it before their first sale rather than at their first payout.
How Vendor Data Stays Separate
Each vendor sees only their own products, orders, and customers on the POS. A vendor cannot browse another vendor’s catalogue, see their sales, or reach their customer records.
This matters more than it sounds. Your vendors are often competitors, and a marketplace that leaks one vendor’s numbers to another loses vendors quickly.
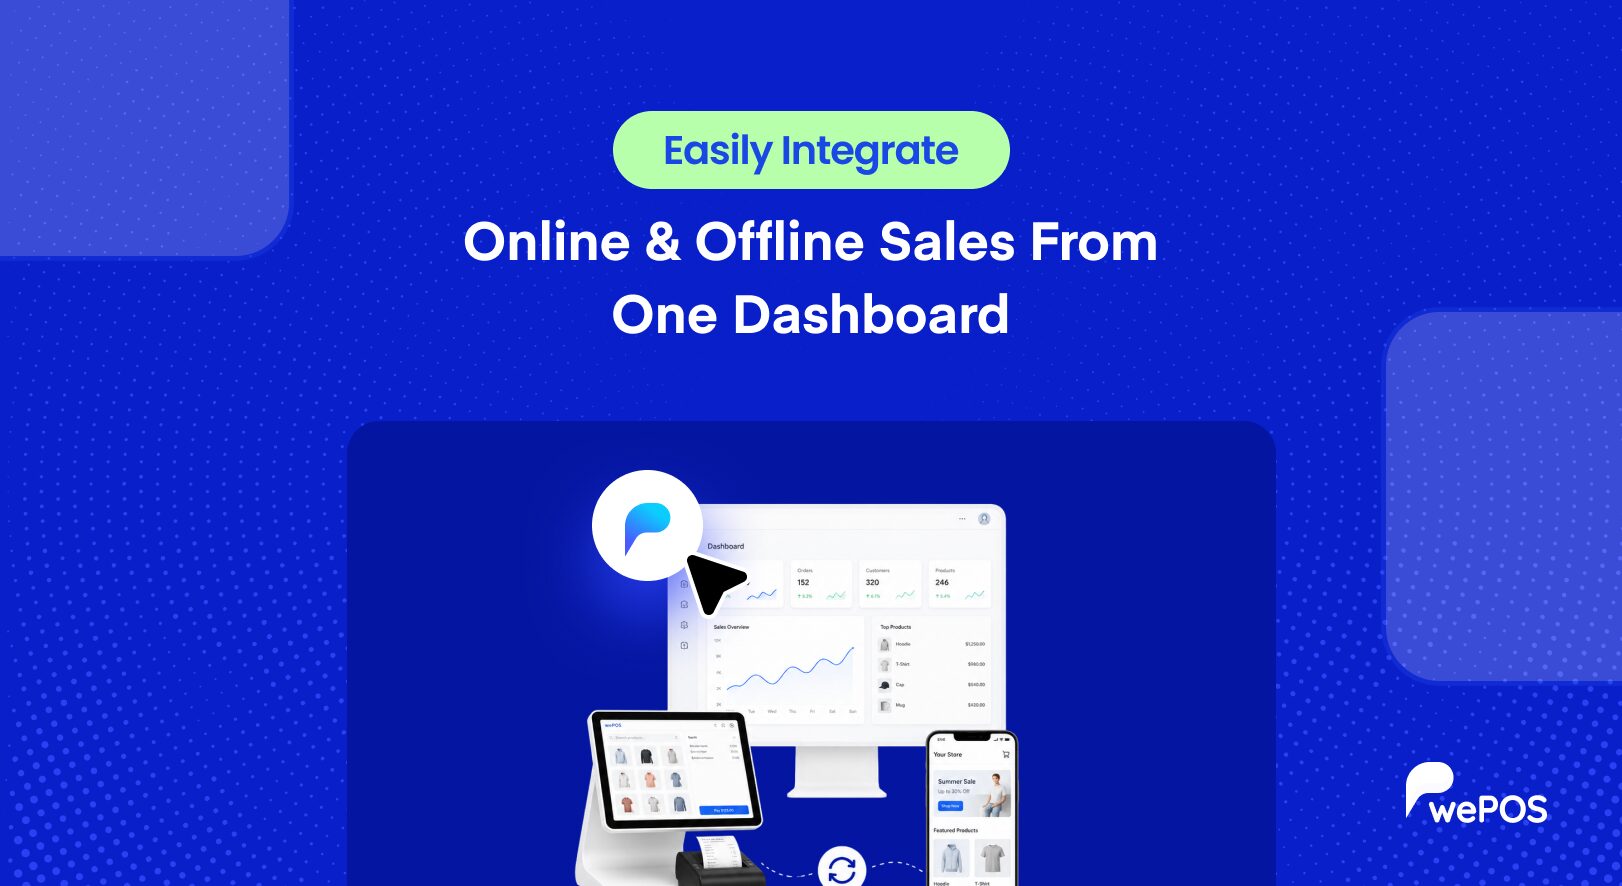
You keep the view across everything. You can see all vendor sales, online and in person, from your admin, and you control which sections each vendor and their staff can access. If you want more on reading that combined data, marketplace analytics covers what to track.
Five Mistakes That Cost Marketplace Owners Money
These come up repeatedly, and all five are avoidable.
- Enabling POS before commission is settled. You end up with in-person sales nobody knows how to split, and a difficult conversation at payout.
- Giving cashiers too much access. Staff who can edit prices and process refunds without oversight are a margin problem waiting to happen.
- Rolling out to every vendor at once. Your process has gaps. Find them with one vendor, not twenty.
- Ignoring returns until one happens. An in-person return on a marketplace order touches stock, commission, and the vendor’s balance. Decide the flow before a customer is standing there.
- Treating the POS as a vendor’s problem. Vendors who cannot make it work stop using it, and your in-person sales data goes back to being invisible.
The wider version of this problem, running online and offline as two disconnected systems, is covered in our guide on integrating online and offline sales.
Frequently Asked Questions
Does each vendor need their own license?
This varies by POS plugin and it is worth checking before you commit. Some multivendor POS products on the market require a separate license per vendor, which changes your cost model completely once you pass a handful of vendors. Confirm how licensing scales before you choose.
What happens if the internet drops at a vendor’s counter?
Ask this of any POS you are considering, and ask it specifically. Some systems cache a product list but cannot complete a sale offline, which is not the same as offline support. Find out whether a sale can finish with no connection, and what happens to those orders once the connection returns.
Can a vendor use the POS away from their shop, at a market or pop-up?
Yes, as long as they have a device and a connection. Create a second outlet for the temporary location rather than reusing the shop’s, so the sales report separately and you can see whether the event was worth attending.
Will the customer know which vendor they bought from?
That depends on how you configure receipts. Marketplaces differ on whether they want the vendor’s name front and centre or the marketplace brand. Decide which serves your positioning, then set receipts to match across all vendors so the experience stays consistent.
What if two vendors sell the same product?
They remain separate products owned by separate vendors, each with its own stock. A cashier at one vendor’s counter can only sell that vendor’s version, so there is no risk of selling from the wrong stock pool.
Can I see a vendor’s in-person sales without logging in as them?
Yes. Vendor sales roll up into your marketplace reporting alongside online orders, so you get the full picture from your own dashboard without needing vendor credentials.
Do I need a POS for vendors who only sell online?
No, and you should not enable it for them. POS access is worth giving to vendors who actually sell in person. Turning it on for everyone adds settings they will never use and support questions you will have to answer.
Start With One Vendor
The setup is not complicated. The decisions around it are, particularly commission on cash sales and how much access cashiers get.
So pick one vendor who already sells in person, get them running properly, and use what you learn to write the process for everyone else. Your marketplace gets the complete sales picture it has been missing, and your vendors stop keeping two sets of numbers.
Subscribe to
Dokan blog
We send weekly newsletters, no spam for sure!



Leave a Reply