Dokan Pro version brings to you a new module ‘Product Addons‘. Now you can add paid or free options to your product using several options like radio buttons, checkbox, drop-down fields, custom text inputs, etc.
Let’s check how to activate and utilize this module in a proper way. Here is what we are going to share with you-
- Activating Product Addon Module
- Creating Product Addon
- How Product Addon Works
- How Vendors Can Create Product Addons
- Creating Addons For Individual Products
- Points to Remember
Requirements
Before you can use you need to have,
- Dokan Lite
- Dokan Pro version 2.9.15 to onward
- WooCommerce Product Addon extension
Note: The WooCommerce Product Addon is not included in the Dokan plugin. You need to purchase it separately.
Activating Product Addon Module
To activate the Product Addons module, go to WP Admin Dashboard→Dokan→Modules.
Activate the Product Addons Module.
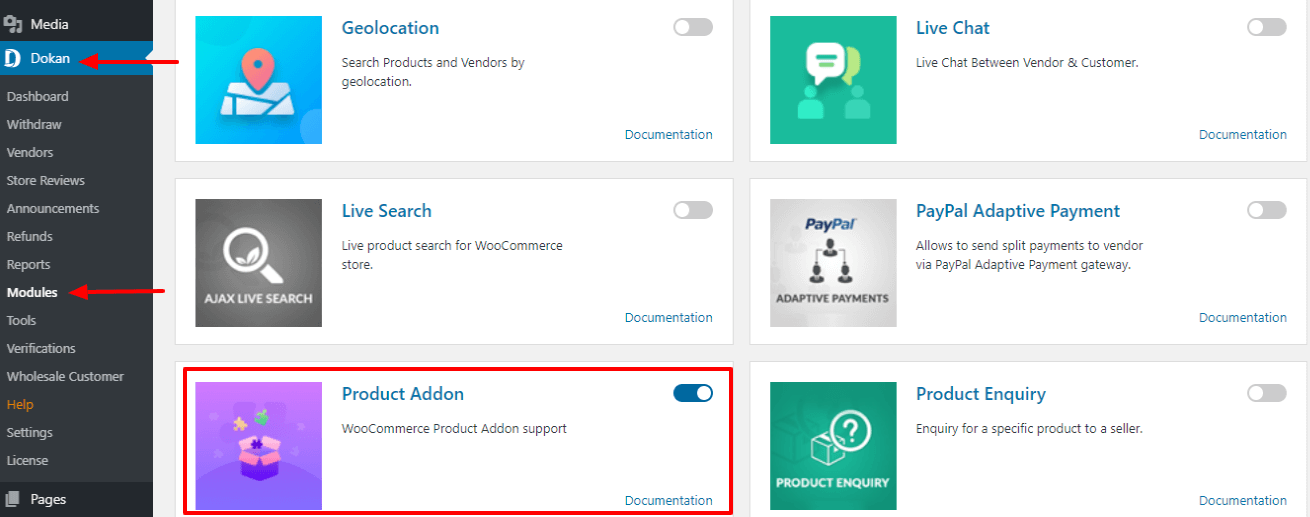
Your Product Addon module is activated.
Creating Product Addon
Now that you have activated the Product Addon module, Let’s create a product addon.
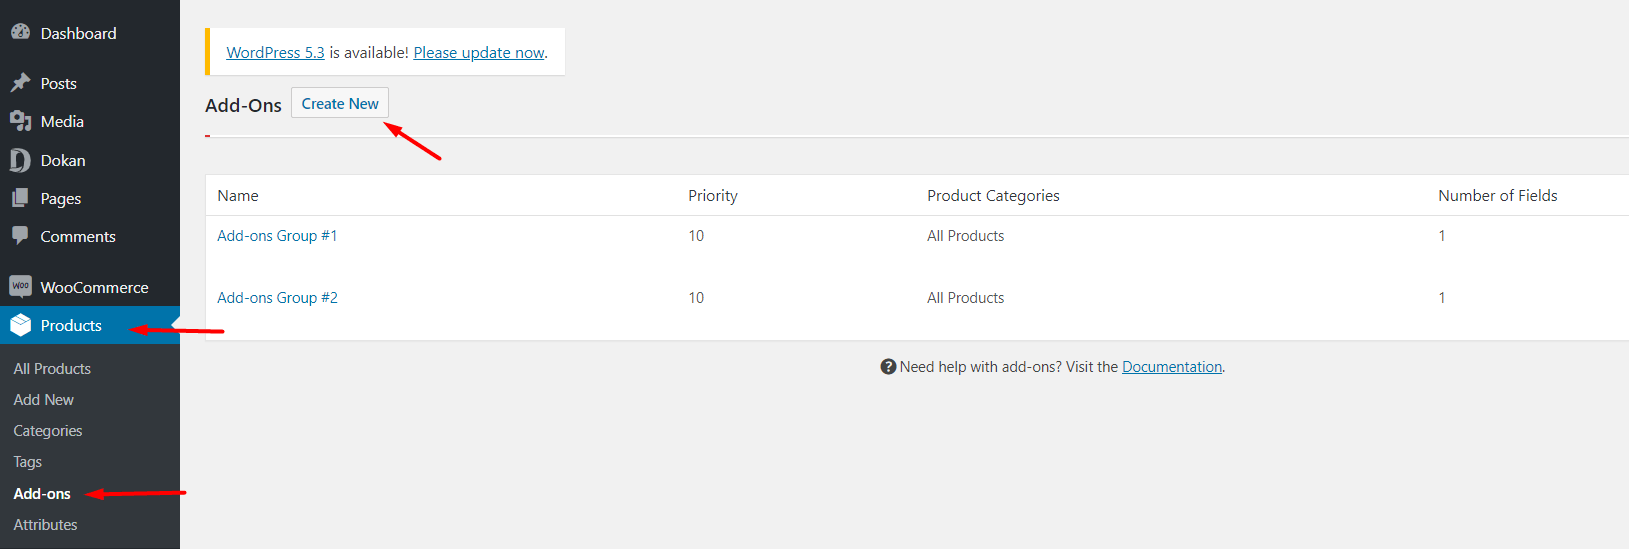
Navigate to WP Admin Dashboard→ Products→Add-Ons. Click on Create New button.
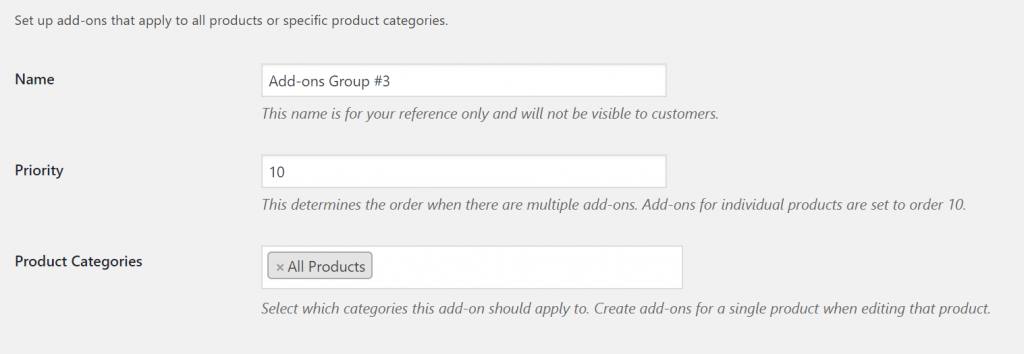
Now you need to add,
Name: Add a name for your addons to differentiate from other addons. It will not be visible on the website. By default, this is filled in for you.
Priority: If there are multiple addons, this number will define in what order will be displayed. But for individual add-ons this number will be 10.
Product Categories: Add the product category you want this addon to be applicable to. This will help you in the seasonal and time-specific addons.
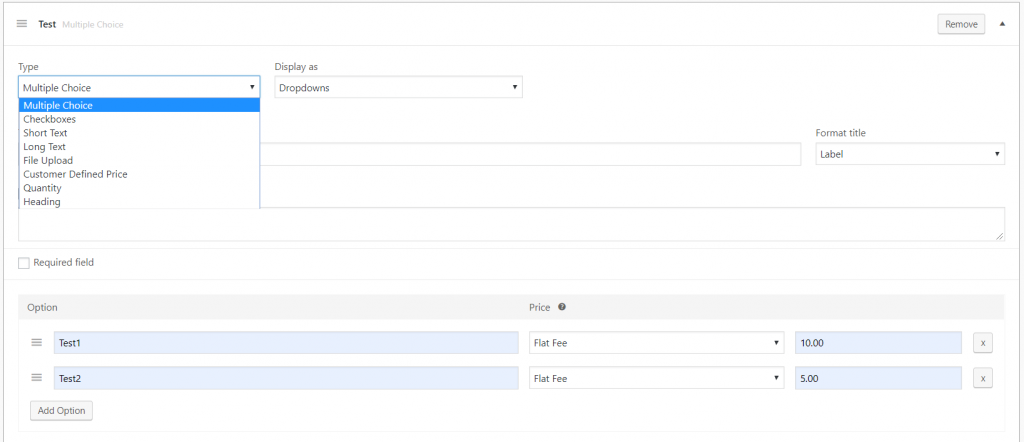
Now click on Add Field button.

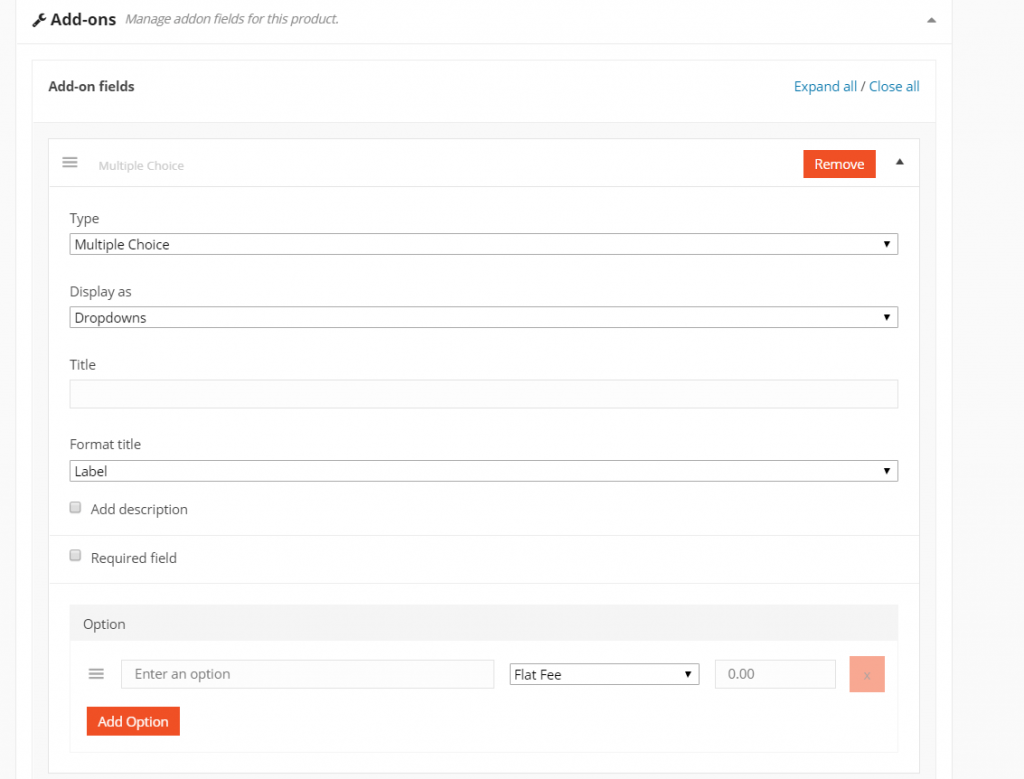
It will give you some new options.
- Multiple choices – Shows a list of options the user can choose from. Display as dropdowns, images, or radio buttons.
- Customer-defined price – Shows a field where users can enter a numerical value that is added to the product price.
- Quantity – Shows a spinner where users can input a number.
- Checkboxes – Shows a checkbox or checkboxes that can be ticked/unticked by a customer.
- Short text – There are five in-built types. This shows a text field where users can enter either any text; just letters; just numbers; both; or an email address only.
- Long text – Shows a text field where users can write multiple lines of text (character limit possible).
- File upload – Allows users to upload a file.
- Heading – Add a heading between add-ons to group them into sections.
You can display as.
- Dropdowns: You can show the list of types as dropdowns
- Radio Buttons: You can show the list of types in radio buttons
- Images: You can show the list of types as images.
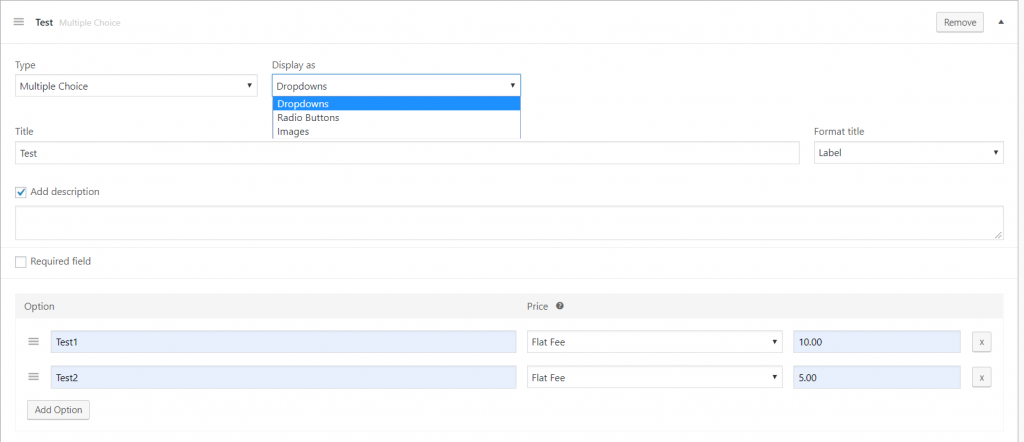
- Title: Format the title as a Label or Heading, or hide it.
- Add a description: Displays more information about the add-on underneath the heading.
- Required field: Prevents product from being added to cart if an option is not selected.
- Options: Add a label for each option as well as a price if needed. Calculate the price as flat-free, Quantity based or Percentage Based. To remove an option row, click the button ‘X’.
Lastly, click on Publish to finish creating your Addons.
Note: You must add a Label for each option, so the information shows when viewing the order and is passed through in the confirmation email to the customer.
How Product Addon Works
After you have created an addon, now let us see how it works.
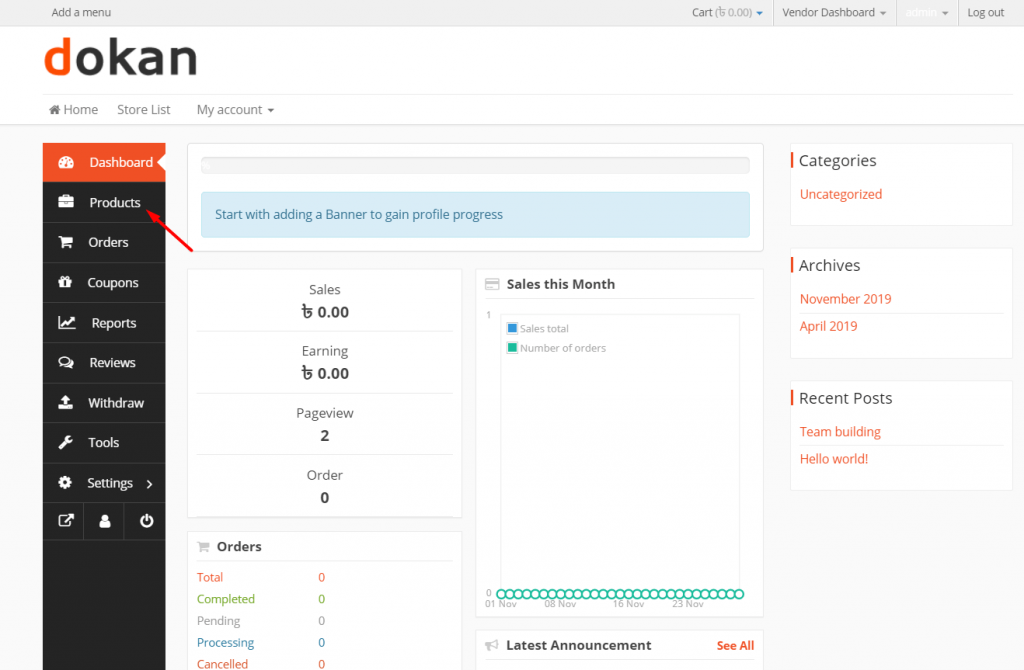
Go to your front-end dashboard and click on Products.
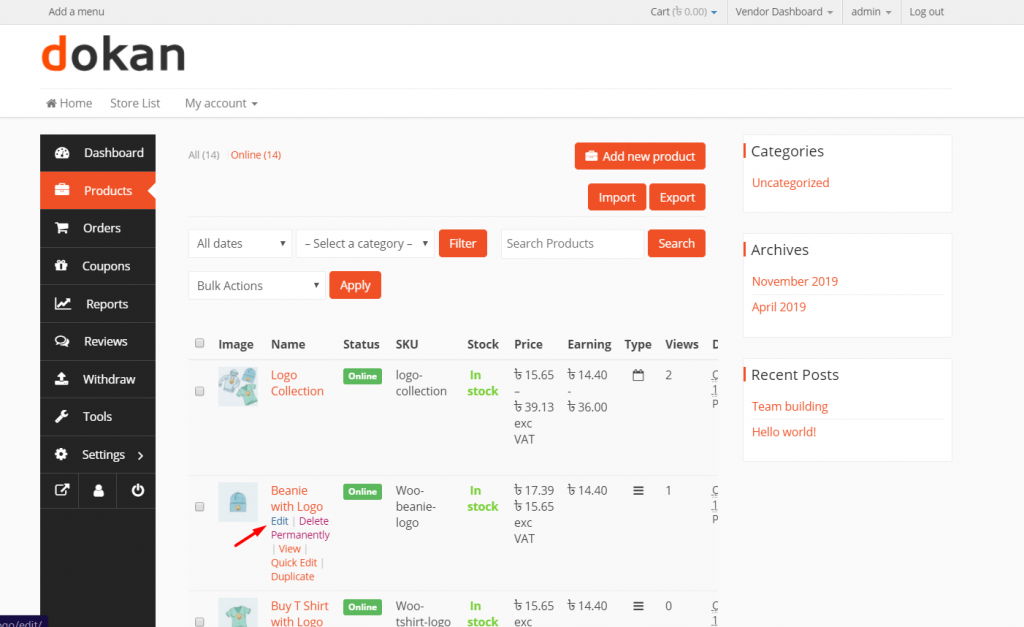
Click Edit options on any of the products.
Then, save the settings of your products. Click on View Product.
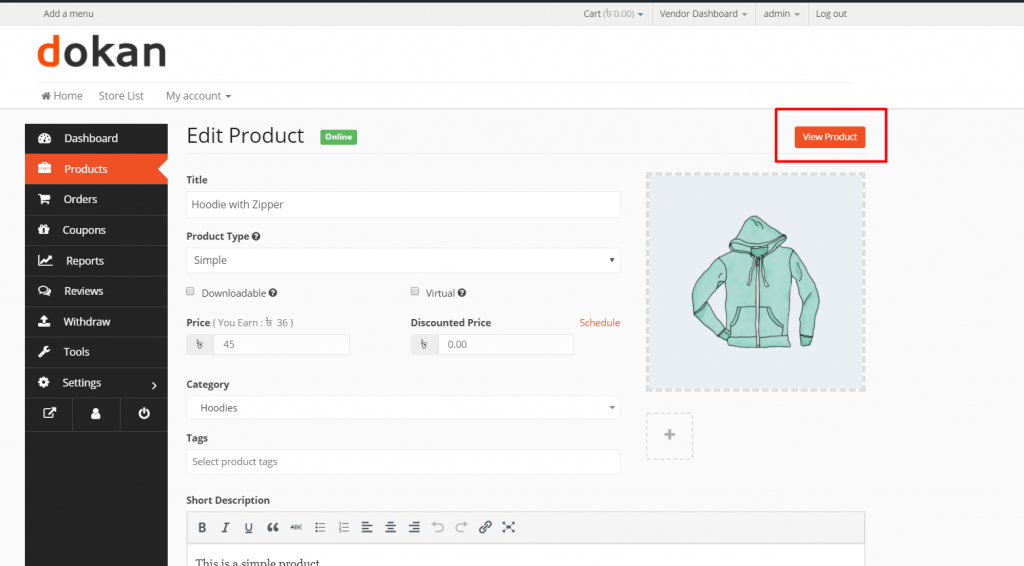
Now, you can add addons for that product.
That is how product addon works.
How Vendors Can Create Product Addons
So far we have seen how to create product addons and use it. But that is from a vendors point of view. Now, let us see how a vendor can create product addons.
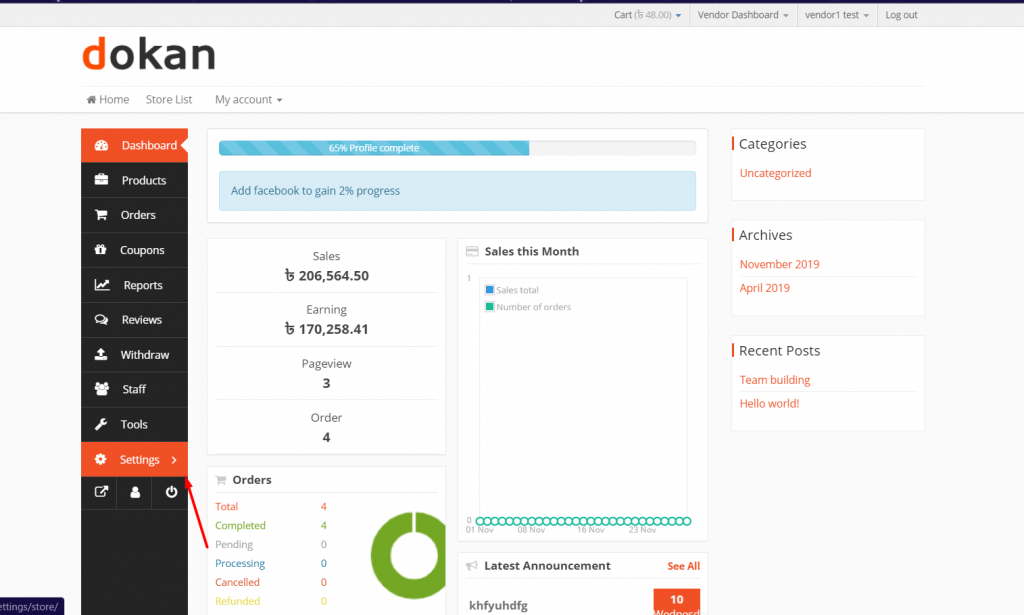
Go to vendor dashboard. Click on Settings.
Now click on Addons.
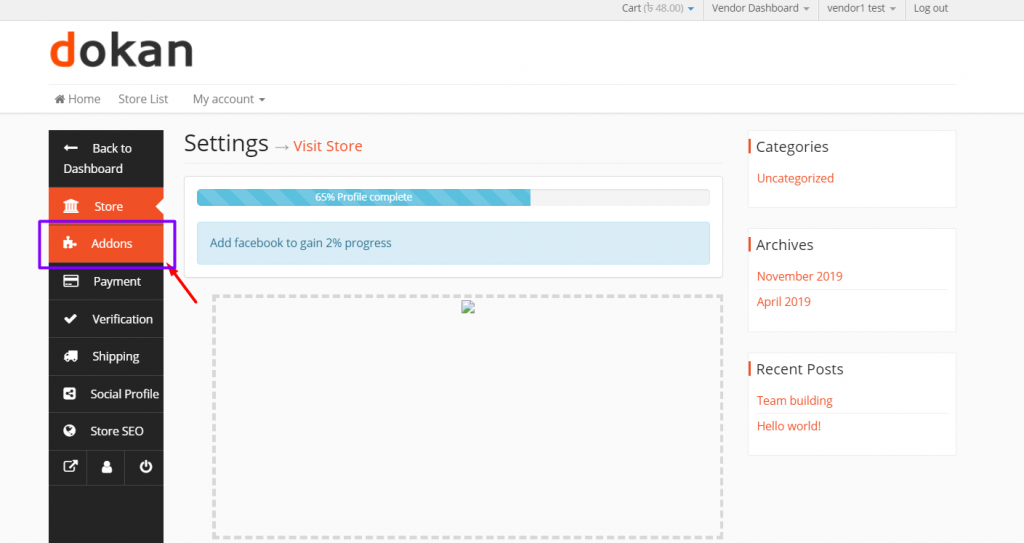
After that, click on Create New Addon

After that, the vendor will get all the options previously discussed for creating Product Addon. You can see that from the below GIF. Lastly, click on Publish to finish.
That is it for vendor creating Product Addon.
Note: For the customers, they have to click on the product to get the Addons option.
Creating Addons For Individual Products
So far, the addons we have created was global addons. That means that addon was applicable to all the products. But there is an option for creating addons for an individual product as well.
To do that, just go to the Edit page of the product. Then scroll down. you will find the Addon option. There you will find the Addon option. Edit those options to make an individual addon for that particular product.
Points to Remember
If a vendor or admin create an Addon, that Addon will be applicable only for that store of vendors or admins. However, an admin can view all the addons created by all the vendors. But vendors can only view their own addons, they can not view the addons of other vendors.
That is it for Product Addons. Enjoy!