If you have configured Facebook apps successfully, it’ll not be hard for you to configure the other platforms (Twitter, Google, and Linkedin) on Dokan. Just follow the quick steps below.
How to get Consumer Key and Consumer Secret from the Twitter app?
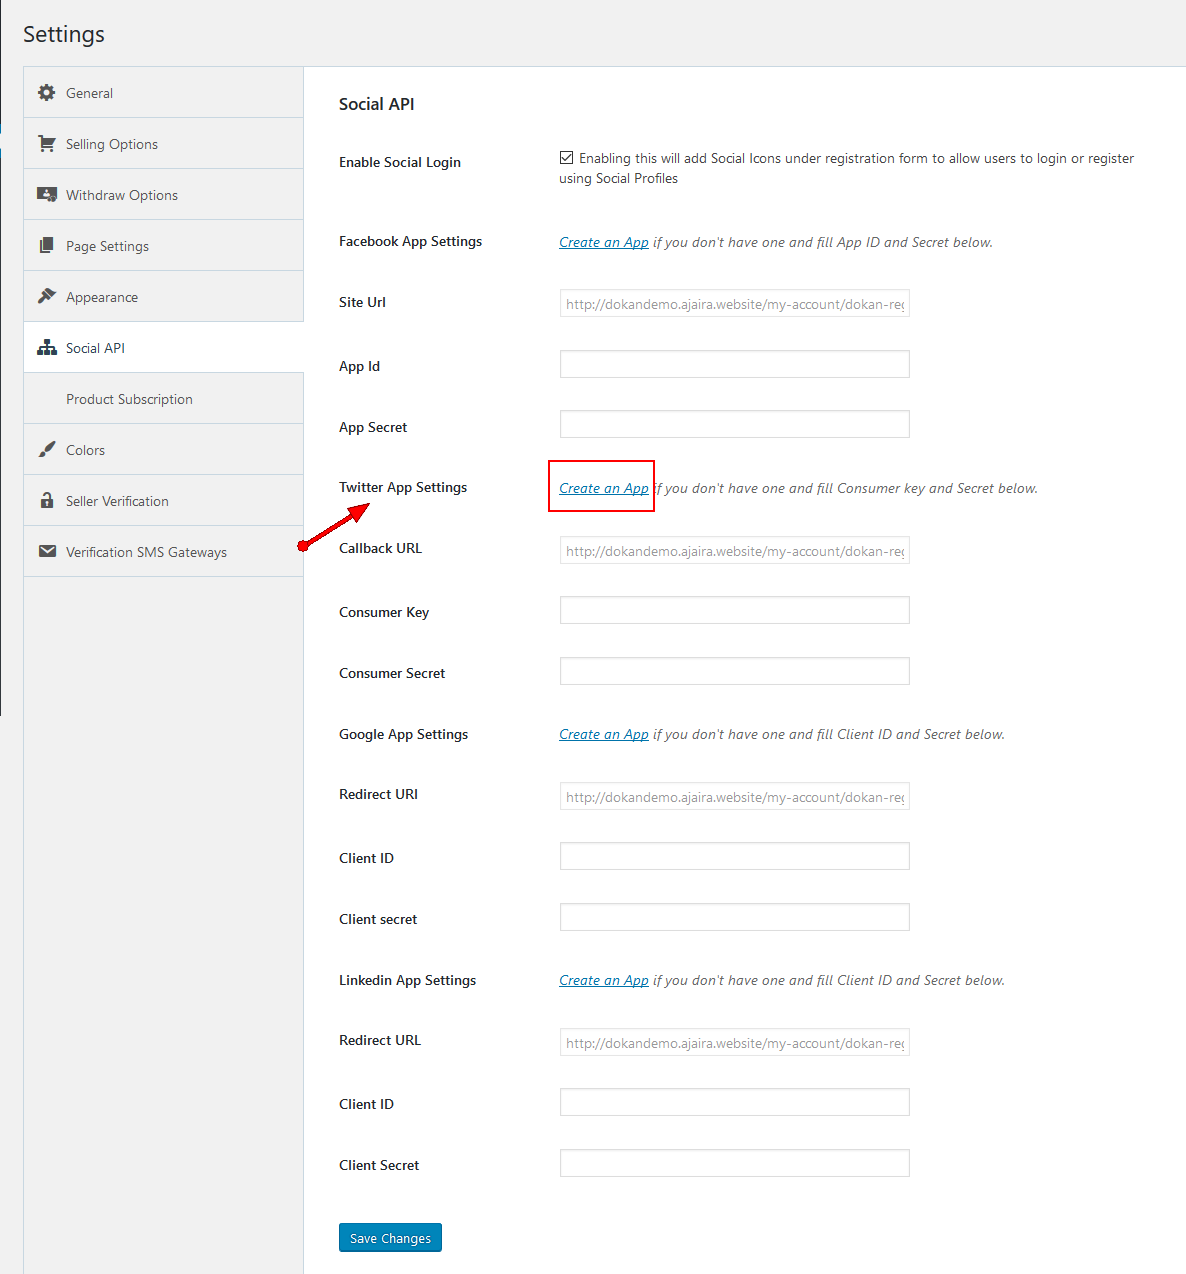
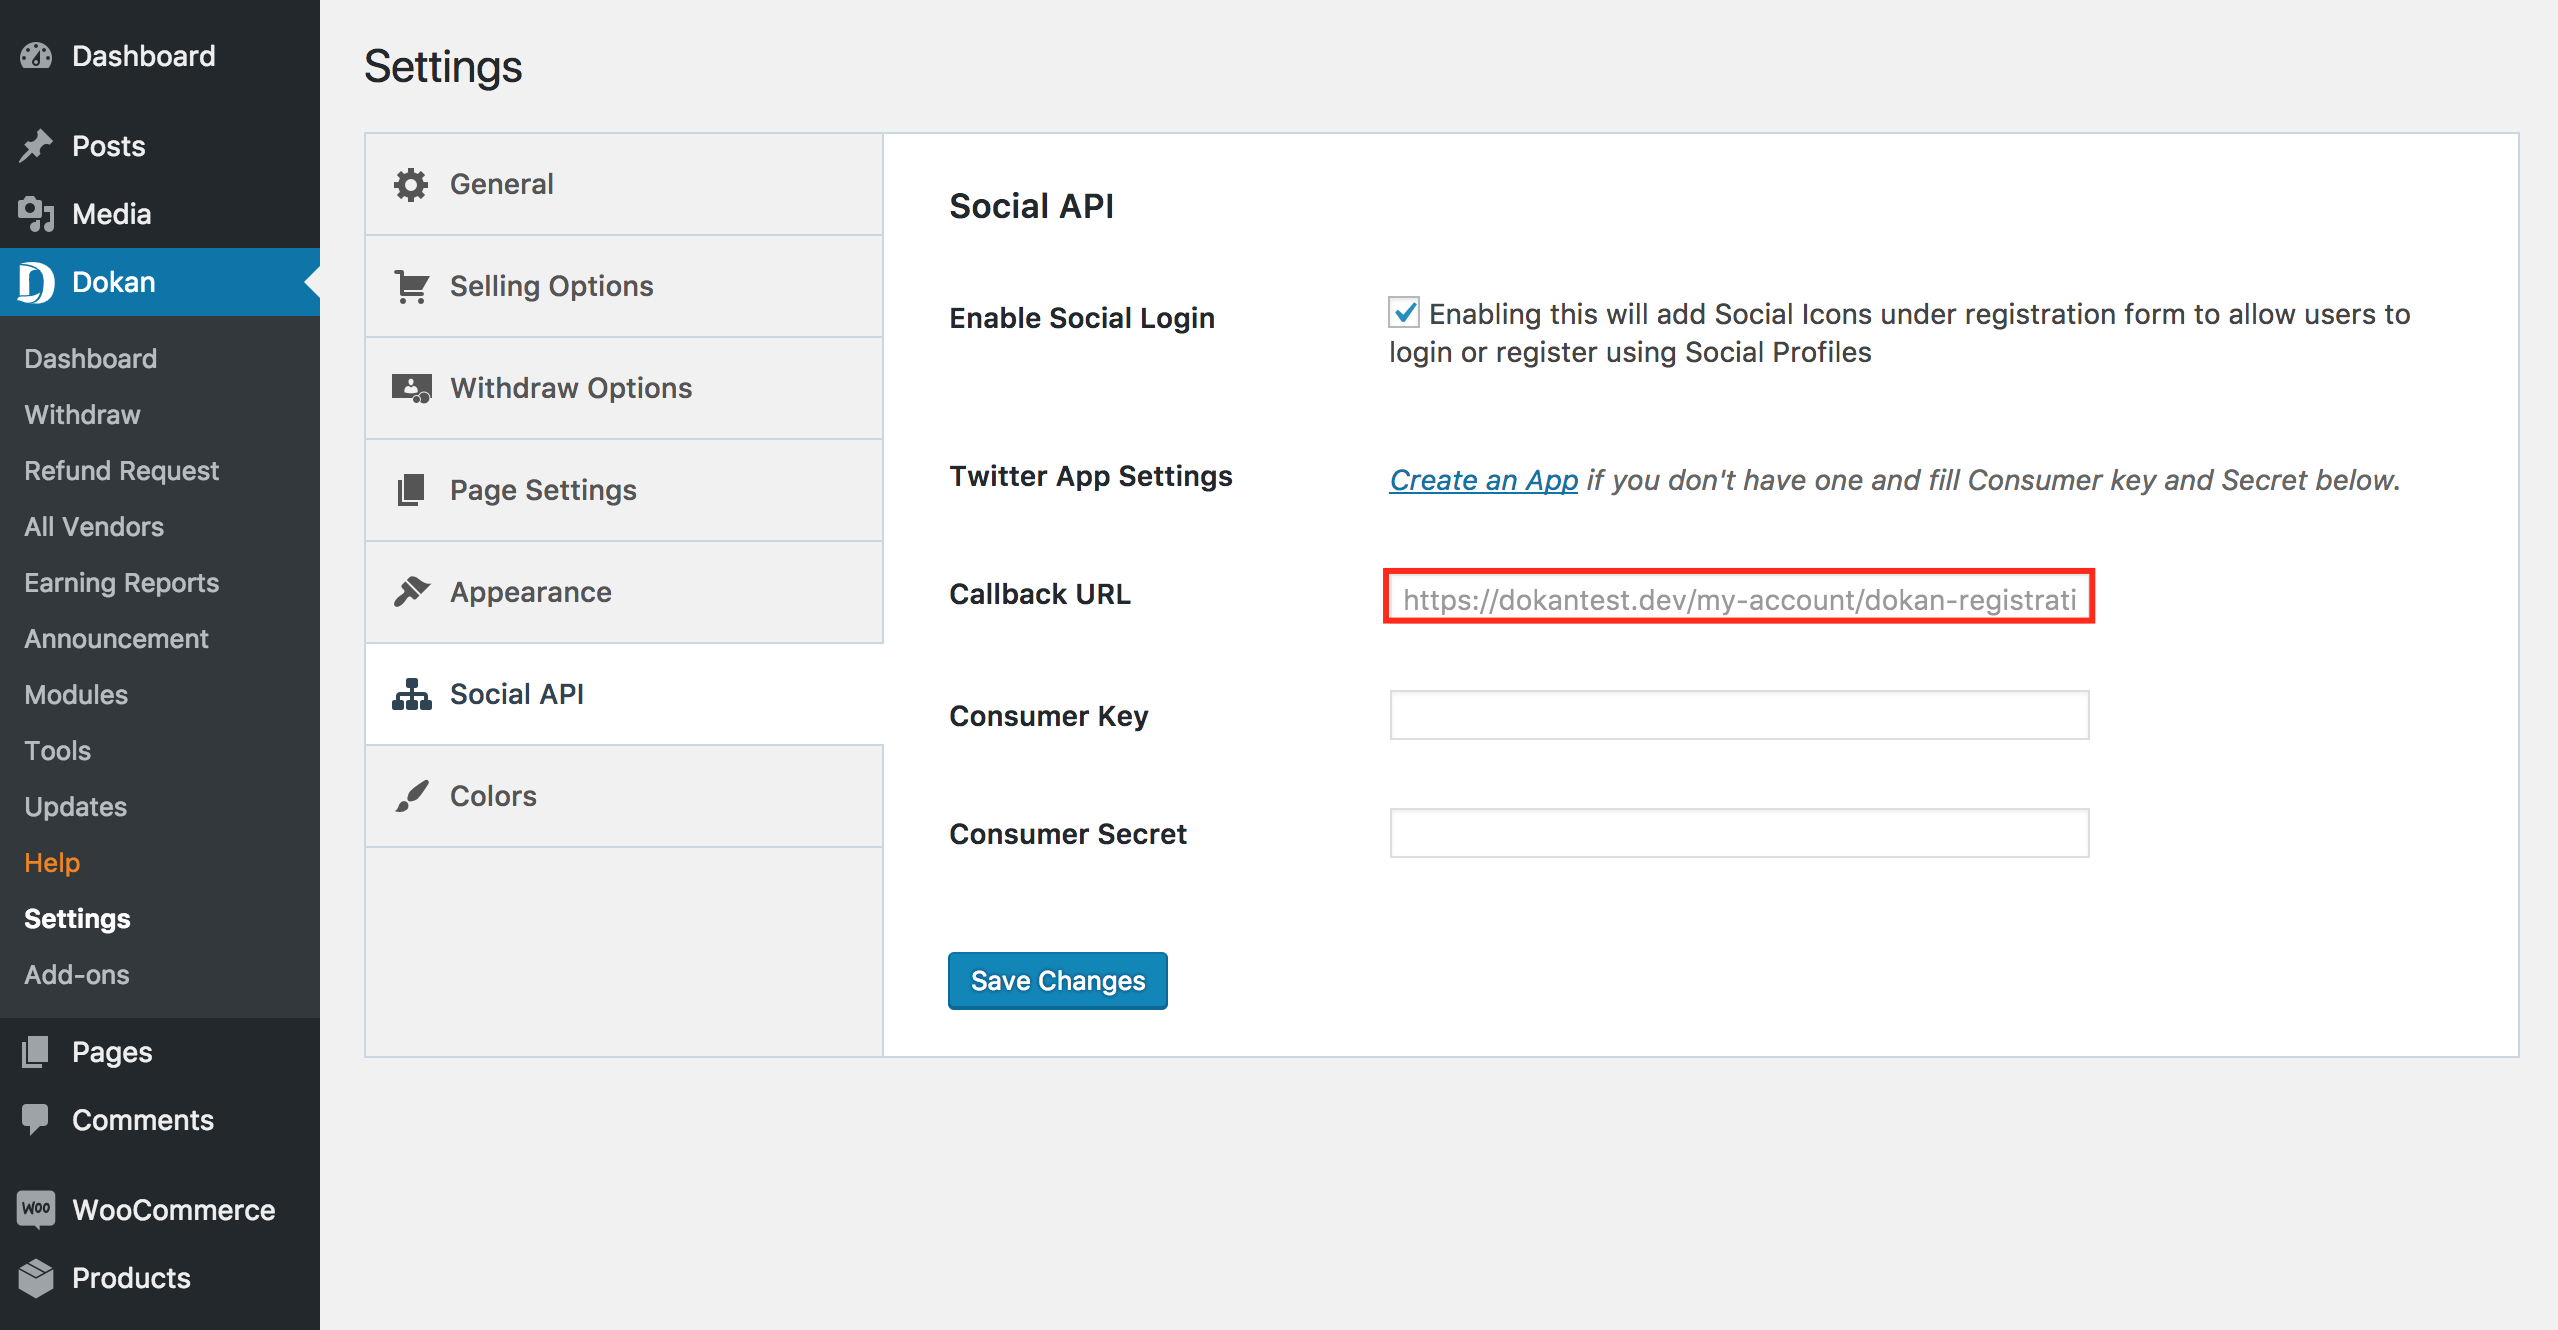
You’ll need Consumer Key and Consumer Secret to configure the Twitter registration/login process. Click on the ‘Create an App’ link indicated on the image below.
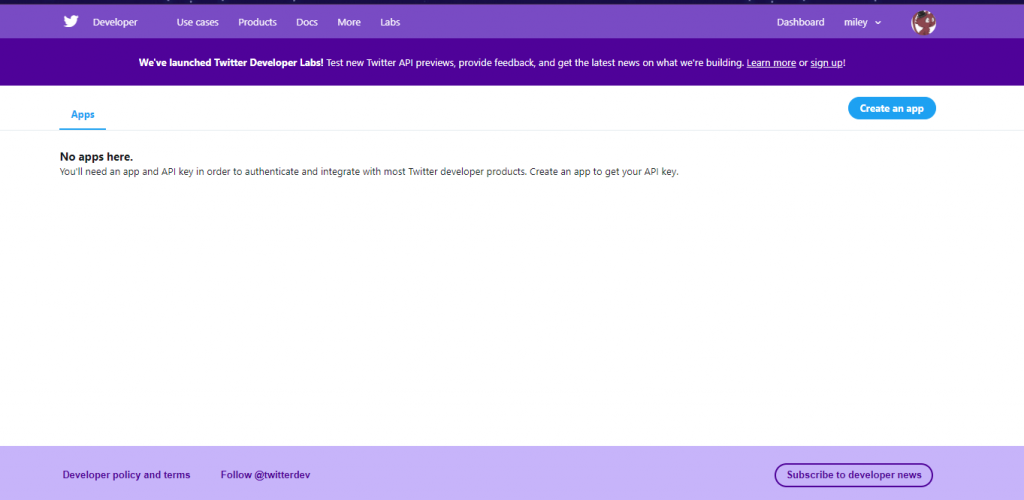
It will take you to https://apps.twitter.com/ page after clicking on the ‘Create an App’ link. You’ll be asked to create an app here. Just click on the ‘Create an App’ button to go further.
Creating A Developers Account
When you click on Create New App, Twitter will ask you to apply for a developer account if you do not have one.
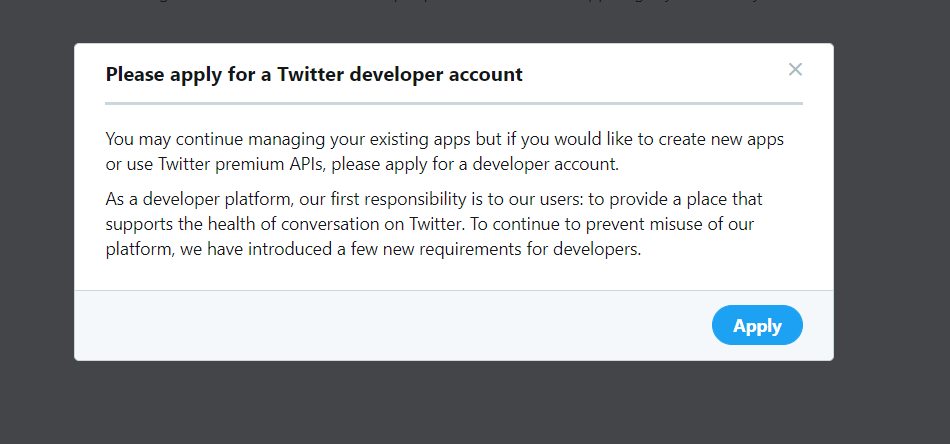
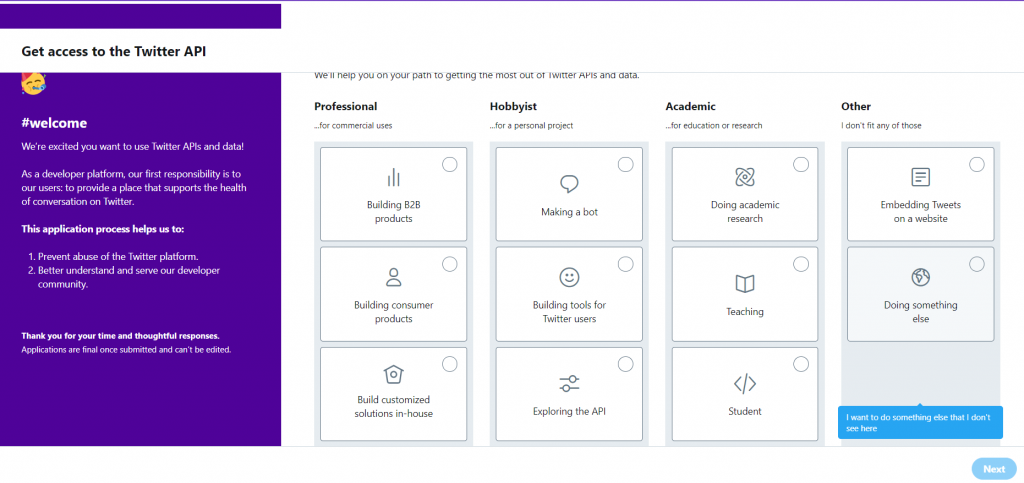
If you click on Apply, you will be taken to a page where you have to choose what you want to do with this developer’s account. It is better to choose Exploring the API or Do Something Else if you are confused. After choosing, click on the Next button.
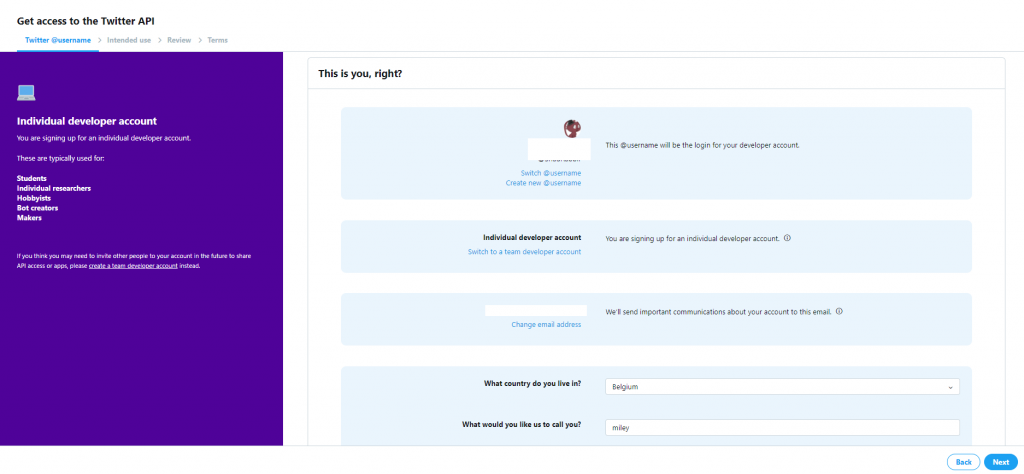
If you are already logged in to your Twitter handle, then they will immediately recognize you. Don’t worry, if you are not logged in the login page to Twitter will appear.
You need to select your country, your username. If you want you can change your email address. Again click on Next.
The next page will be some questions. Twitter will ask you how you want to use Twitter API.
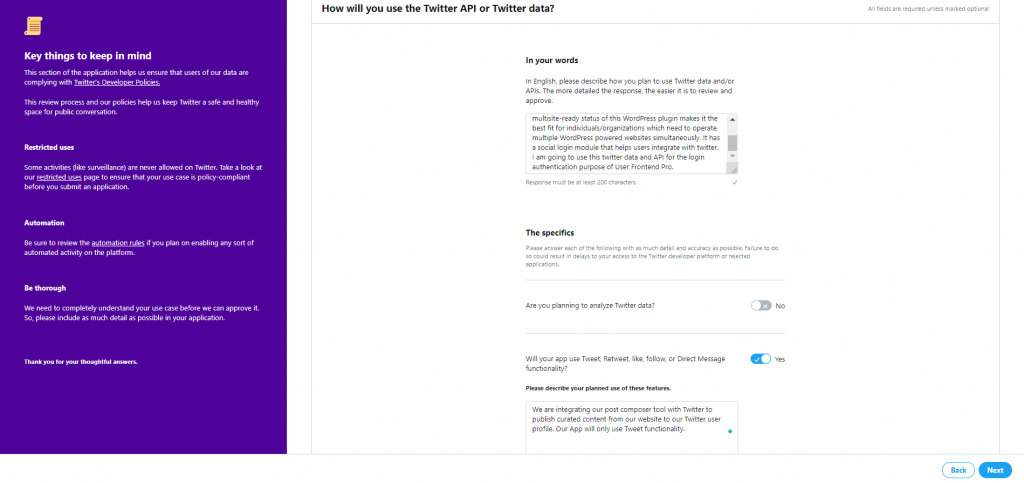
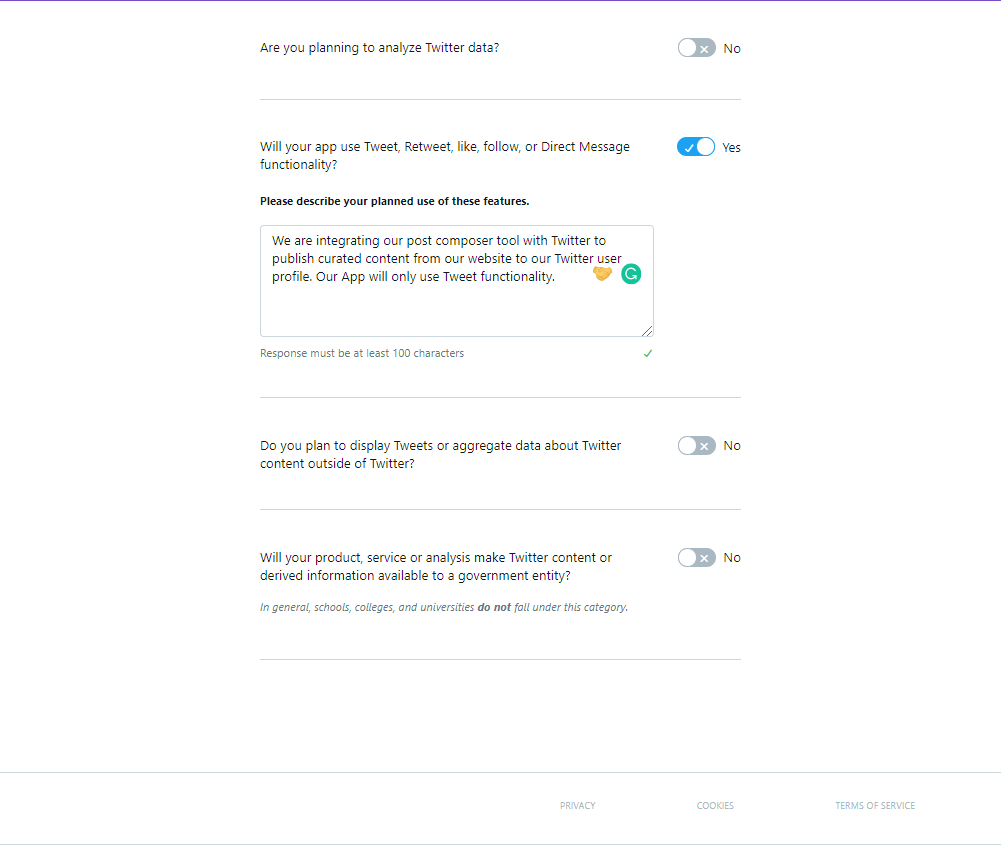
Also describe your planned use of those features. Click on Next.
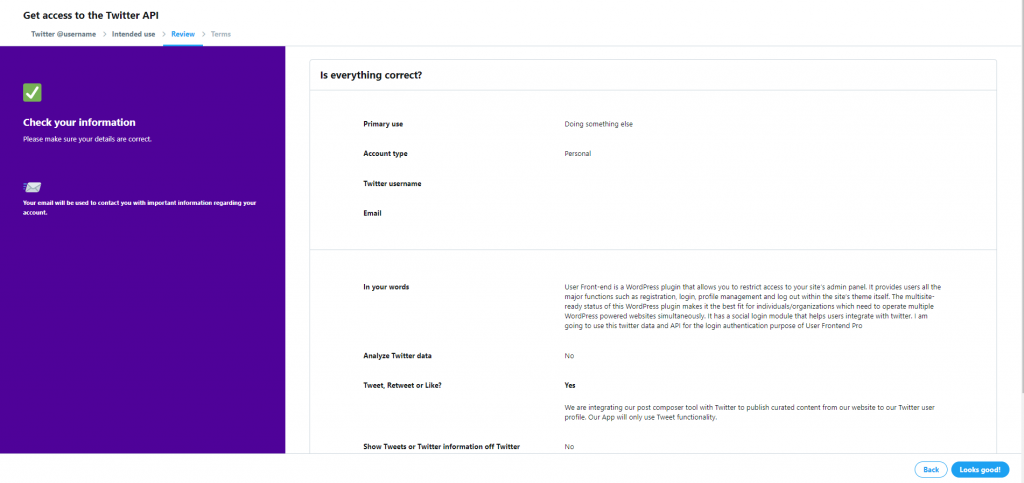
Then, you need to confirm if the information you have given is correct or not. If it is not correct then you can edit. Else, you hit Looks Good confirm.
After that, comes the agreement page. If you agree with the terms and policy then mark the box. Click on Submit Application.
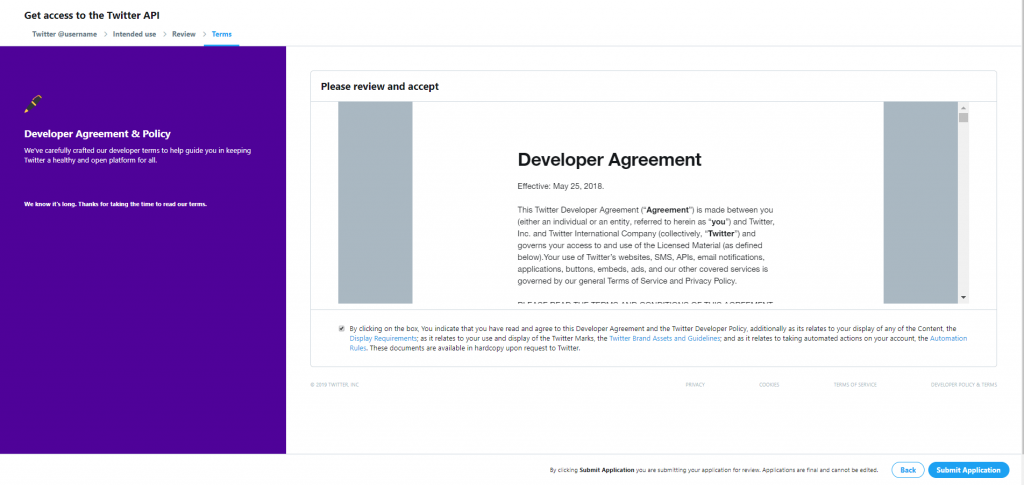
Note that, it takes usually 5 hours to a day to confirm your application. If you are lucky it can take a few minutes. After confirming you will get a confirmation email and a link. After clicking on the link you will be taken to a page.
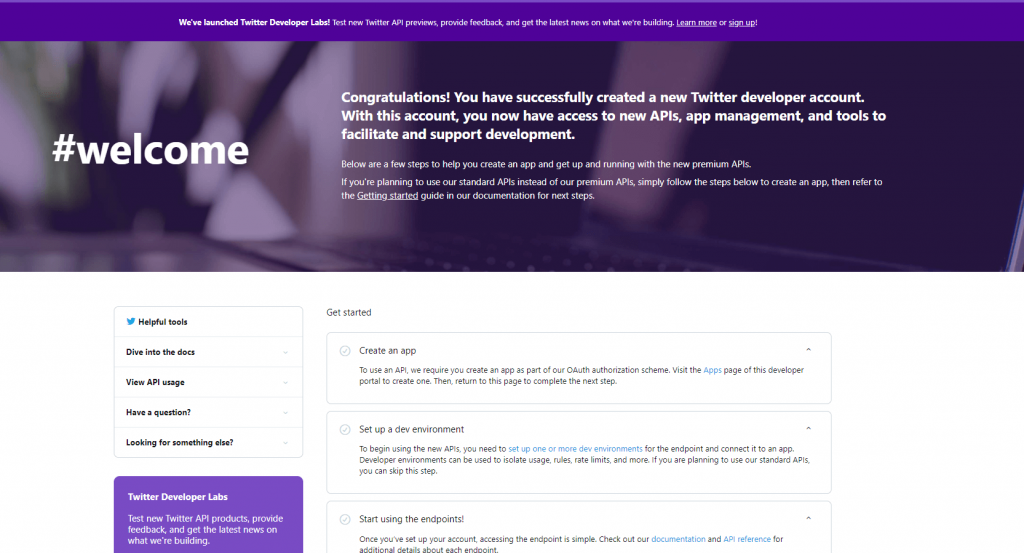
Well done, your developer account is created.
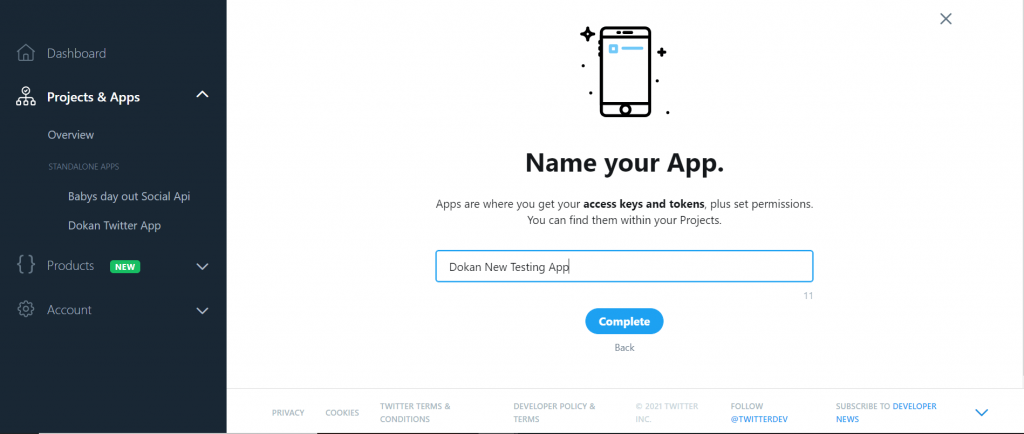
Now again click on the ‘Create New App’. You’ll be taken to the Application Management page.
→ Name: Give an appropriate apps name. This is used to attribute the source of a tweet and in user-facing authorization screens. The word limit is 32 characters maximum.
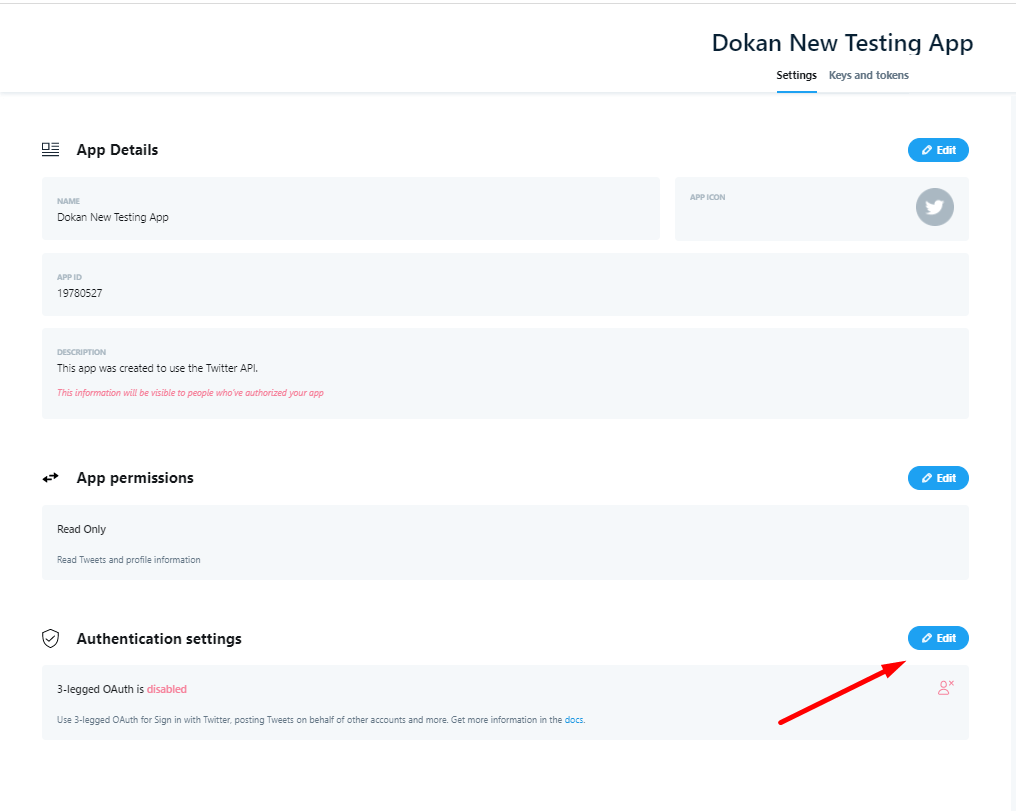
Now, after hitting the complete button, scroll down and click on App Settings.
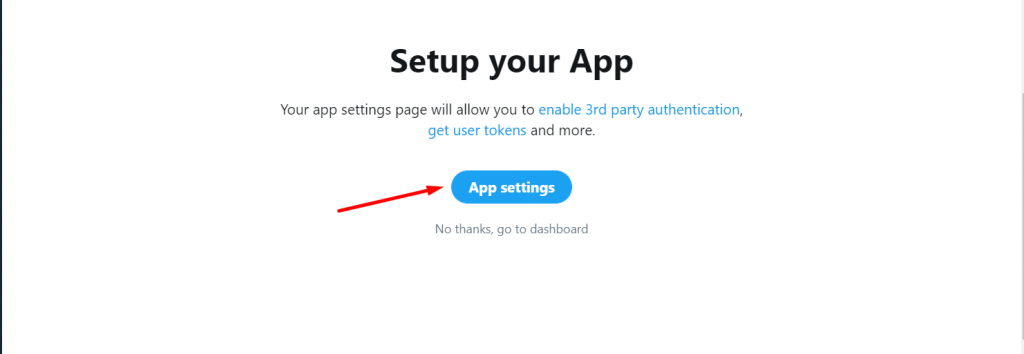
Click on the Edit option the Authentication Settings.
Add the Callback URL and Website URL in the marked section.
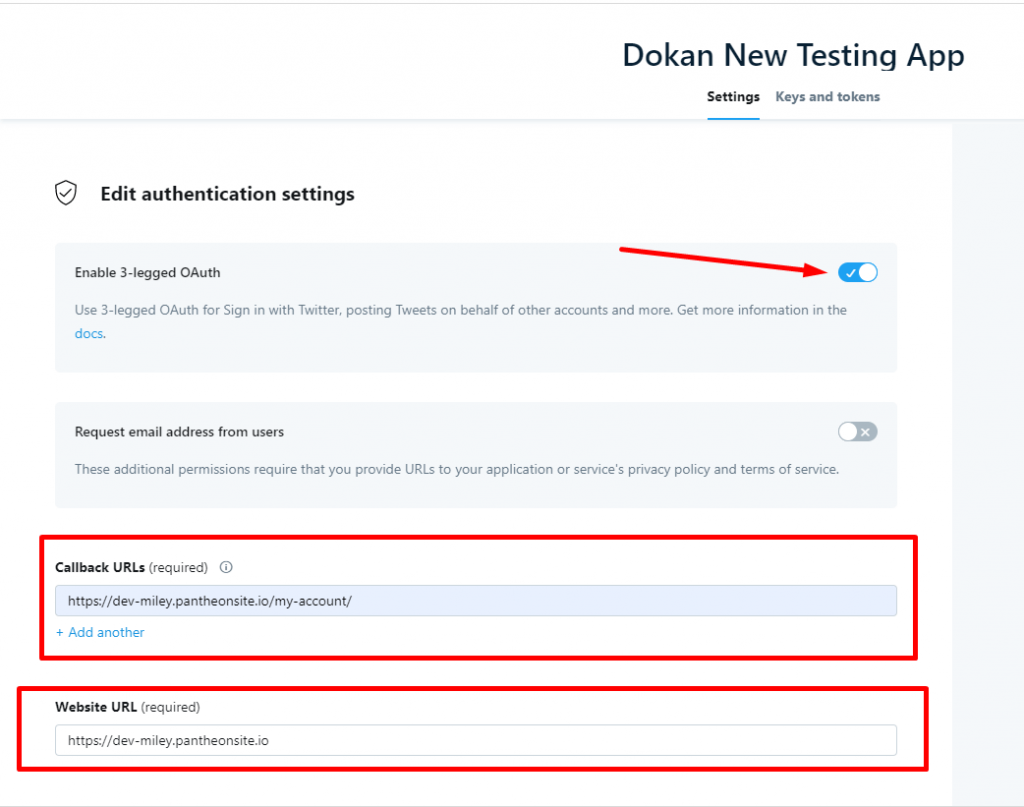
→ Callback URL: The URL where you want to take your visitors/users after successfully register or log in. Copy the link from your setting page that has been generated already.
Checkmark(√) the Twitter development agreement and finally click on the ‘Create your Twitter application’ button to complete the process.
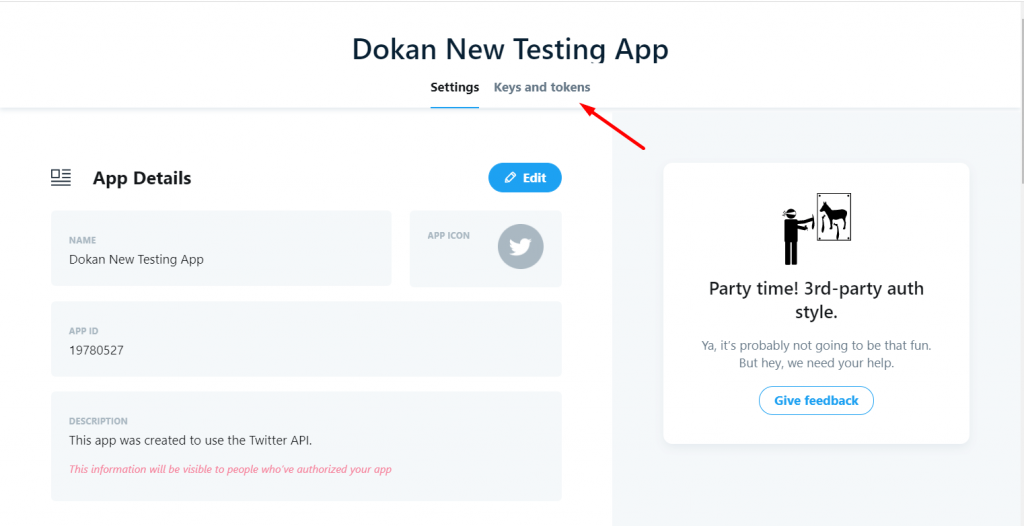
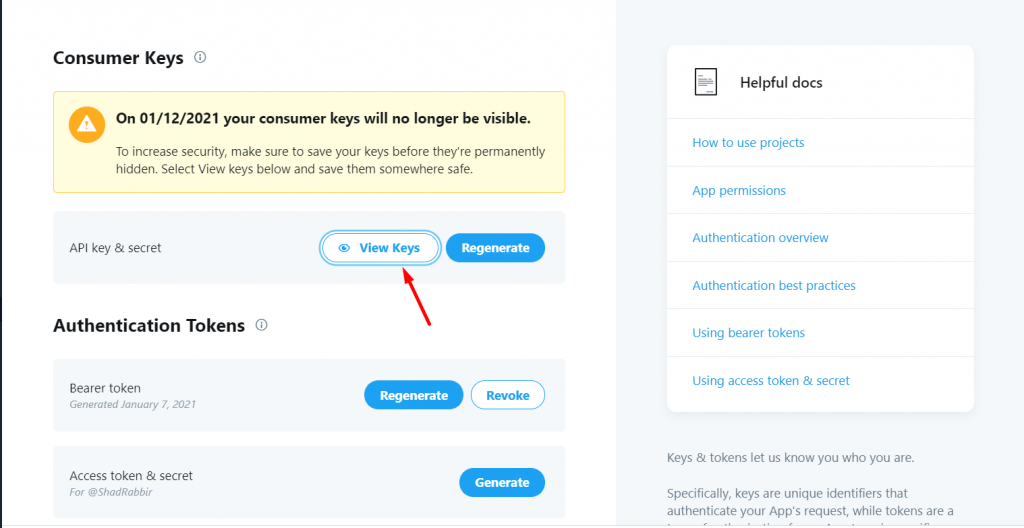
You Twitter app has been created. Click on the Keys and Access Tokens tab and get your Consumer Key and Secret from here. See the indicated fields on the image below.
Click on the View Keys button to view the Consumer Key and Consumer Secret.
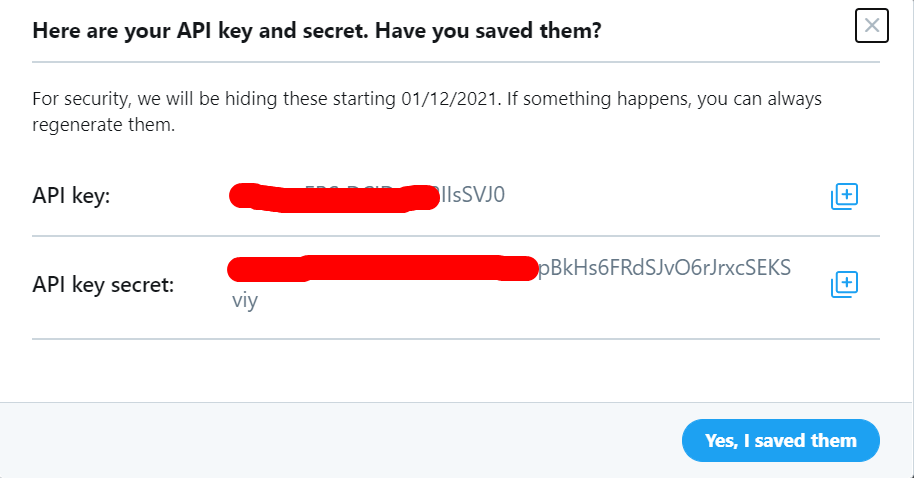
You will be able to see the keys there. Copy both the keys from here.
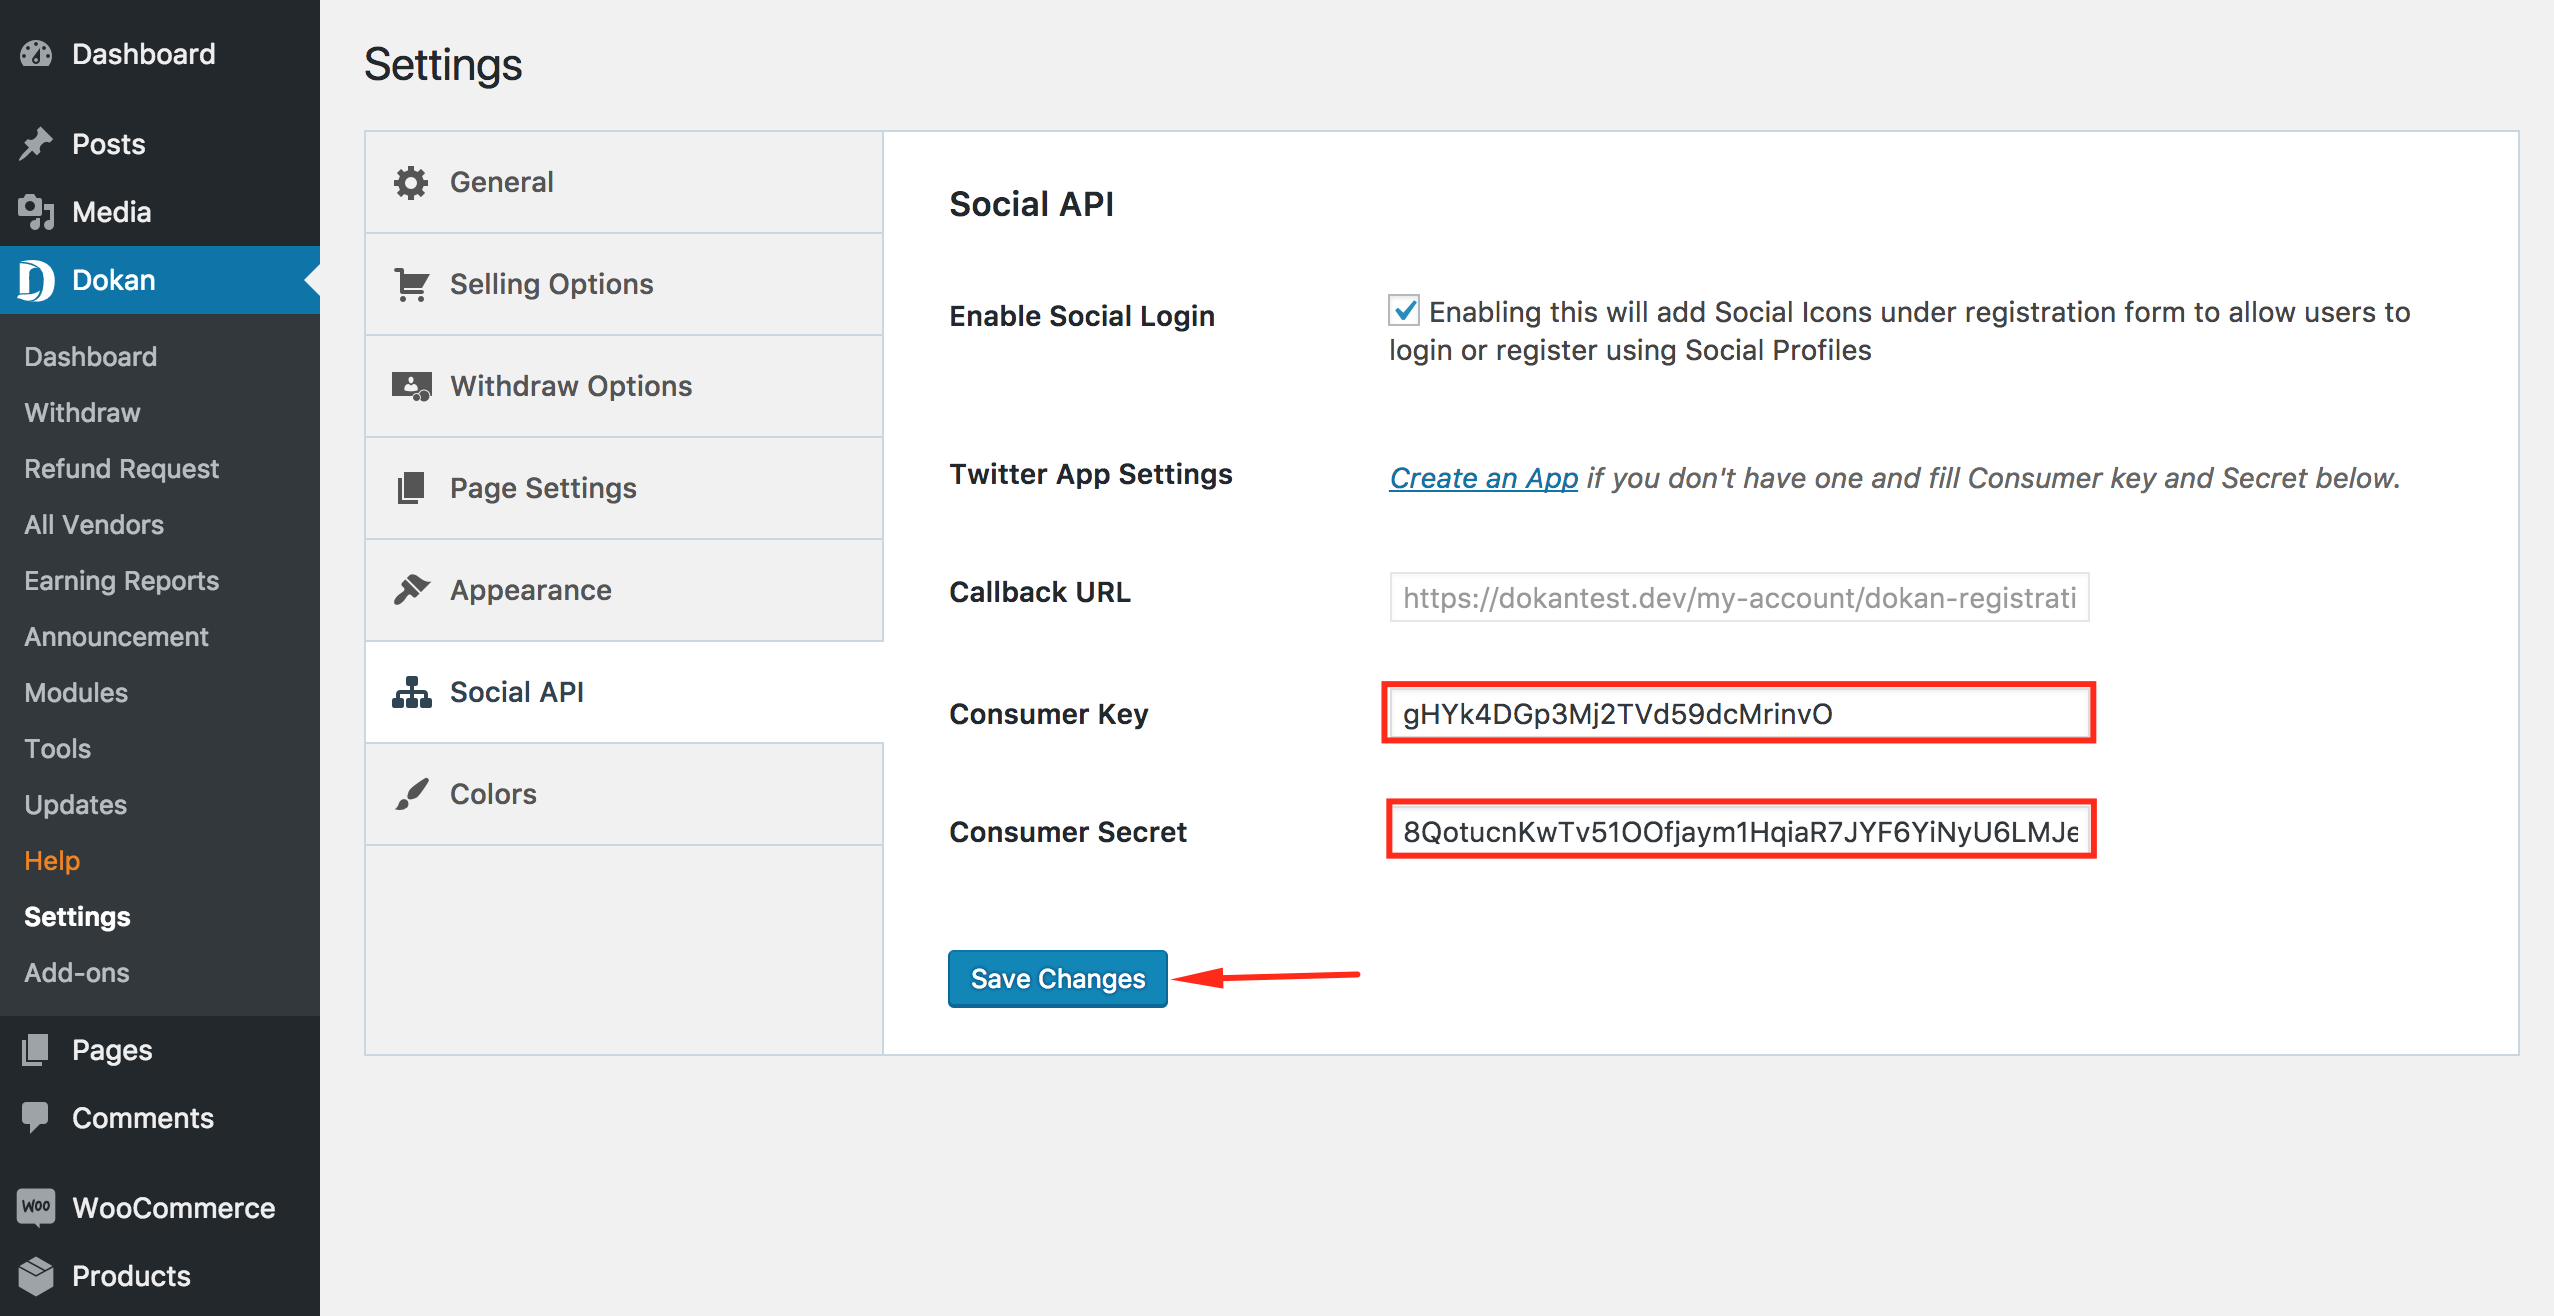
→Insert the Consumer Key and Secret into the setting page as below.
All set! Now check the My Account page and click on the Twitter icon to register/login with your Twitter profile.
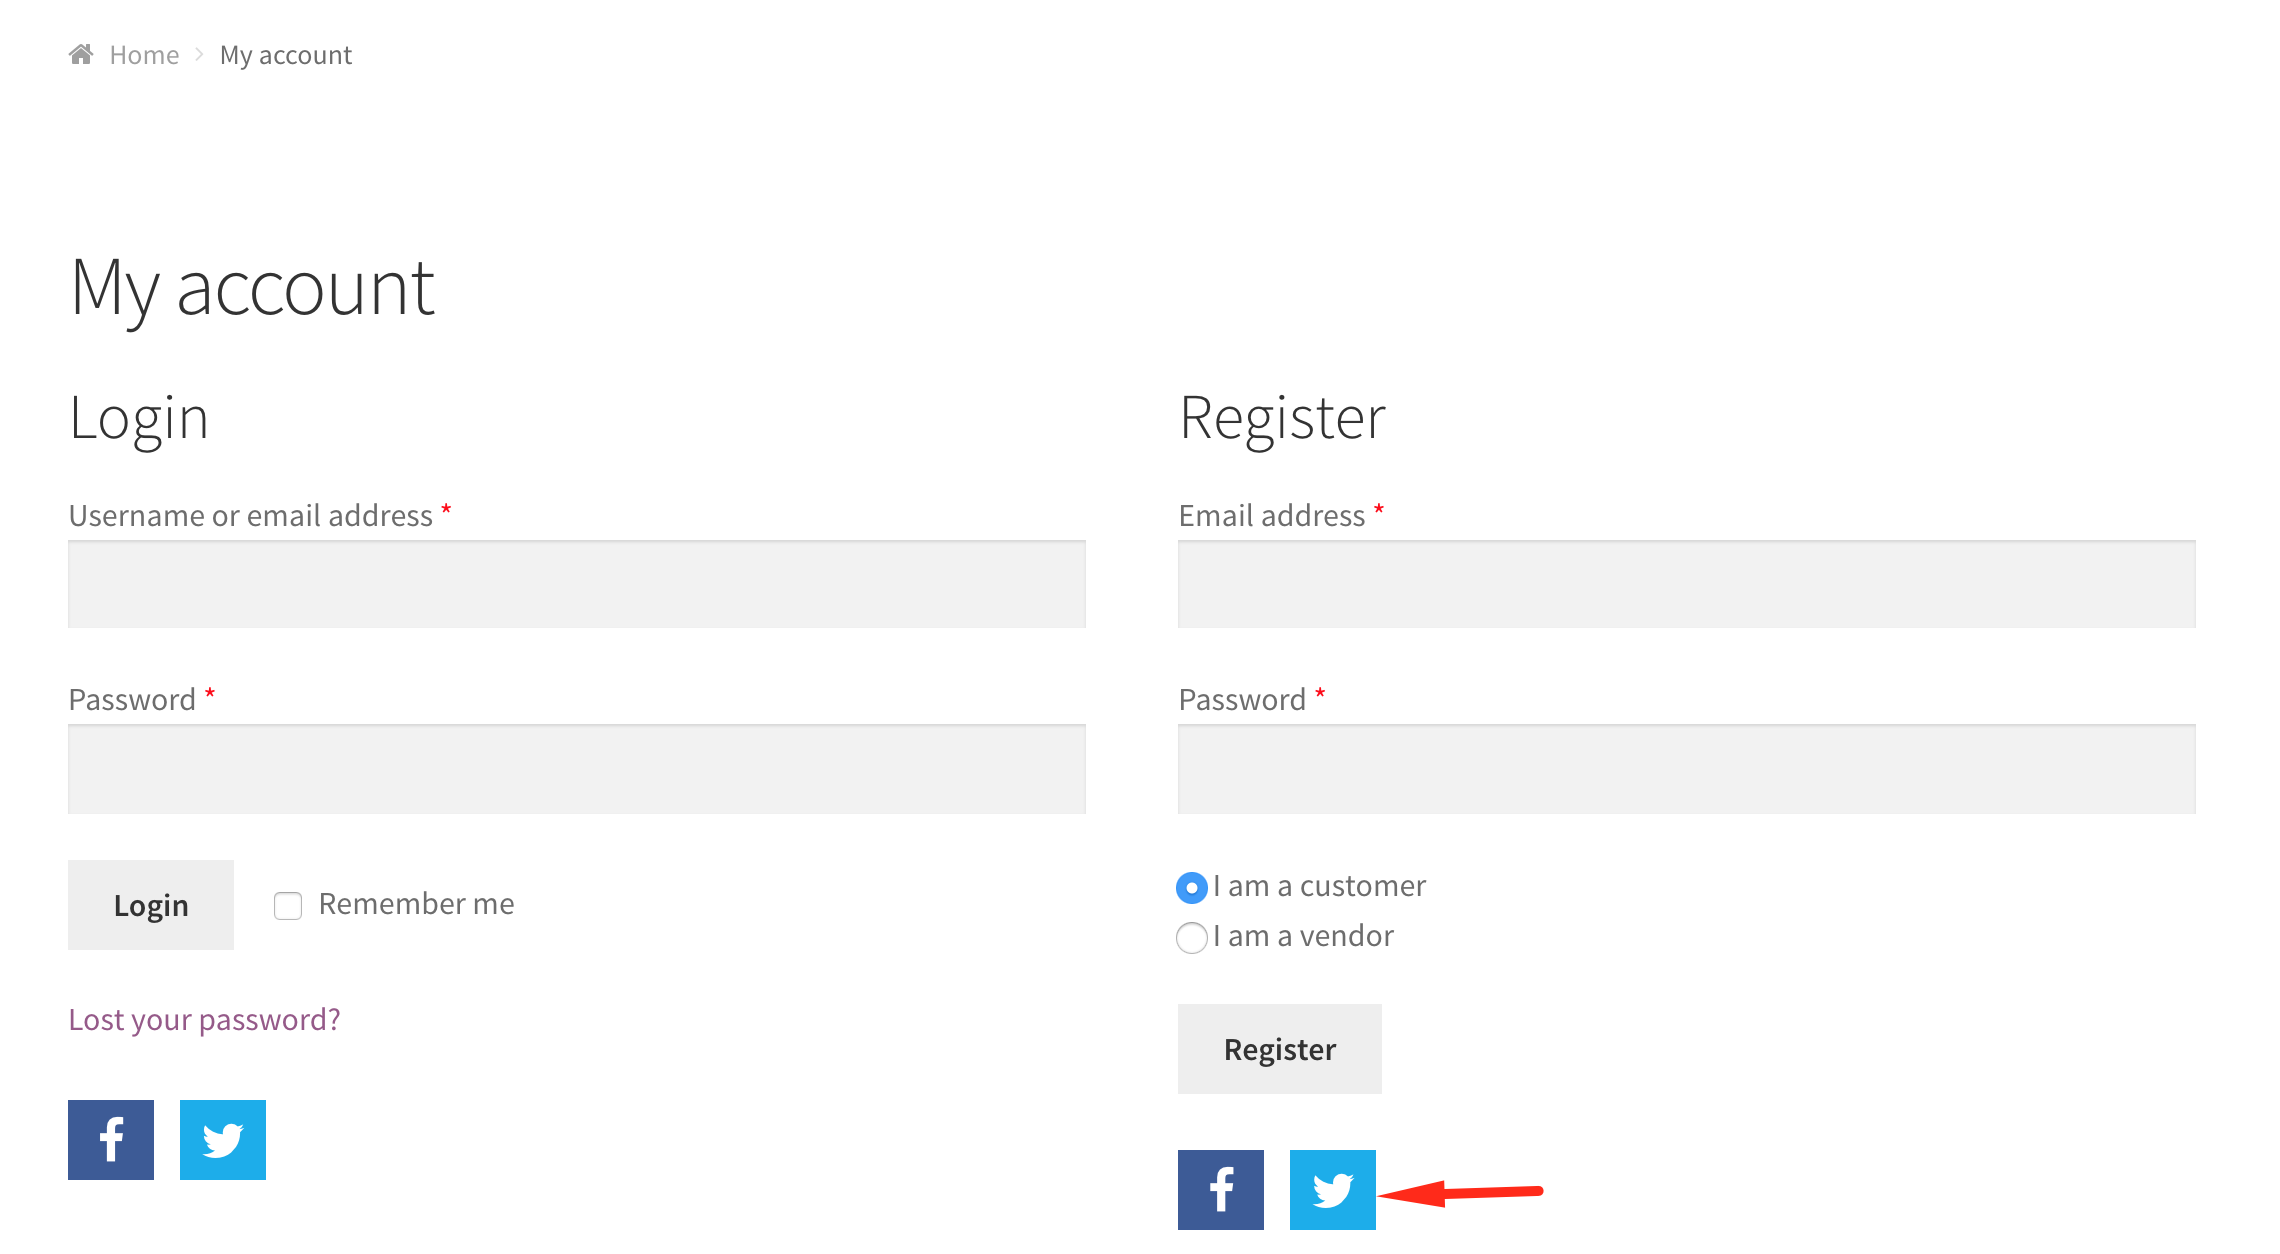
Once you click on the Twitter icon as shown in the image above, it will take you to the Twitter authentication page. Just ‘Authorize App’, and that’s it!
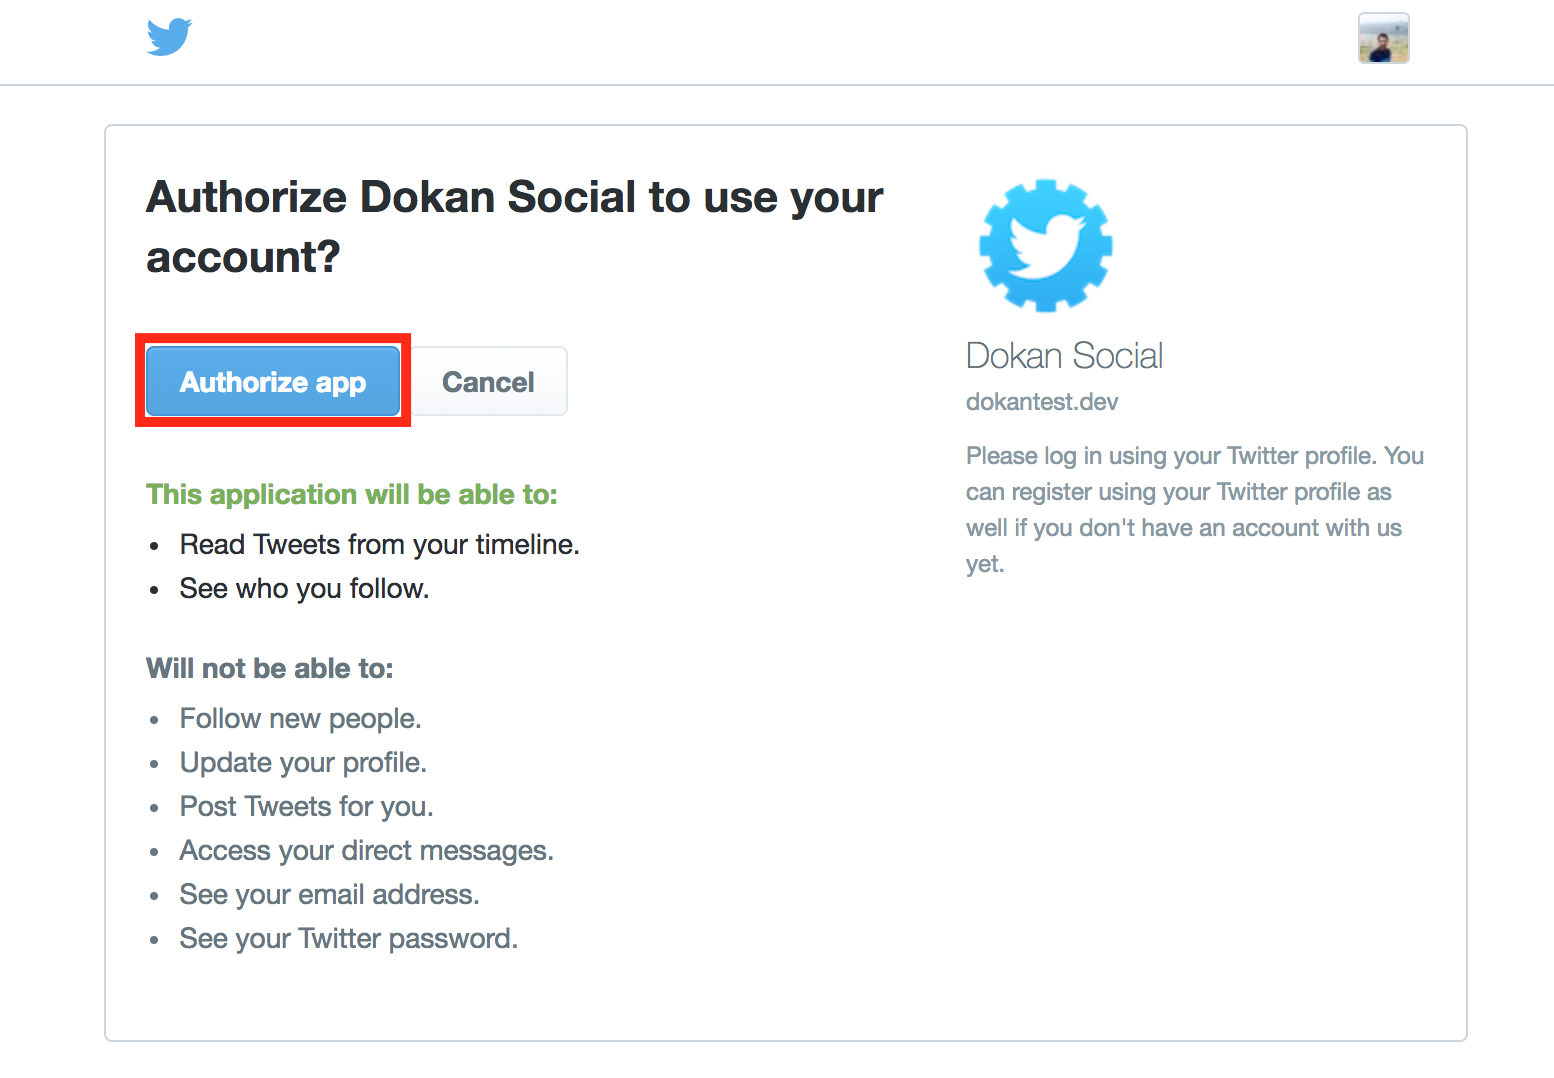
It will redirect immediately after authenticating the apps to the registration page. You are done!