While using the Dokan multivendor marketplace, vendors may need to contact with admin for several reasons. Yes! by integrating weForms with Dokan, the vendor can easily send their preferred queries, suggestions, or any issues through the contact form using the Dokan multivendor site.
So in this documentation, we’ll show how you can create a vendor contact form and customize all the essential things right on your marketplace.
Requirements
Do make sure that you have successfully installed and activated Dokan & weForms on your WordPress site.
Configuration
Before you use weForms, you need to create a brand new form.
- To do that, Navigate to WP-Admin > weForms >Add Form.

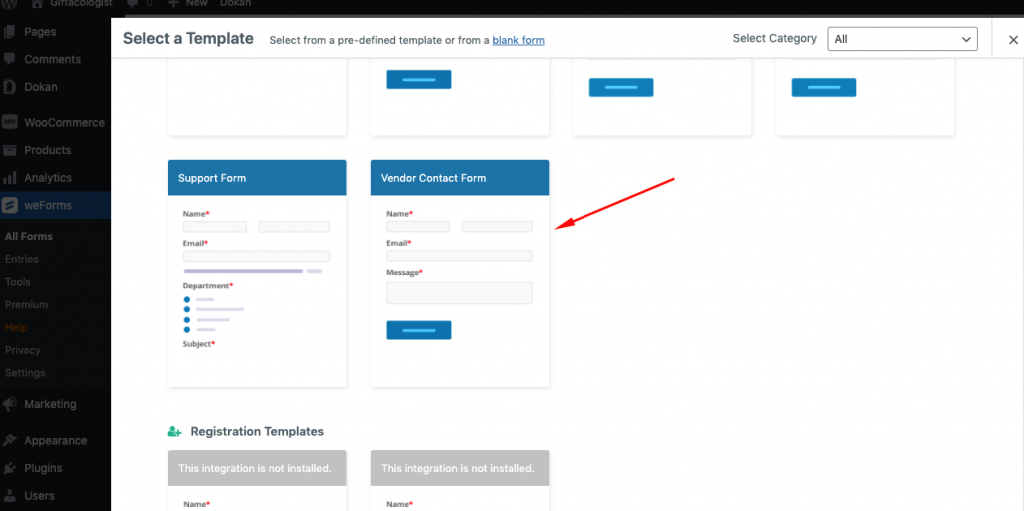
- Select Vendor Contact Form from the given templates which is the default form for Dokan-powered marketplace vendors.
Click on Create Form.
- Now the form editor will open and here you can modify your form as you like. Such as adding or changing fields, setting up email notification settings, setting up entry limits, scheduling forms, or configuring them with other integrations.
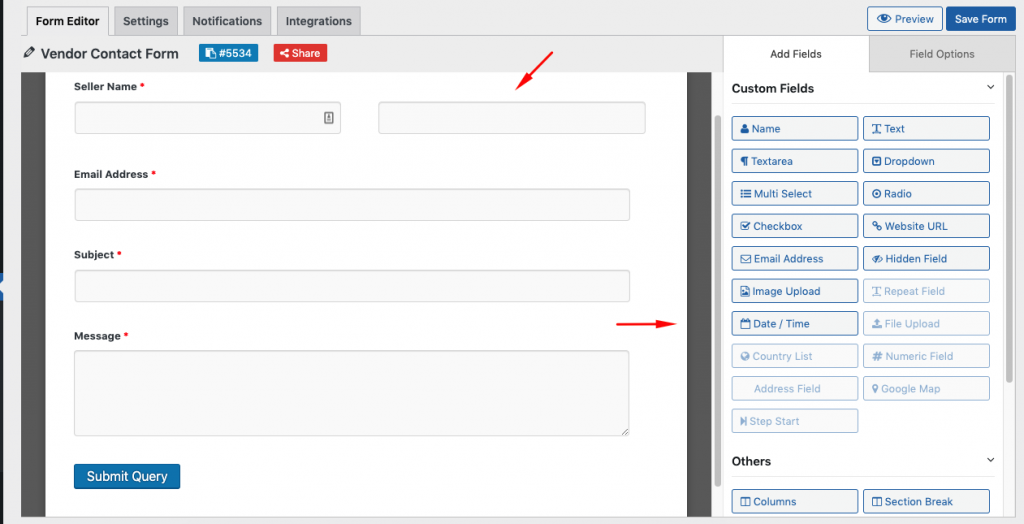
After adding all the required fields, do make sure to click on Save Form to save all changes and activate the form for use.
Dokan Admin Configuration Settings
Your form is ready to use. Now admin needs to configure the settings, so that vendor can find the form right on the frontend.
- To do that navigate to WP-Admin> Dokan> Settings> Vendor Contact Form.
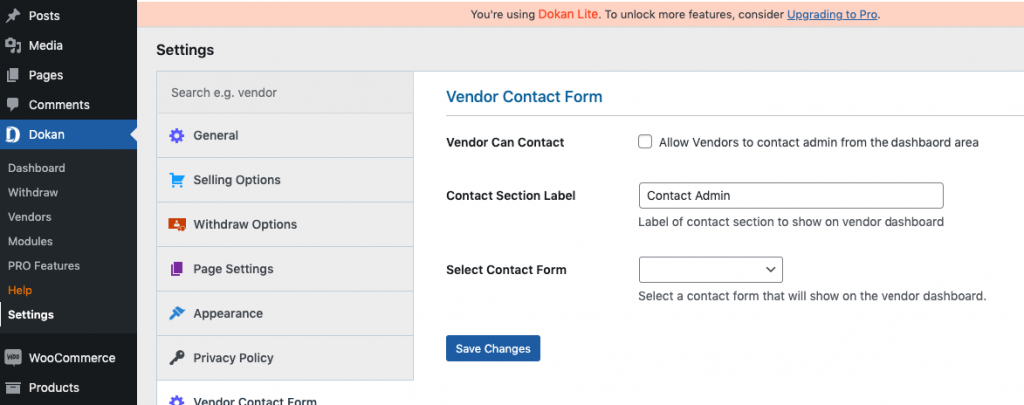
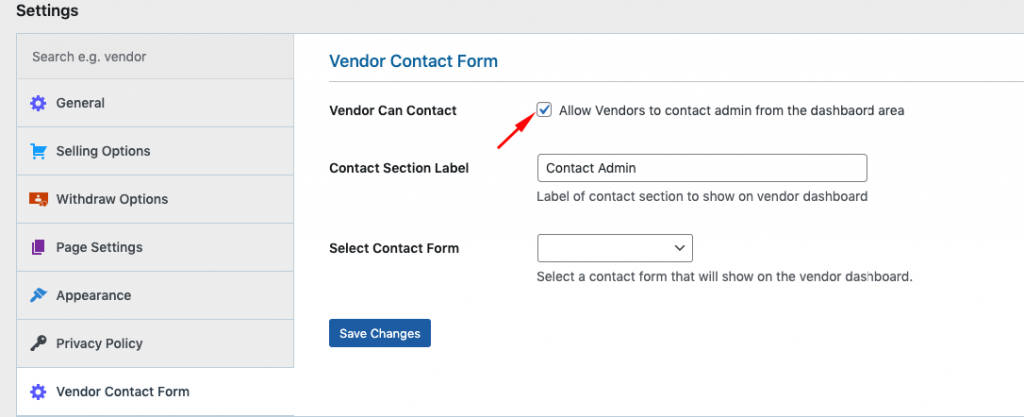
- Enable the check-box Allow Vendors to contact Admins from the dashboard area.
- You can change the default section label [Contact Admin] that will appear in the store sidebar to anything else that is more appropriate for your marketplace.
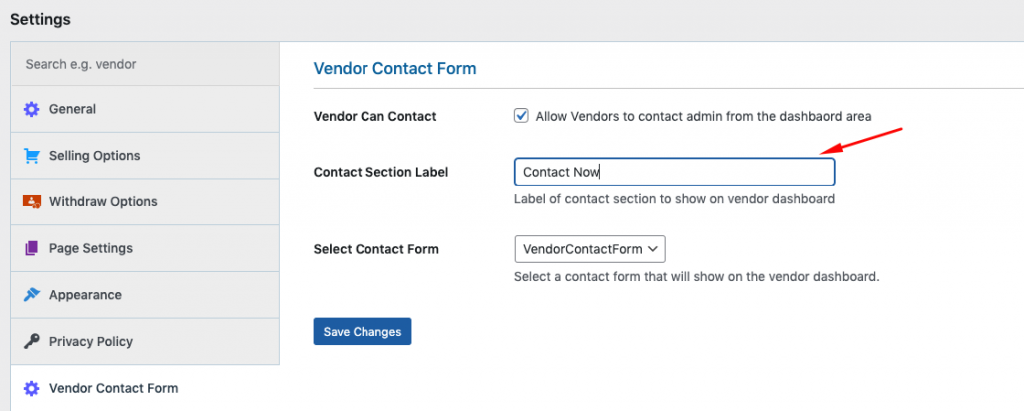
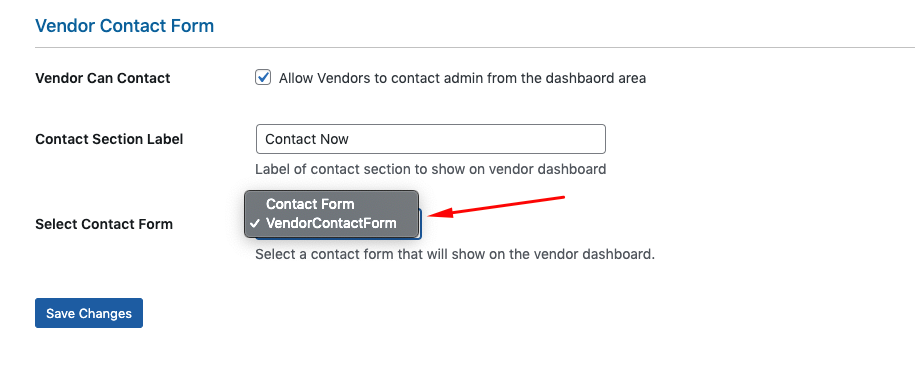
- Finally, select the Vendor Contact Form from the drop-down in the third field. If you want to use a different contact form ensure you have it set up in weForms and saved. Then select your chosen form from the drop-down.
How Vendor Can Find The Contact Form
Now we’ll show how vendors will find the registration form on the marketplace.
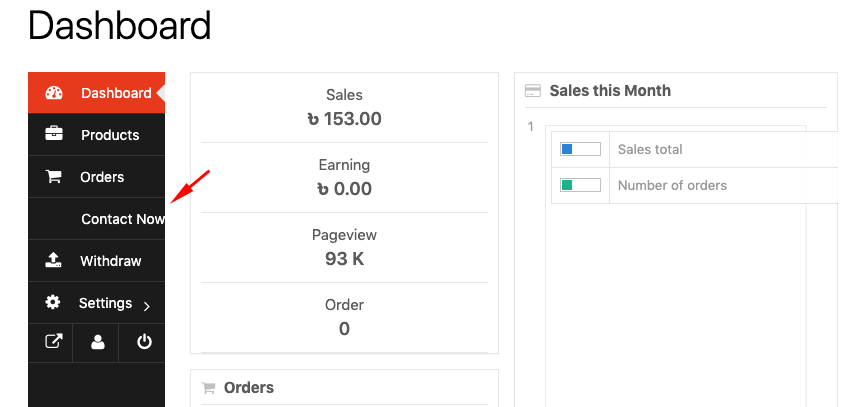
- When the vendor logs into his dashboard, he will now be able to view the new menu label in the sidebar.
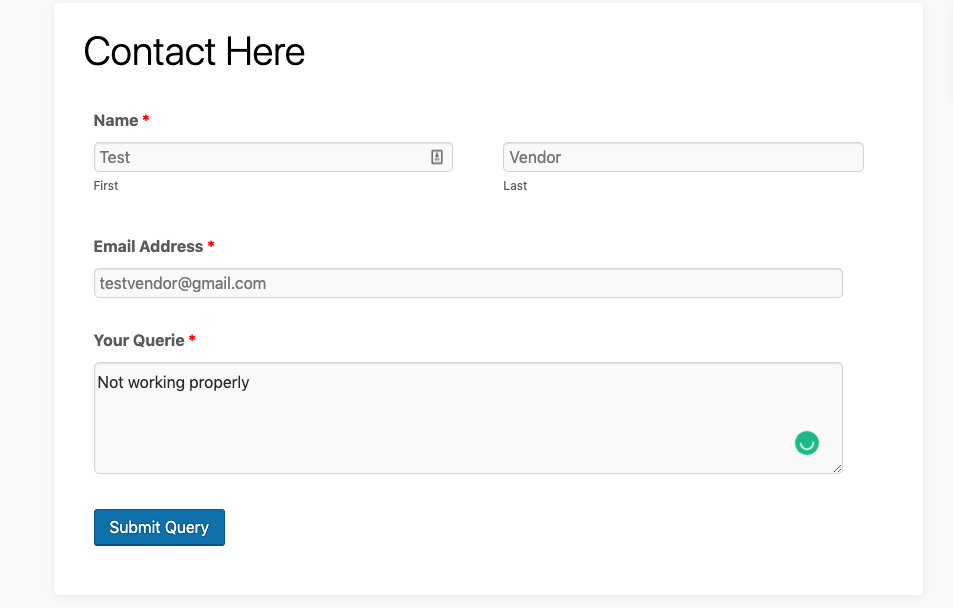
- When the vendor clicks on it he will find the assigned form. Logged-in vendors will have their usernames and email address auto-populated and hidden since this is selected to be the case by default in the Vendor Contact Form template.
After that, vendors just need to hit Submit Query.
How Admins Can Manage Entries
After your vendors submit the queries, you’ll be able to find them right from the backend.
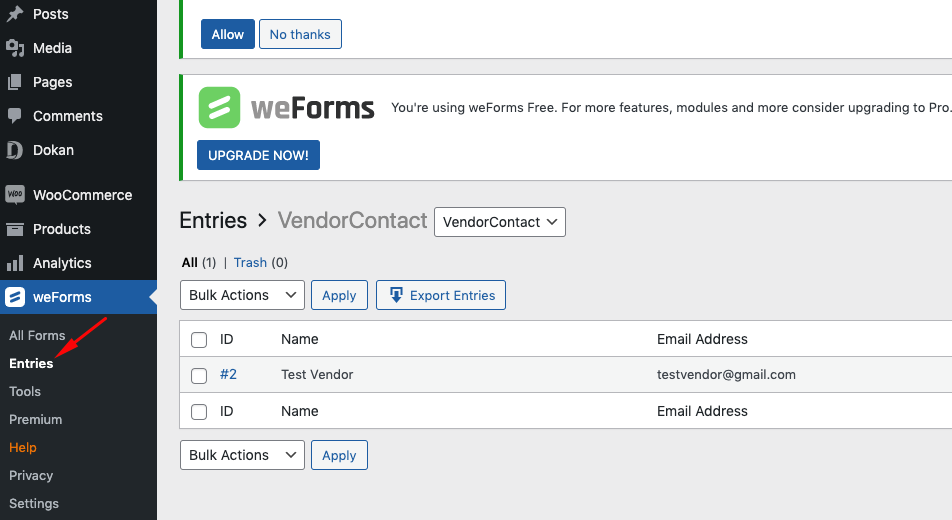
- To find the entries, navigate to weForms> Entries. From here, the admin can view, edit, delete and do more with the entries of each of his forms.
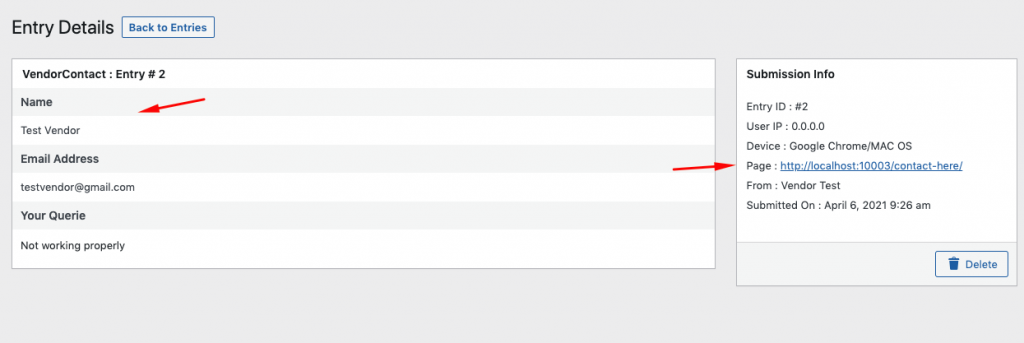
- The Details tab will show the complete message of the vendor to the admin along with other info, such as the date of submission and device used.
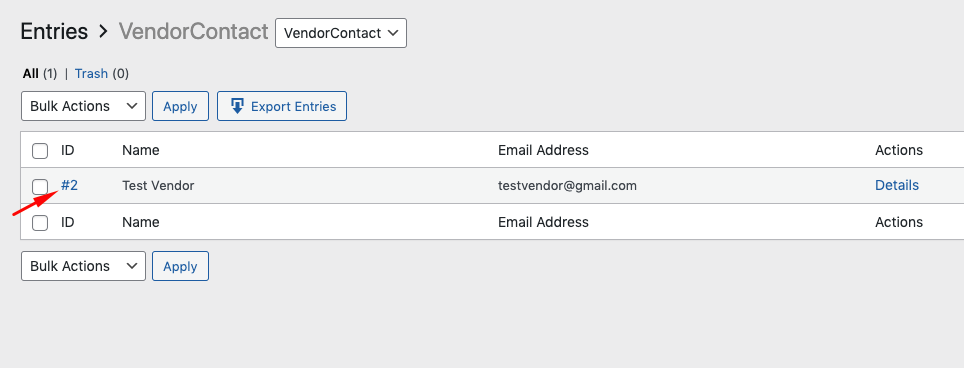
- After clicking on the # like an option, you’ll get all the submission-related queries from here.
So this is how weForms works with Dokan. And helps store owners to collect vendors’ complaints, queries or immediate suggestions, and more.