Admins now can charge vendors for withdrawal requests. This will help admins cover the payment gateway charges and help them recover maximum profit.
We will show you how to configure the Dokan withdraw charge feature.
How to Configure Withdraw Charges?
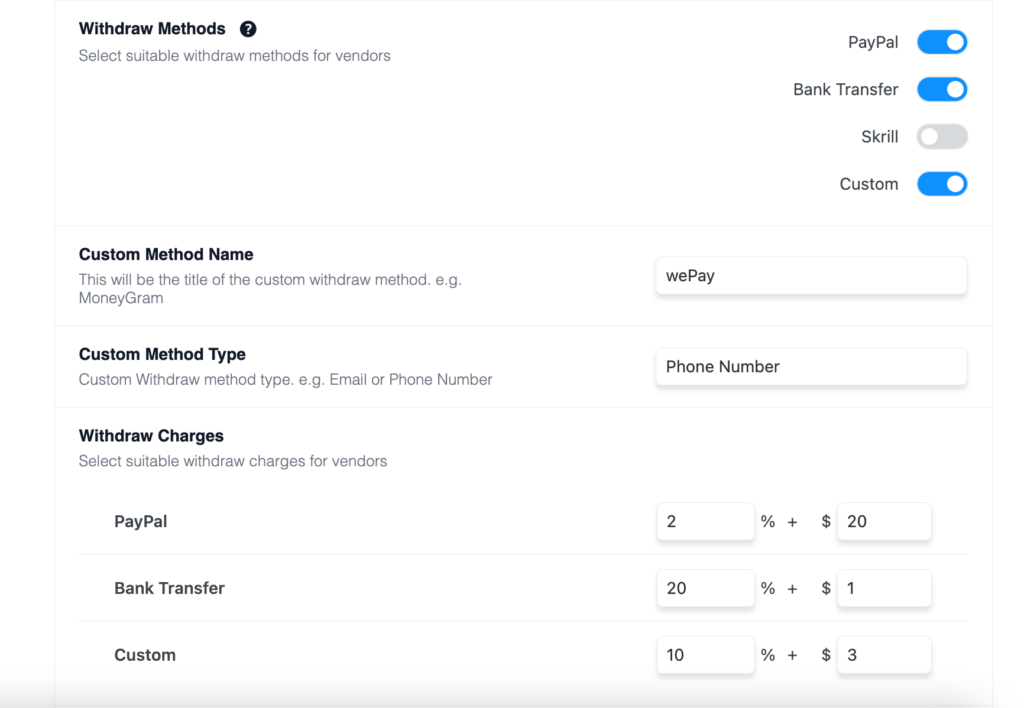
First, go to Dokan→ Settings→ Withdrawal Options. There you will find the Withdraw Charges section. You can withdraw charges for the payment gateways you have enabled.
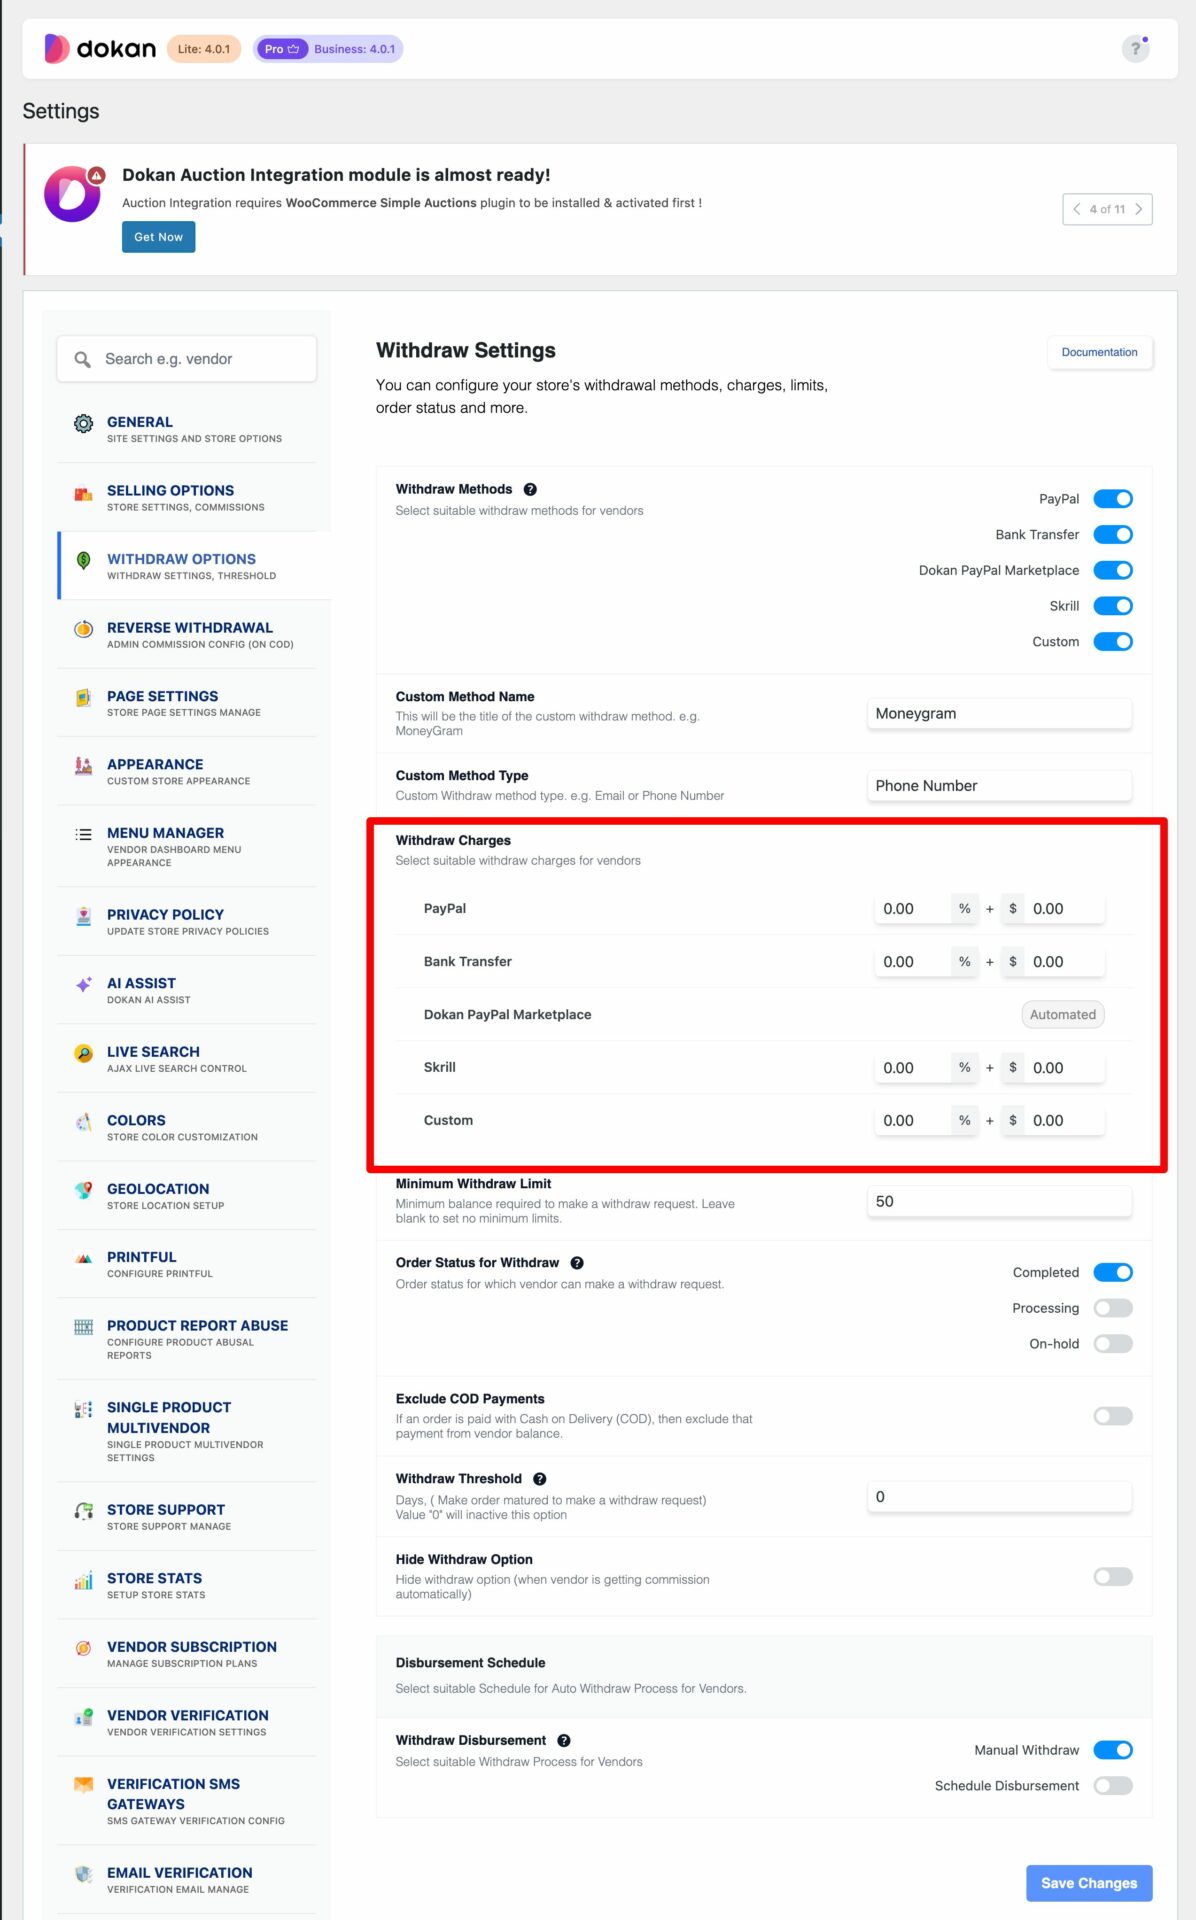
Also, you can add both percentage and/or flat amounts.
Don’t forget to save the settings after configuring.
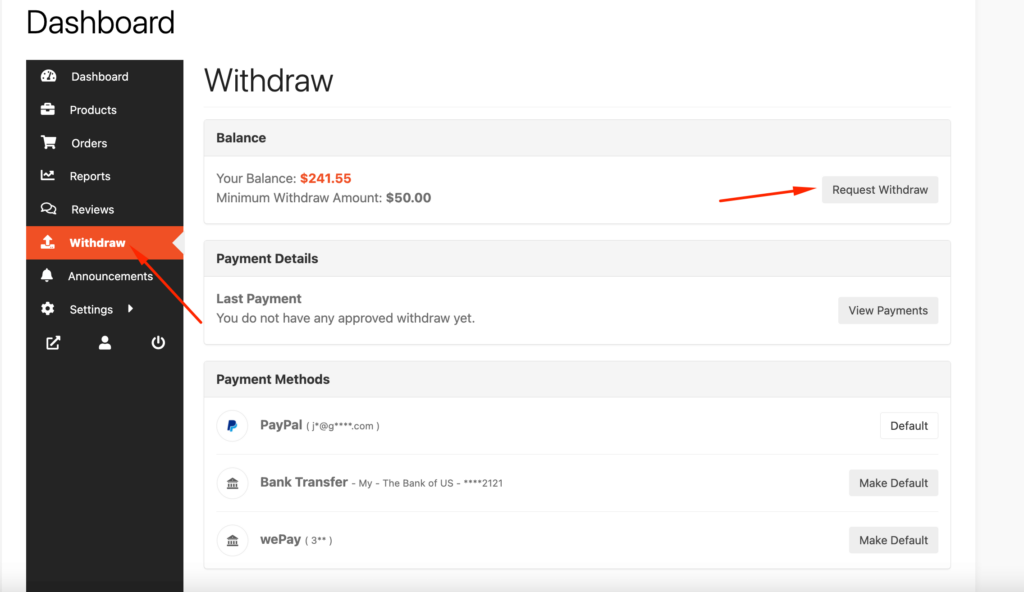
Now, when vendors go to Vendor Dashboard→ Withdraw and click on the Request Withdraw button,
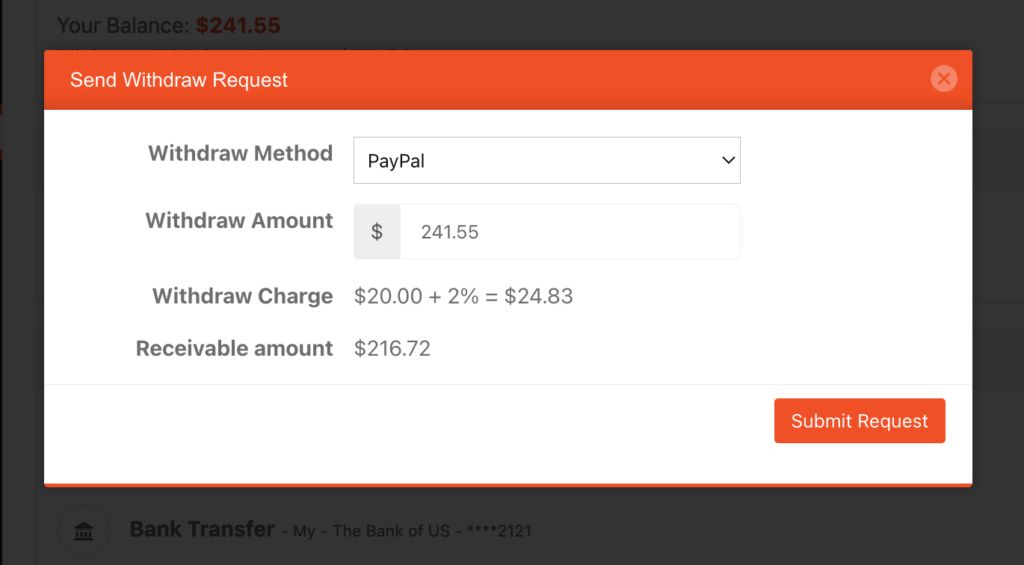
They will see the withdraw charge in the pop-up window-
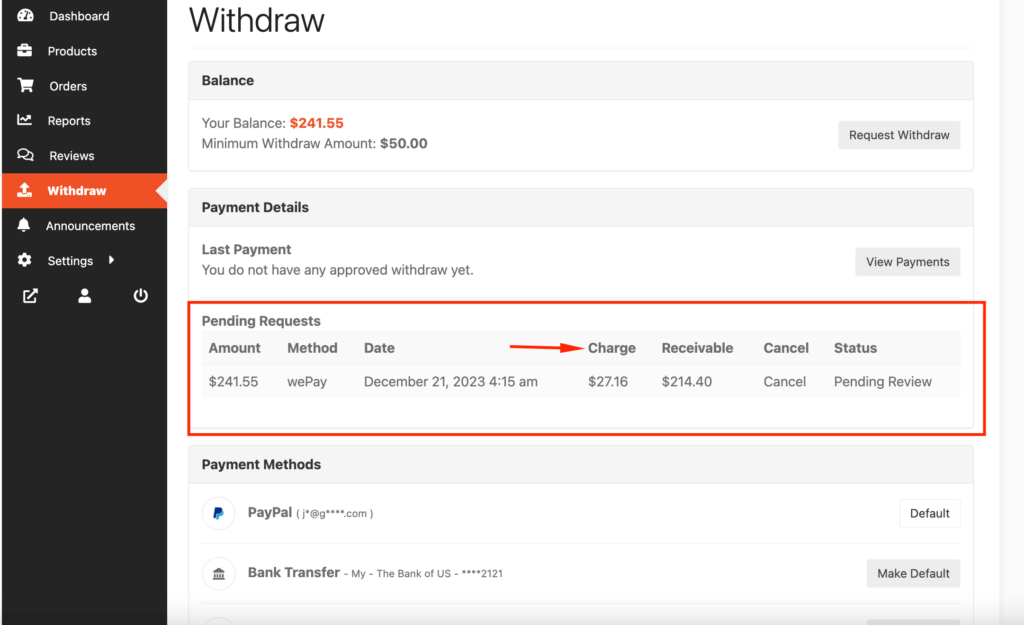
After submitting the request, vendors will see the new column where charge is mentioned-
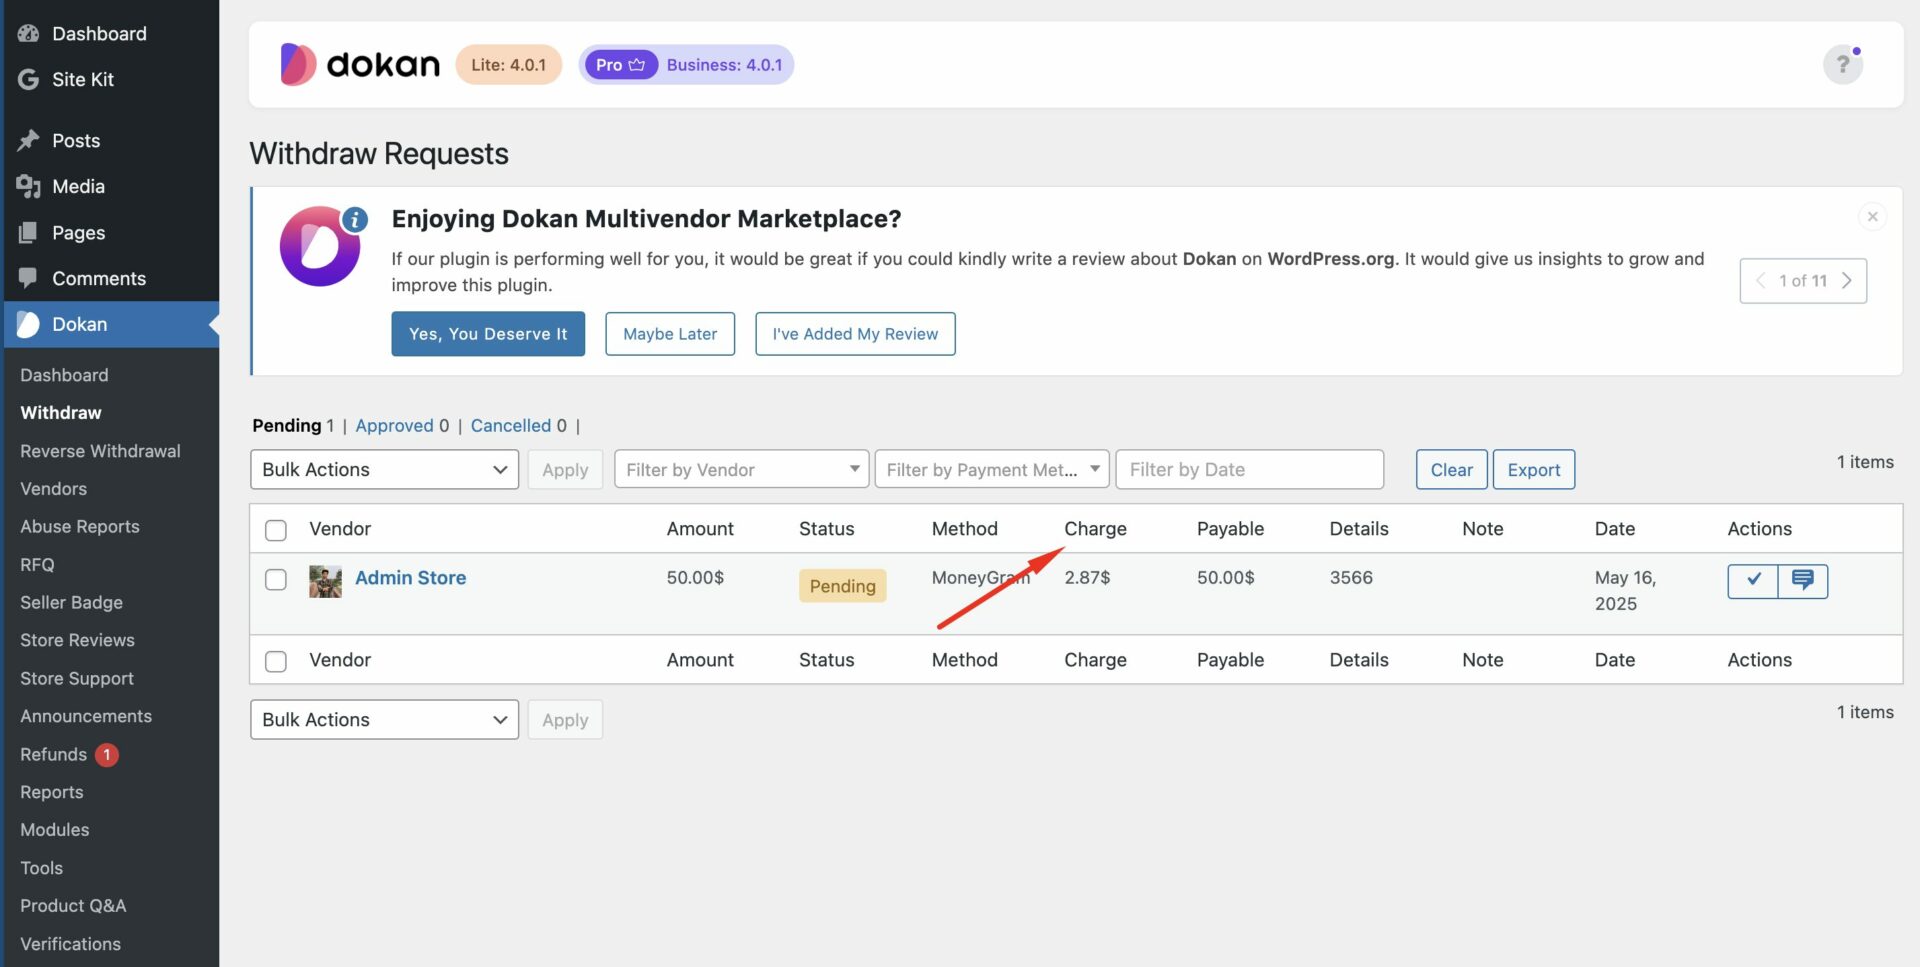
Now when you approve the request from the admin dashboard, you will also see the charged amount-
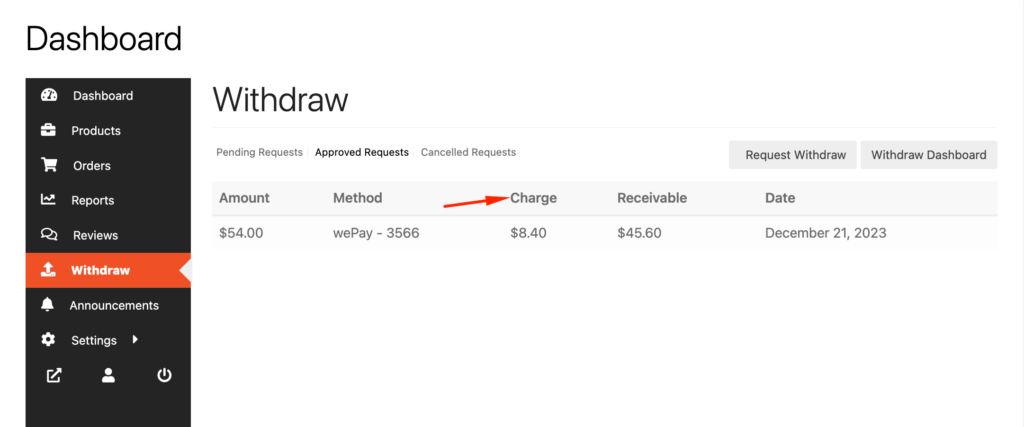
After approving the request, vendor can see their withdrawal in the Approved section after clicking on the View Payments option,
This is how you can configure the withdrawal charge feature of Dokan multivendor.
Calculation Example:
Admin Settings:
Flat Withdraw Charge: $5.00
Percentage Withdraw Charge: 3%
Vendor A Withdraw Request:
Requested Withdraw Amount: $500
Calculation:
Flat Charge: $5.00
Percentage Charge: 3% of $500 = $15.00
Total Withdraw Charge = Flat Charge + Percentage Charge = $5.00 + $15.00 = $20.00
Payable Amount to Vendor A = Requested Withdraw Amount – Total Withdraw Charge = $500 – $20.00 = $480
In this case, Vendor A will receive $480 after the admin deducts the withdrawal charges.