Dokan Pro included a useful feature where vendors can set a brand for their products from an existing Brand list. And the interesting part is vendor could only set the brand created by the admin.
Requirements
Before you start creating brands, let’s check out the requirements below:-
- WooCommerce (Free)
- Dokan Pro
- YITH
How Admin Will Create Brands
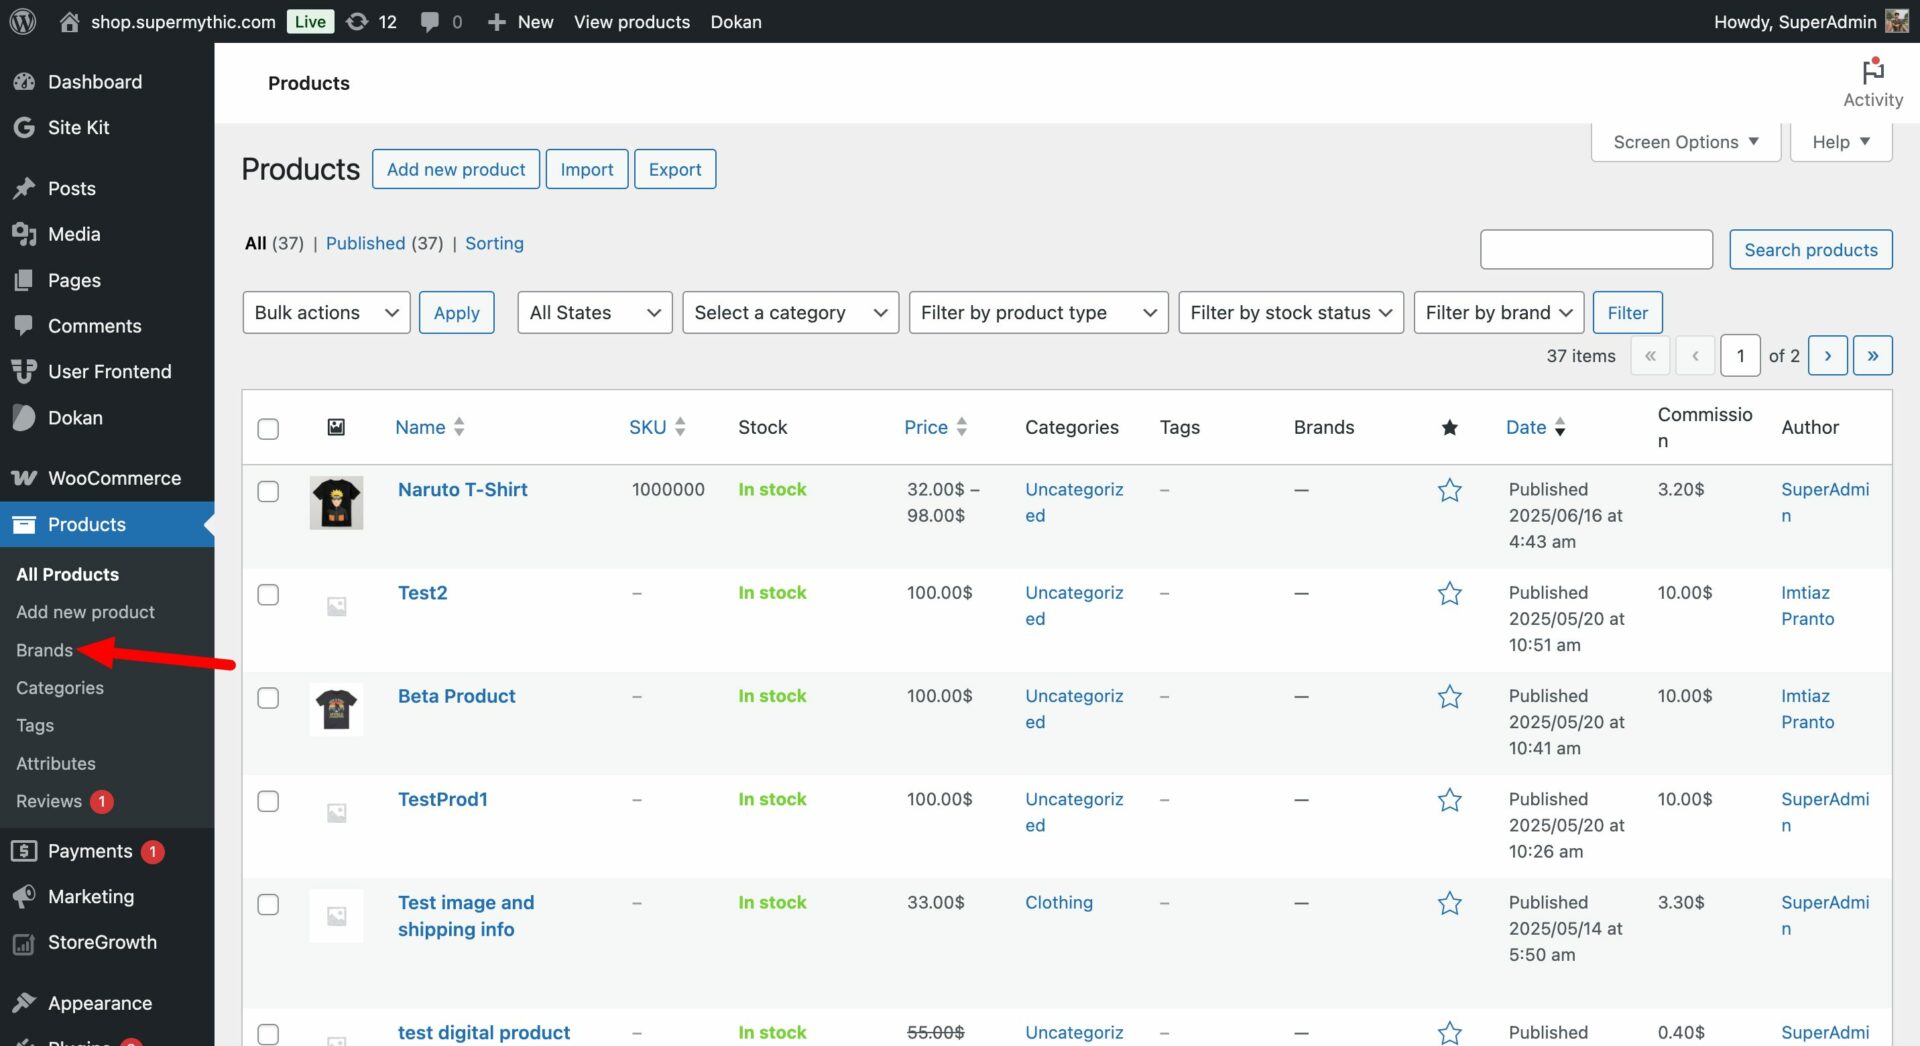
First of all, you will need to login to the WP Admin Dashboard > Products > Brands.
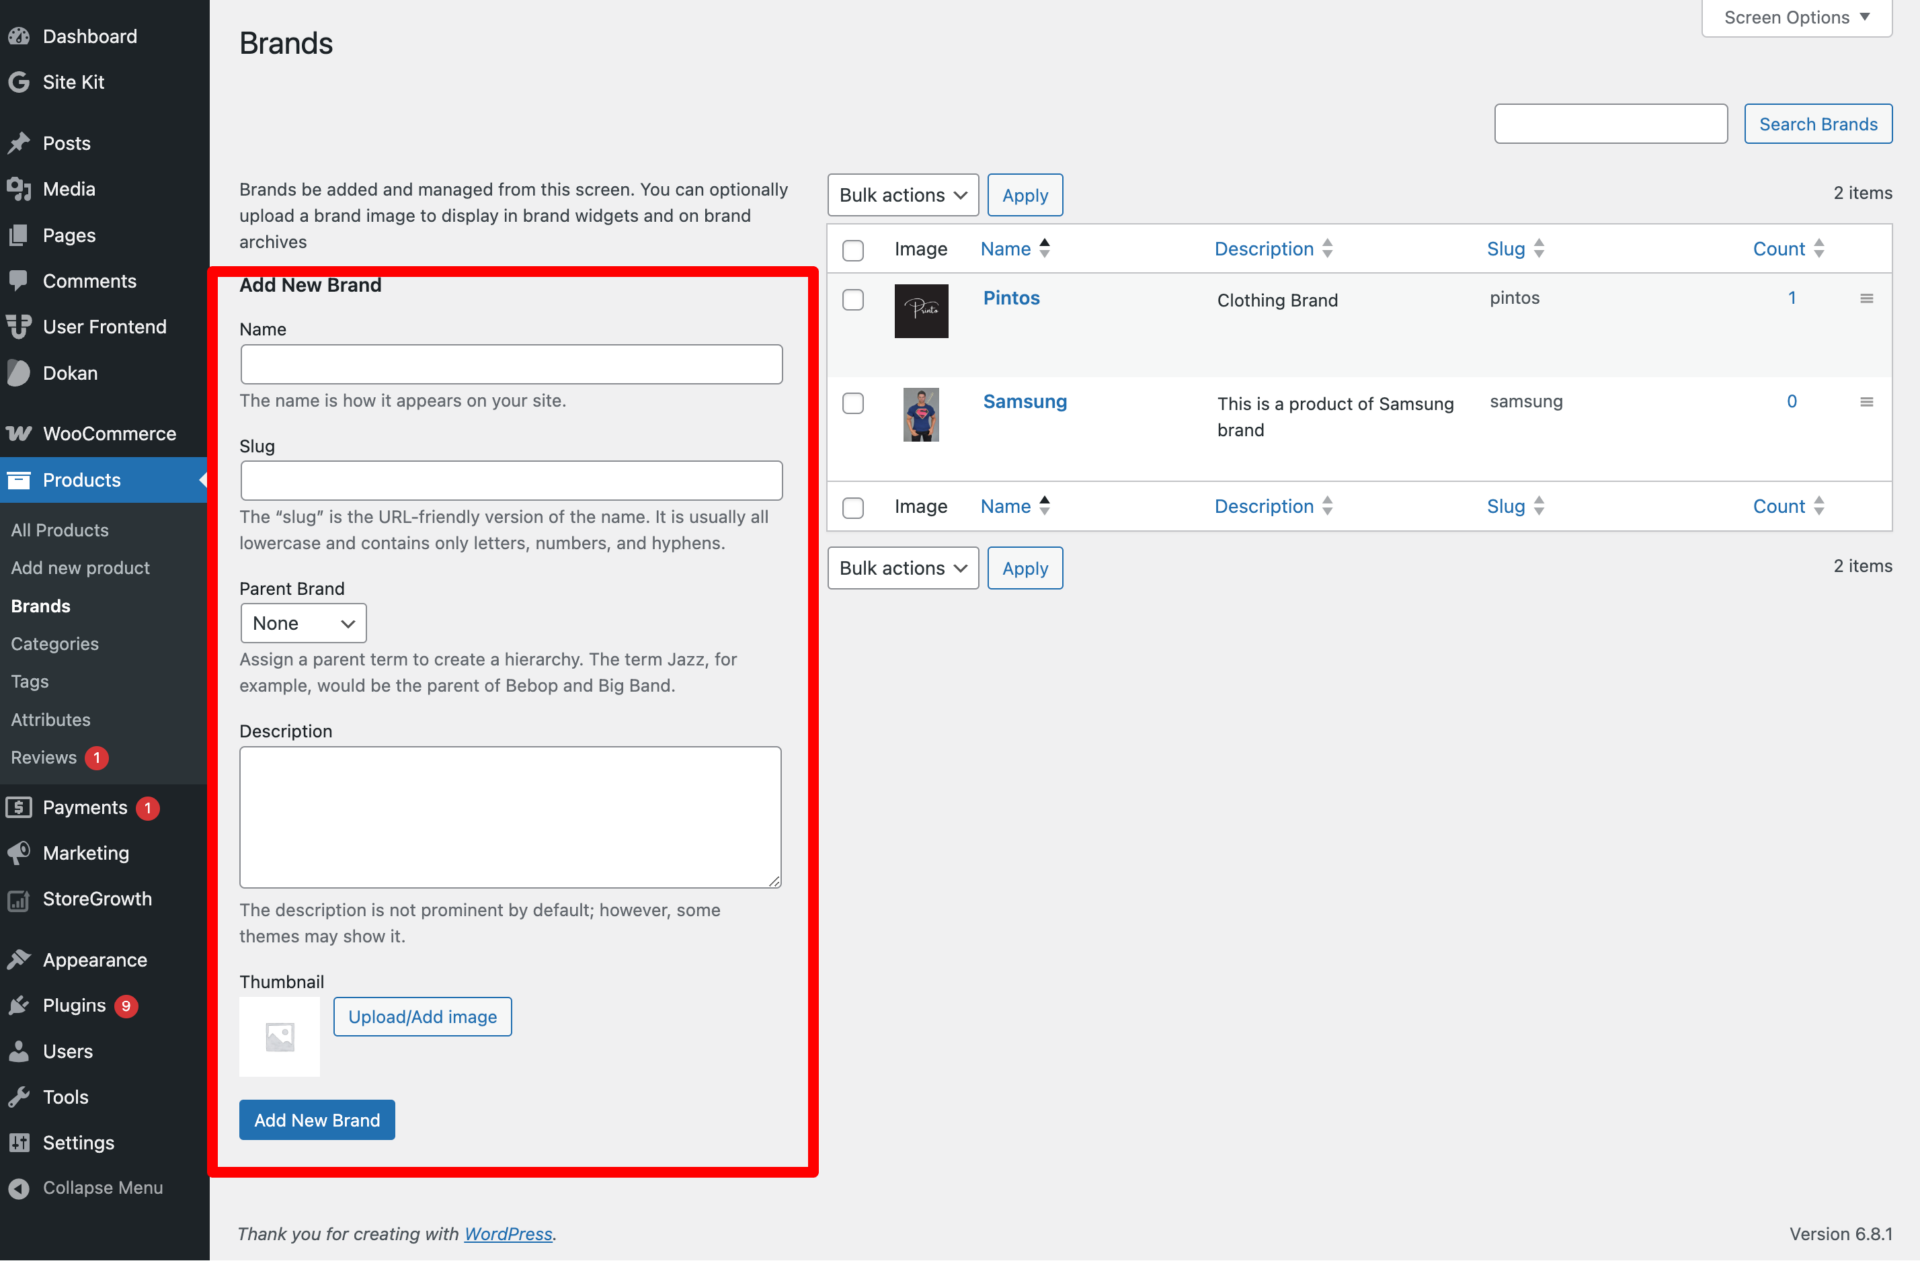
After that, you will have to fill out the fields, select a parent brand (optional), upload or add image.
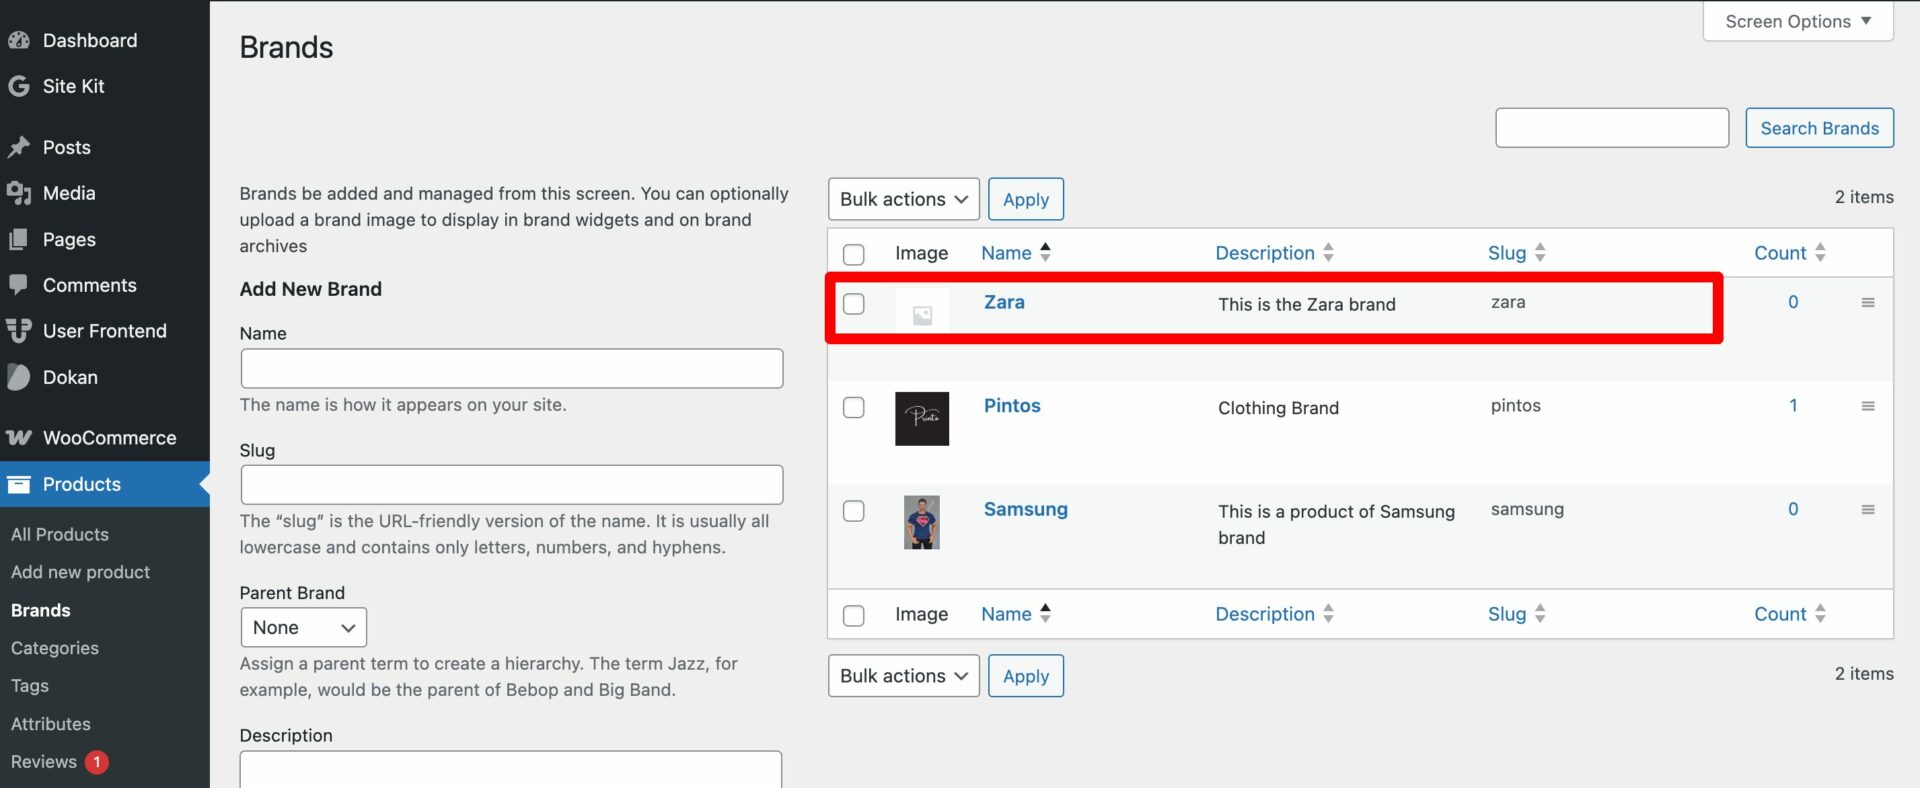
Finally, hit the “Add New Brand” button to create the brand. You will be able to see the brand you just created.
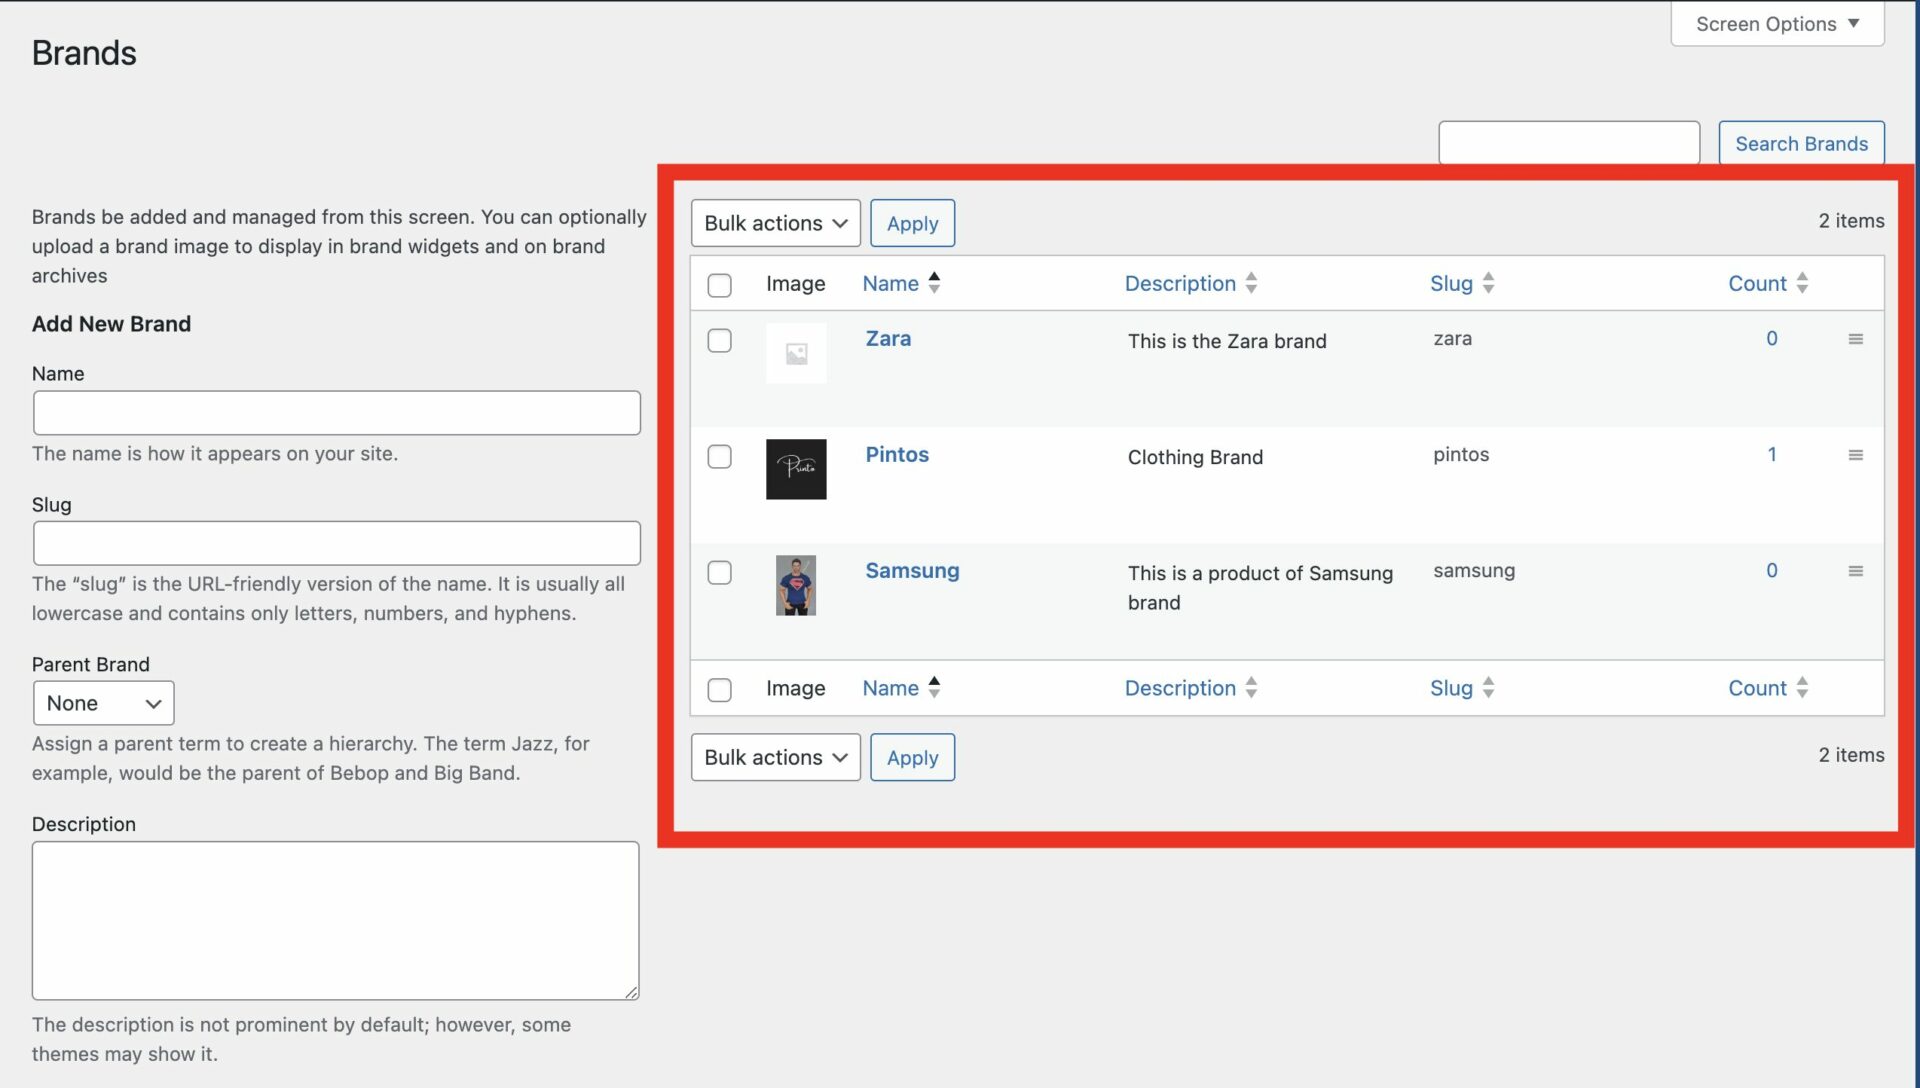
If you create multiple brands, they will appear in a vertical list:
How the Vendors Will Set the Brands?
The vendors can only set brands from a list of already created brands by admin.
Adding Brand for a New Product
As a vendor, to set brands for a product you have to go to his/her Dashboard > Products.
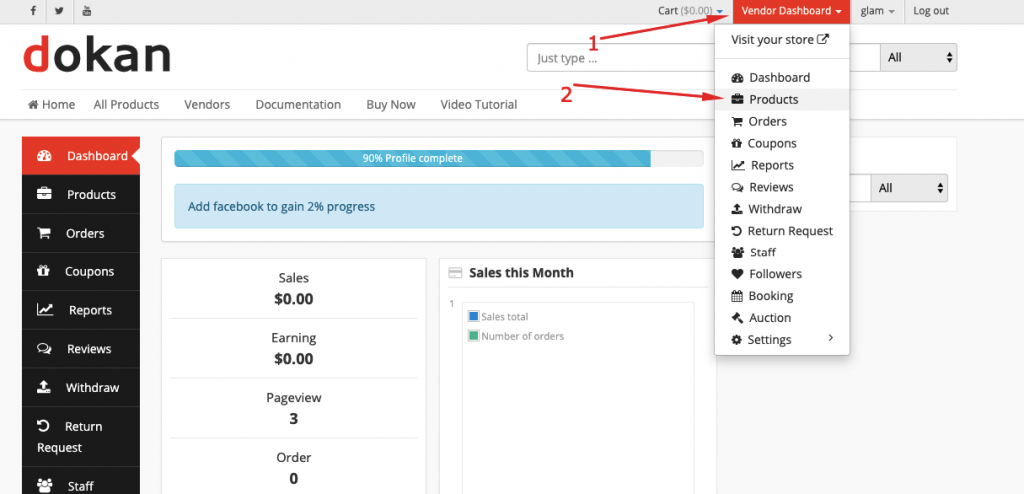
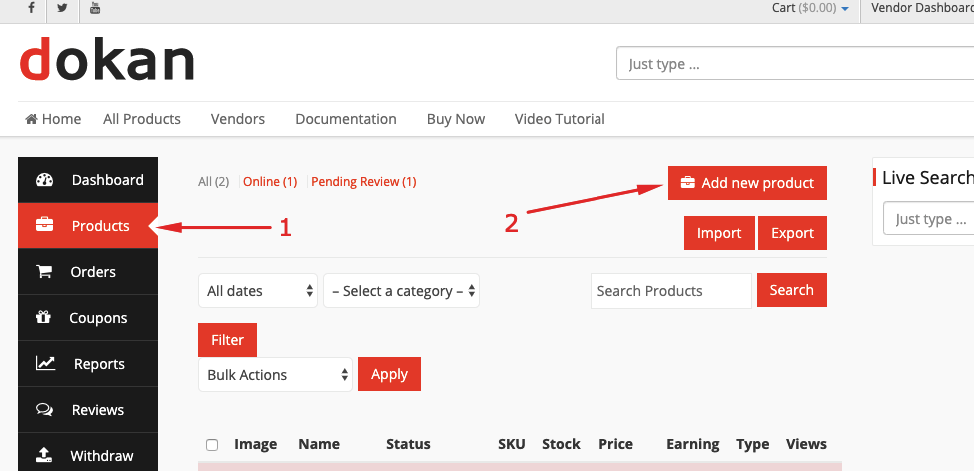
Next, click on add new product:
Then, you will get the options to add brand with all other options while creating a product.
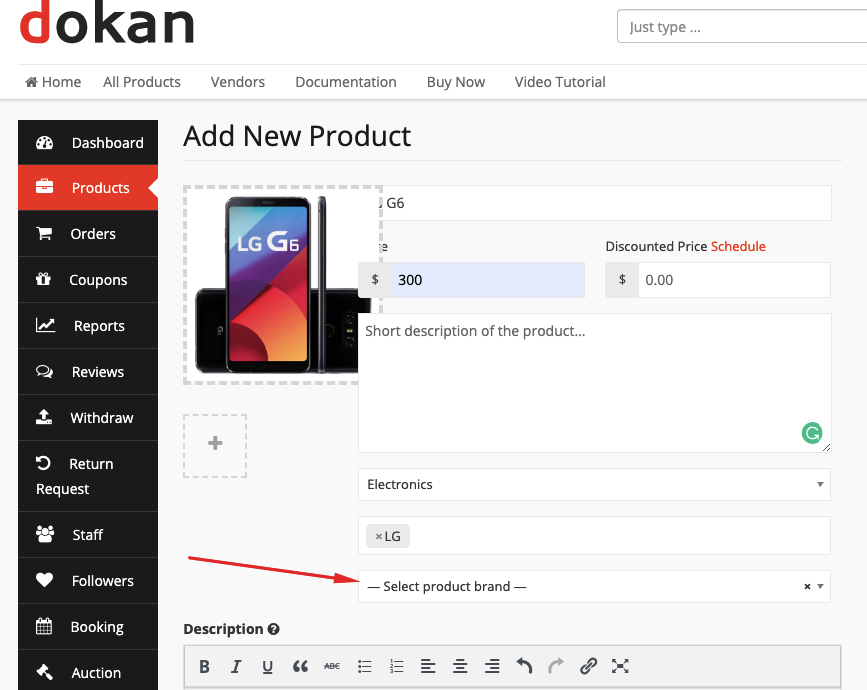
Select the Brand name from the dropdown menu:
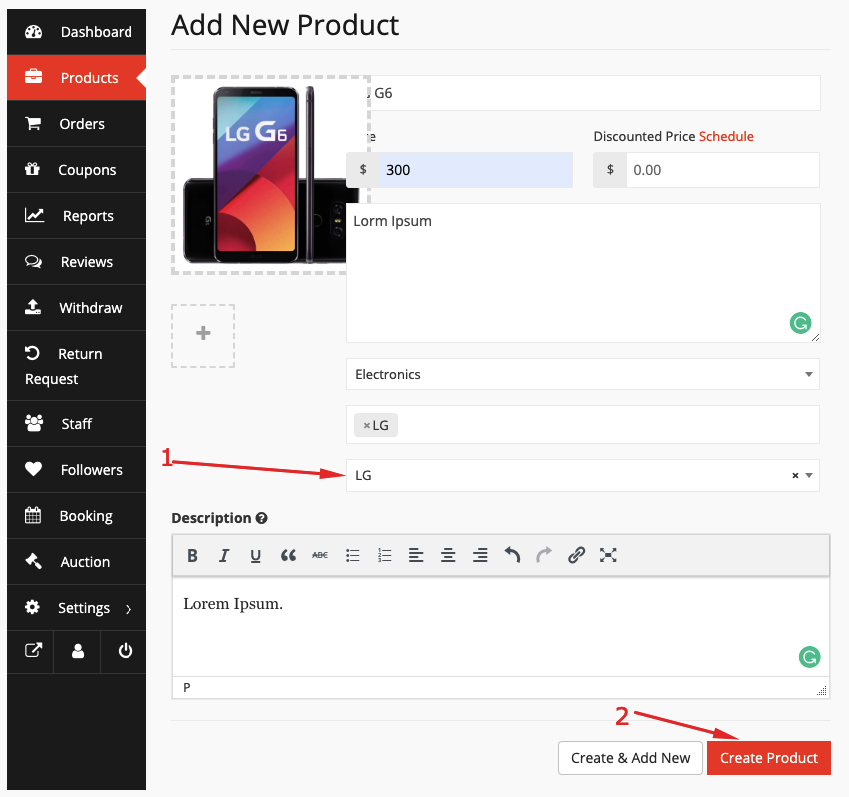
Finally, hit the “Create Product” button to finish adding the brand.
Adding Brand for an Existing Product
To add brand for an already existing product, go to your products > select the edit option from a product by hovering the mouse pointer on it.
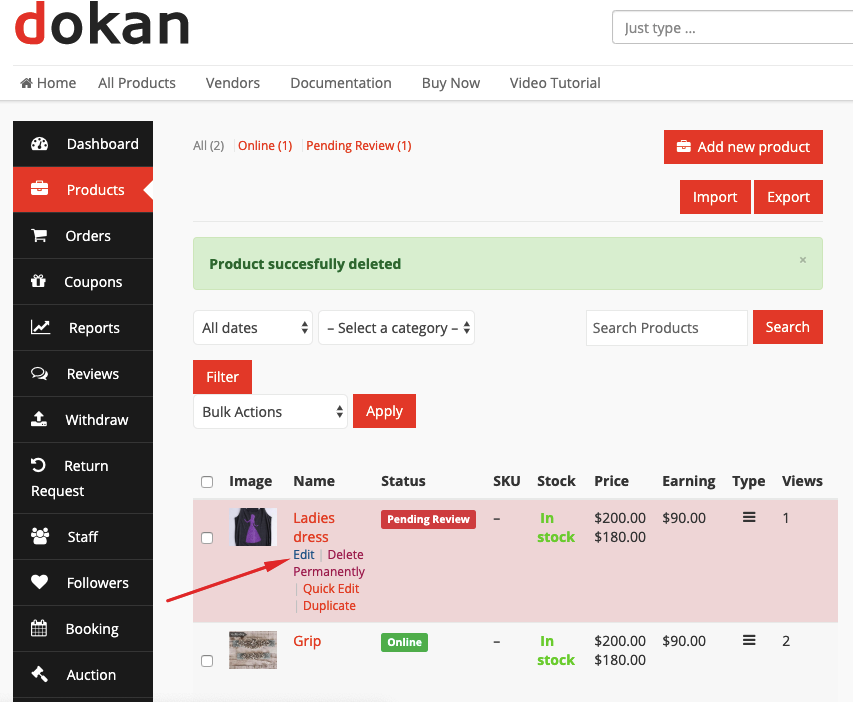
After that, scroll down to get to the Brand option:
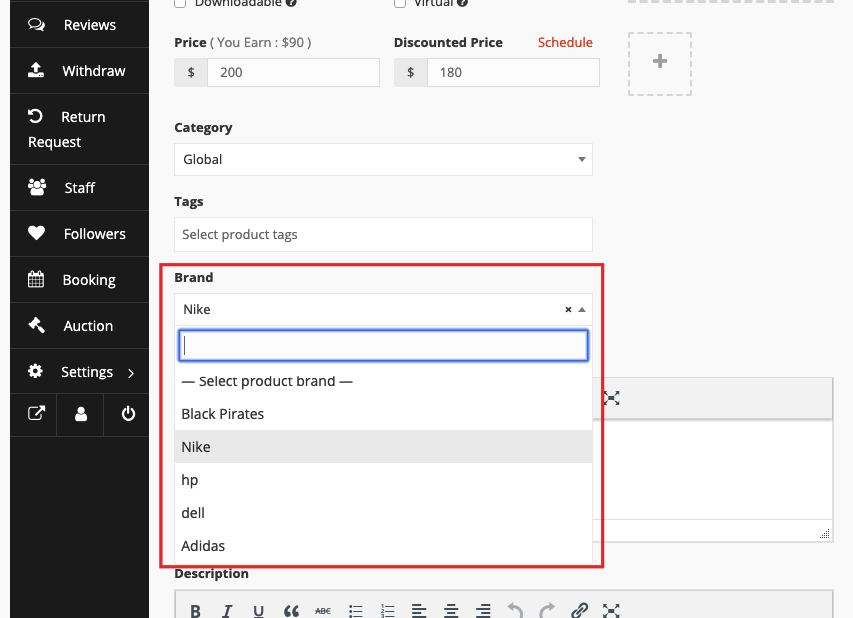
Now, select the brand for your product and click the Save Product button.
That’s all about Branding.