Go to the Android tab for Facebook Login and go to Quickstart–> Android for step 1.
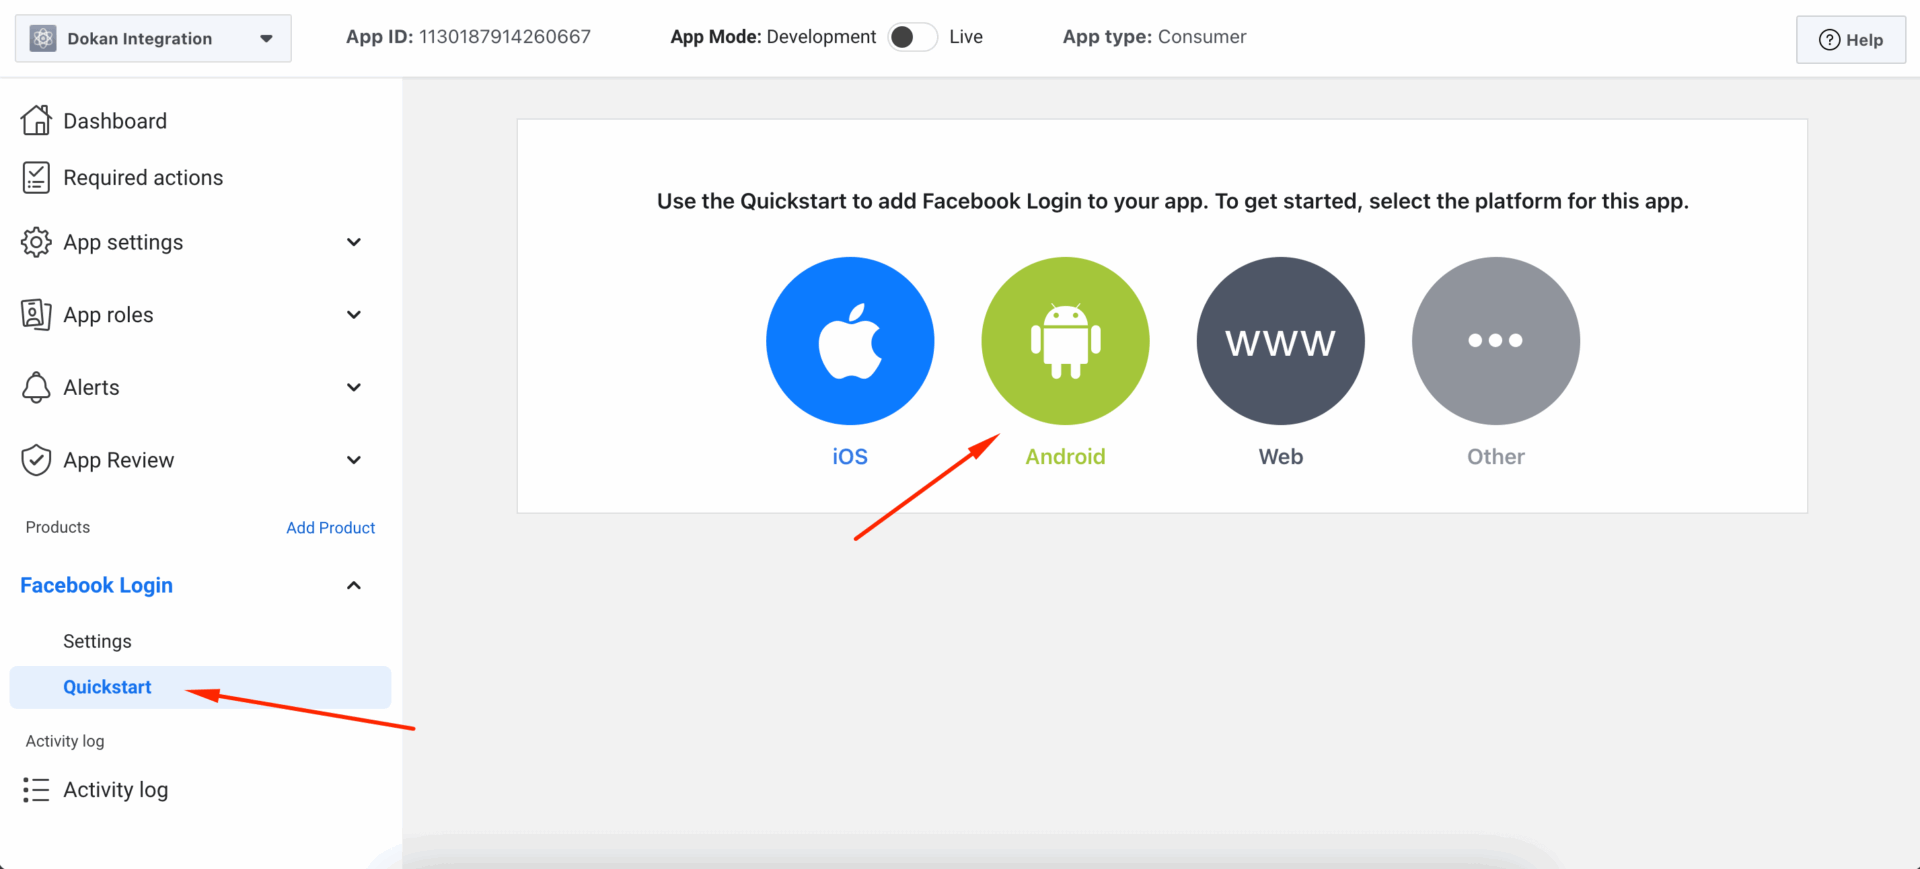
Then you need to configure all the steps-
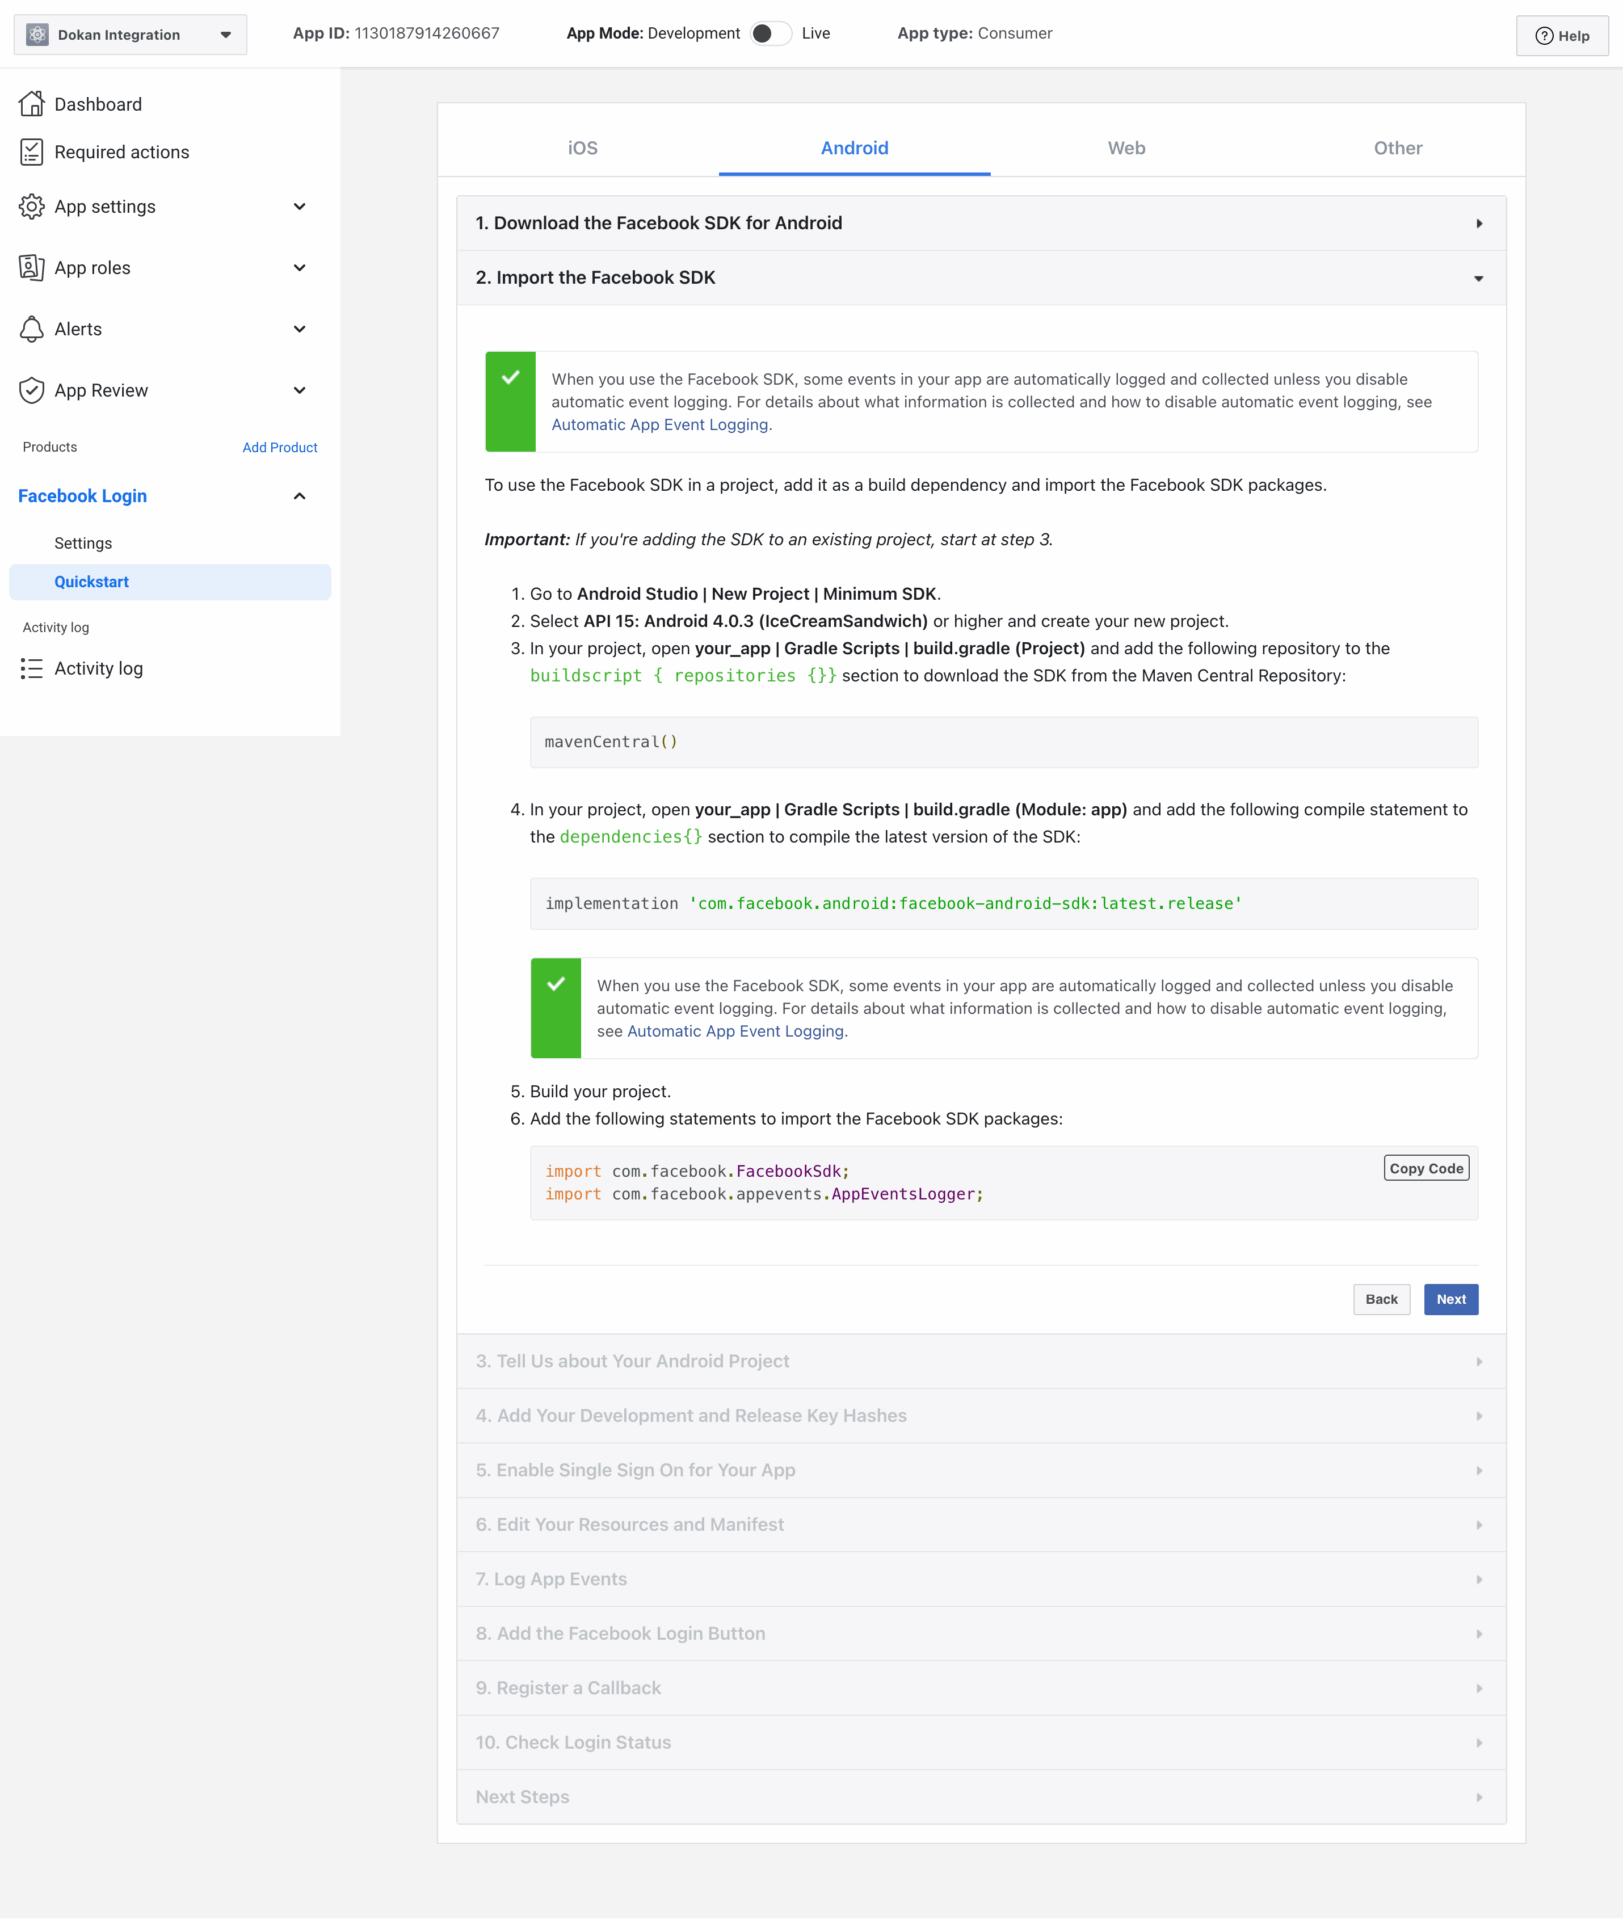
In the first two methods, download and import the Facebook SDK.
Step 3: Fill in the information like the image below
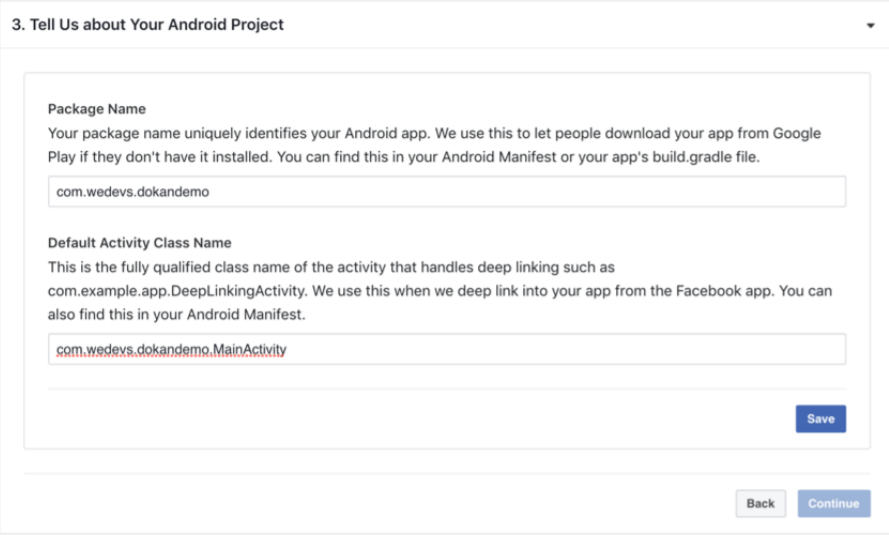
Be sure to use your own package name. To fill in the “Default Activity Class Name” field just append a dot (.) and the word MainActivity to your package name. Upon clicking the “Save” button, a pop-up may appear like below.
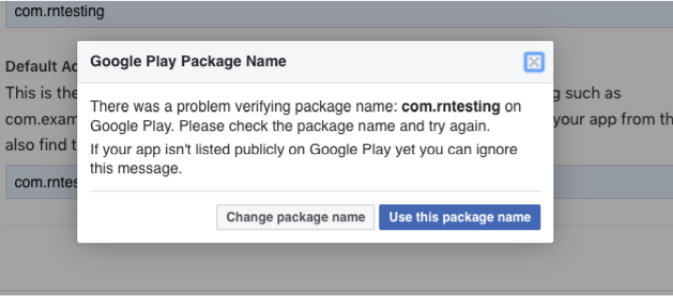
Don’t worry about it. Just click the “Use this package name” button. Then click “Continue”.
Step 4: Scroll down to the place where the “Key Hashes” input field is located. See the image below

Copy the key hash that was given to you. Paste it here and click “Save” and then “Continue”. In
Step 5: enable “Single Sign-On” like the image below.
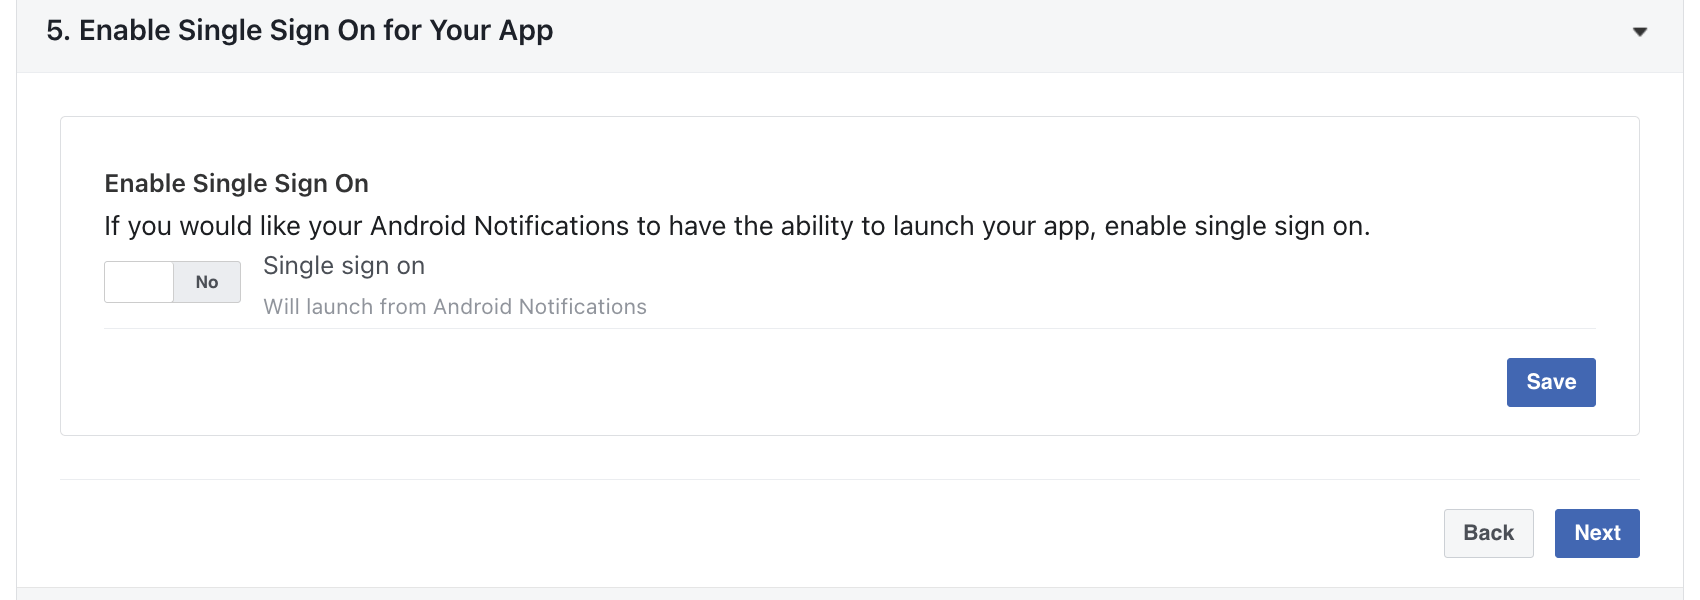
For the remaining steps, just click the Next button as you don’t need to do anything else.
Don’t forget to press the “Save” button.
Congrats! you have successfully configured Facebook Login for your Dokan Android app. Don’t worry about the other steps that you haven’t touched. They are all configured for your app. See Facebook Login in action in your app.