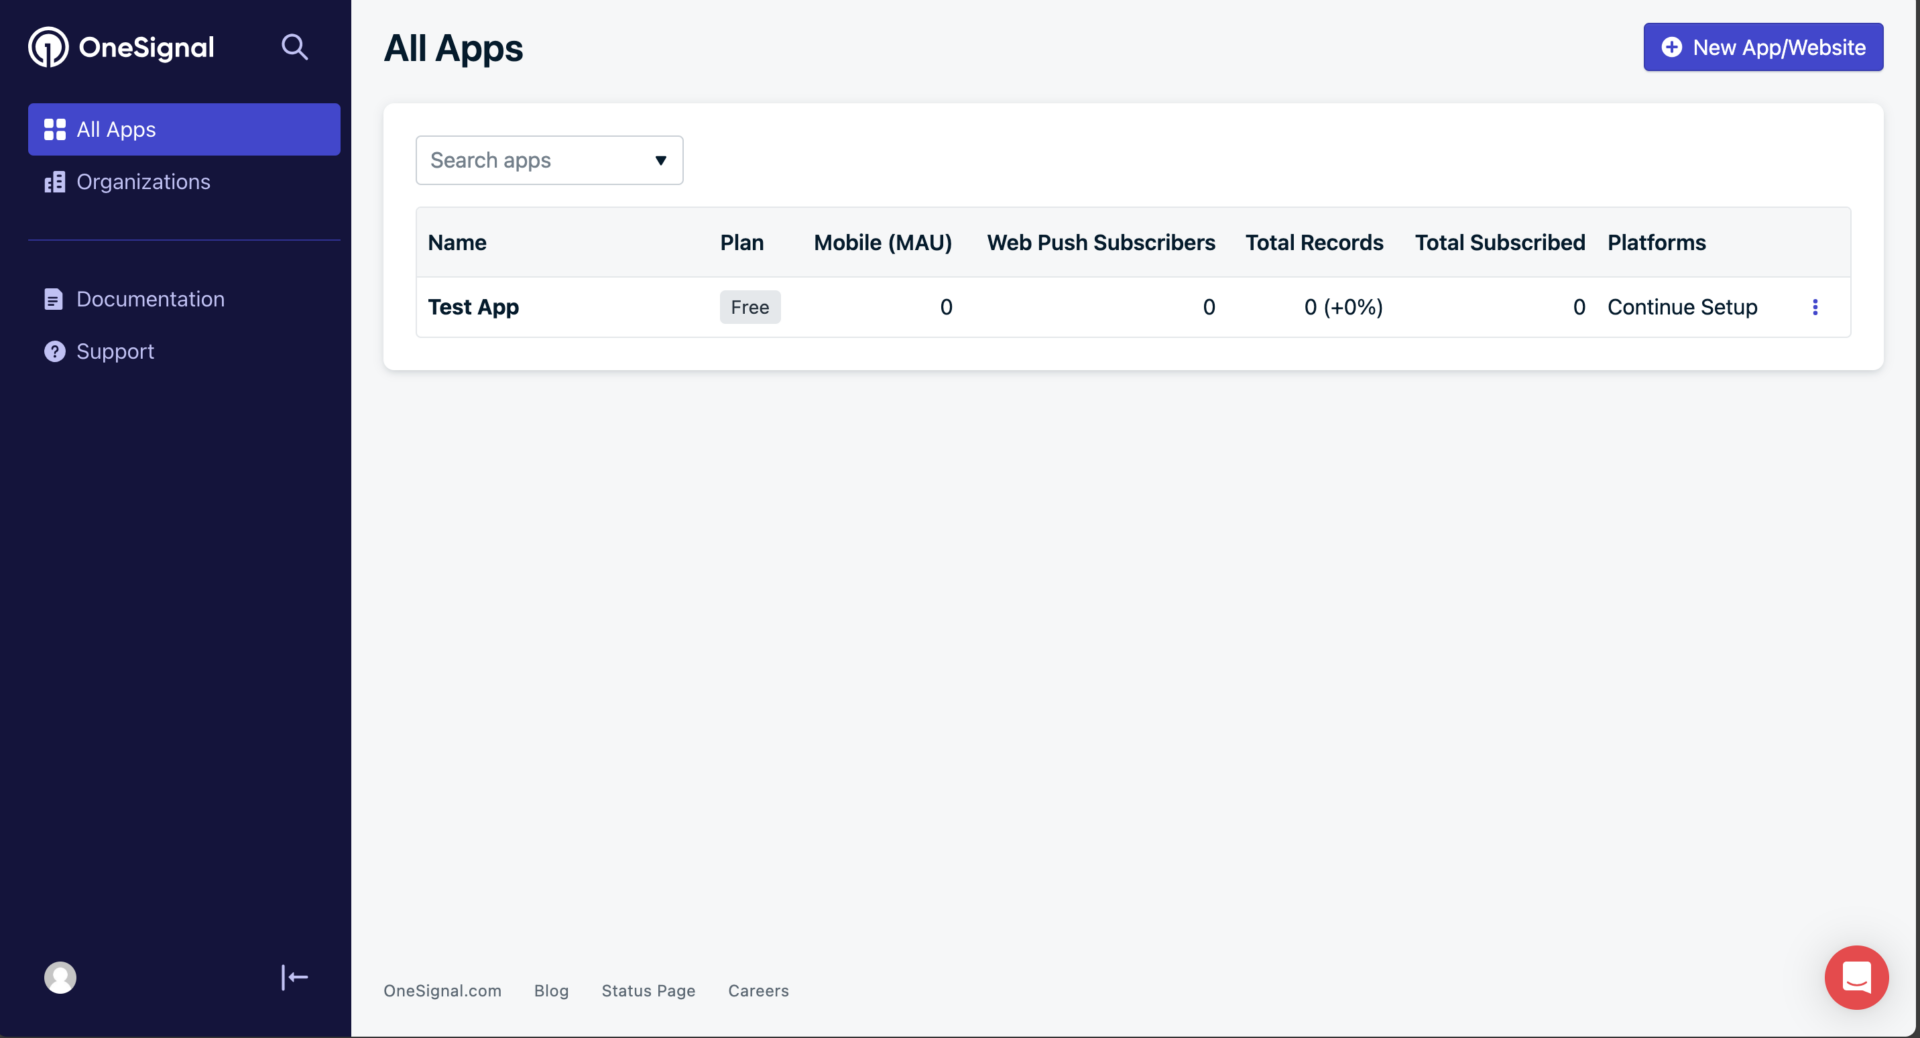
We are using a Push Notification Service called OneSignal for Dokan app. You’ll need to create an account on OneSignal and configure an app to avail the push notification feature of Dokan App inside your own customized app. Login to OneSignal. If you don’t have an account, create one. You will be taken to a page like below.
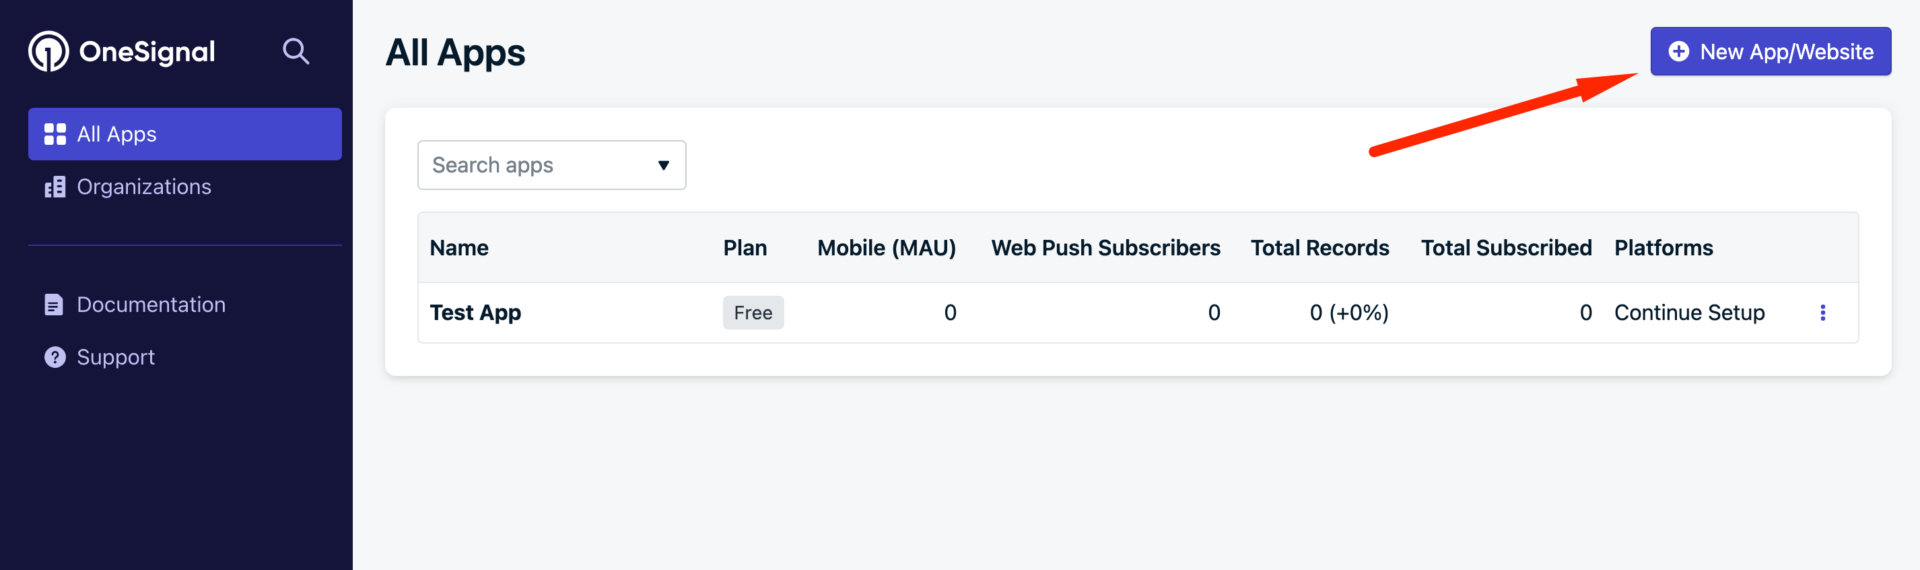
Click the “NEWAPP/WEBSITE” button.
Fill in the “APP NAME” and click create
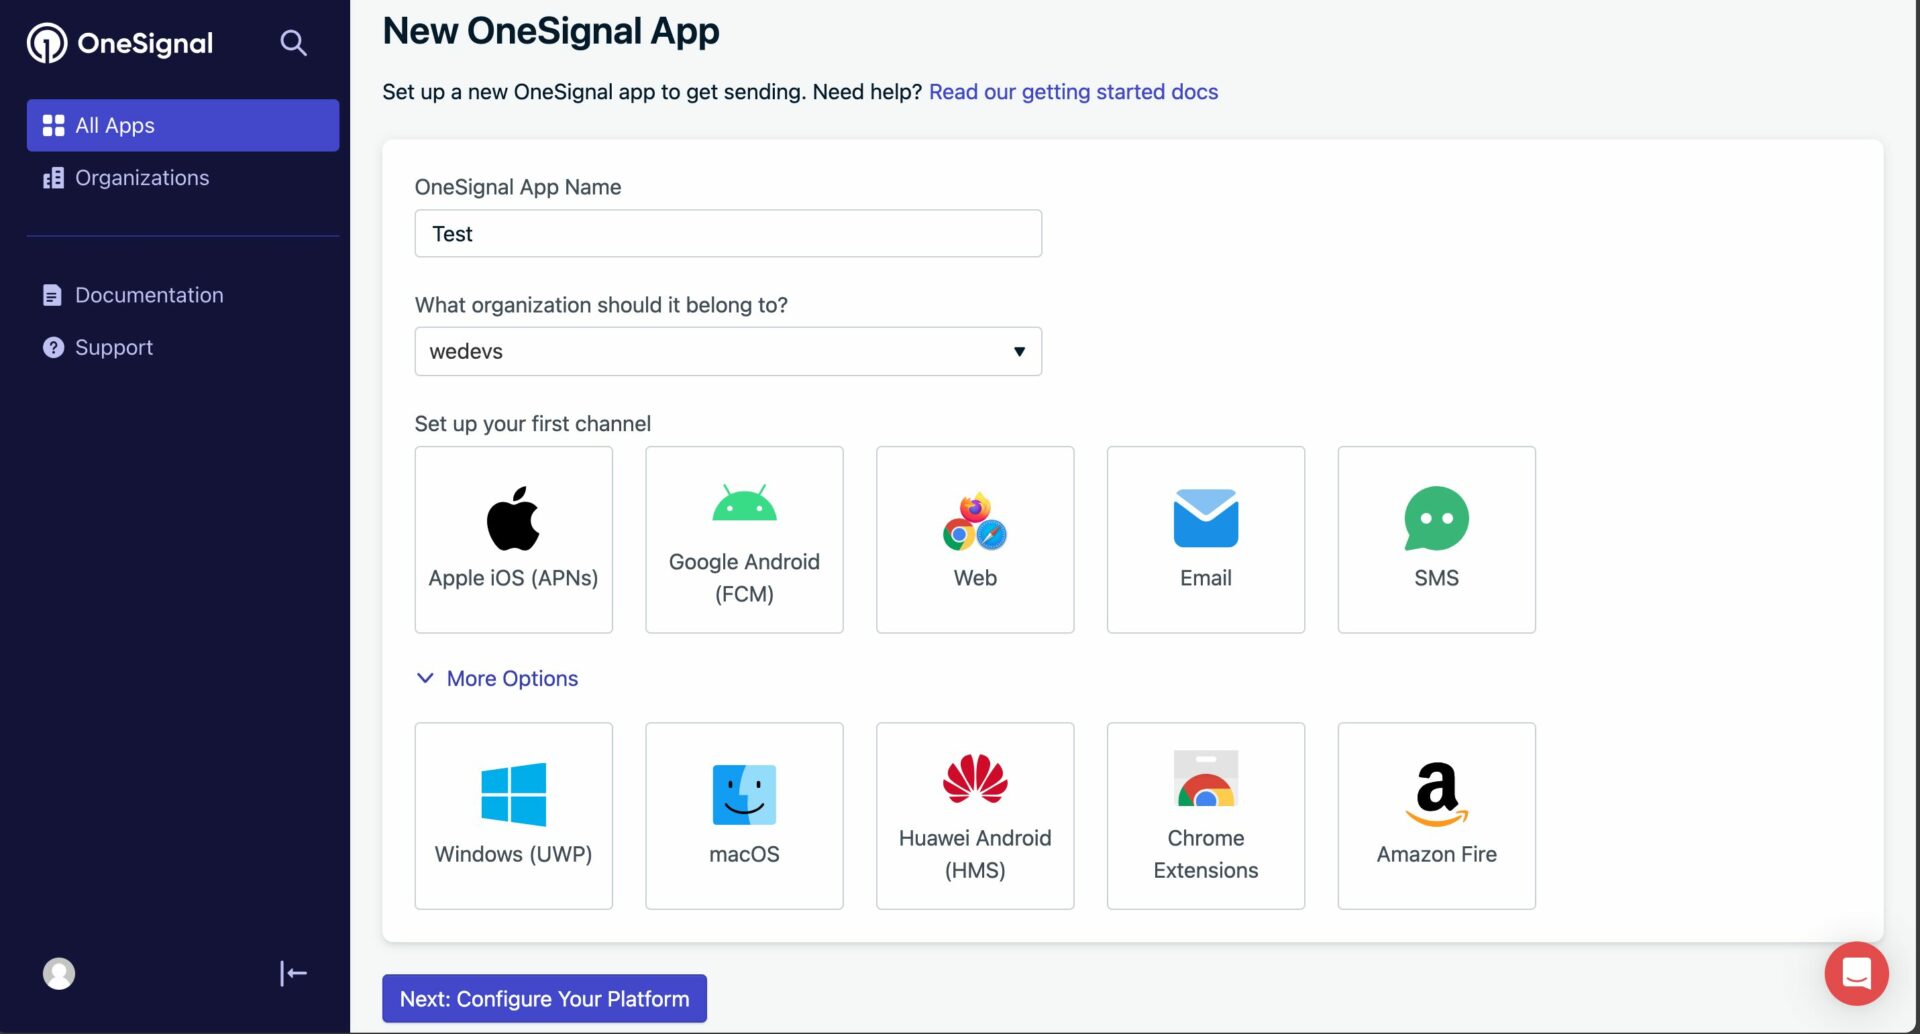
Click on the Configure Your Platform button.
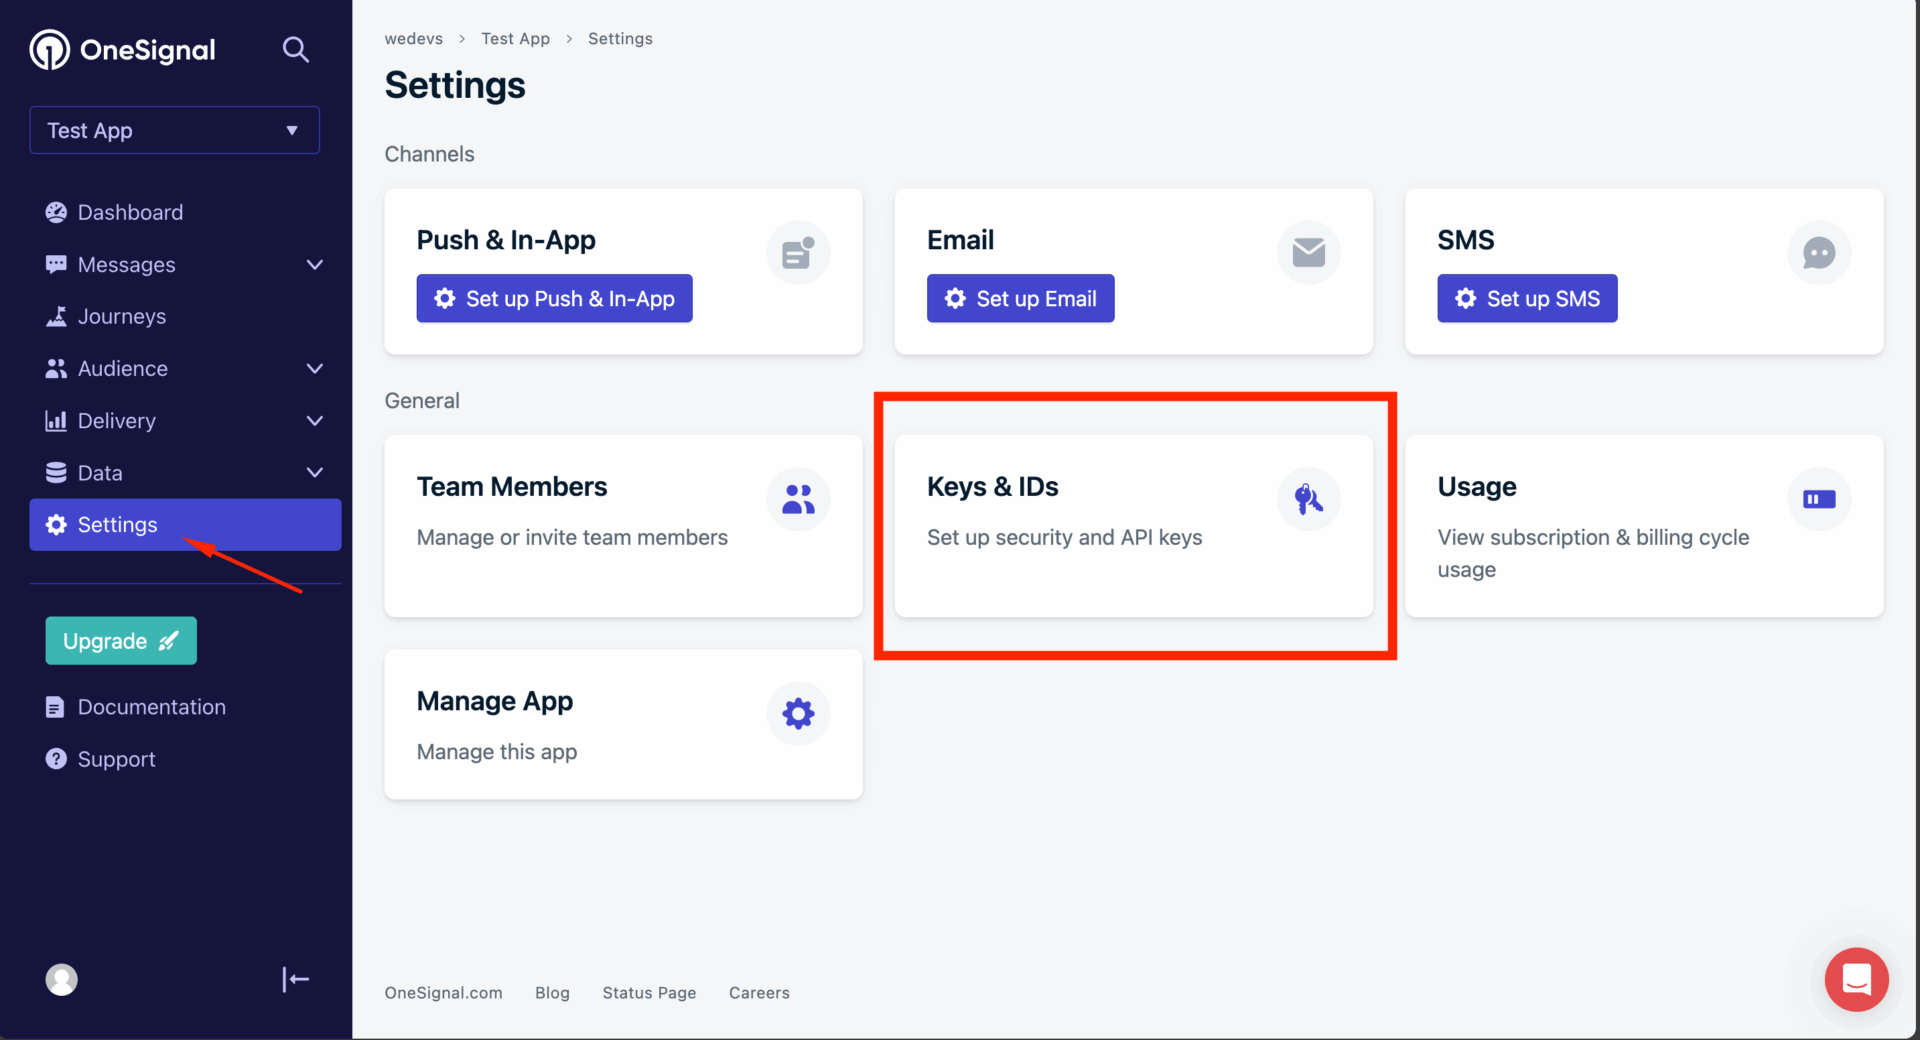
We need to configure the “Apple iOS” and “Google Android” platforms. But for now, click the “Settings” button and click on the Keys & IDs option-
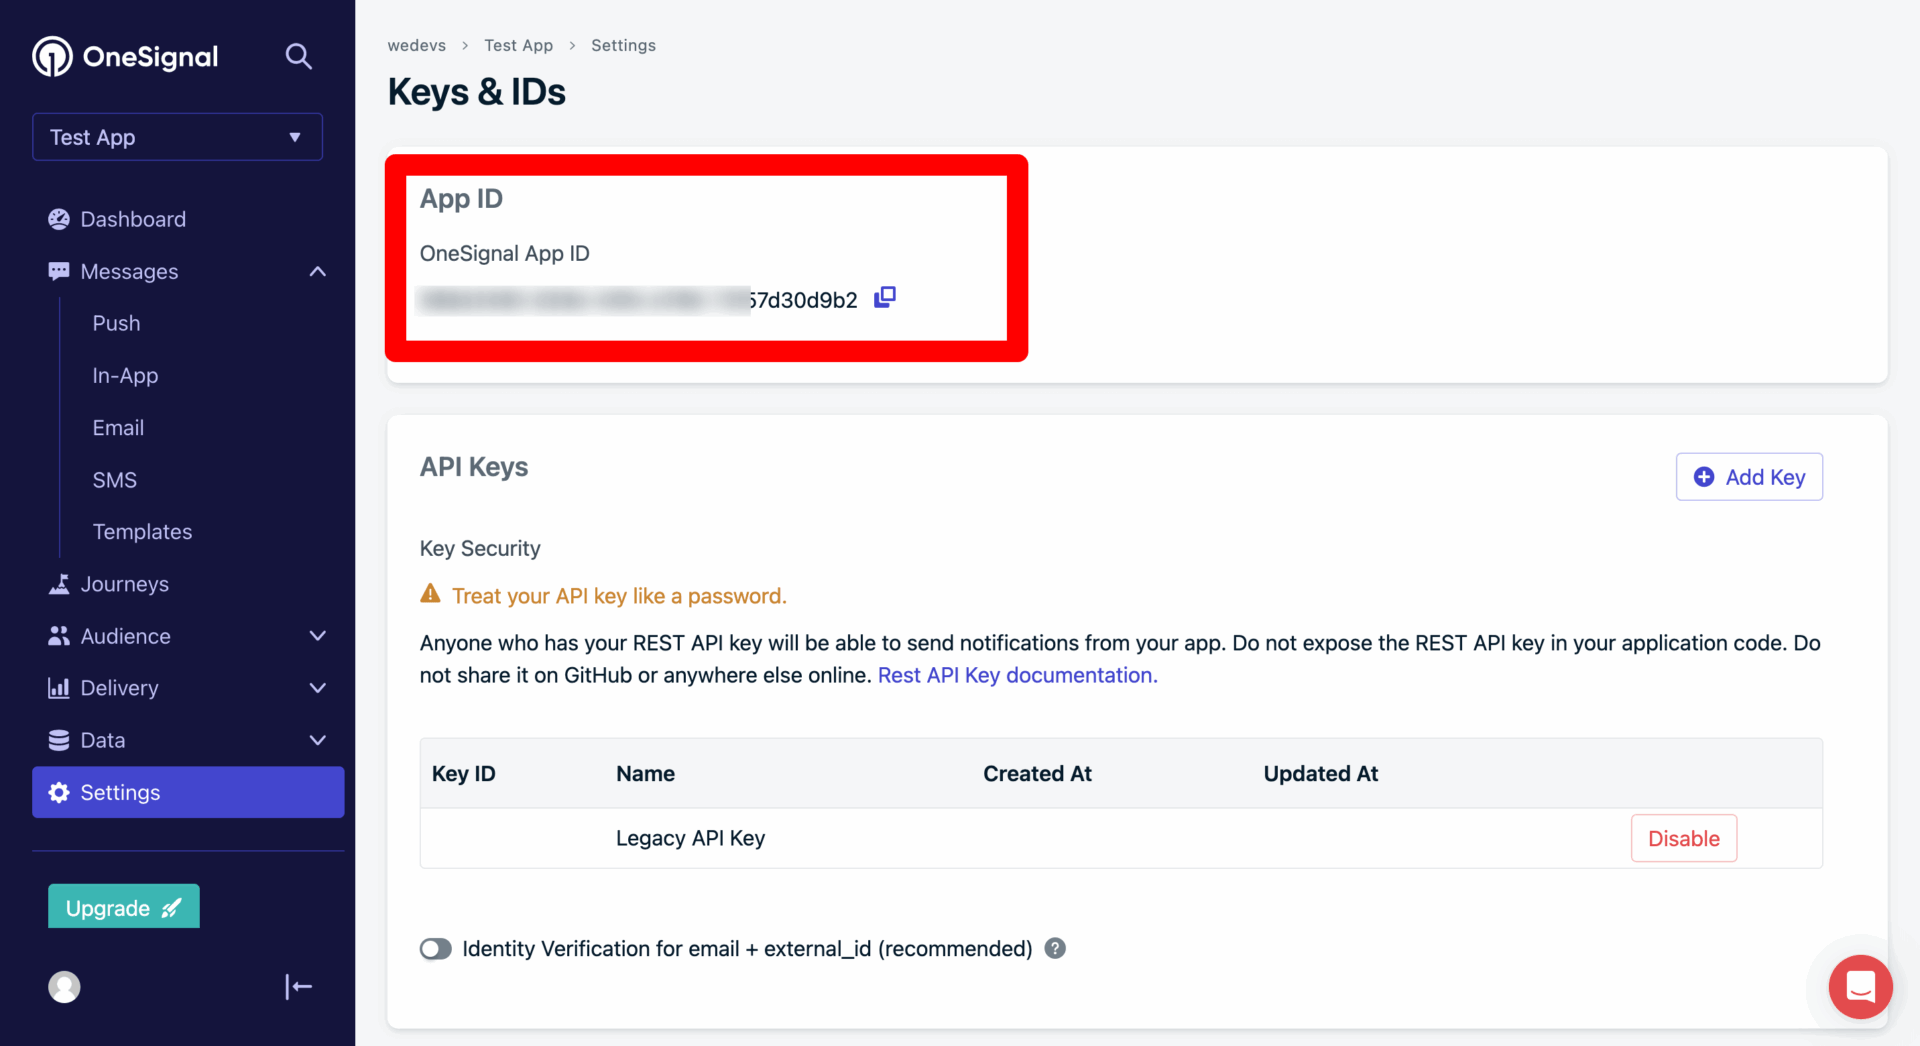
You will find the App Id on the top-
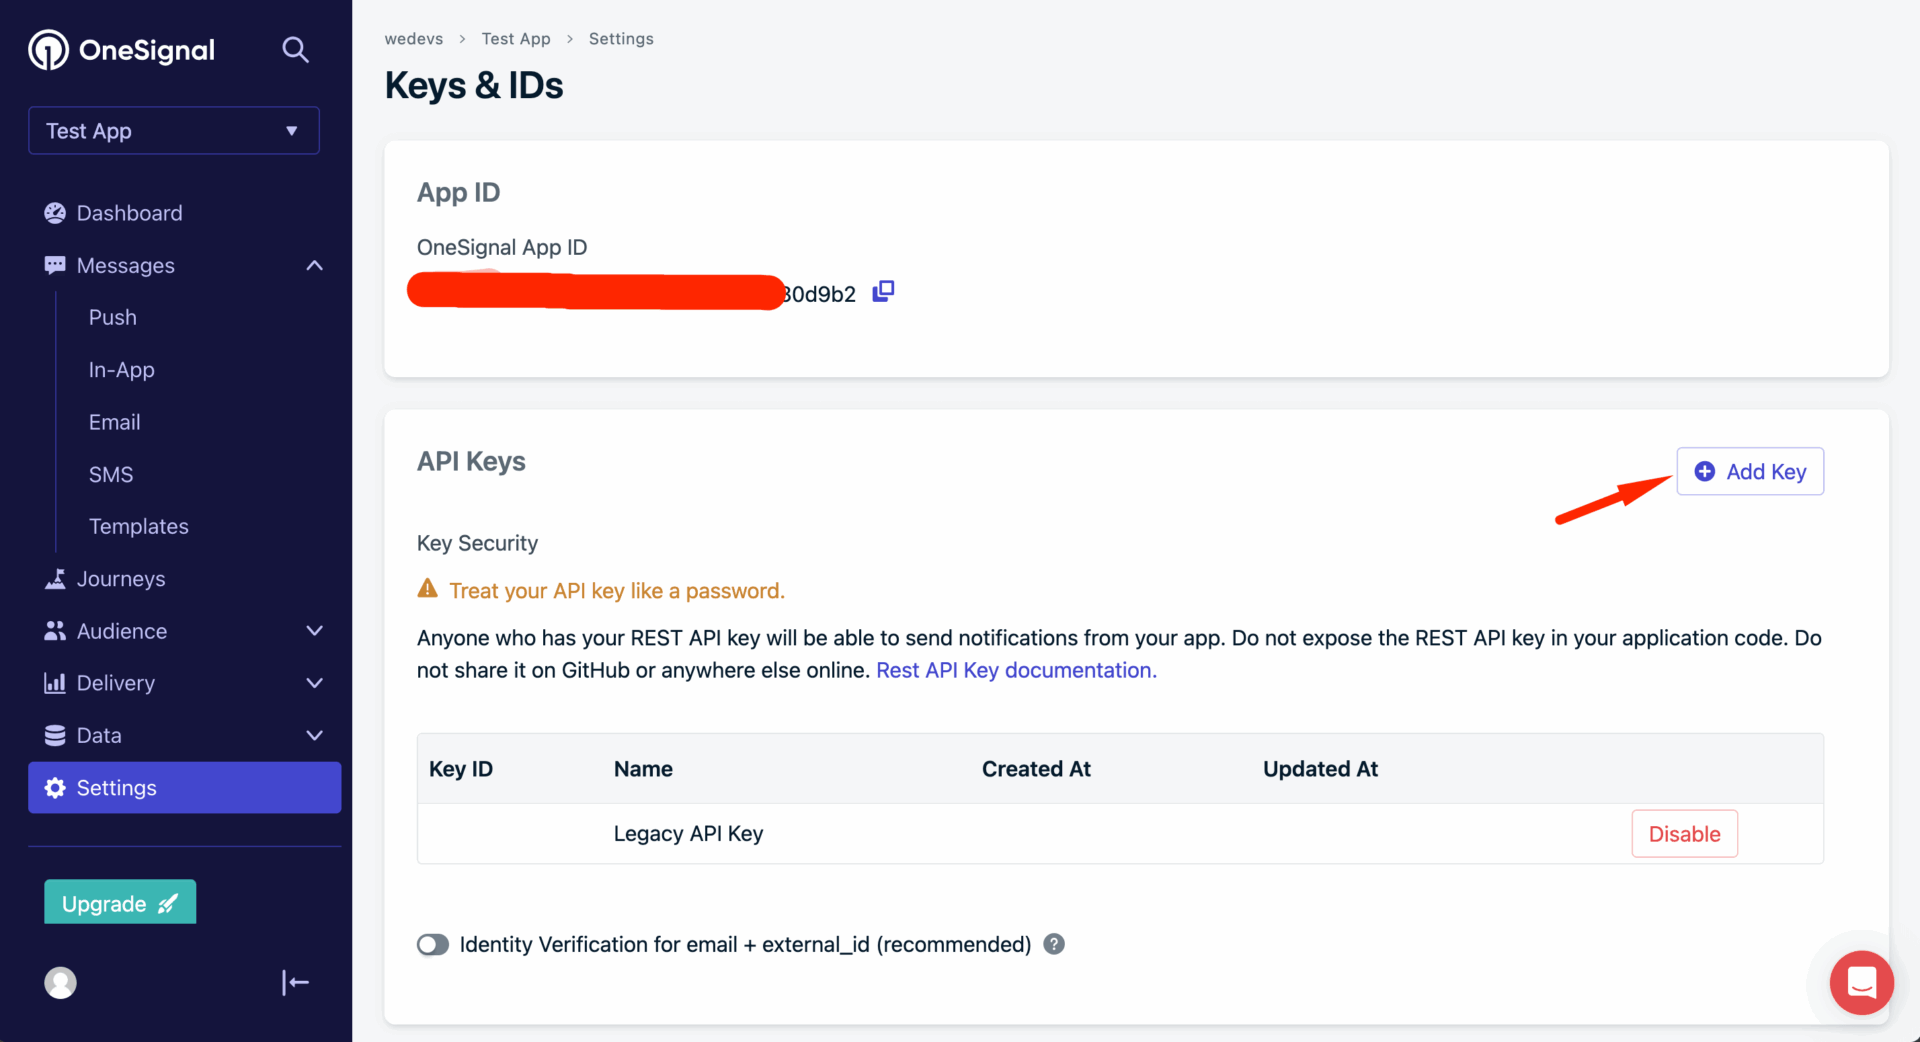
To get API keys, click on the Add Key button-
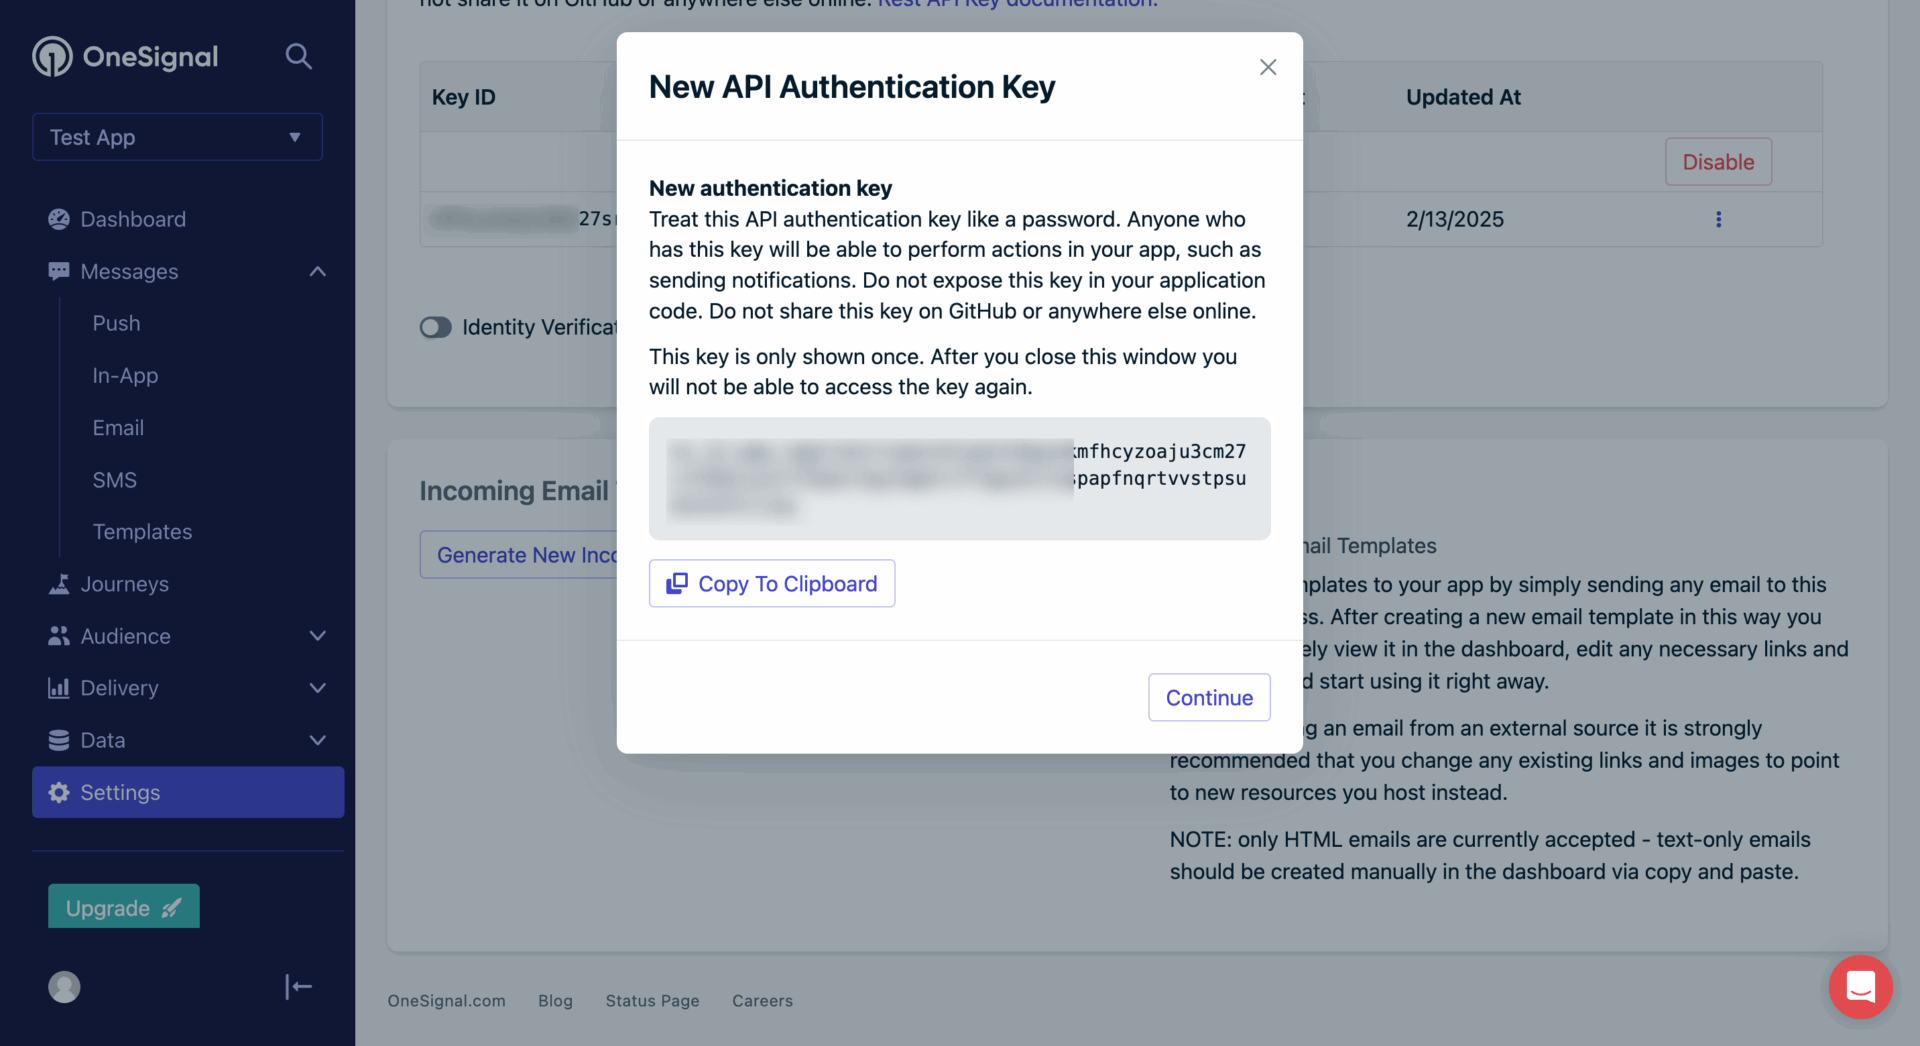
You will get a pop-up. Name your API key and click on create-

You will get the API key-
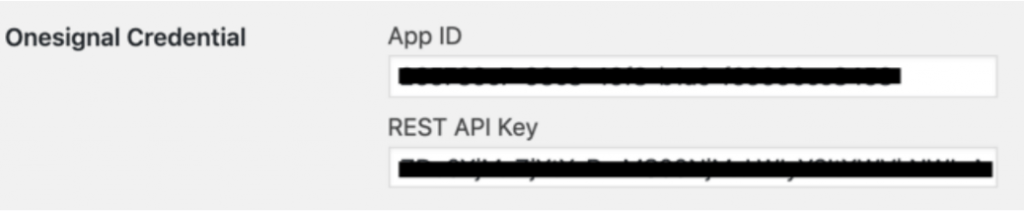
Now go to your WordPress dashboard and navigate to the Dokan App Helper plugin by clicking “Dokan > Mobile App”. Fill in the OneSignal credentials like the image below
After configuring this, you may need to send invitation to the Dokan App team for further configuration. You can see this video to see how to do that-

