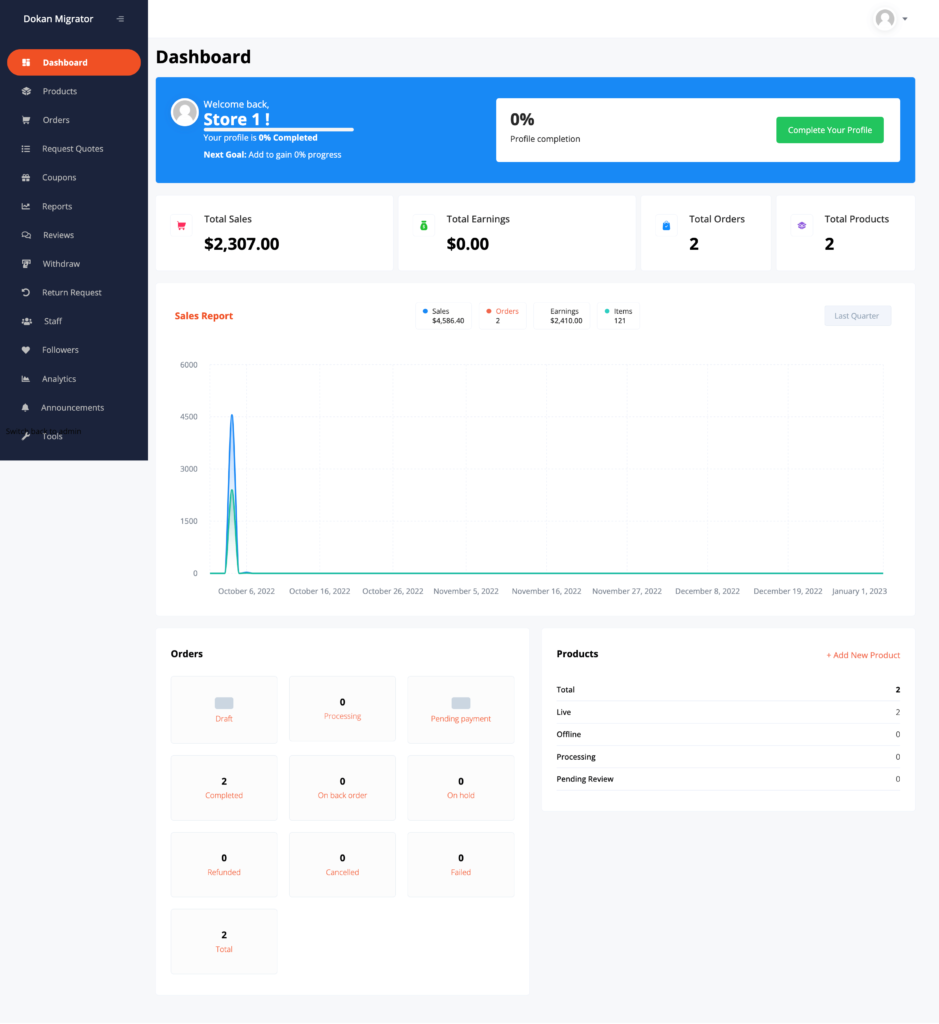
The Dokan Vendor Dashboard plugin will give a new look to the vendor dashboard with optimized outlook, performance, and give an organized view. The plugin will replace the old vendor dashboard with a new one.
Most importantly, the plugin isn’t dependent on any theme. It is a standalone plugin and users don’t even need to use a theme for their marketplace anymore.
Here’s how this works,
Install and Activate the Dokan Vendor Dashboard Plugin
As this is a free plugin, you need to download the plugin from the WordPress.org site or directly install the plugin from your WordPress dashboard.
Go to Plugins–> Add New. There type Vendor Dashboard.
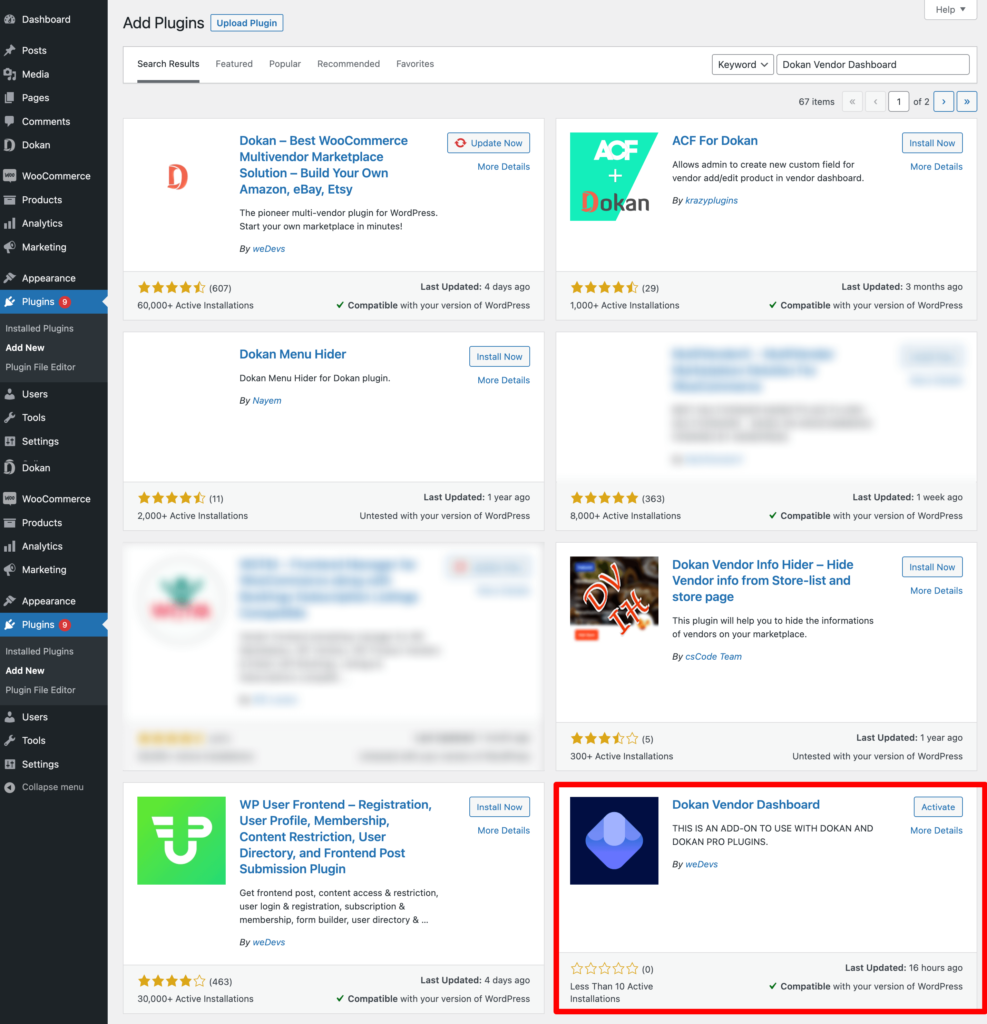
Next, activate the plugin. You are done.
Outlook of Vendor Dashboard Before Installing the Dokan Vendor Dashboard Plugin
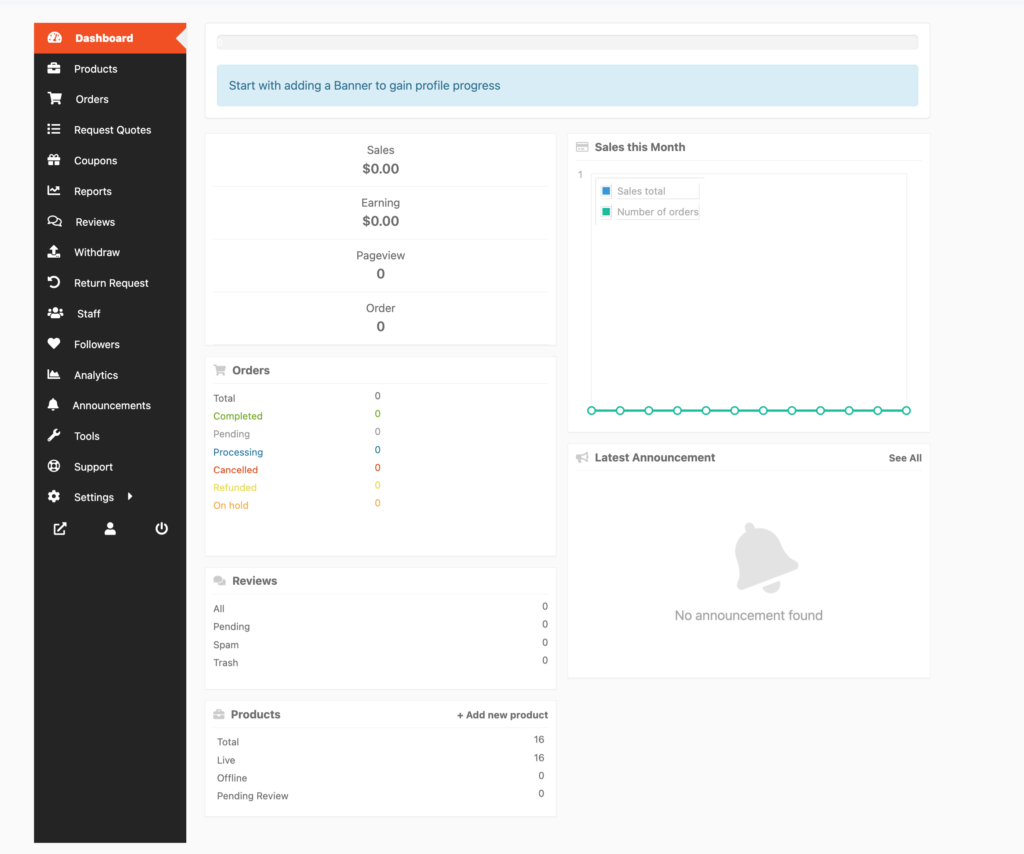
Here’s how the present vendor dashboard looks like for Dokan,
After installing the Dokan Vendor Dashboard plugin, here’s how the new vendor dashboard will look,
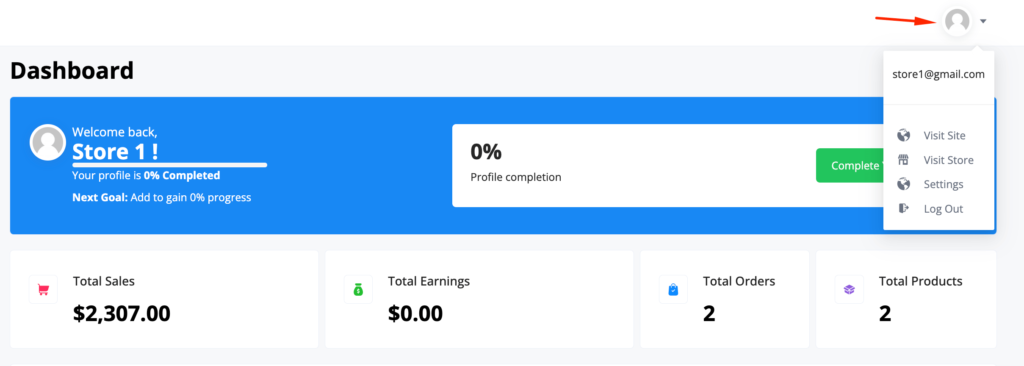
You can easily visit your store, visit the site, Settings and log out from the profile section,
Product Page
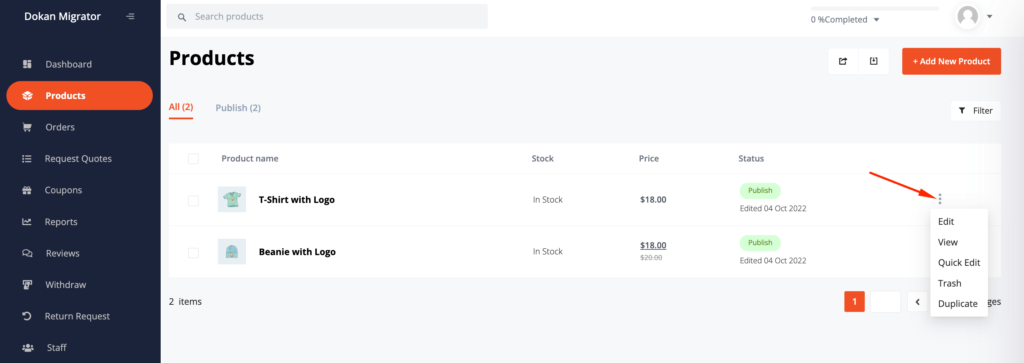
We have redesigned the product page. You will find the Edit options, view options, quick edit options and more using the “Three Dot” button.
The edit page has been redesigned as well.

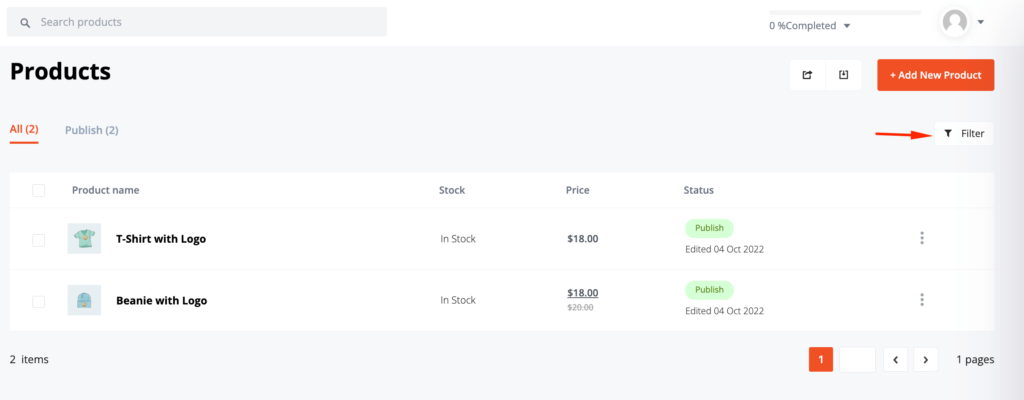
You can also filter the products by clicking on the Filter button,
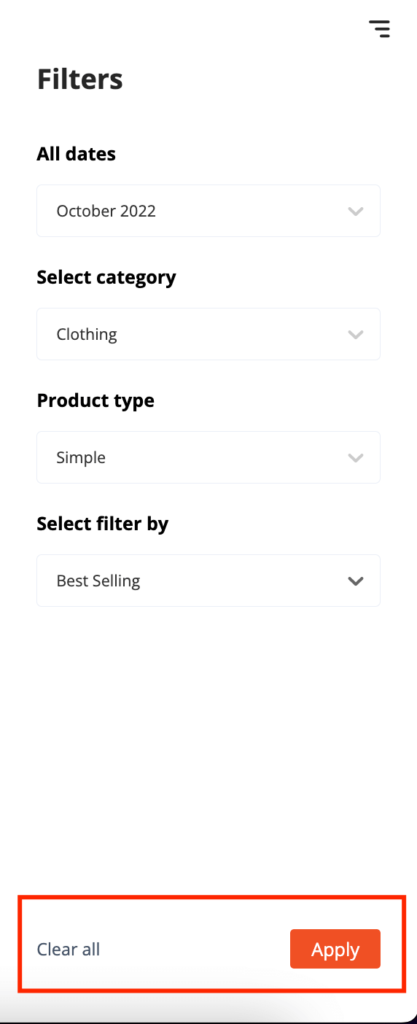
You can use different metrics to filter the products,
Order Page
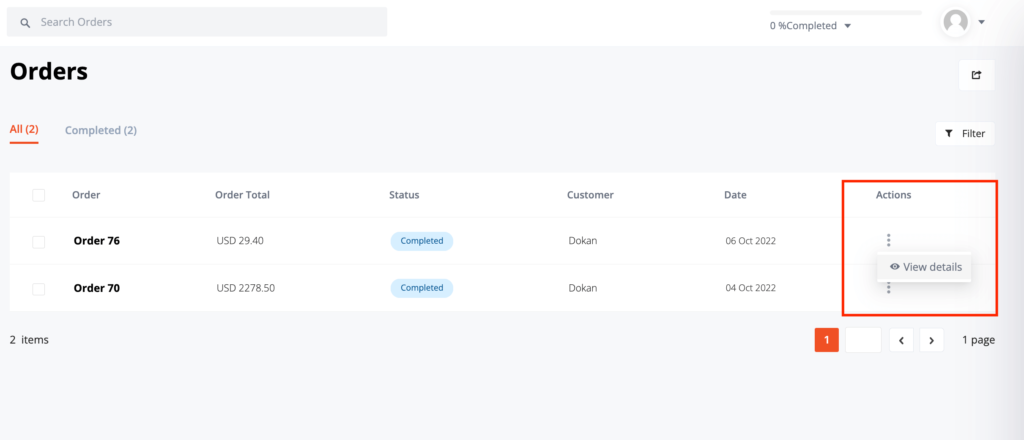
Here is the look of the newly designed order page. You can easily View details of orders.
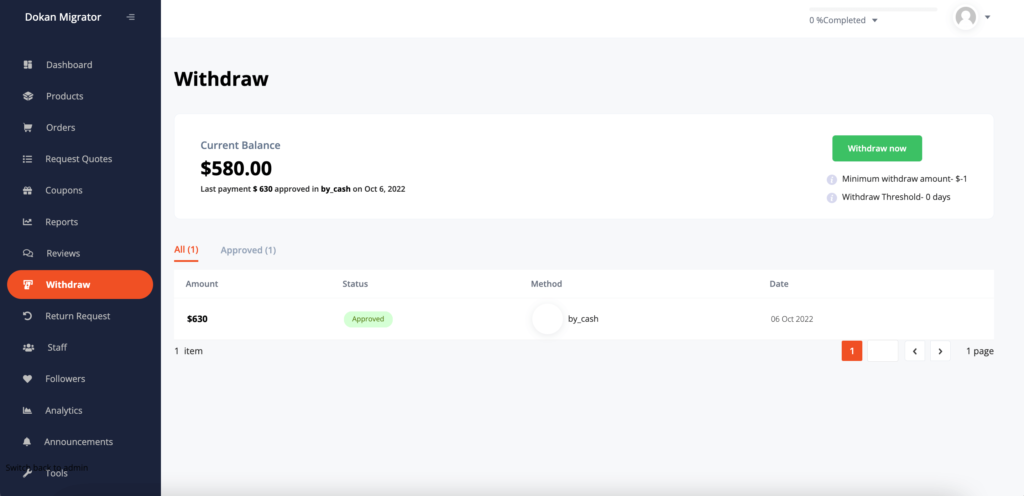
Withdrawal Page
The withdrawal page have been redesigned as well,
Note: With every update, we are going to redesign the remaining sections of the vendor dashboard. Keep an eye on the new releases.