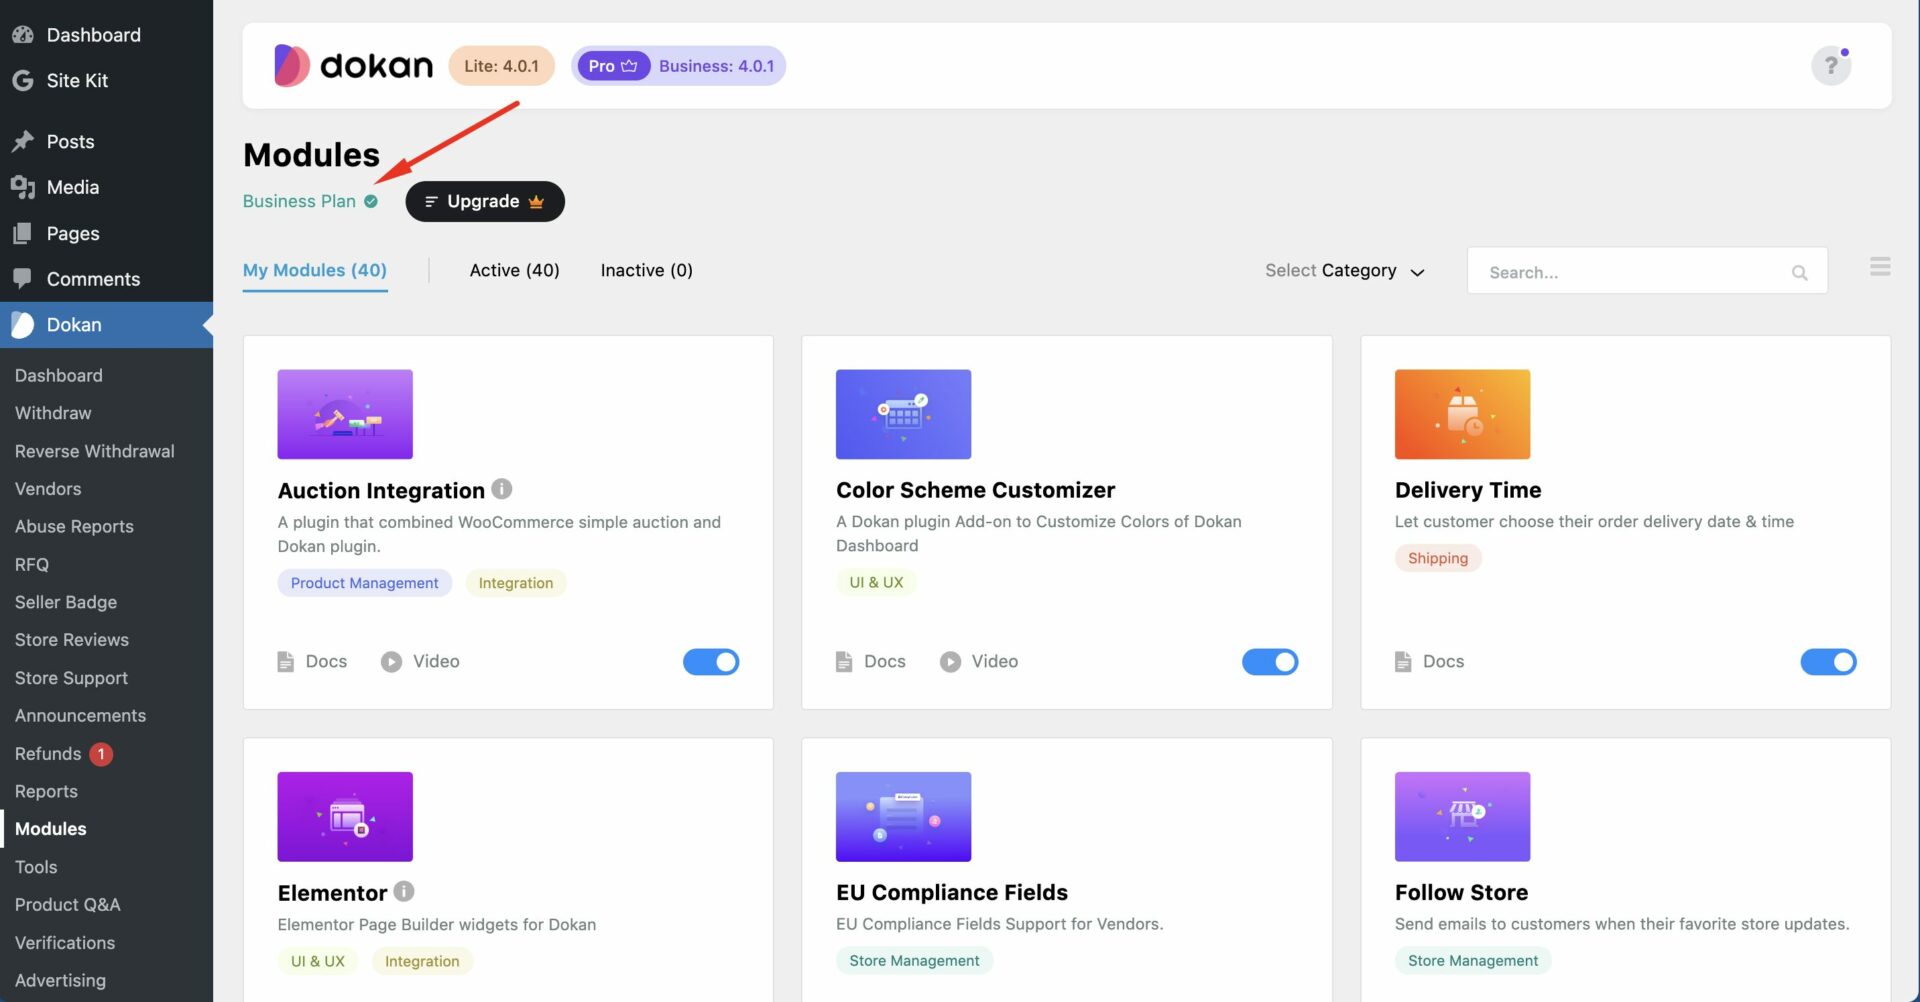
As a full-fledged multivendor system, Dokan comes up with 42+ modules. It takes a few seconds to activate and deactivate a Dokan module.
Dokan Pro offers a number of premium modules that allow marketplace owners to configure a powerful marketplace for their vendors and customers. In this documentation, we will describe the process of activating and deactivating modules in Dokan Pro.
To access all of the modules, go to WP Admin Dashboard > Dokan > Modules screen. You will see a list of all of your modules, including the filtering options for Active and Inactive modules. The name of your current Dokan Pro plan will be displayed on the Modules screen too.

You can also find the category-wise modules by hovering over the categories in the top left corner of the page.
You can search for your required module using the search option and change the current view, such as listing view or grid view. The grid view will be like mentioned below.
The list view will be like shown below.
Activating Process
To enable any module for your marketplace, follow these steps: Go to the Dokan > Modules screen of your WordPress admin panel and locate the toggle button for the desired module. Click on the toggle button to activate the module.
Deactivation Process
Deactivation process is the same like activation process. After reaching out to the module screen you can disable the module by simply disabling the toggle button.
The process of activating and deactivating modules is extremely simple. The admin can conveniently enable or disable modules using bulk actions. When selecting multiple modules, you will have the option to activate or deactivate them all at once.
Free Modules
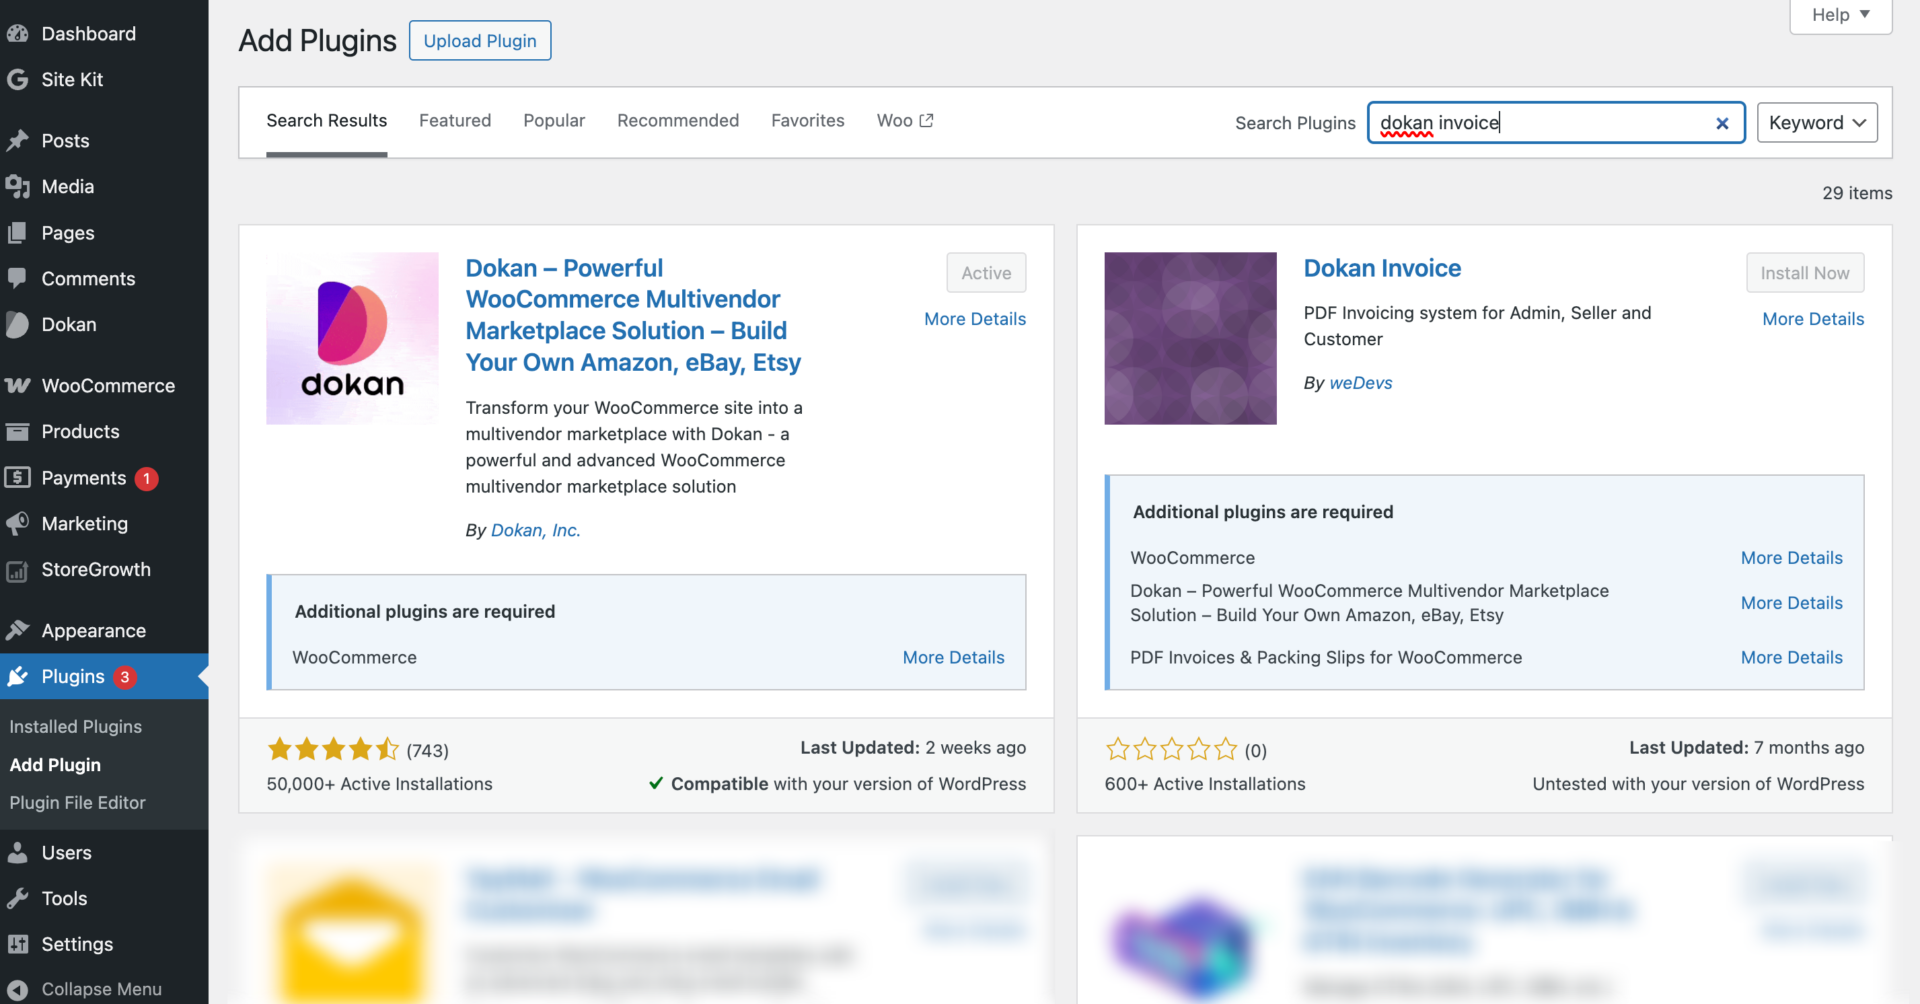
Dokan provides a few free modules for users, which are excluded in the modules section. To install these modules, you’ll need to manually install them as plugins.
First, navigate to the plugins section and install these modules just like any other plugin. You may already be familiar with the plugin installation process.
