Dokan has introduced a module “ShipStation Integration”.
Now Dokan users will enjoy post shipping feature of ShipStation like inventory management, product labeling, easy payment, etc. This module comes with the business package of Dokan.
You will need a ShipStation active paid account to enjoy this service.
Admin View
You have to activate ShipStation first as an admin. To do that go to
Dokan→Modules→ShipStation Integration

Note: If you are an admin of a marketplace built with Dokan and want to let your vendors handle their shipping using ShipStation you don’t need to configure anything from here.
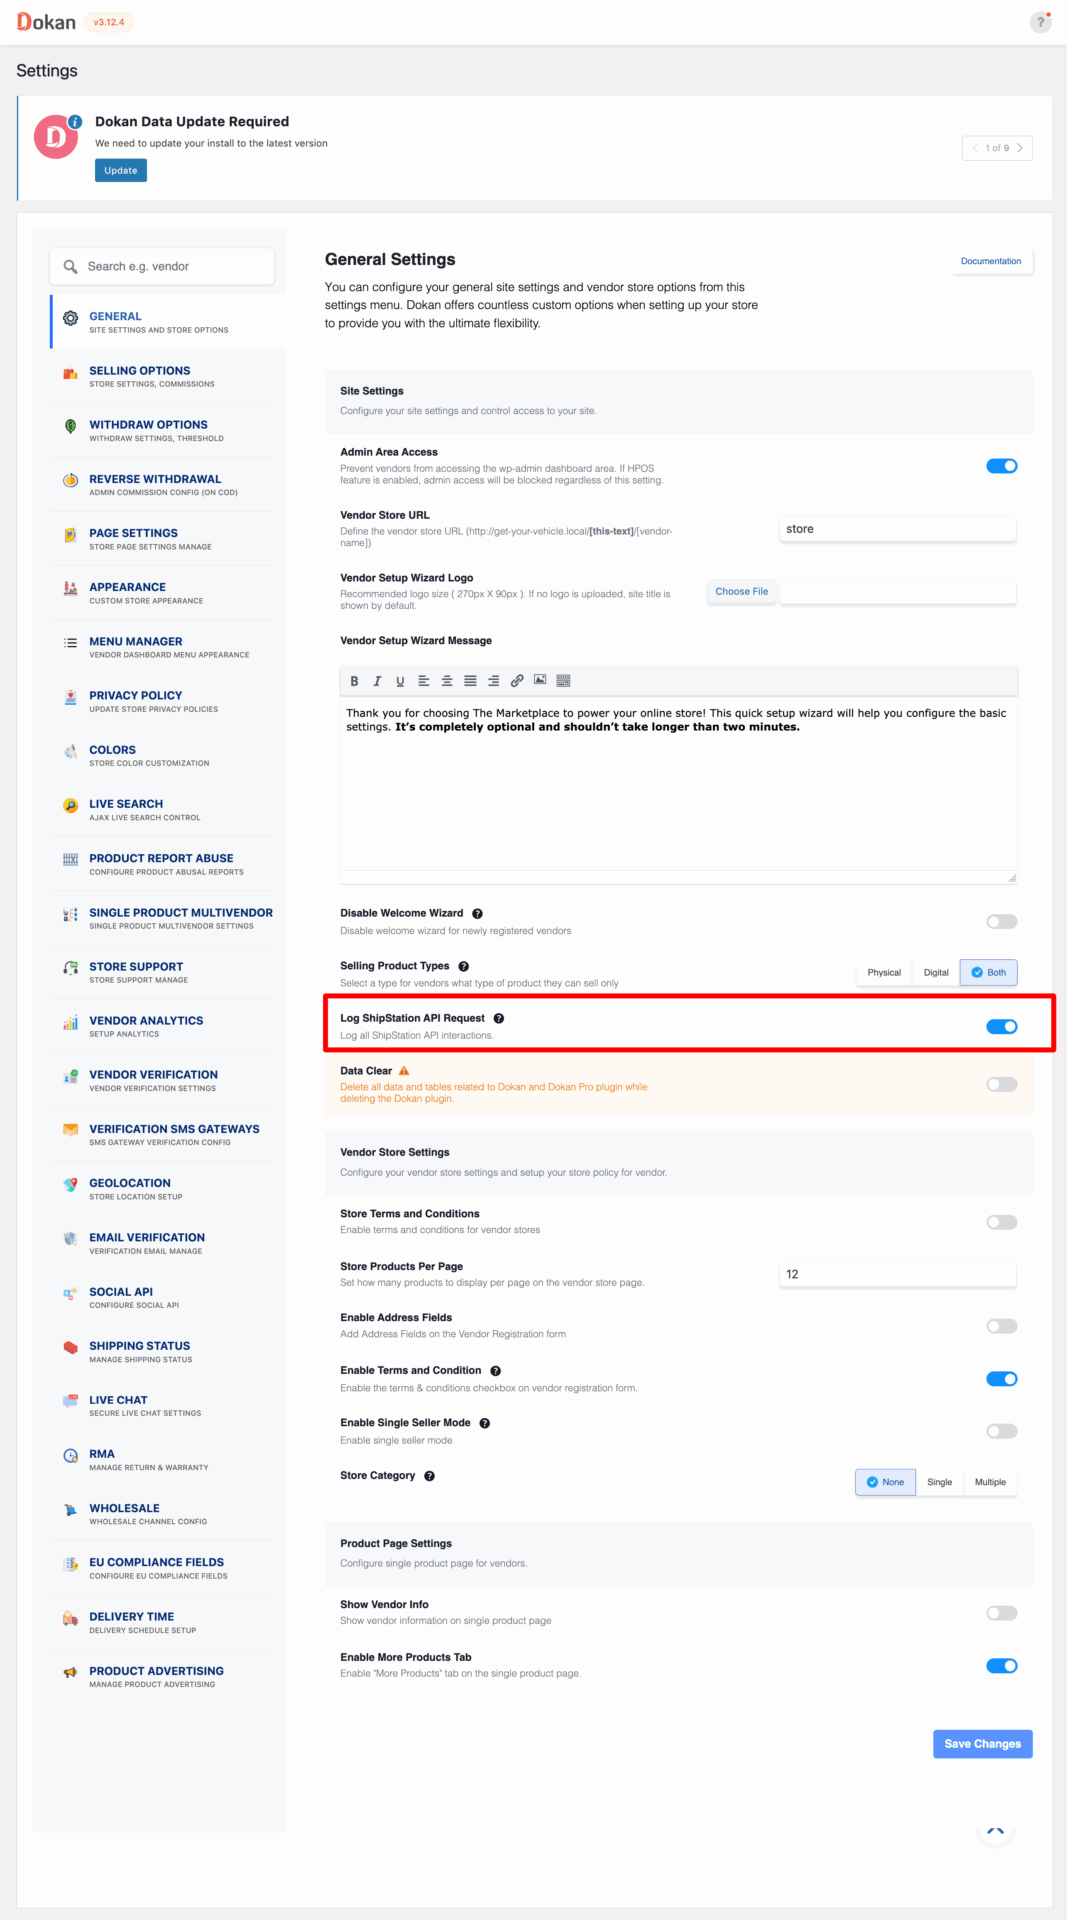
If a Dokan Marketplace owners want to keep a log of ShipStation API request he/she needs to enable Log ShipStation API Request from
Dokan → Settings → General
Vendor View
When you are done with these settings, log in as a vendor and you will see the frontend view of the settings admin configured.
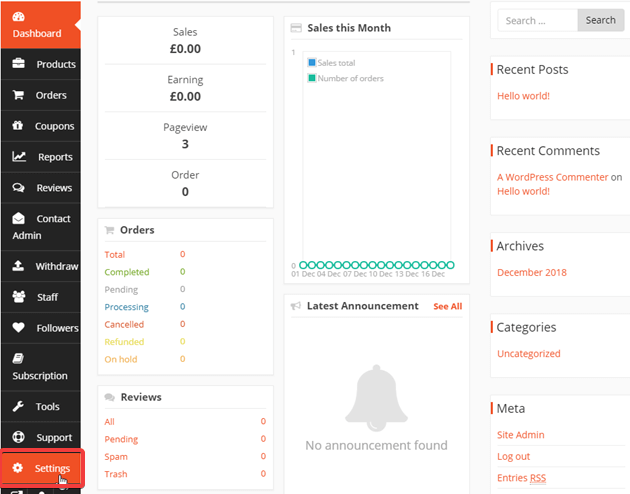
Navigate to Vendor Dashboard > Settings > Shipstation.
When you go to the ShipStation option you will see the vendor view.
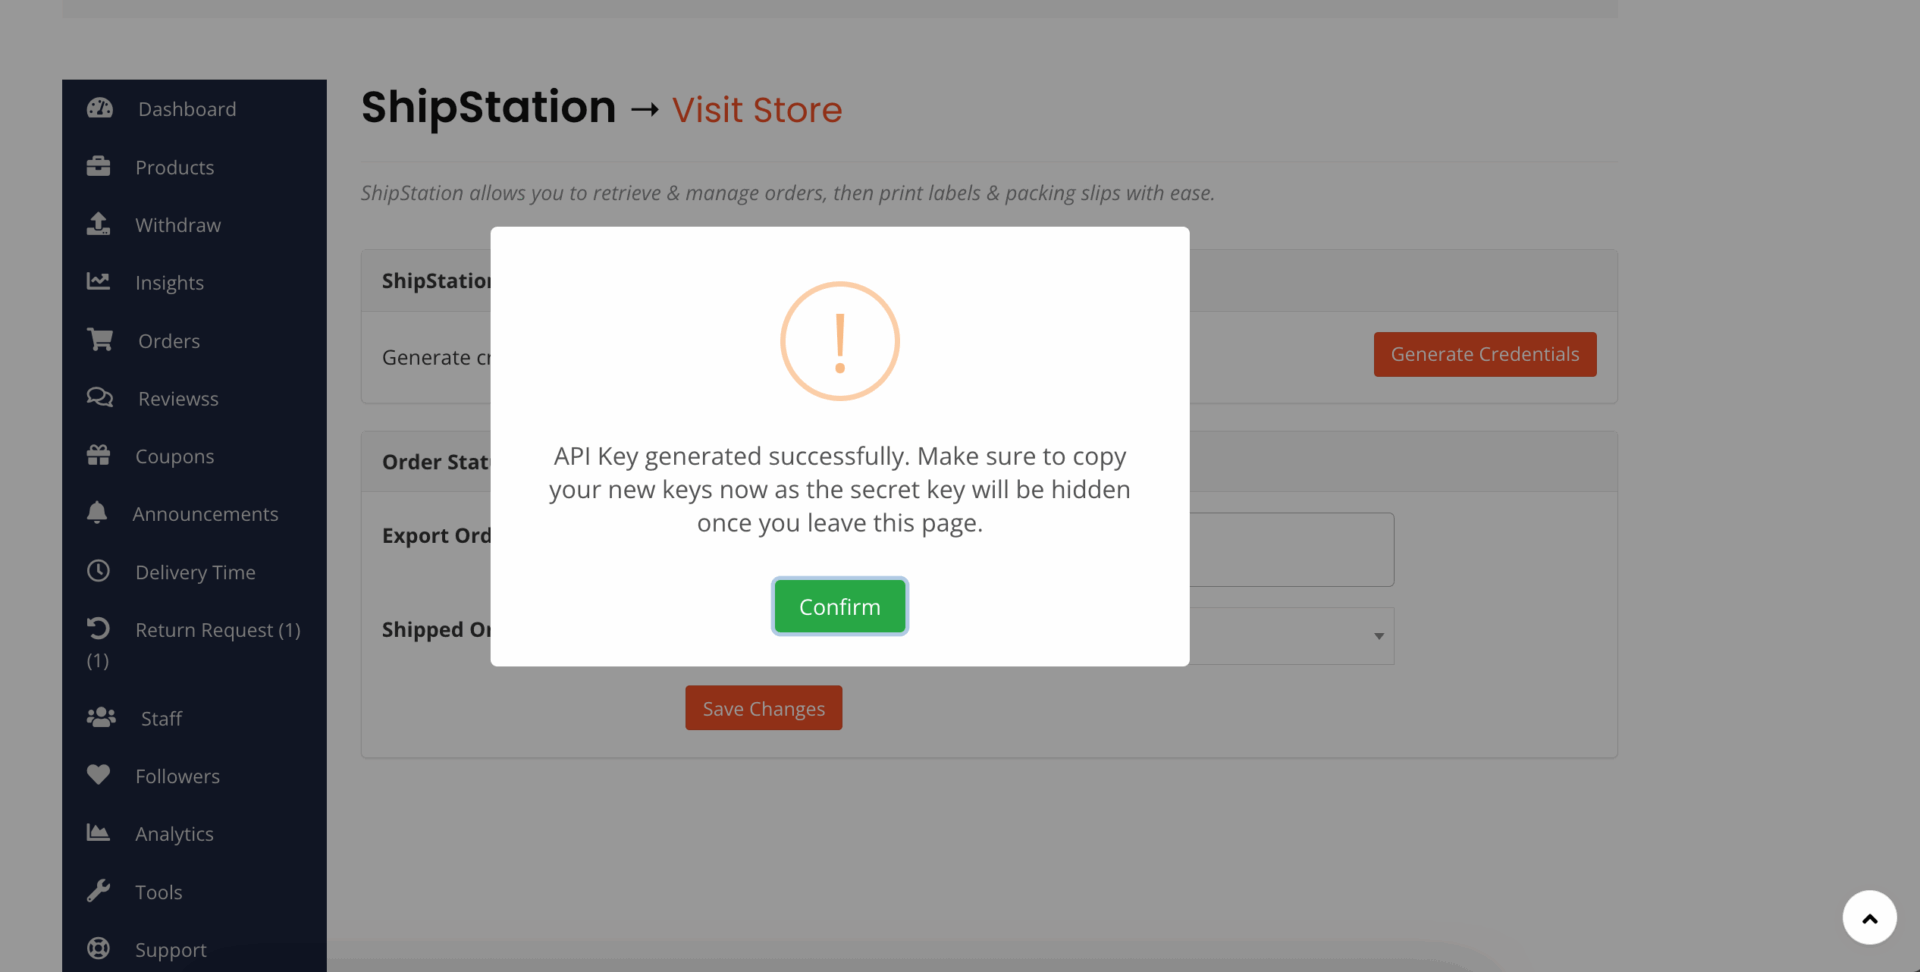
Vendors need to generate credentials by clicking on the Generate Credentials button-
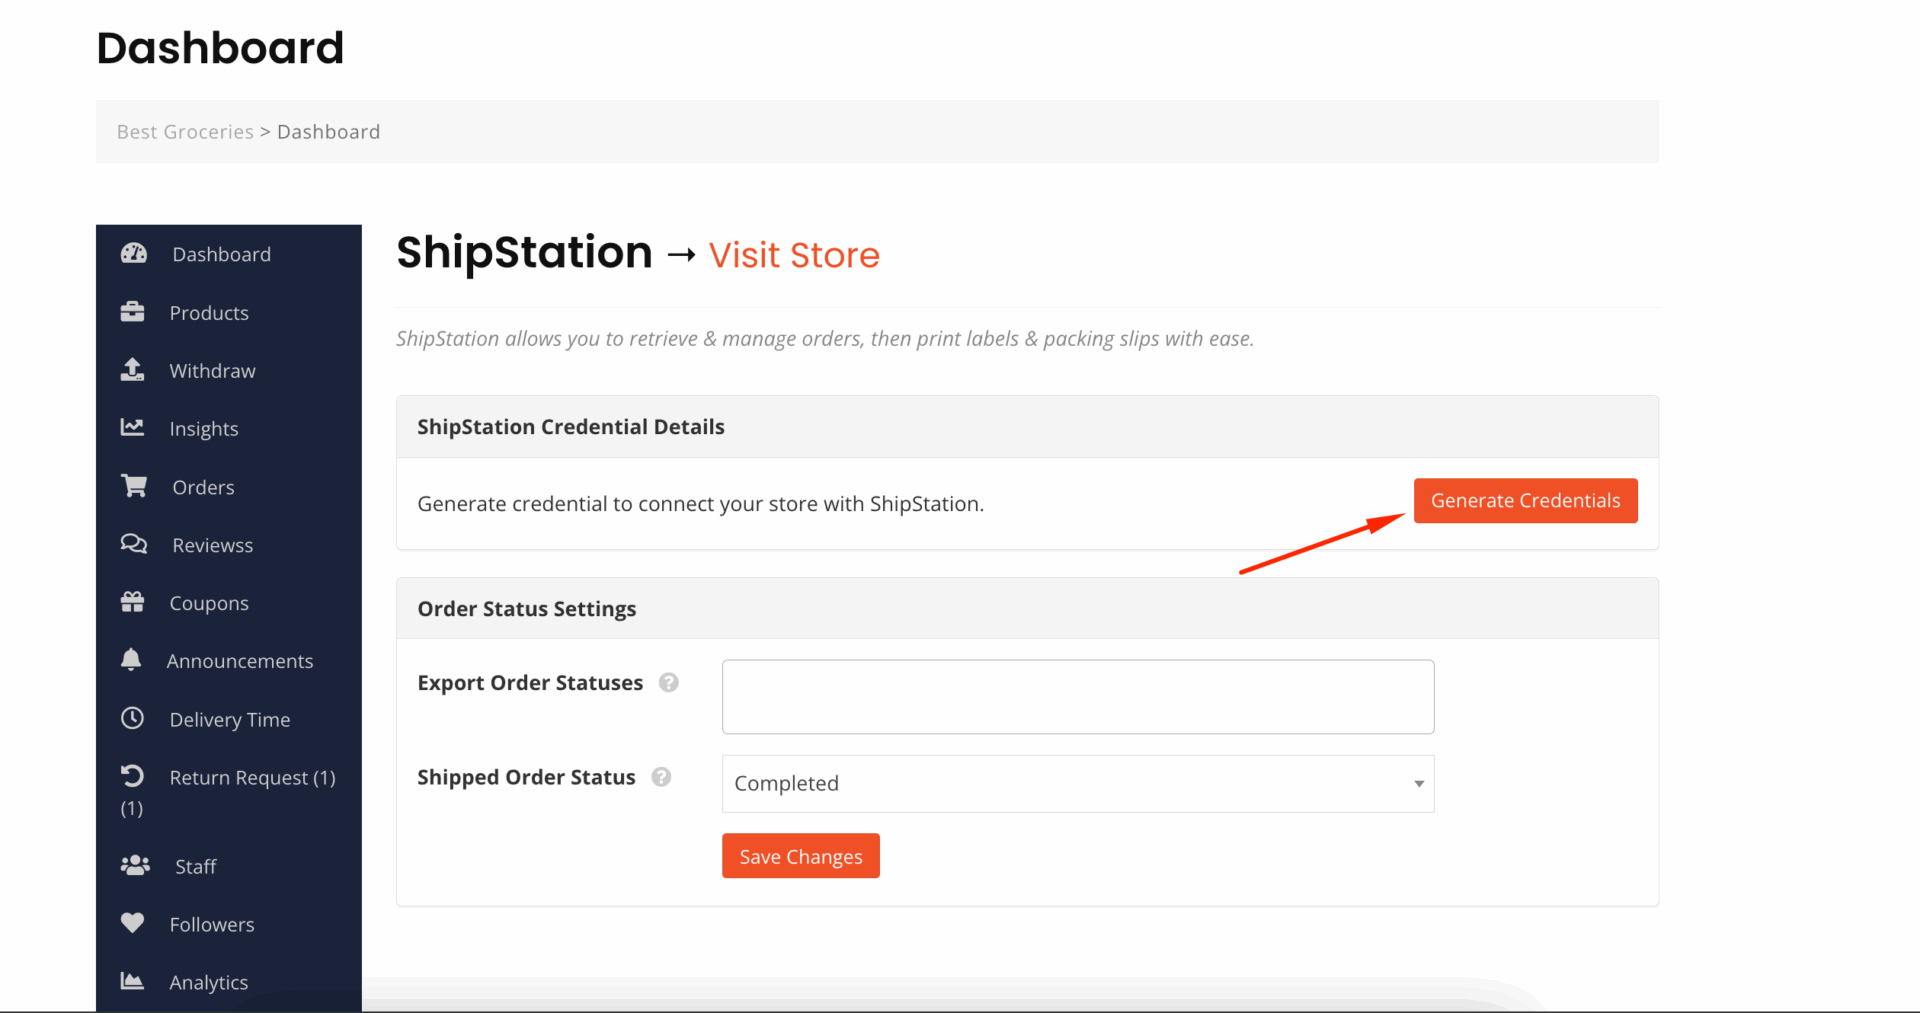
Then the vendors will get three credentials-
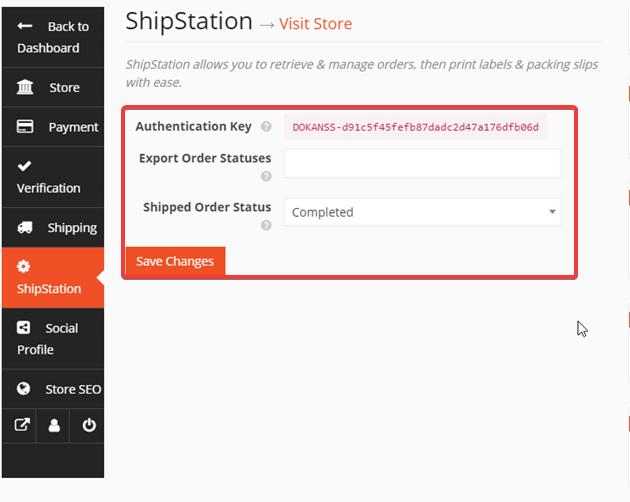
- Authentication Key (DOKANS-xxx format)
- Consumer Key (ck_xxx format)
- Consumer Secret
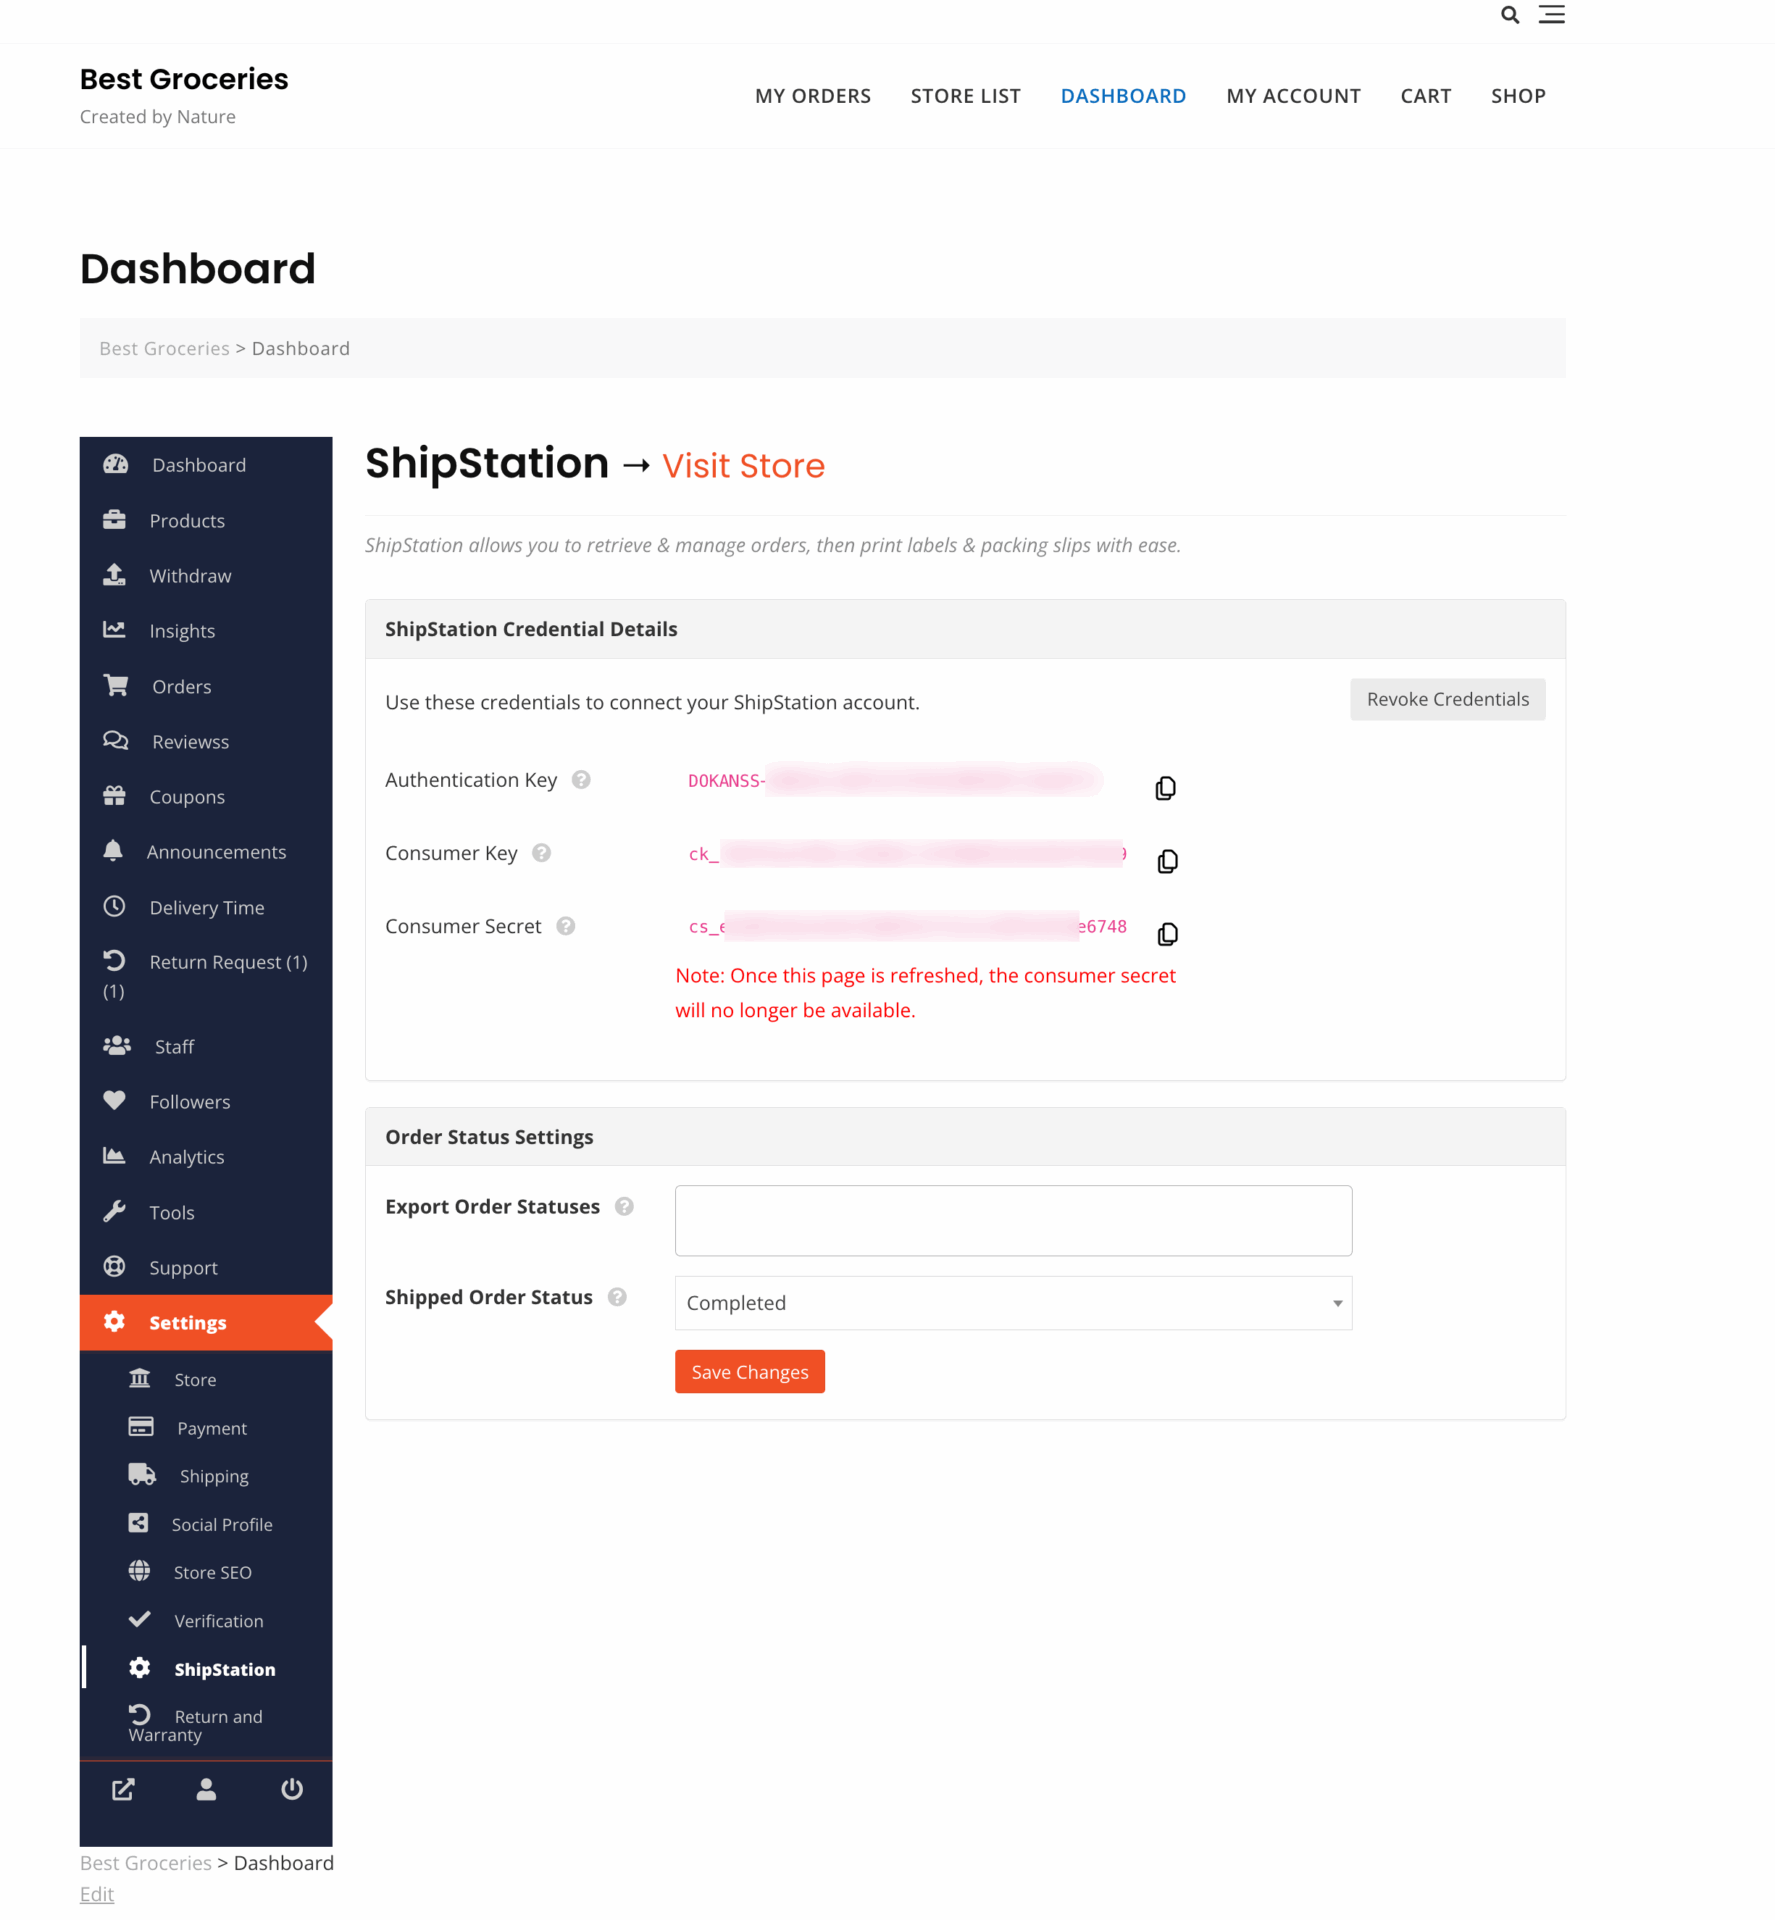
Important: Copy all three credentials immediately! For security reasons, the Consumer Secret will be hidden once you leave or refresh the page.
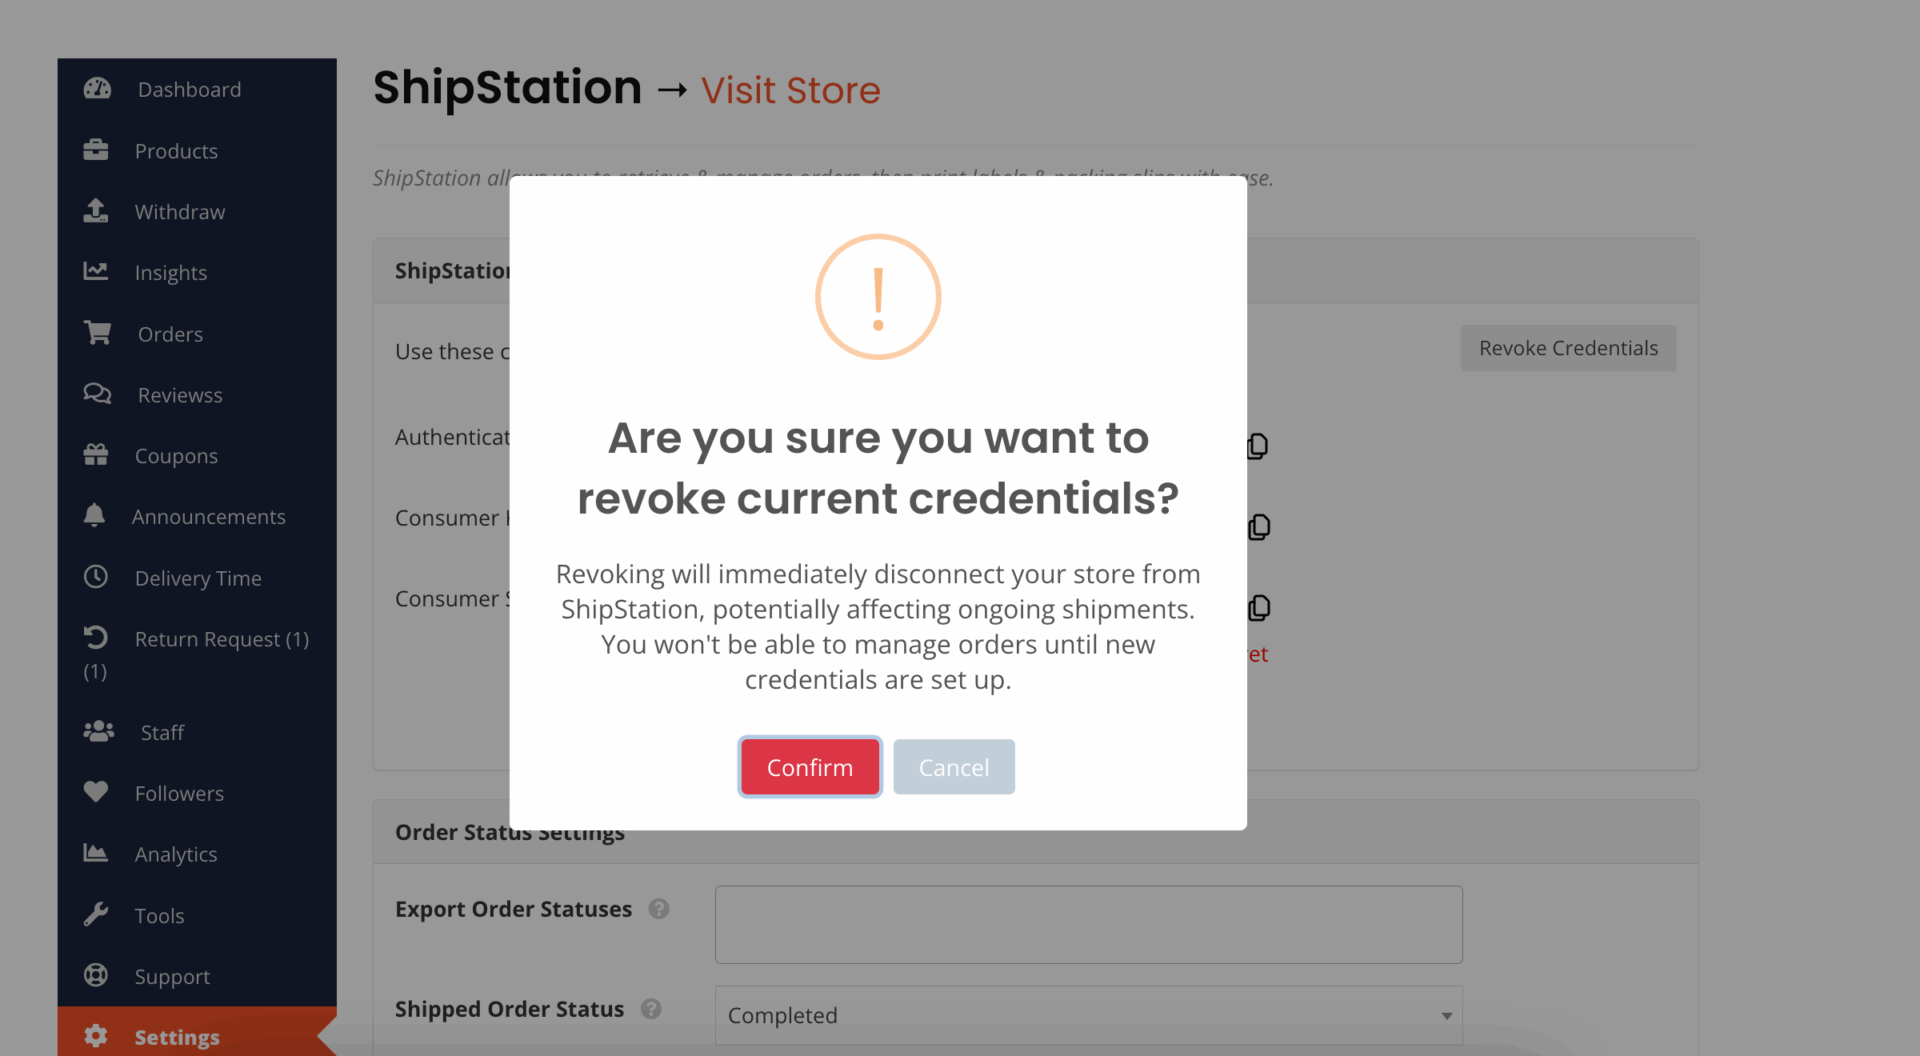
Vendors can revoke their credentials as well-
Besides, your vendors need to set:
- Export Order Statuses: Define the order statuses they wish to export to ShipStation- EOS
- Shipped Order Statuses: Define the order status vendors wish to update to once an order has been shipping via ShipStation. By default, this is Completed. – SOS
How to Connect Your Store to WooCommerce Using the Authentication key?
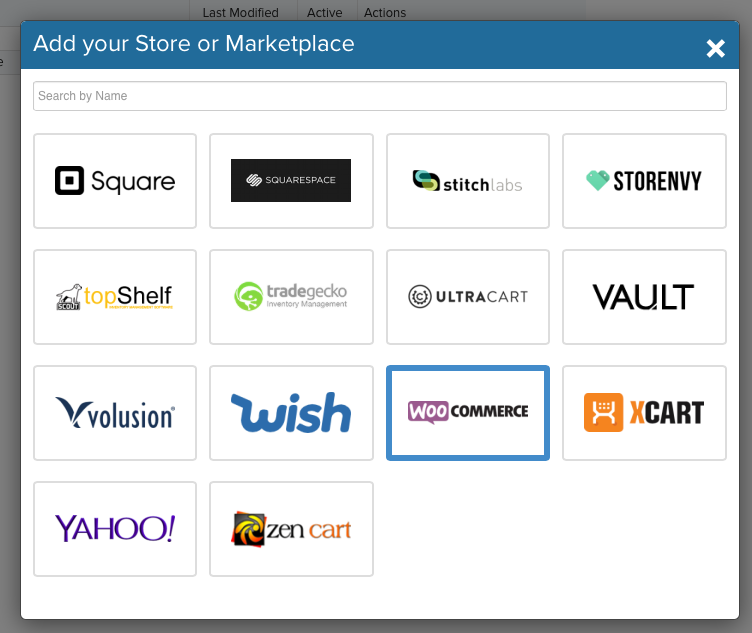
First off, you need to go to the ShipStation.com and you will get a ‘Selling Channel’ pop-up which will allow you to connect to WooCommerce.
If you have an existing account in ShipStation, then you will need to navigate to your ShipStation Account Settings > Selling Channels > Connect a store or marketplace.
Next, find and select WooCommerce to set it up.
Now, you will need to enter the Auth Key and Store URL.

That’s it!
If you want to learn more about ShipStation and how it can benefit you & your vendors you can learn more from here.