To configure Facebook registration/login, you’ll need to create a Facebook app and insert the AppID and AppSecret on the settings page.
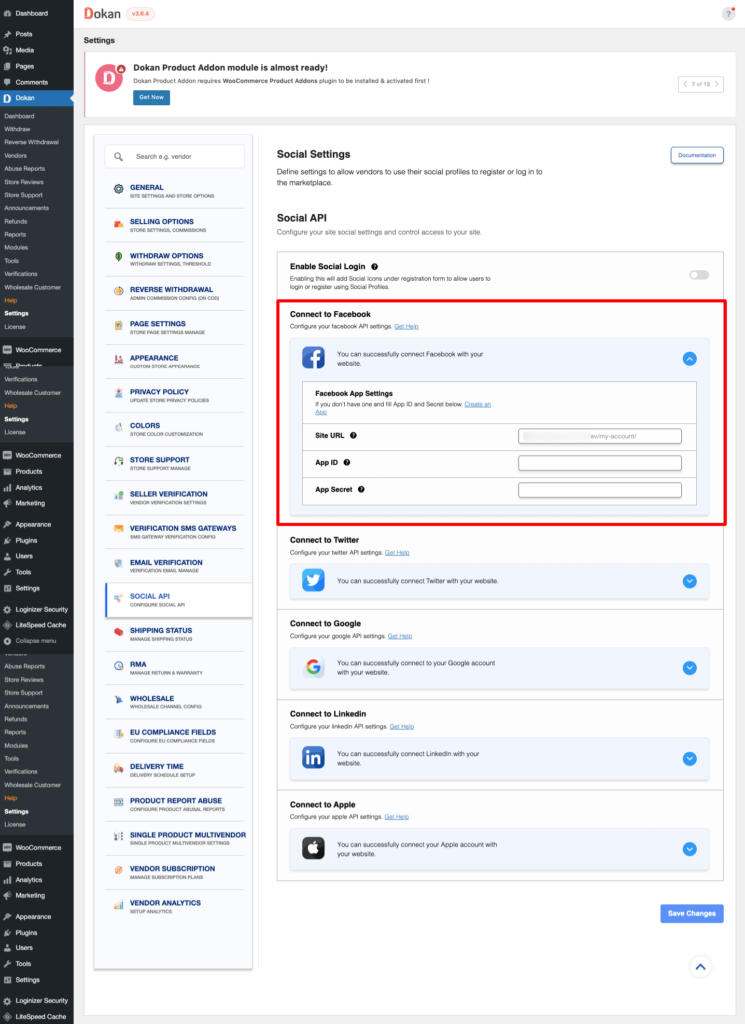
The ‘Site Url’ will be needed to create the App on Facebook.
Configuration: Obtain AppID and AppSecret from the Facebook app
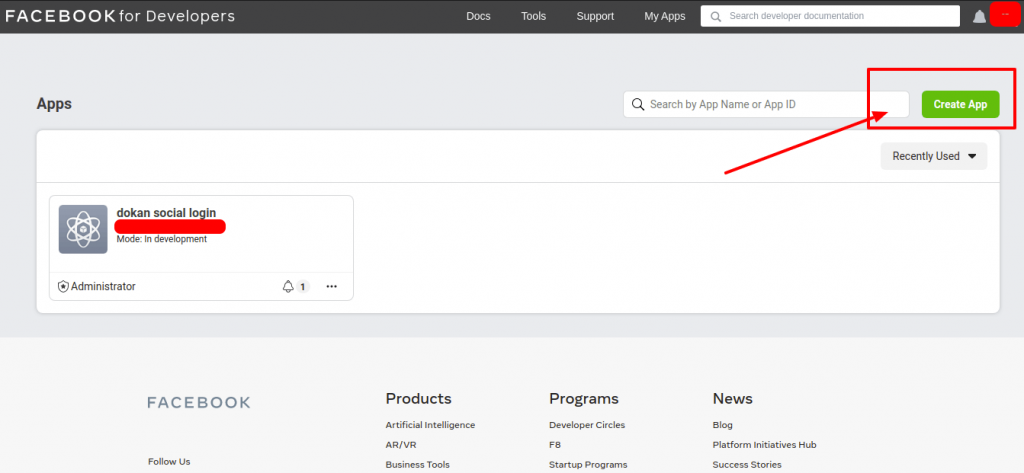
1. Creating a Facebook app is not too technical a thing. You can easily do it by clicking on the ‘Create an App’ link indicated on the image above or going directly to https://developers.facebook.com/apps/.
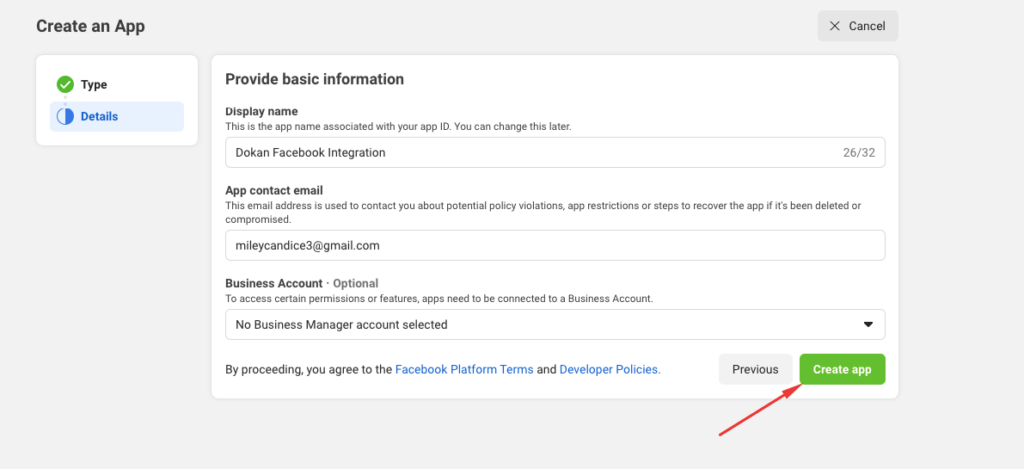
2. Give your App name and your contact email address. You can choose any name related to your website or anything you can recognize in the future.
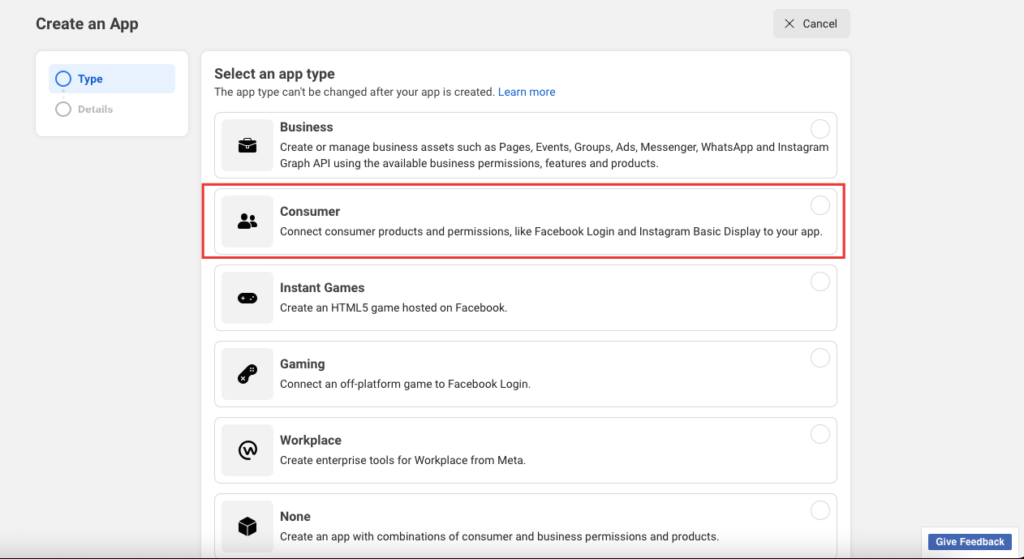
3. Select Consumer.
Add your App Display name, your email account, and your business account if you have any. Click the Create App button to finish.
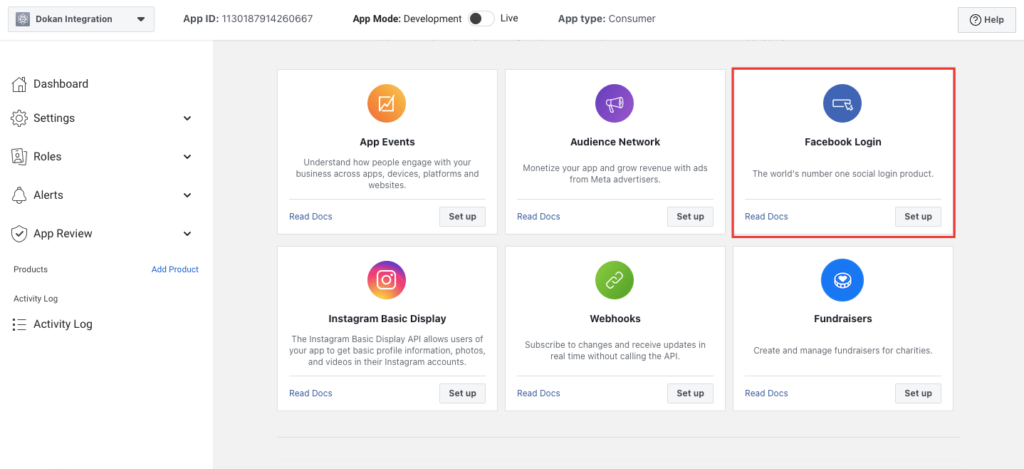
Now Select the Facebook Login option,
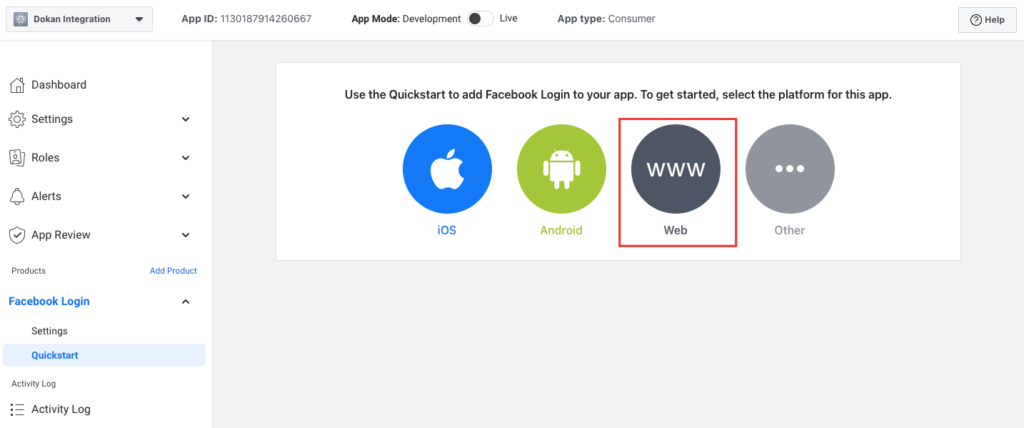
Now you have to select the Web option,
Next, you have to add your site URL copied from the settings section,

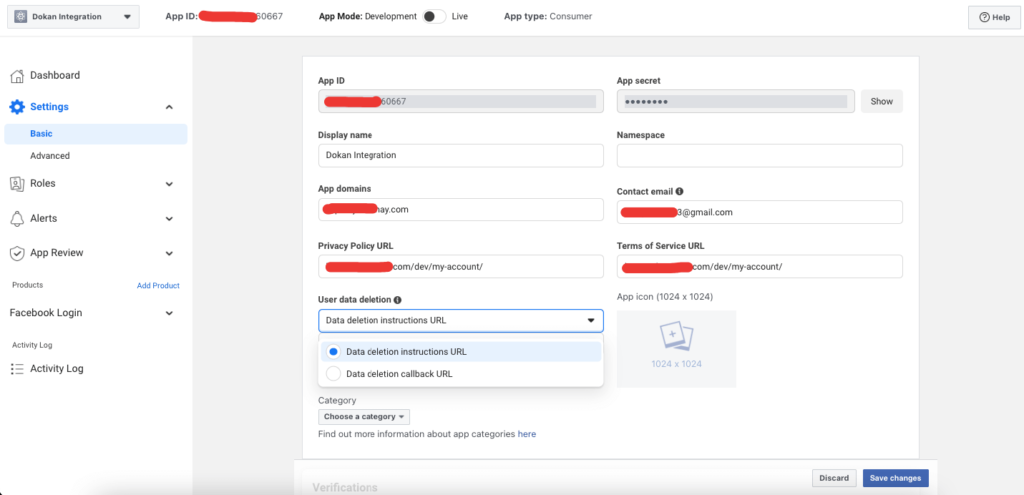
4. Set your App Domains, Site URL, Privacy Policy URL, and the Term of Service URL from the Settings→Basic tab. As indicated in the screenshot below.
At “User Data Deletion”, choose the “Data Deletion Instructions URL” option, and enter the URL of your page* with the instructions on how users can delete their accounts on your site.
To comply with GDPR, you should already offer the possibility to delete accounts on your site, either by the user or by the admin:
- If each user has the option to delete the account: the URL should point to a guide showing the way users can delete their accounts.
- If the accounts are deleted by an admin: then you should have a section – usually in the Privacy Policy – with the contact details, where users can send their account erasure requests. In this case, the URL should point to this section of the document.
5. Use this Site URL in two places:
a) Now after you log into Facebook to create the app, you have to navigate through Settings>Advanced>Share redirect domain whitelist. Paste the Site URL of your Dokan settings.

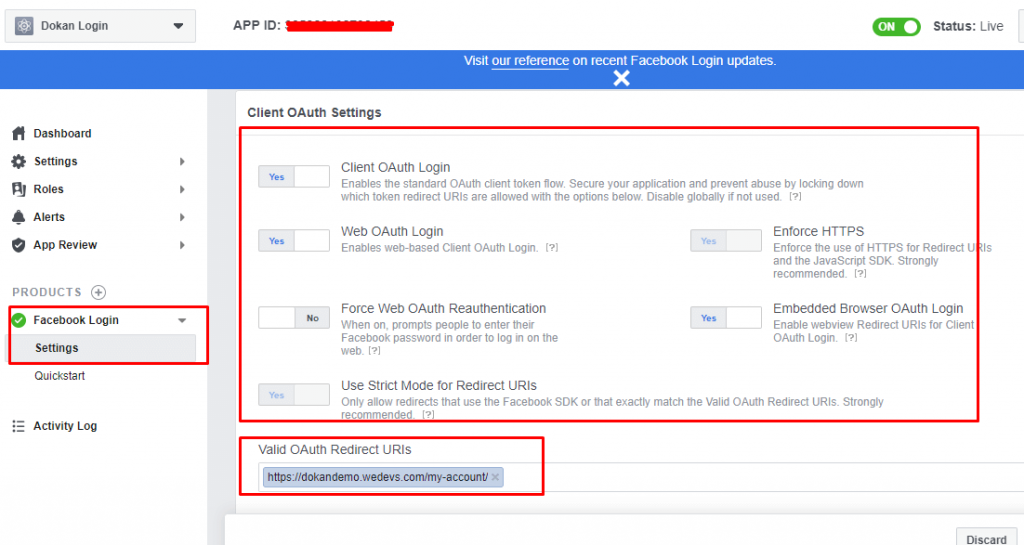
b) Navigate through Facebook login>Settings>Valid OAuth URI. Paste the Site URL of your Dokan settings.
Also, your Client OAuth Login settings should be like the below screenshot.
6. Click on Save Changes
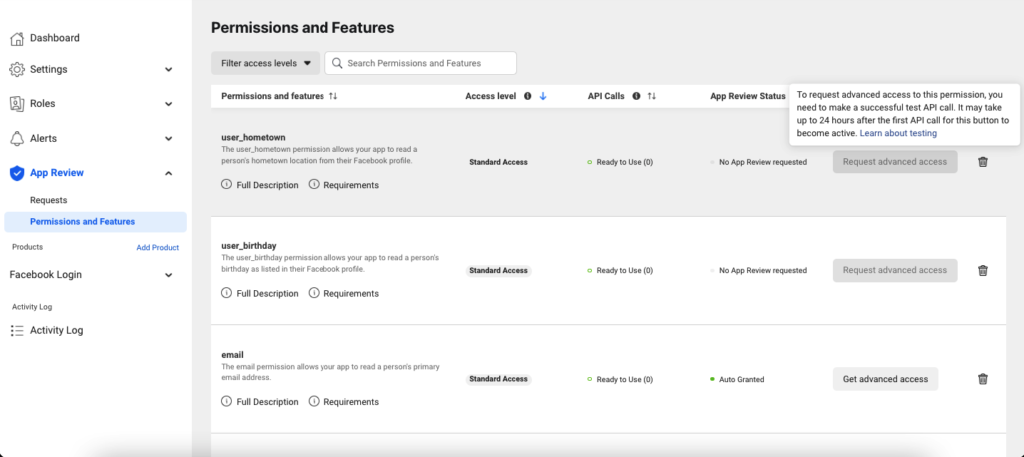
By default, your application only has Standard access for the permissions, which is not enough for Facebook Login.
On the left side, click on App Review then click Permissions and Features. In the table, you will find the public_profile and email permissions. You should click on the Get Advanced Access buttons next to them.
7. Now, copy your AppID and AppSecret from the Settings→Basic tab. Hit the Save Changes.
8. Paste this ID and Secret into the Social API Settings page of your Dokan dashboard as shown in the image below.
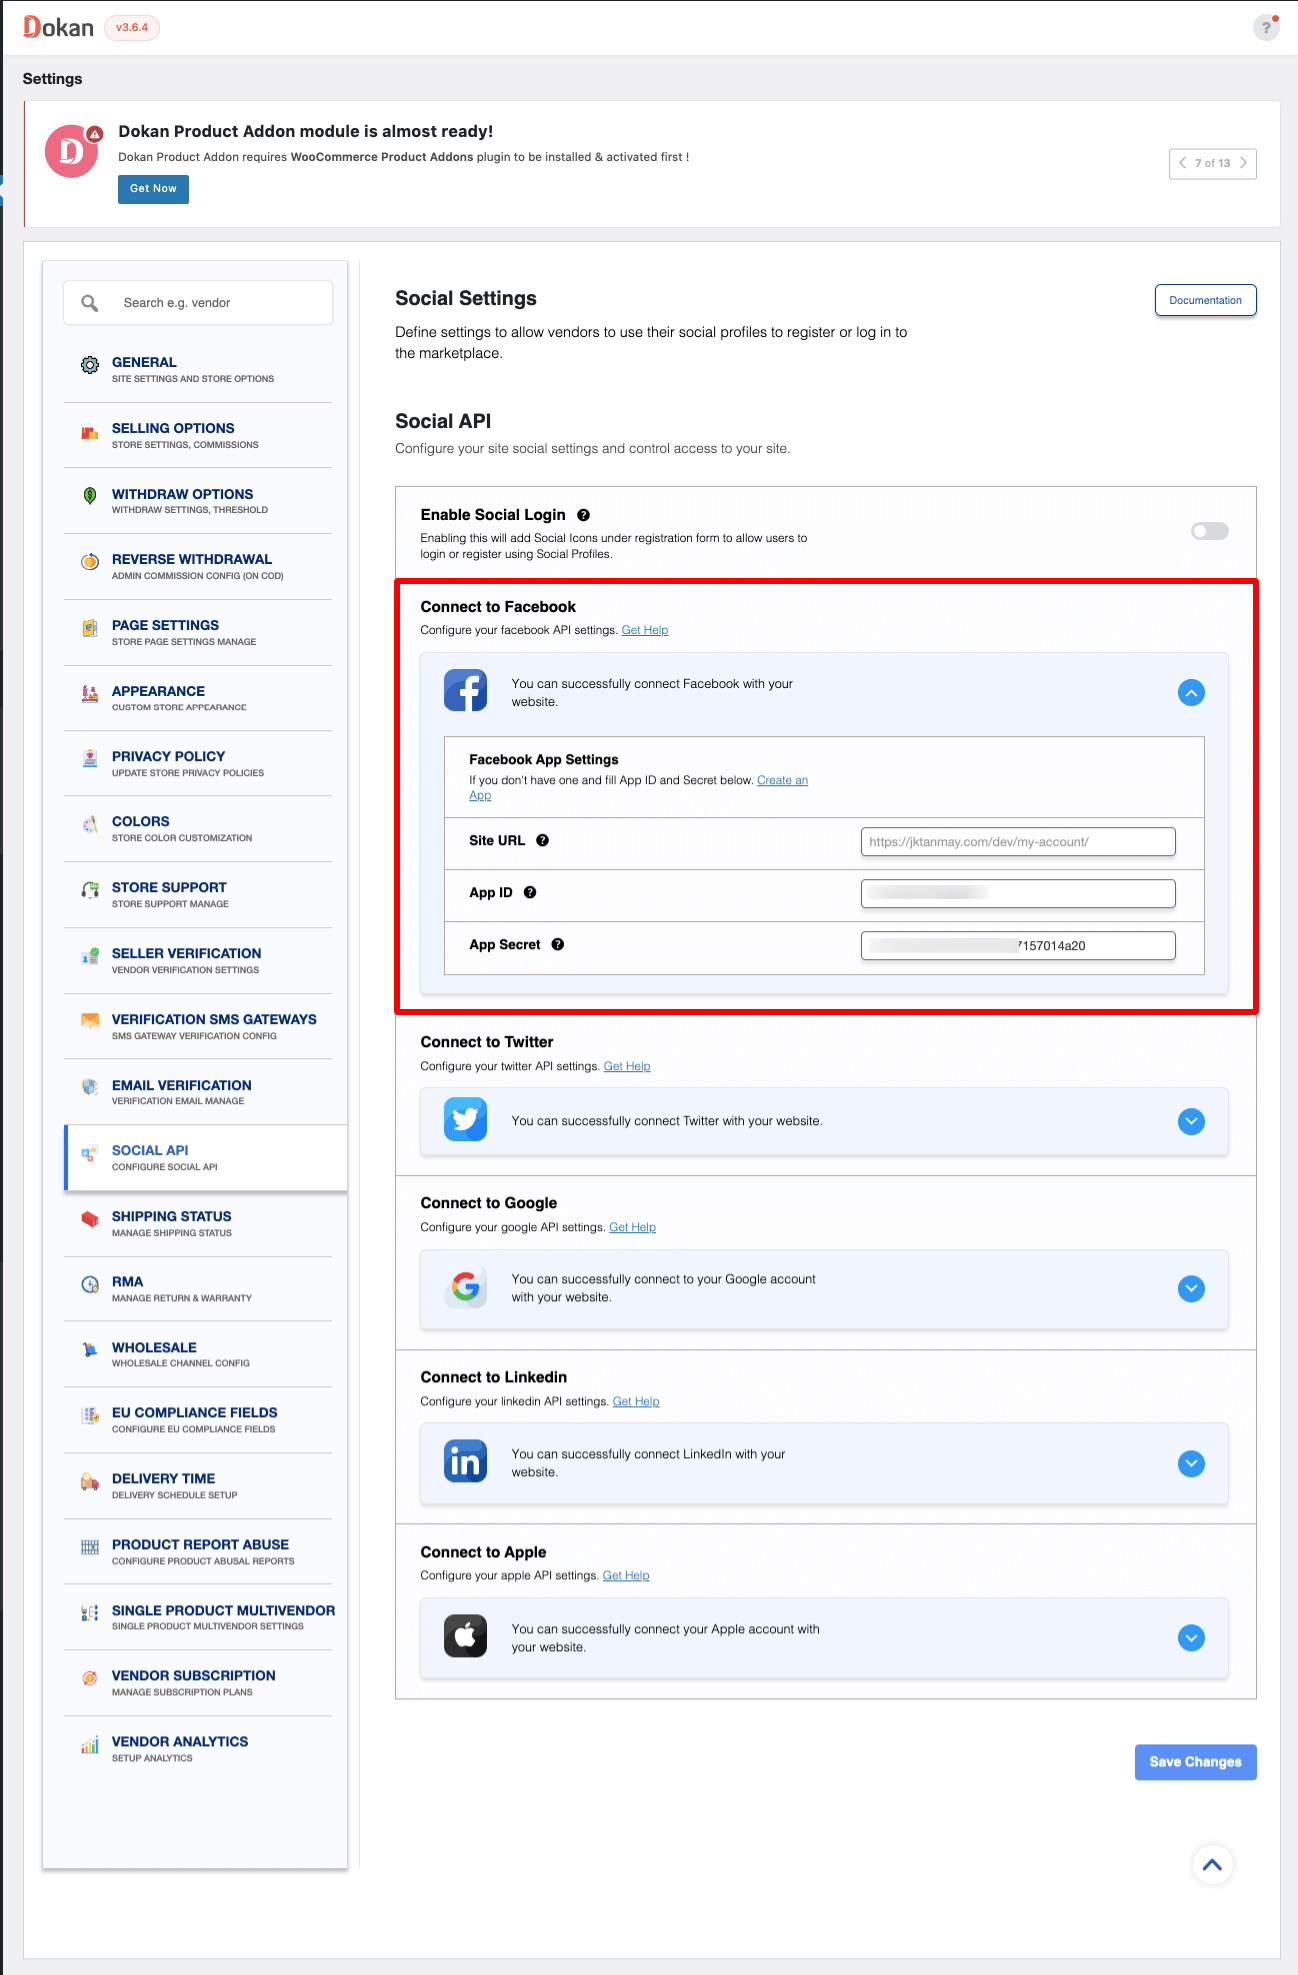
9. Click on the Save Changes– you are all done configuring Facebook registration/login settings here.
Note: If the application is private, that means that only you can log in with it. In the top bar switch the “App Mode” from “Development” to “Live”.
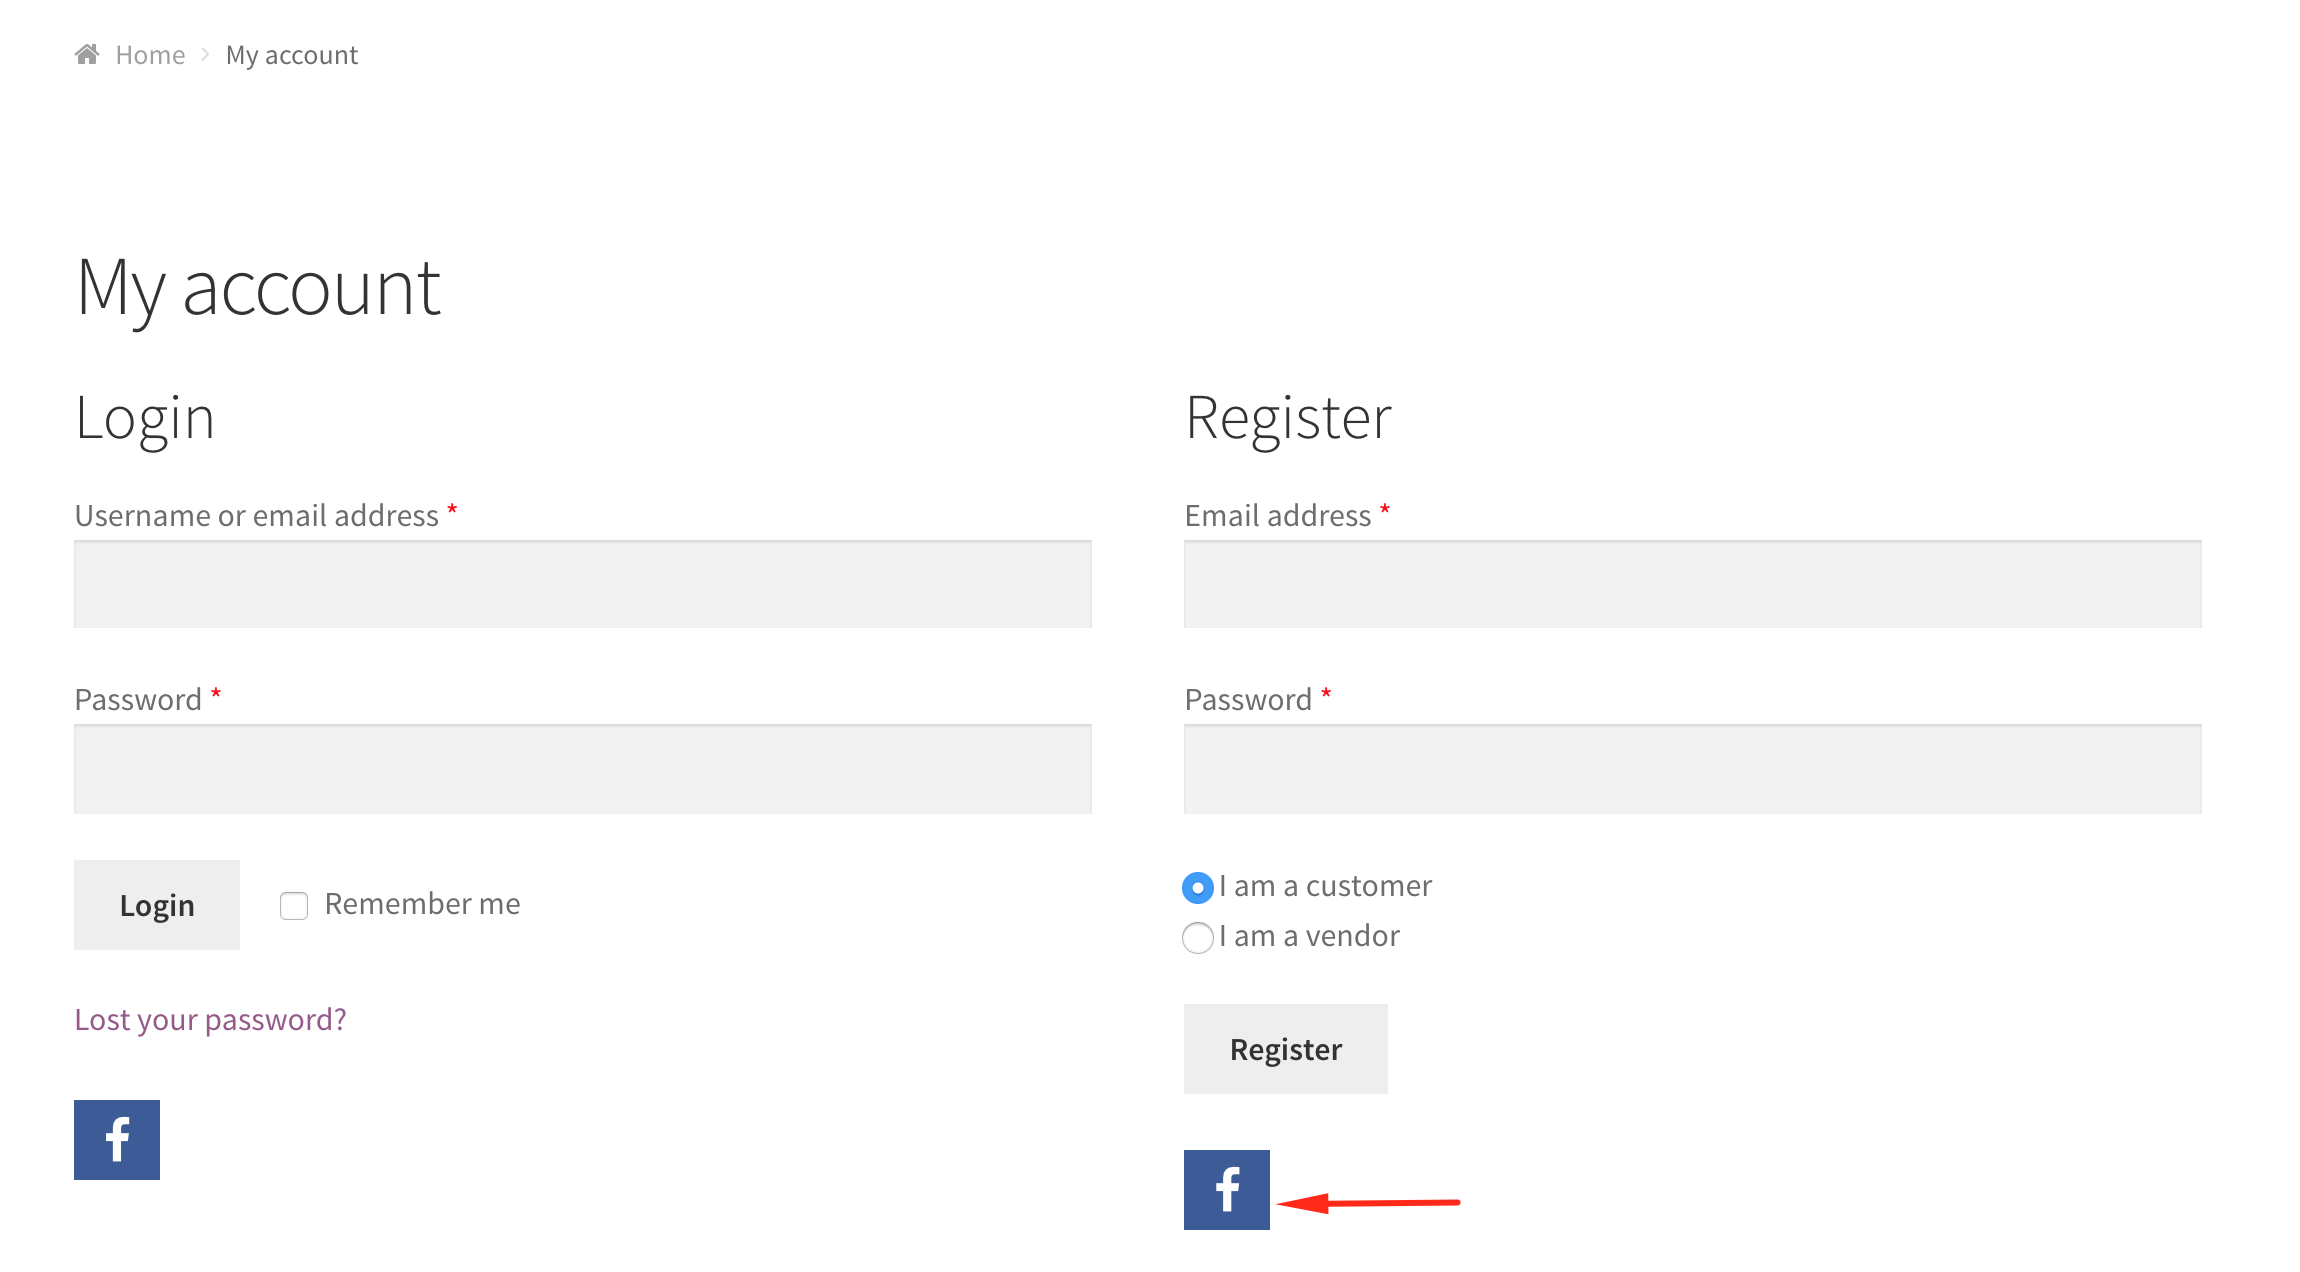
After Integration View
Now click on the Facebook icon on the login/registration page to log in/register with your Facebook account on your website.
Voila! You’ll be asked to sign in to authorize the app.
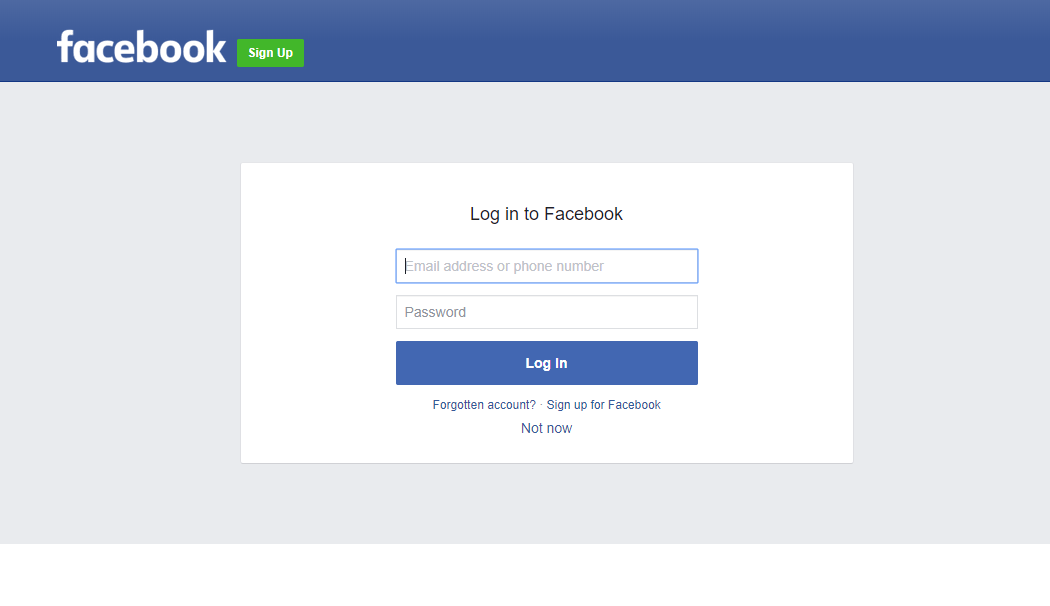
That’s all about configuring Facebook Social Login for Dokan Multivendor!

