When seller don’t want to keep their shop open for 24 hours, setting the store opening and closing time can be helpful.
With the Dokan Lite version, vendors will be able to set opening and closing times for their online stores.
Configuring Store Open & Close Times
1. To do this, vendors navigate to Vendor Dashboard→Settings→Store.
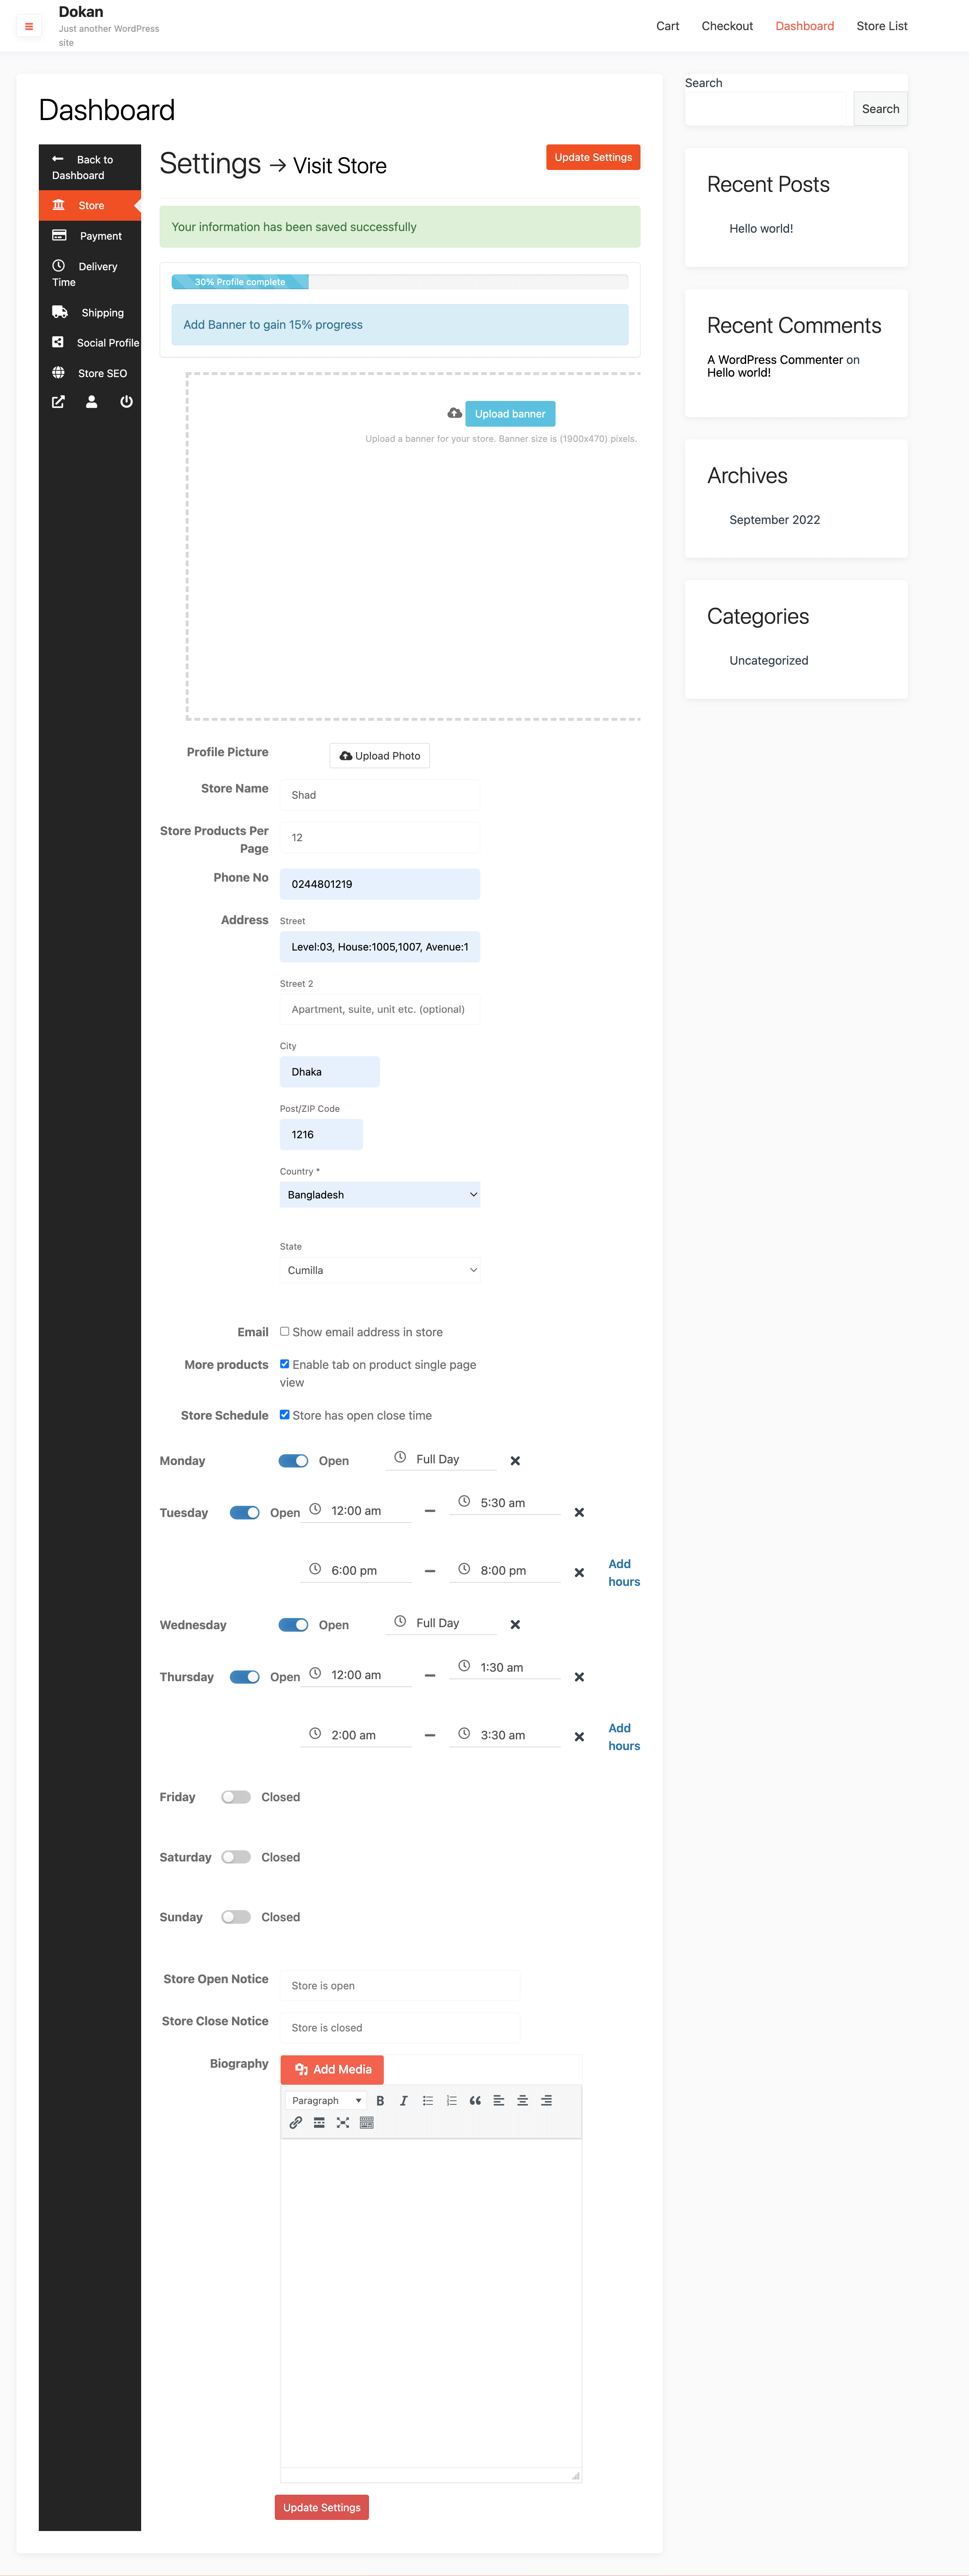
2. Scroll down to find the Store Opening & Closing Time widget.
Select Open or Close from the drop-down for each day of the week.
3. For days when the store is Open, select hours of operation from the numeric fields.
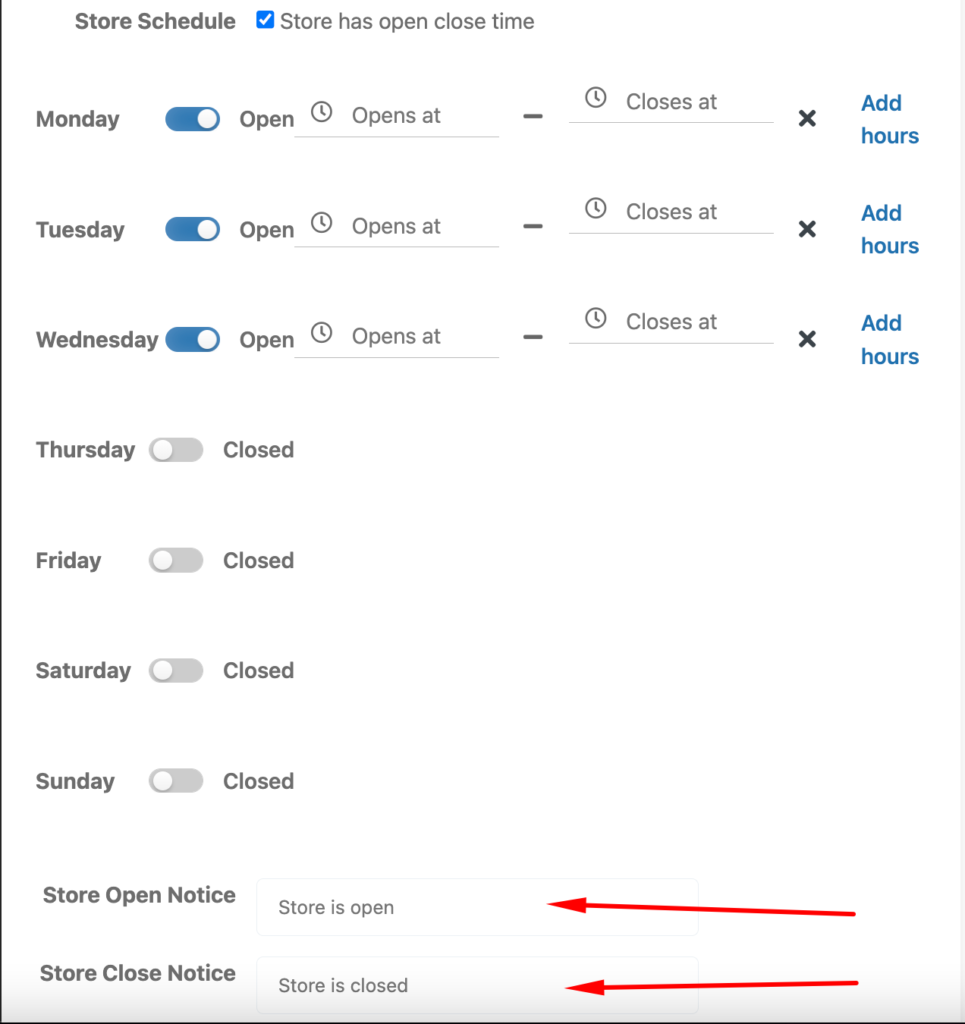
4. You can also change and add different notices for Open and Closed hours.
5. When you’ve finished the configuration, click on Update Settings.
Storefront View
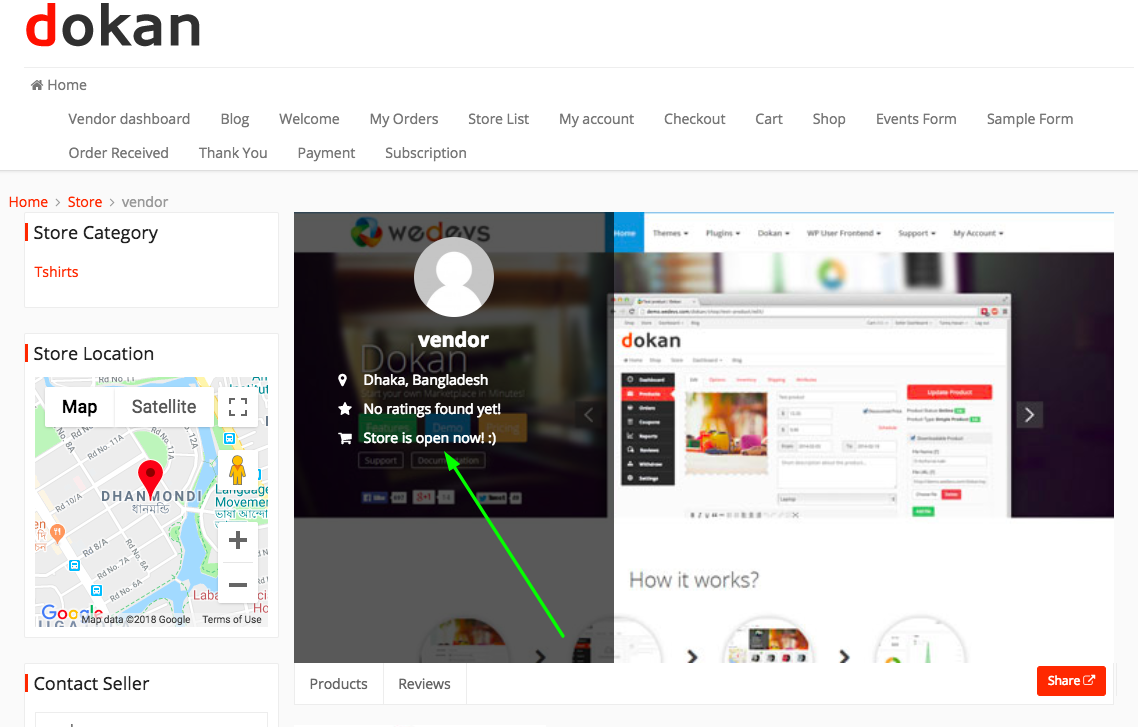
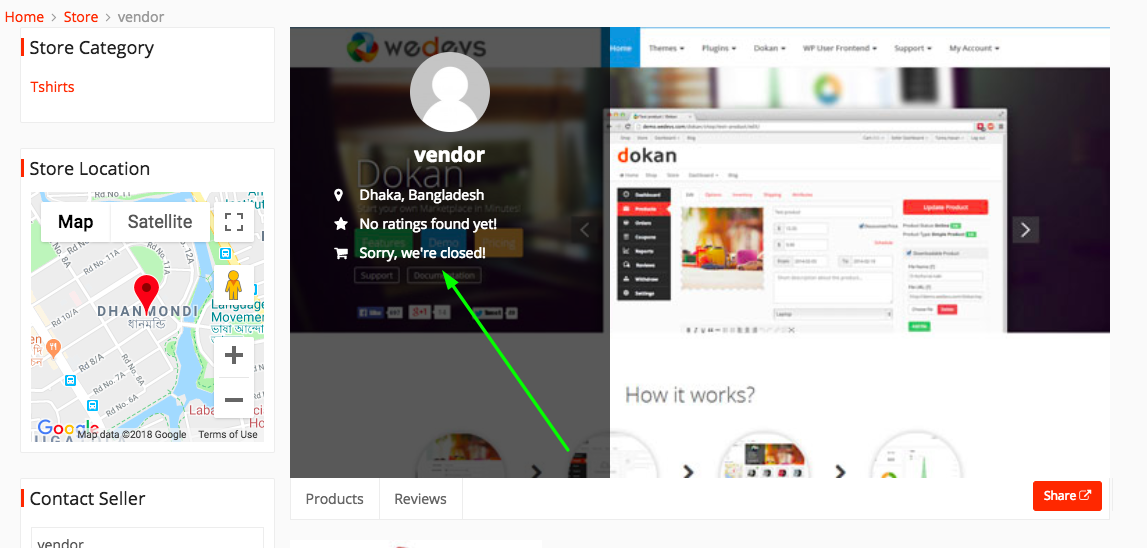
When visitors come to vendor store, they’ll be able to view these notices on the store banner.
When Store is open:
When Store is closed:
This completes the configuration!
Opening & Closing Widget on Store List
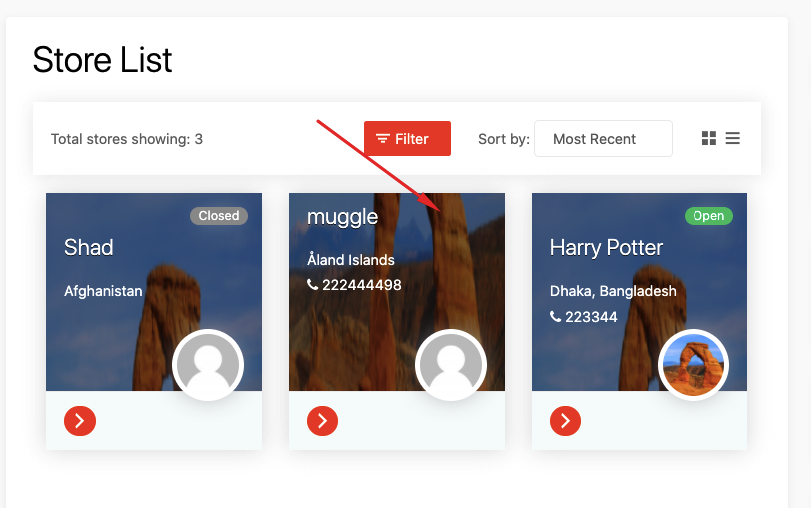
Now, users and vendors can view which store is closed and open in the store list. That way they will know which store to visit and when.
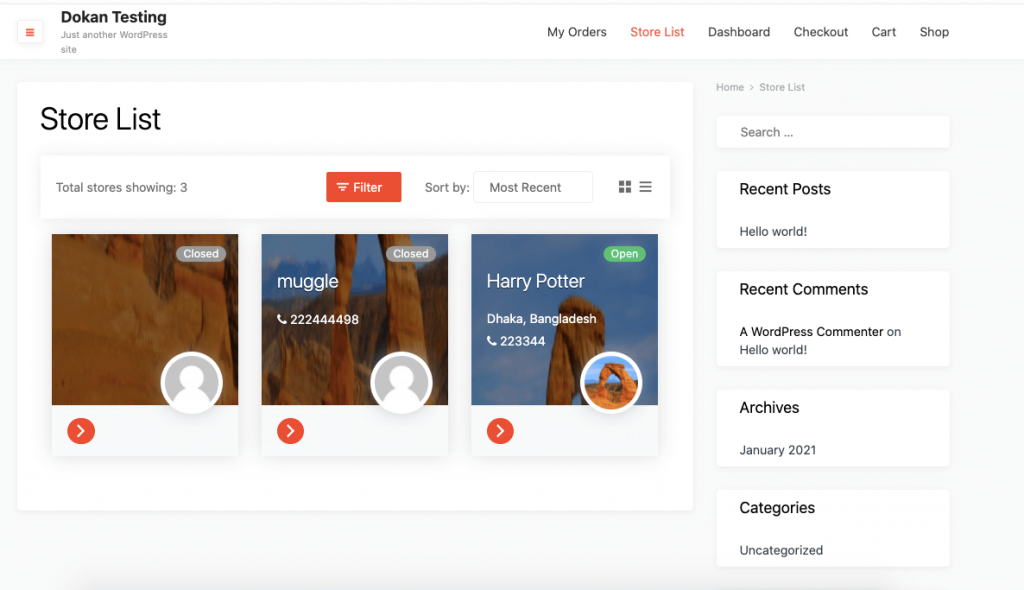
Note: The widget will only show if vendors enable the setting and also set their store opening and closing times. That means even if the admin enables the store opening and closing widget from the backend if the vendor doesn’t enable his/her settings then this widget will not be shown on their stores.
Multiple Open Close Time Slots
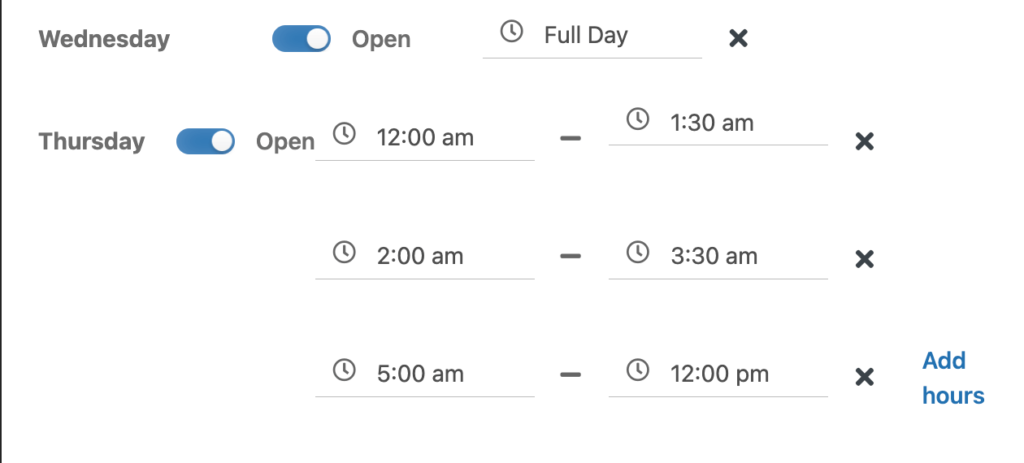
If vendors want they can set multiple open close times for their store. Just enable your business days and add timings. Click on the Add hours option to add multiple timings.
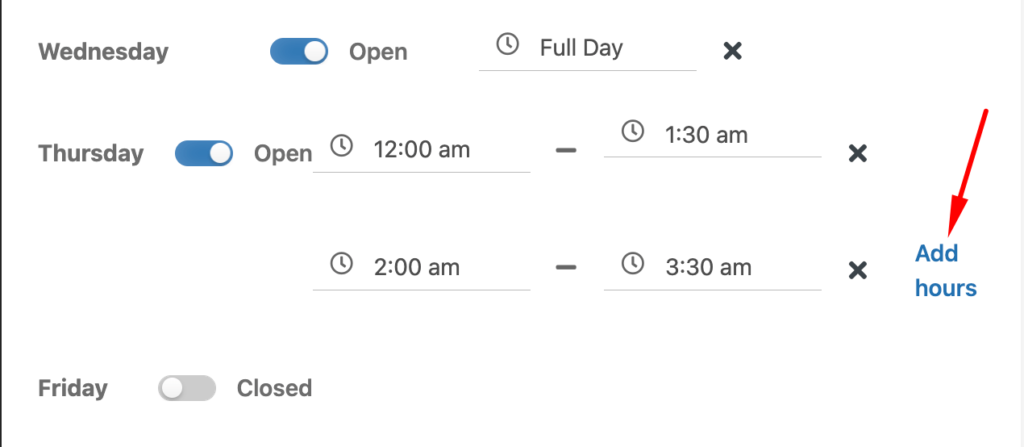
Remember your closing time has to be bigger than your opening time, otherwise, the timings will be red.
And make sure the opening time has to be equal to or bigger than the previous slot’s closing time.

You can use the “x” button to remove any time slots.
That’s it.
You can also watch this video guide for this tutorial as well-