The very first step to start as a vendor is signing up using the vendor registration form.
Where to find the registration form?
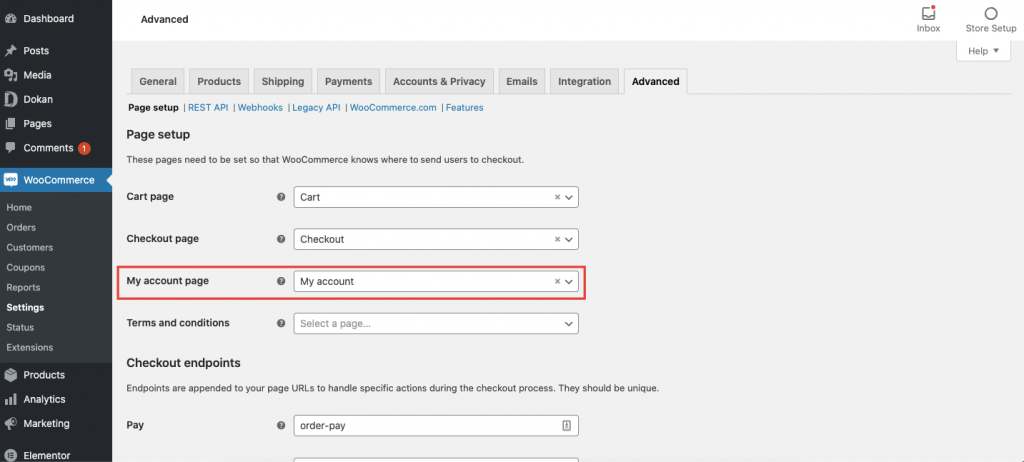
The vendor registration form is tied to the WooCommerce login and sign up template. When you install WooCommerce pages, there is a page named My Account.
If you set the permalinks to Post Name in the permalink settings of WordPress, then the link to the my-account page would be yoursite.com/my-account/
Remember, you also have to turn on user registration to view the vendor and customer registration form. If you have not done these two, then read the step by step guide below.
How to Generate Dokan Registration Form
Step 1: Make sure you have enabled the registration option from WordPress Settings
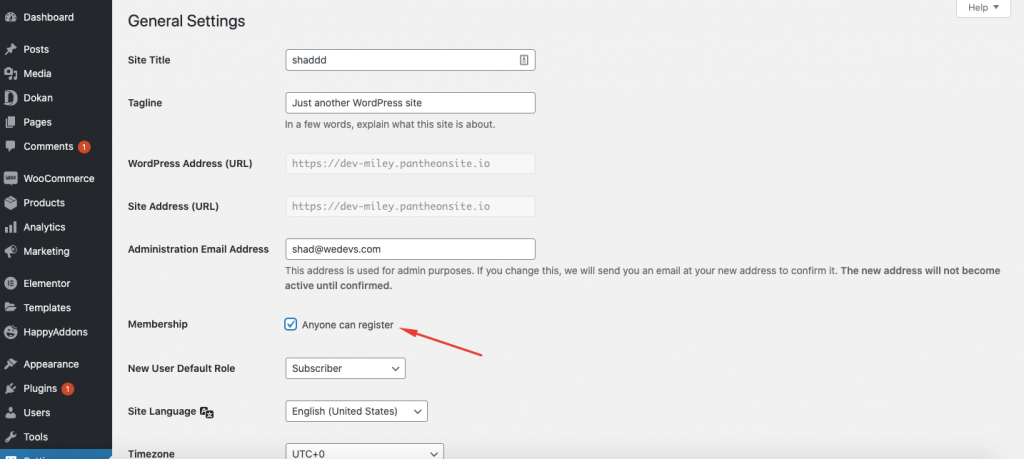
At first, you have to enable ‘Anyone can register’ option. You can find this option from WordPress Dashboard → Settings → General Settings → Membership.
Step 2: Set up General and Custom Permalink
To set up general permalink, navigate to WordPress Dashboard → Settings → Permalinks → Common Settings. Select Post name.
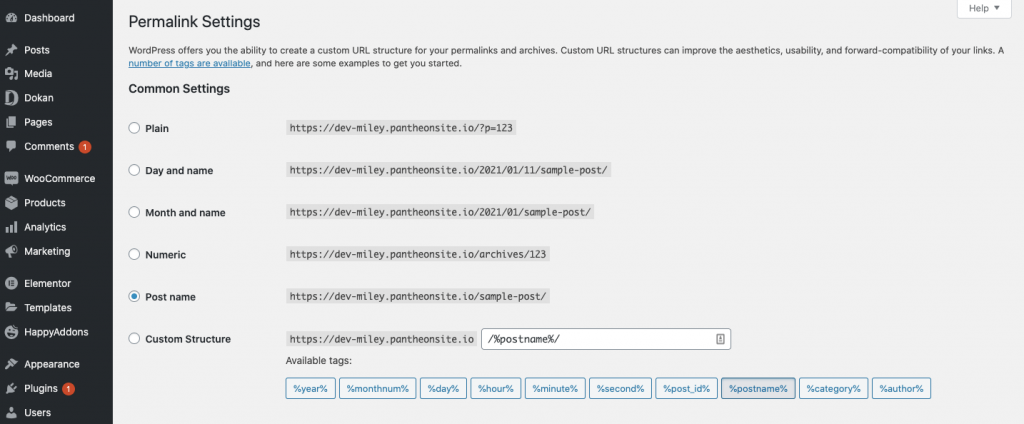
Now, navigate to WordPress Dashboard → Settings → Permalinks → Product Permalinks. Select custom base and put “/product”.

Step 3: Visit the Registration Page
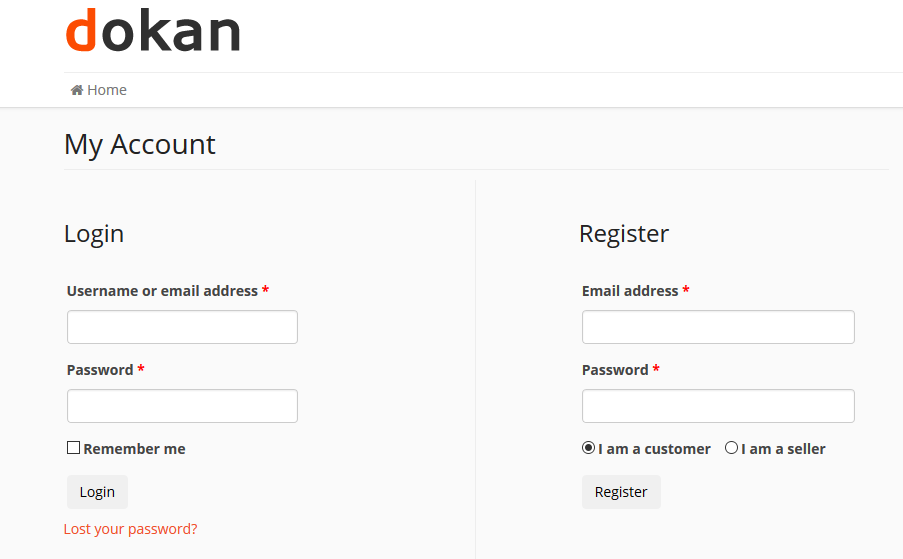
You can find the registration page on yoursite.com/my-account/.
Alternative Way to Create Registration Form
You can also create custom pages for the registration form. To do this, create a new page and put [woocommerce_my_account] shortcode. It will generate a new registration form.
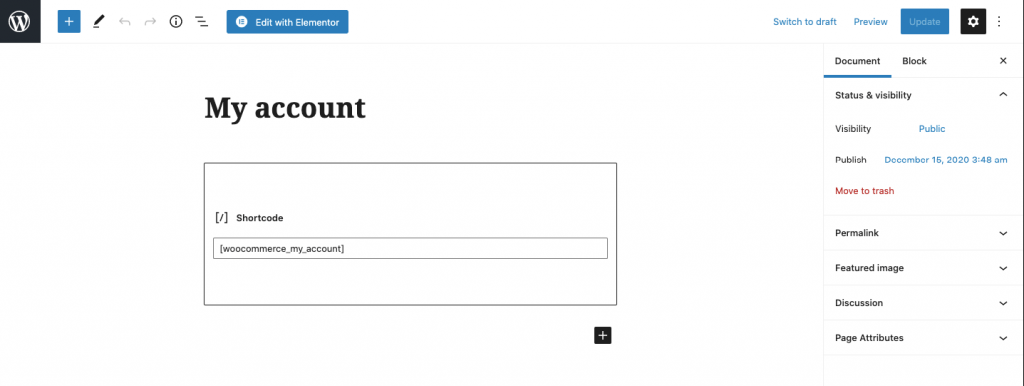
Now, you have to link your newly created registration form page with WooCommerce. To do so, navigate to WordPress Dashboard → WooCommerce → Settings → Advanced → My Accounts Page. Now, select the newly created page from the drop-down menu and save changes. You are done with creating the registration form!
