Now you can post articles in your Dokan-powered marketplaces. With the help of the WP User Frontend (WPUF) free version, you can easily post articles on your marketplace.
Let’s see how you can do that.
Install WP User Frontend Plugin
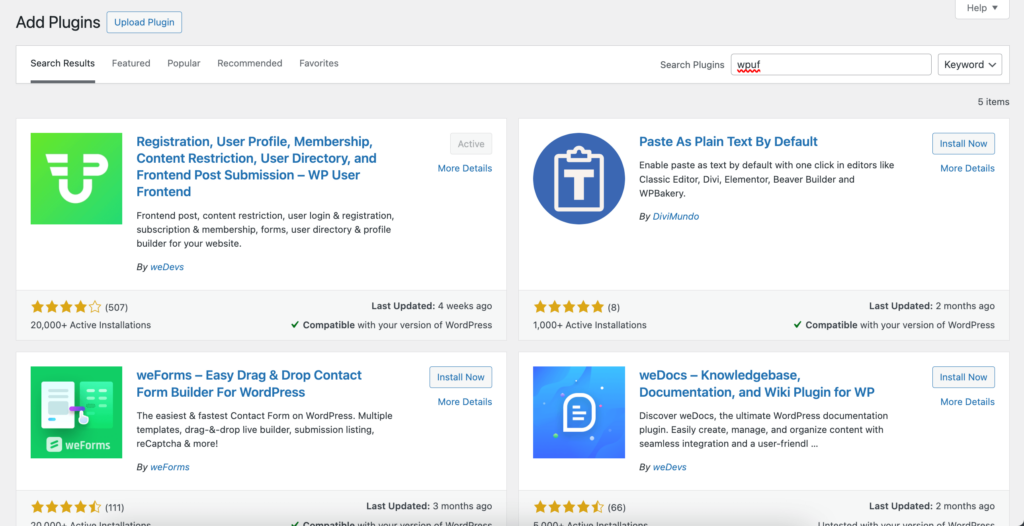
First, you need to install the WPUF plugin from your WordPress dashboard. Go to Plugins–> Add New and type WP User Frontend. Install and activate the plugin-
After installing plugin, you need to create a post form. You can read this guide on how to create post forms using WPUF.
Configure Dokan Settings
Now, go to Dokan–> Settings–> General. If you scroll down, you will find the post options. Enable the “Allow Post” option and choose the post form you created from the dropdown box-
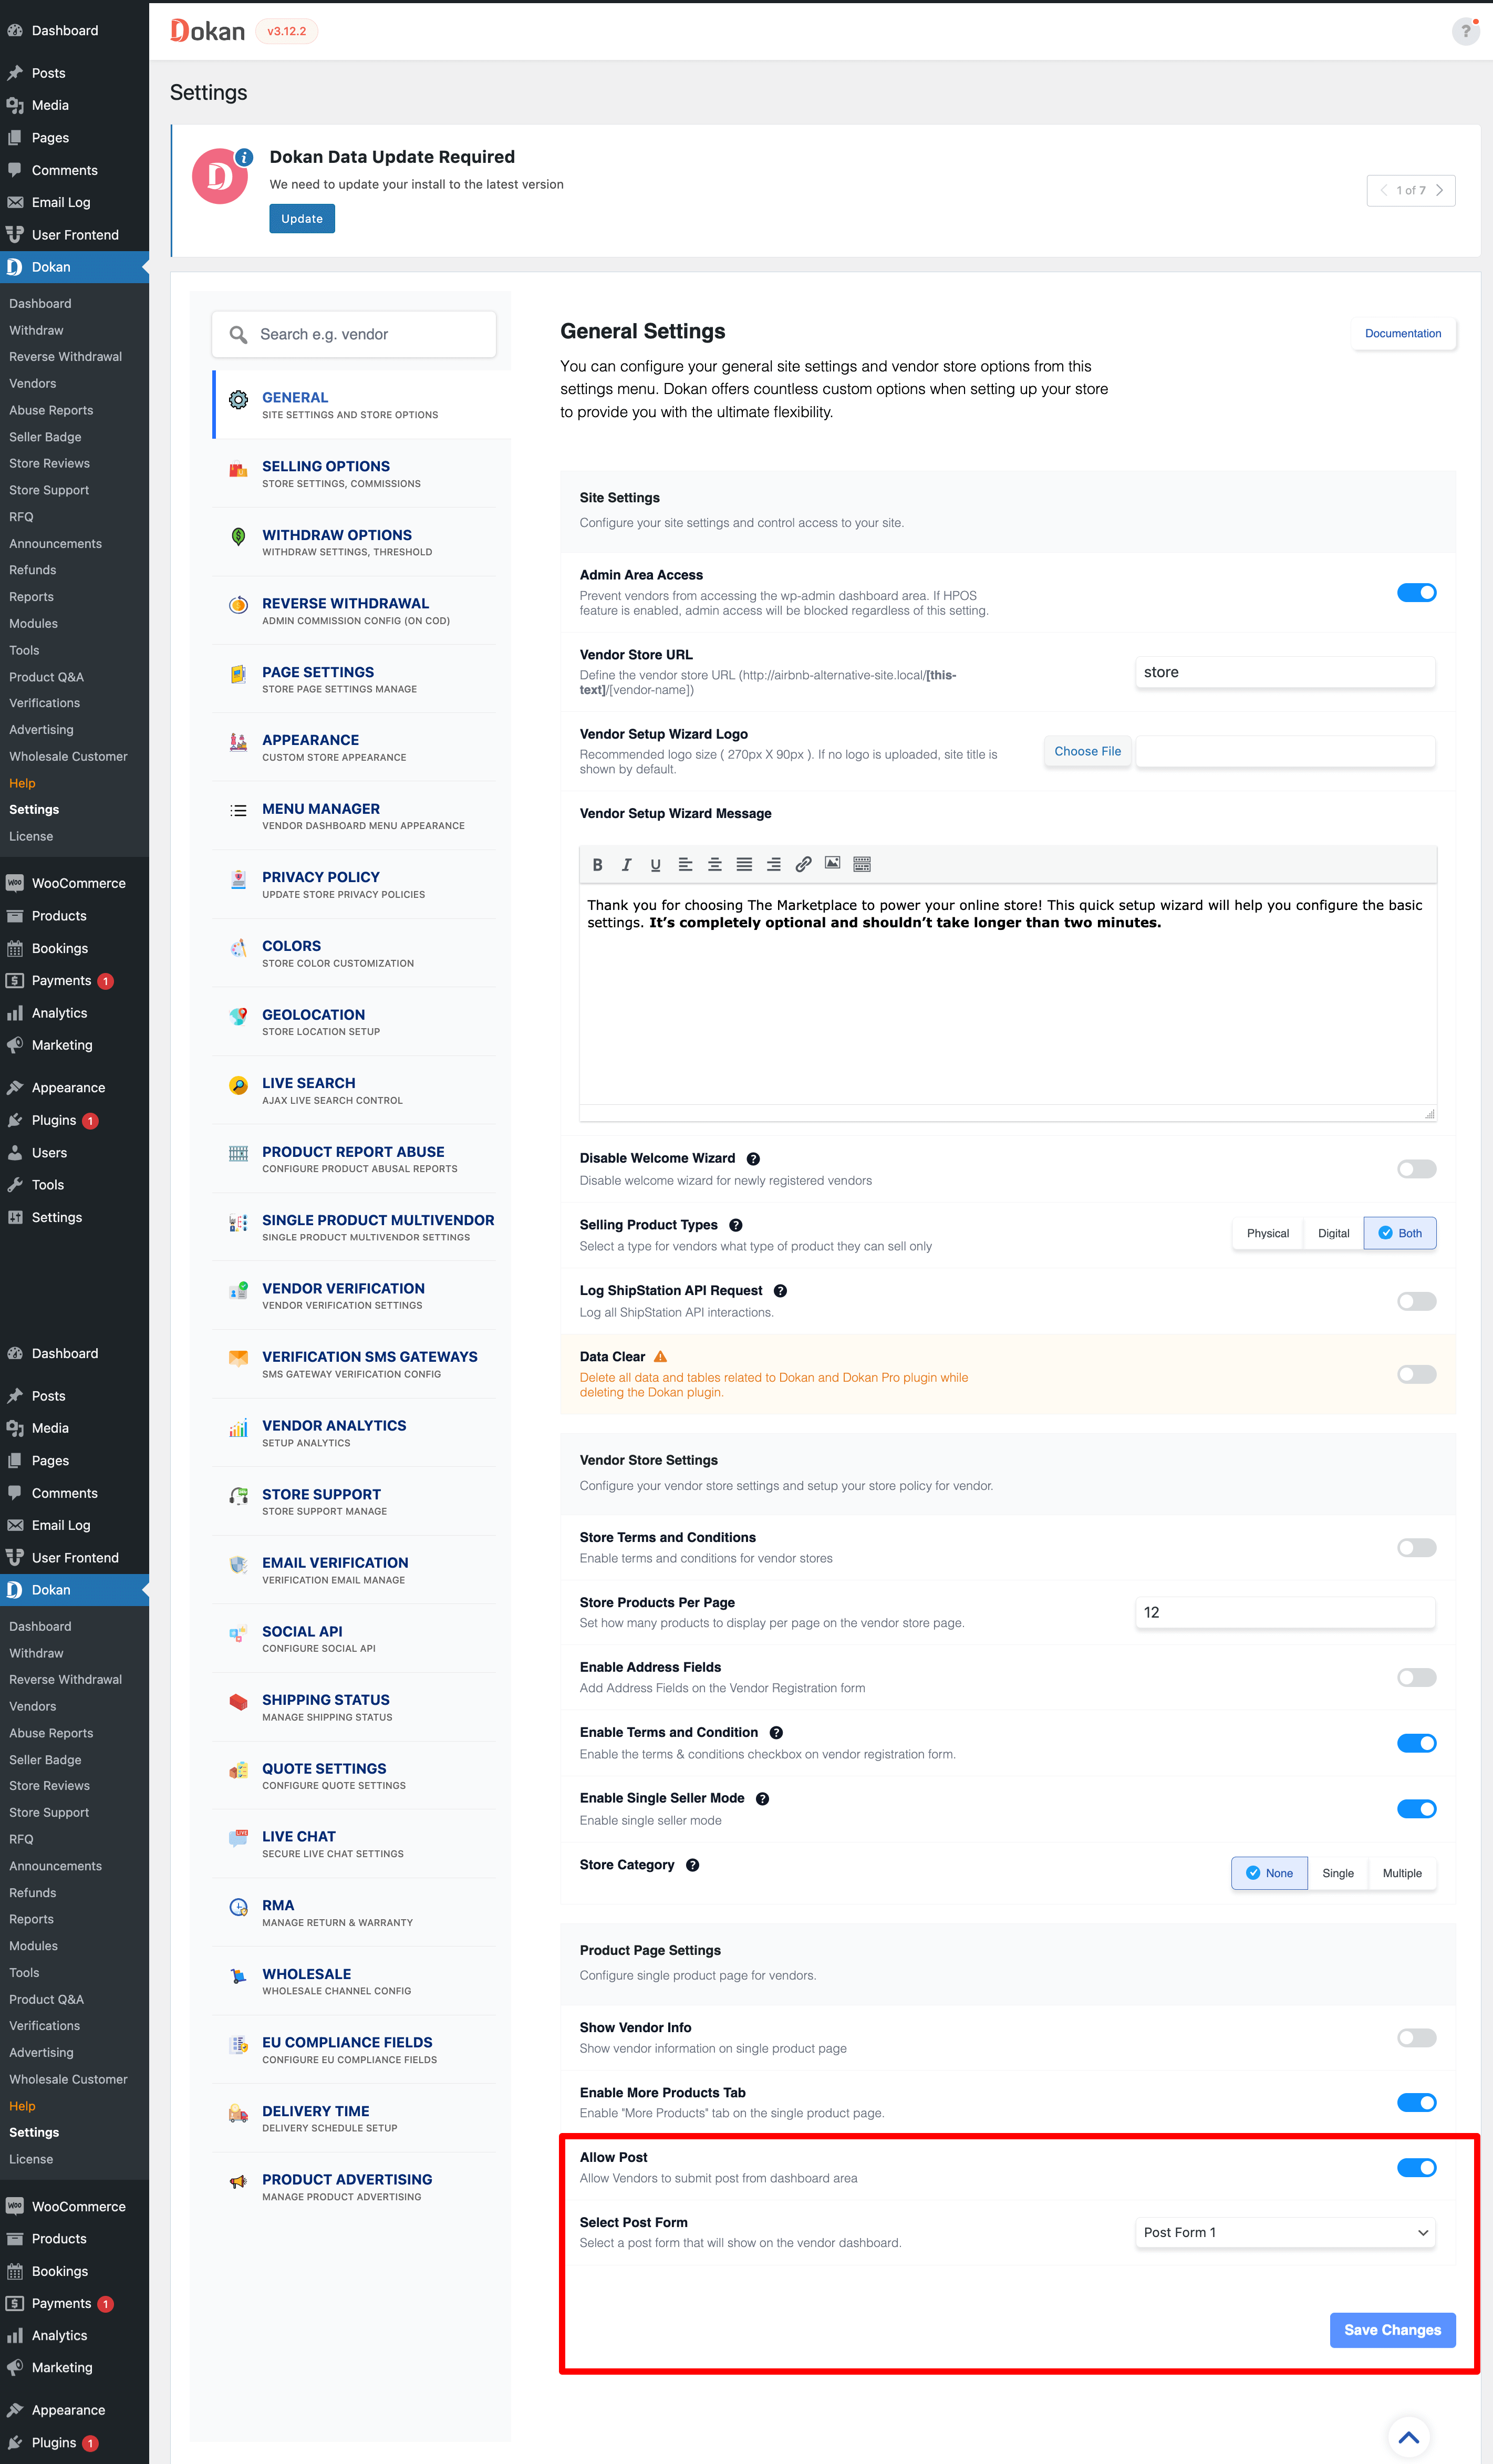
Don’t forget to Save Changes.
Post Articles
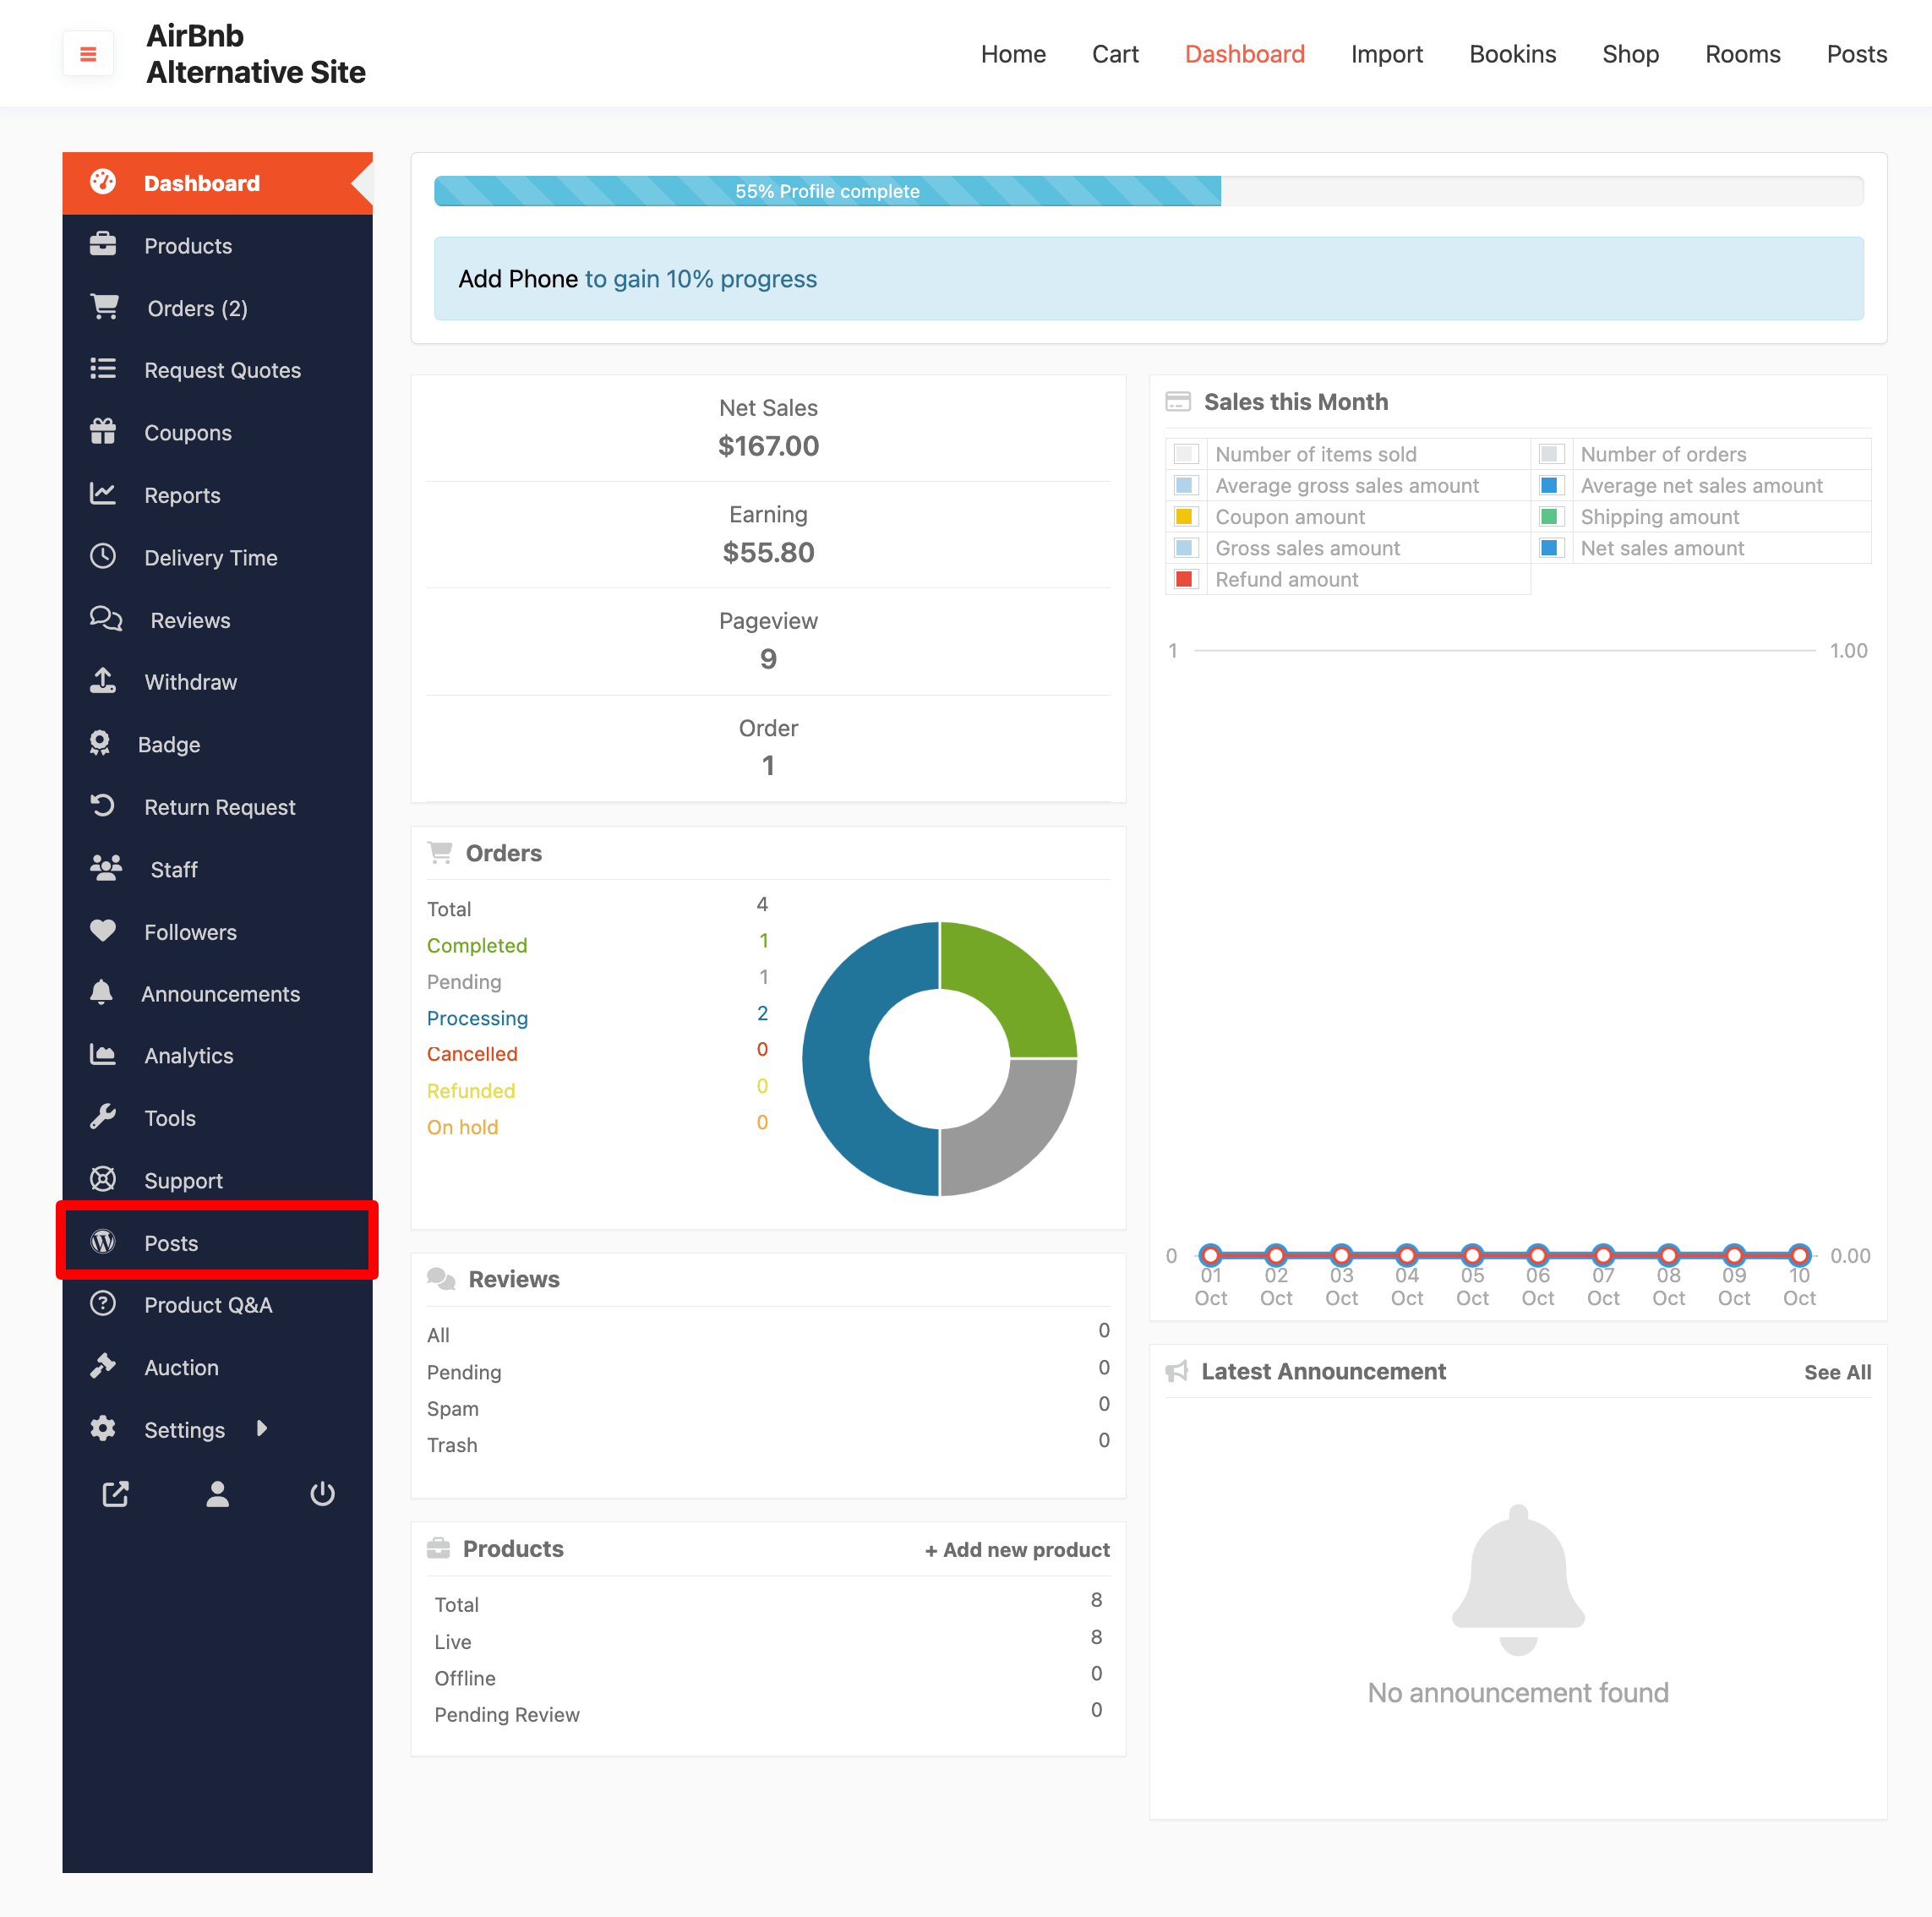
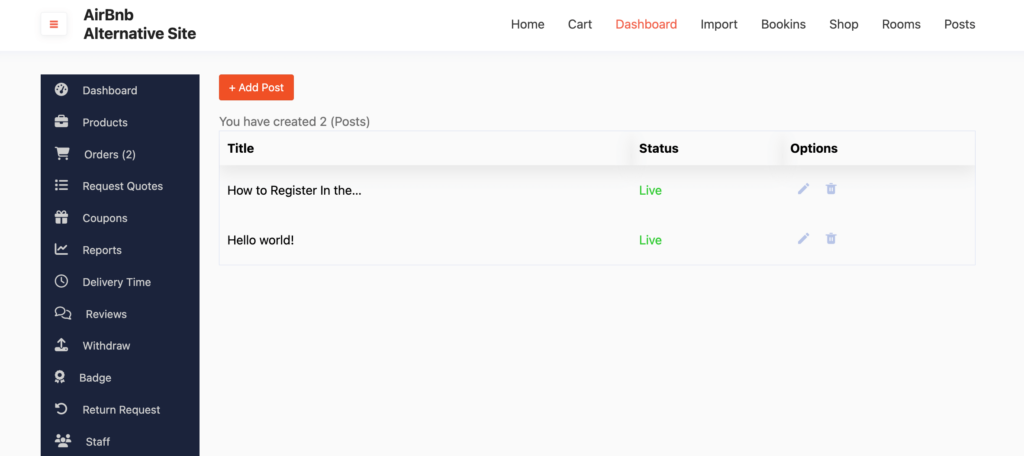
In order to post articles, go to Vendor Dashboard and you will find the Posts option in the menu bar-
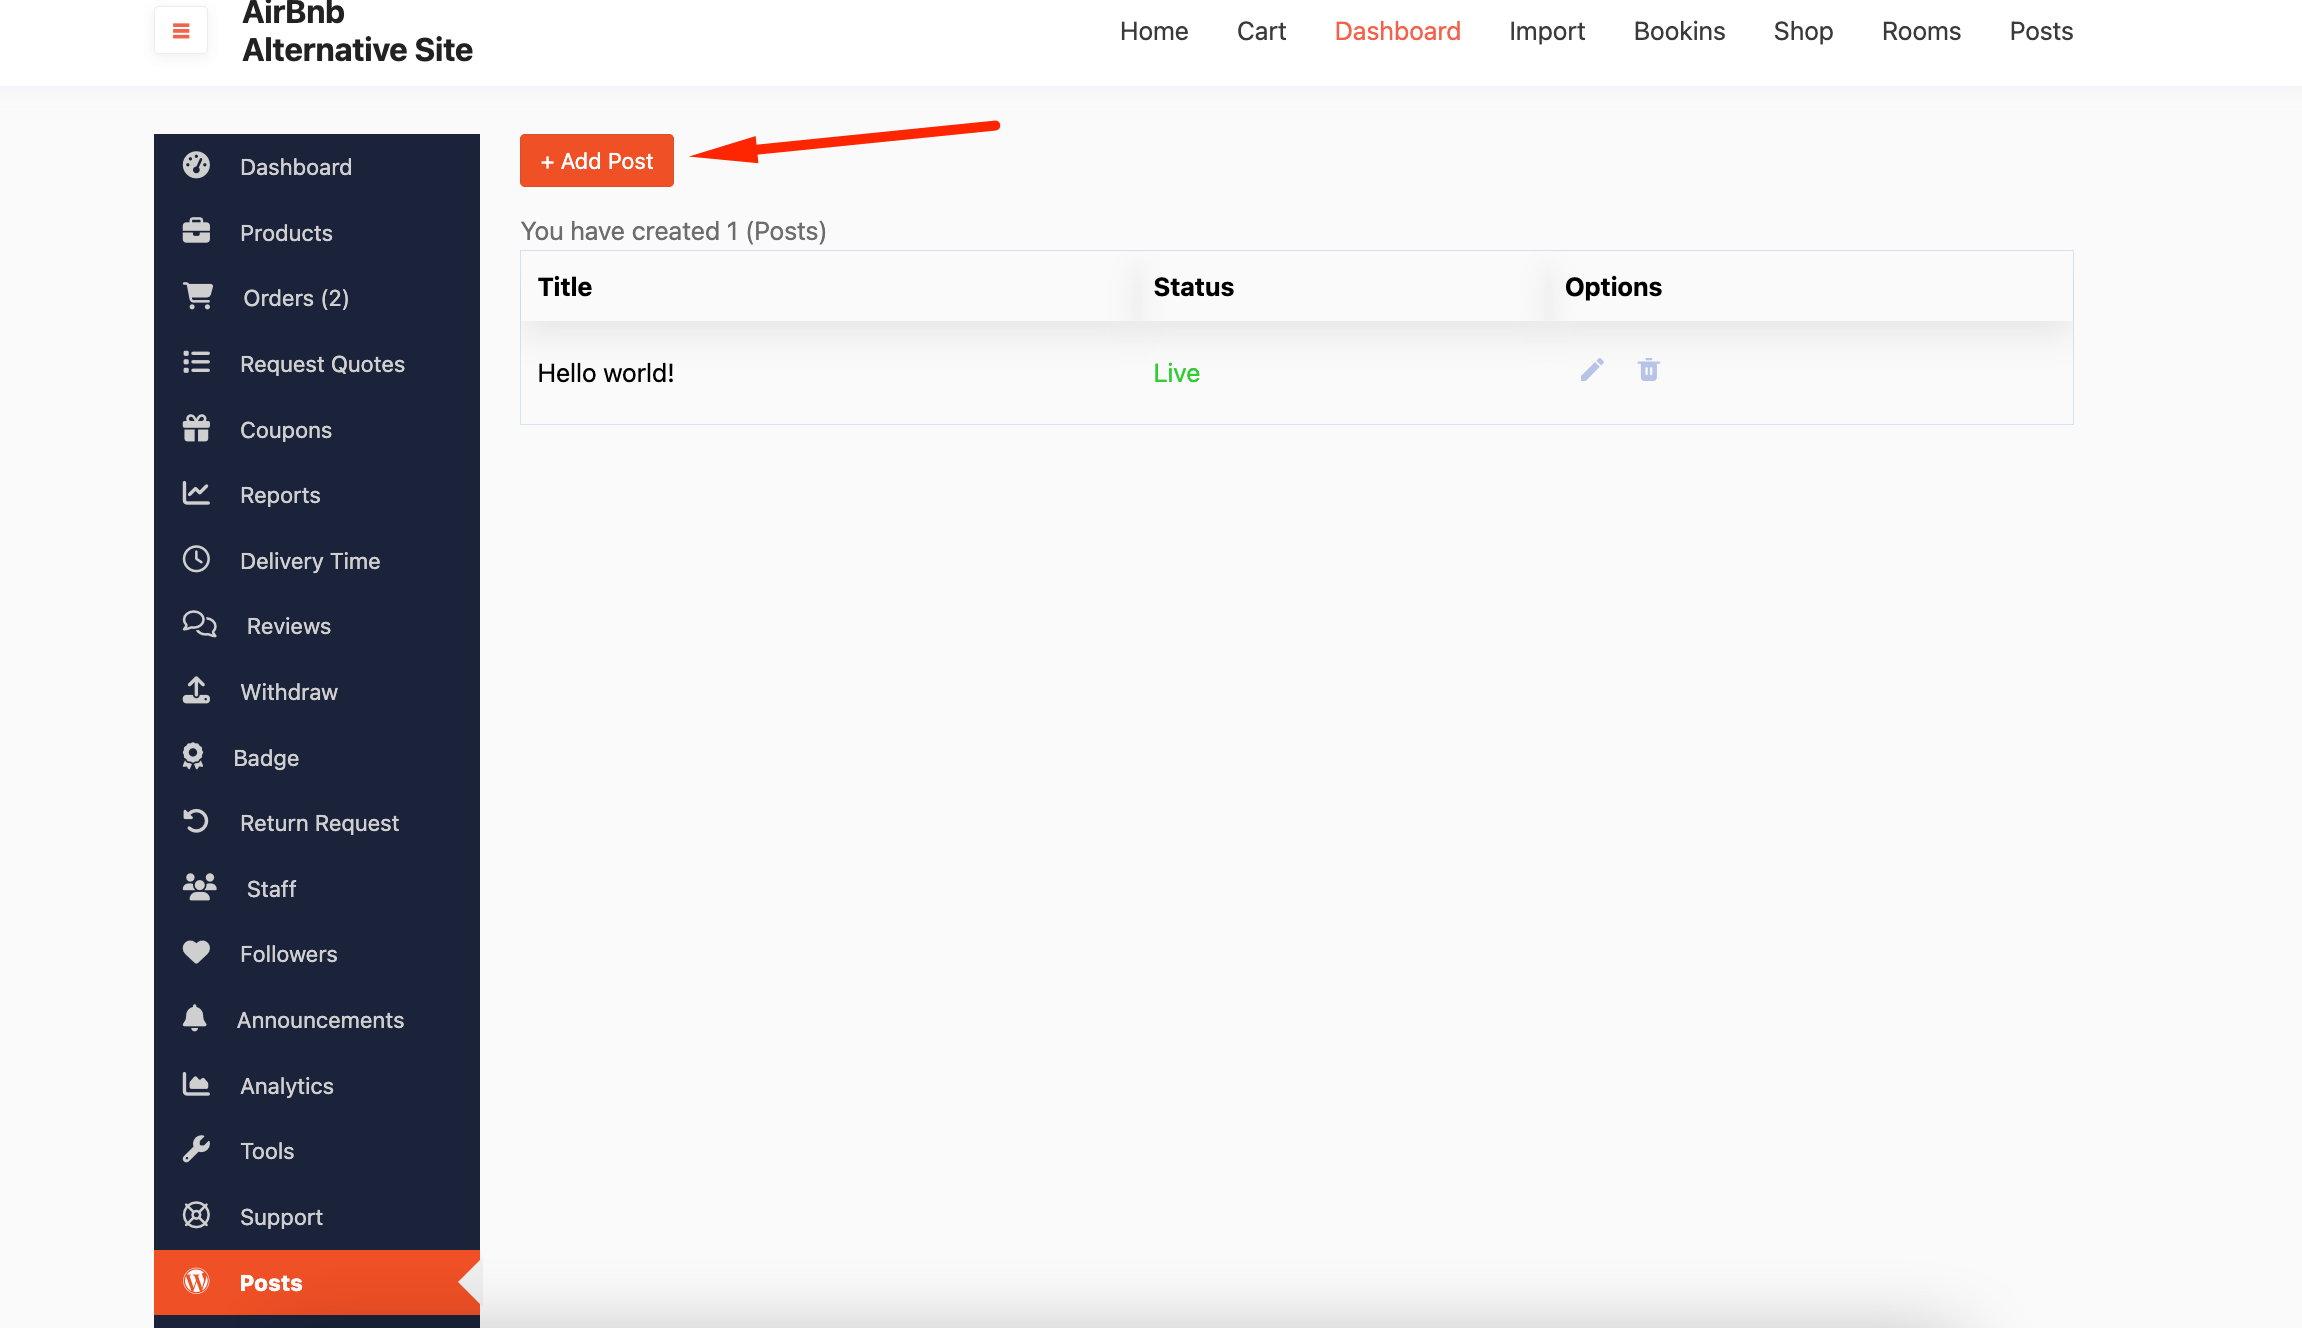
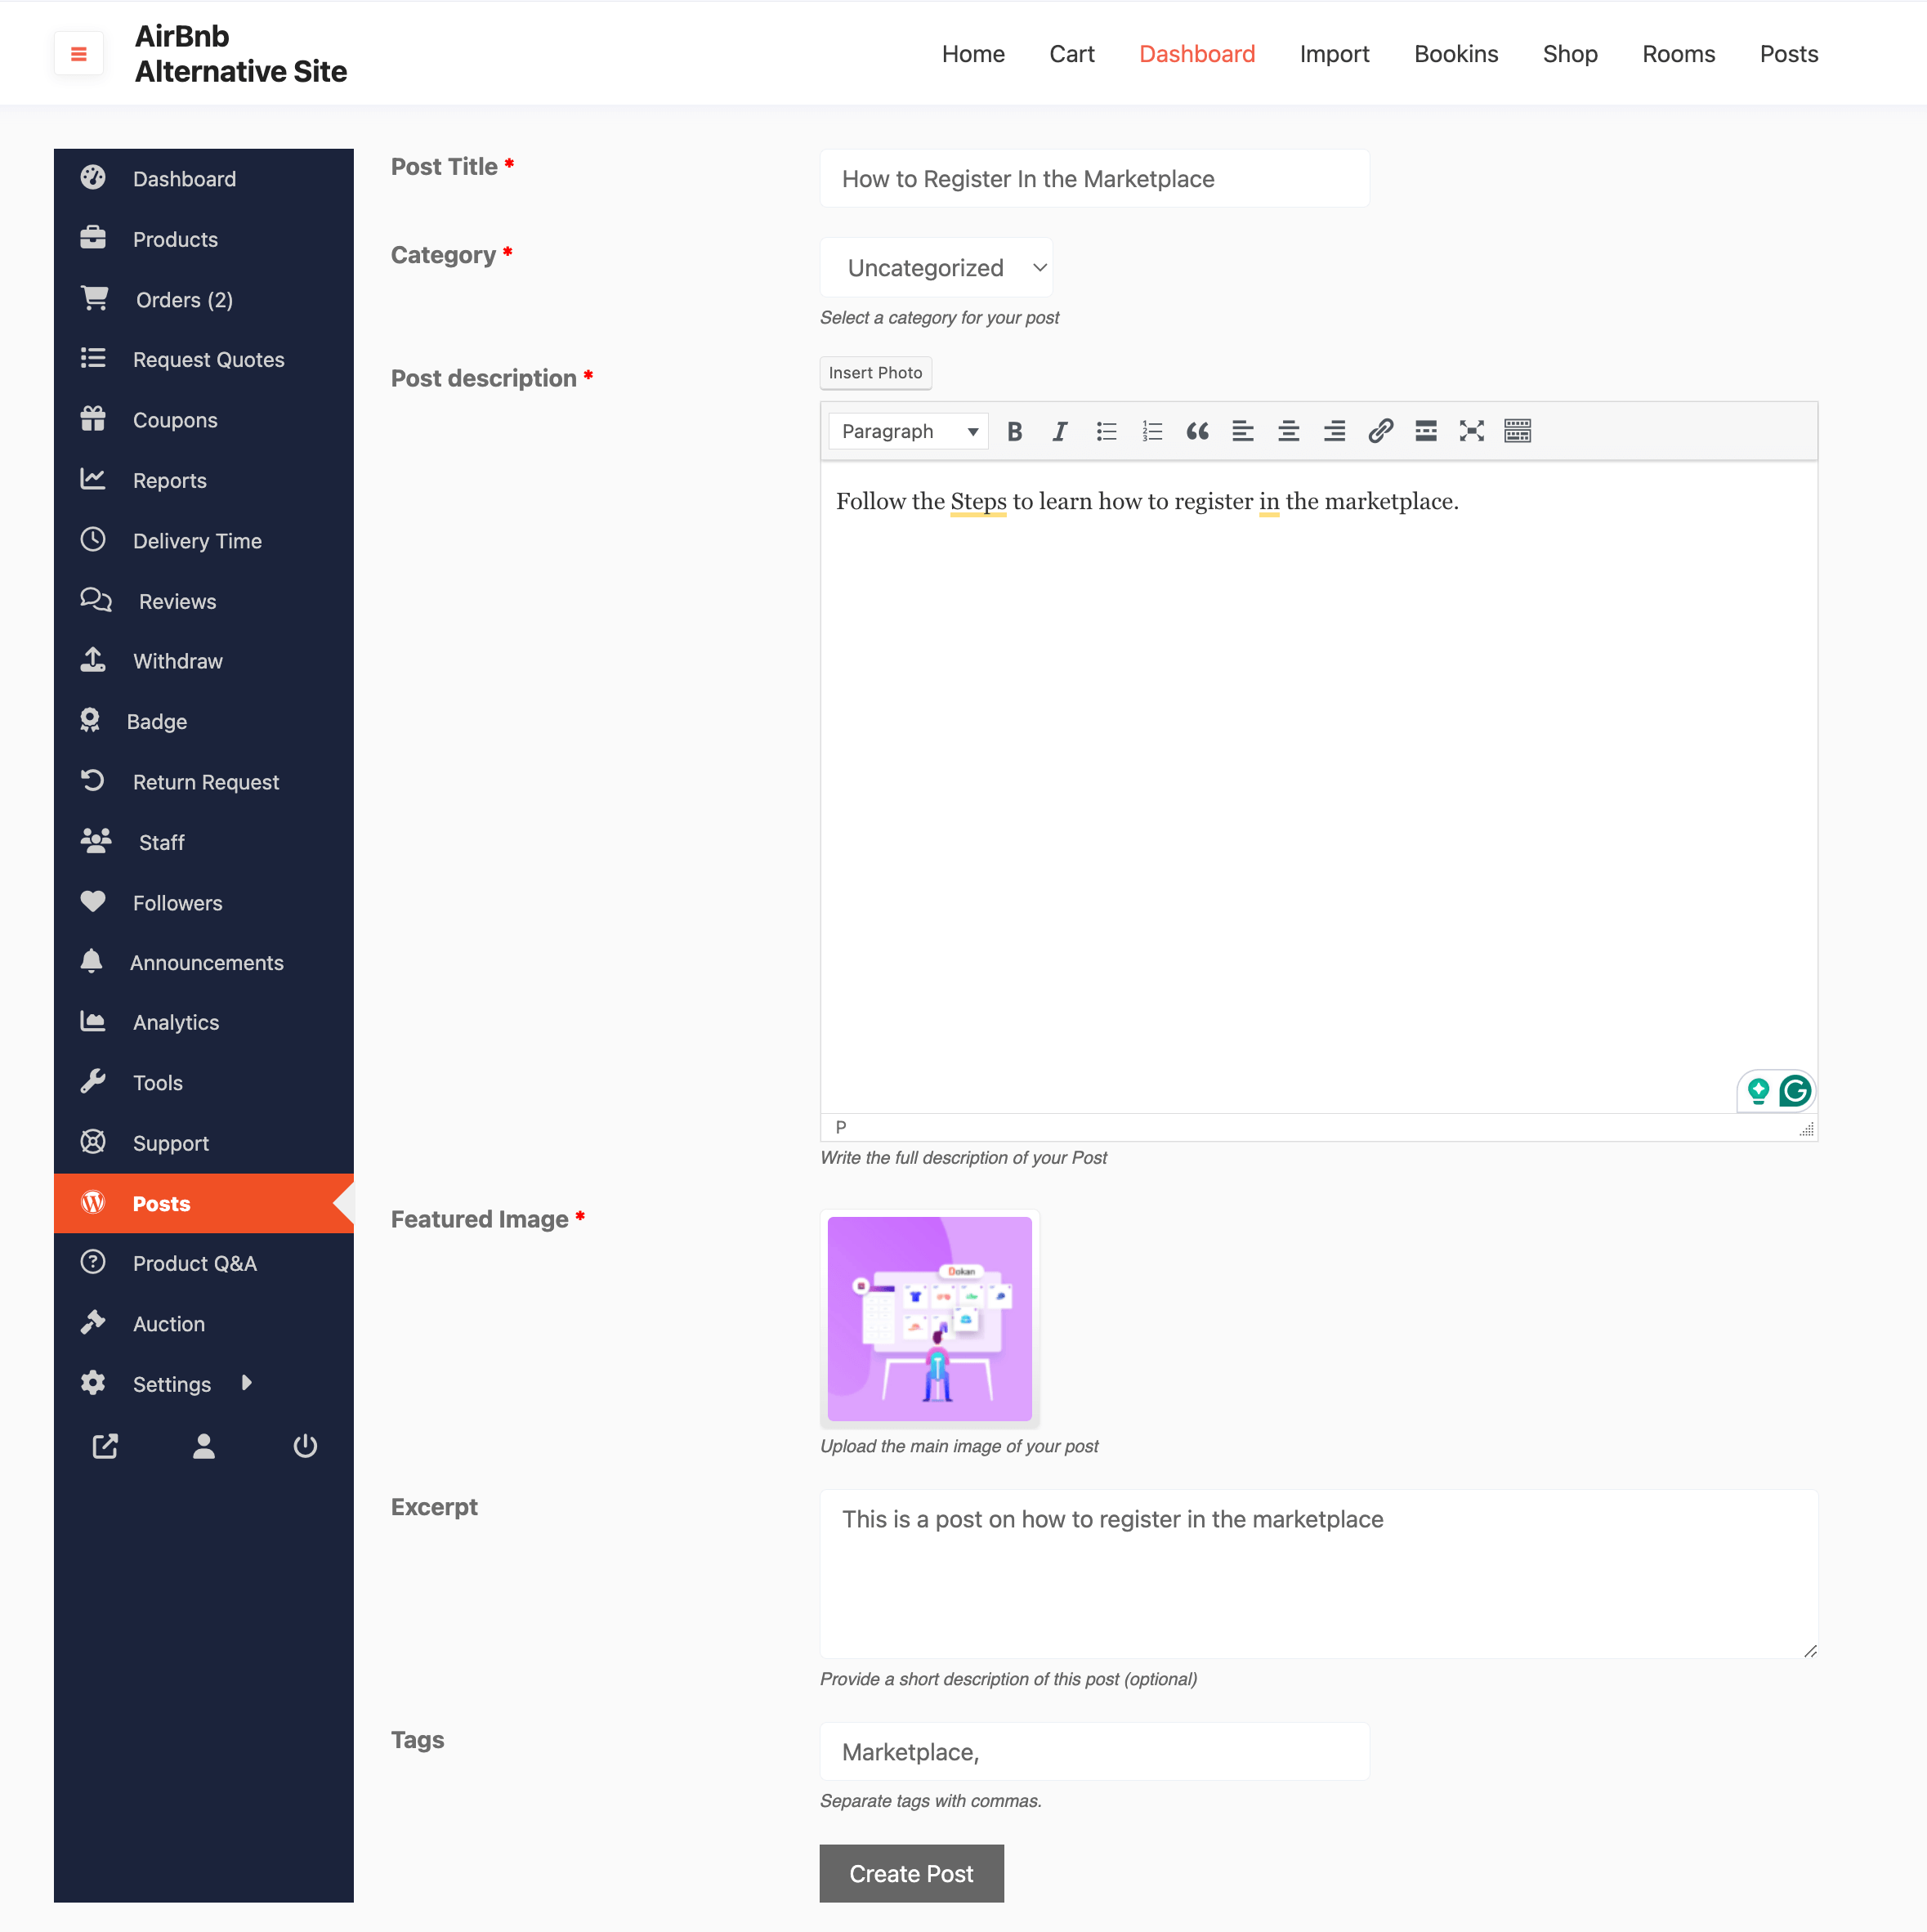
To add a new post, click on the Add Post button-
Fill up the necessary information and click on the Create Post to finish-
You can see that your posts have been published-
That’s it.

