StoreGrowth is a powerful all-in-one WooCommerce marketing toolkit designed to boost sales and reduce cart abandonment. With features like BOGO deals, upsells, direct checkout, side cart, quick view, countdowns, and live sales notifications, it helps you increase conversions, raise average order value, and deliver a smoother shopping experience – all in one lightweight plugin.
Dokan has complete integration with StoreGrowth. Now you can use the BOGO offers, Flycart, and Countdown Timer features of StoreGrowth with Dokan. So vendors now have access to powerful sales-boosting tools right inside their marketplace.
Why It’s Important
In competitive marketplaces, vendors often struggle with abandoned carts, low average order value, and slow sales momentum. Traditional plugins can be complex, heavy, or incompatible with multivendor setups. Dokan’s seamless integration solves this by giving vendors proven marketing features without extra hassle.
How It Helps Vendors
- BOGO (Buy One, Get One) is a popular sales promotion strategy where customers receive an additional product either free or at a discounted rate when they purchase a specific item.
- Flycart streamlines the shopping experience with quick, distraction-free checkout, reducing cart abandonment.
- Countdown Timer creates urgency, driving faster purchase decisions and boosting sales during promotions.
Together, these tools empower vendors to increase conversions, raise order value, and grow their business — all while keeping the customer journey smooth and engaging.
You can see how the features work for StoreGrowth from here.
Let’s see how to enable these features for the Dokan Users.
Installing StoreGrowth
We are assuming you already have Dokan installed, so now you need to install the StoreGrowth plugin.
To do that, just go to Plugins–> Add New and type StoreGrowth in the search box. Then install and activate the plugin-
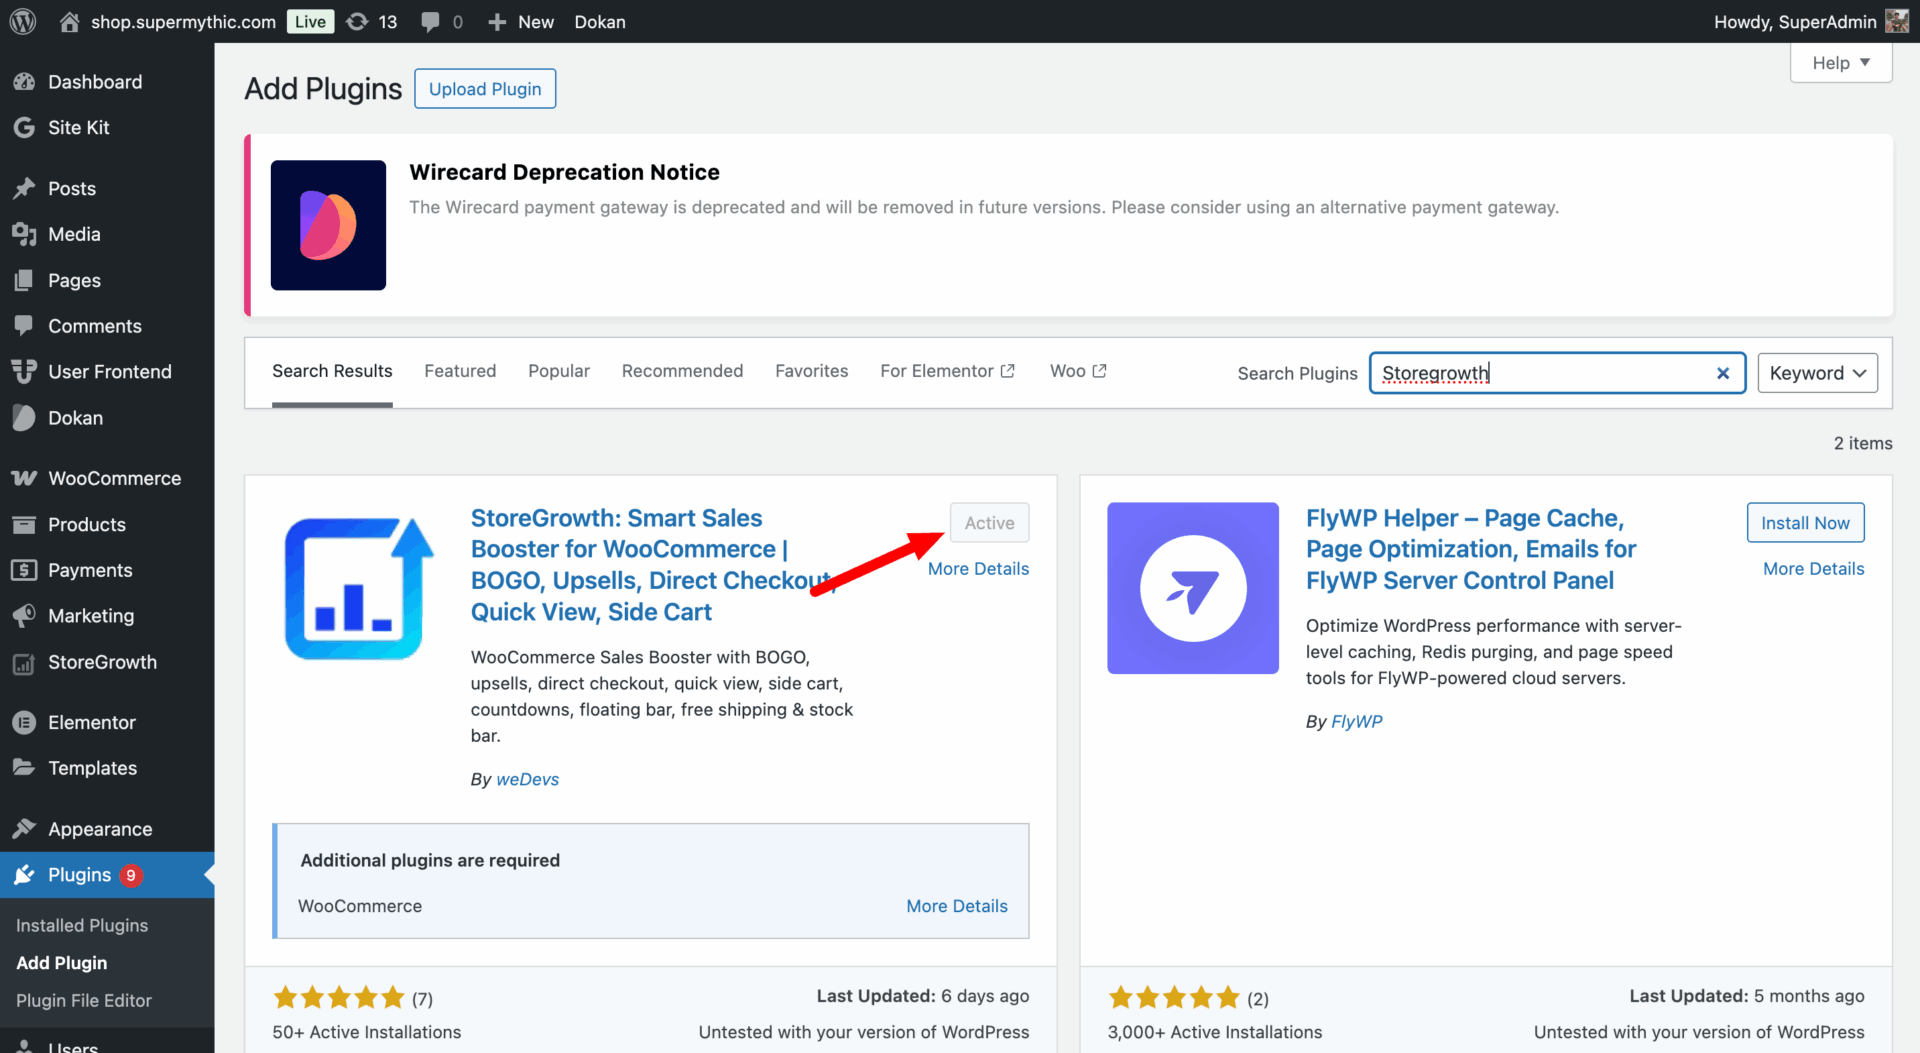
To get all the full features (Buy X Get X, FlyCart), install the StoreGrowth premium version as well.
How to Enable BOGO Offer- Admin
To let vendors create BOGO offers for their customers, the admin needs to enable this feature from the backend.
Make sure to activate the BOGO module from the All Modules section of StoreGrowth.
With the “Buy X Get Y” option, the vendor will get that by default; the admin doesn’t need to alter any settings.
Go to StoreGrowth–> Settings–> BOGO–
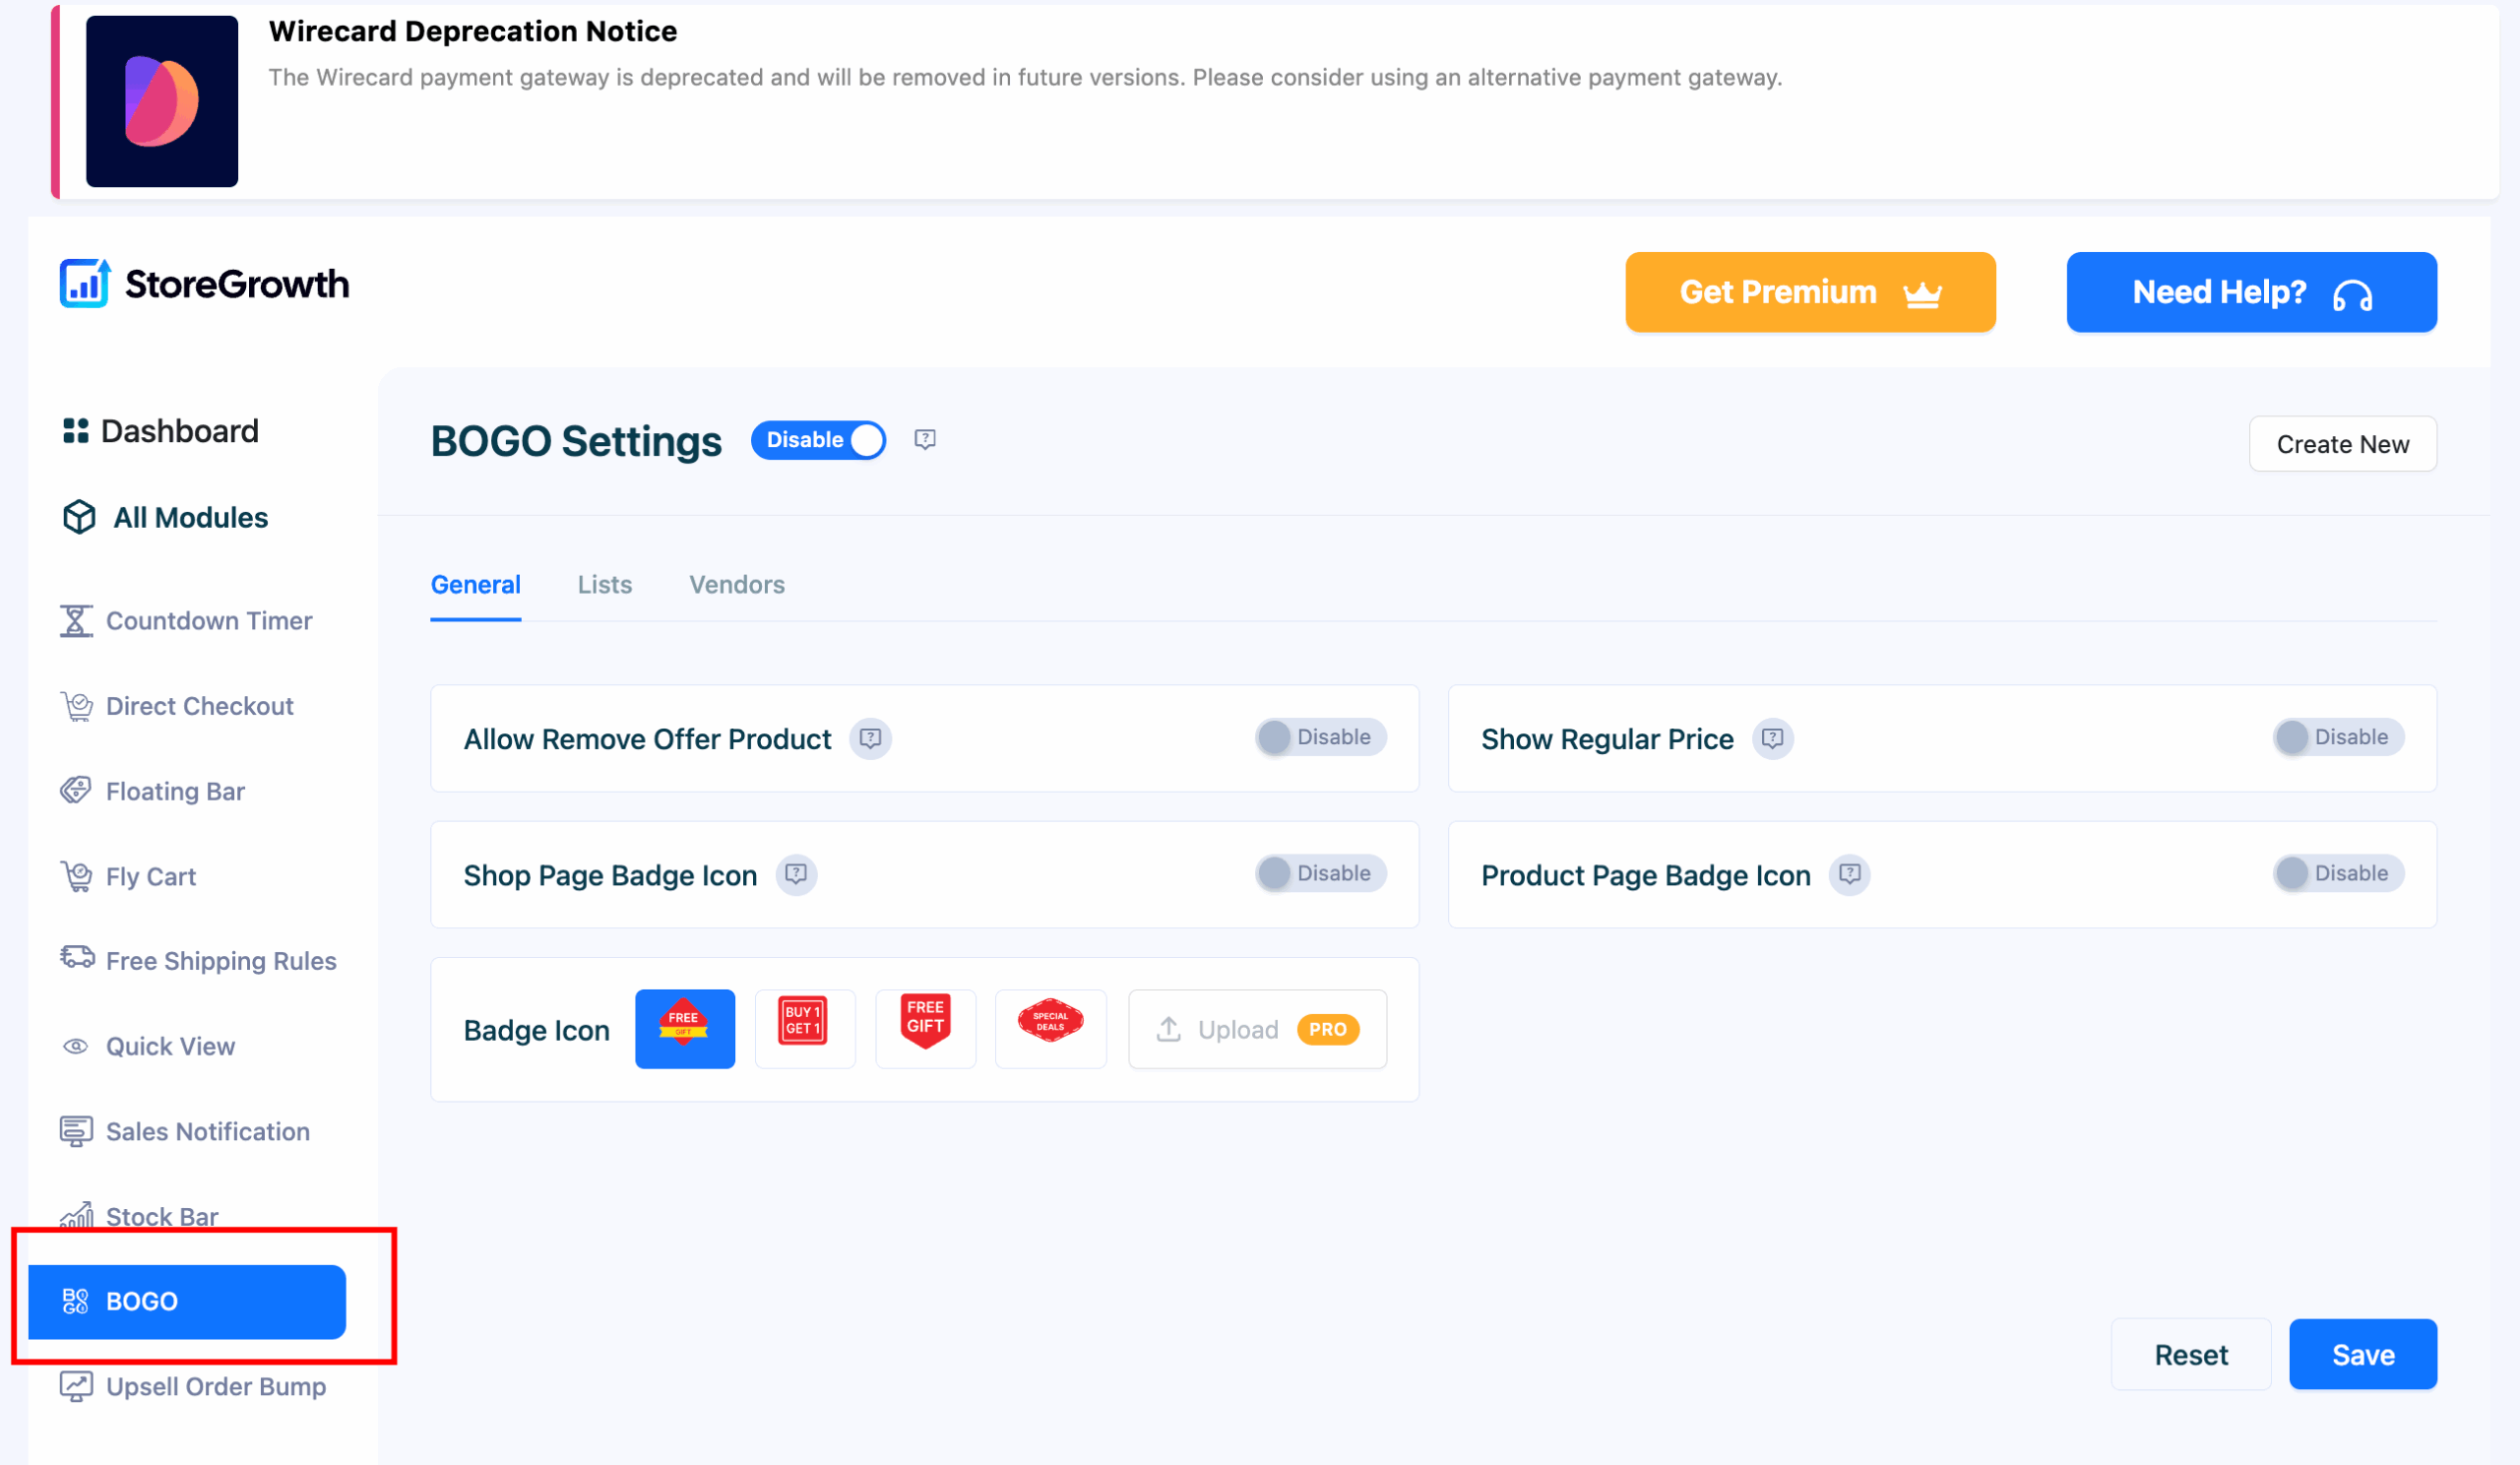
Now, click on the Vendors option and enable the “Buy X Get X ” option.
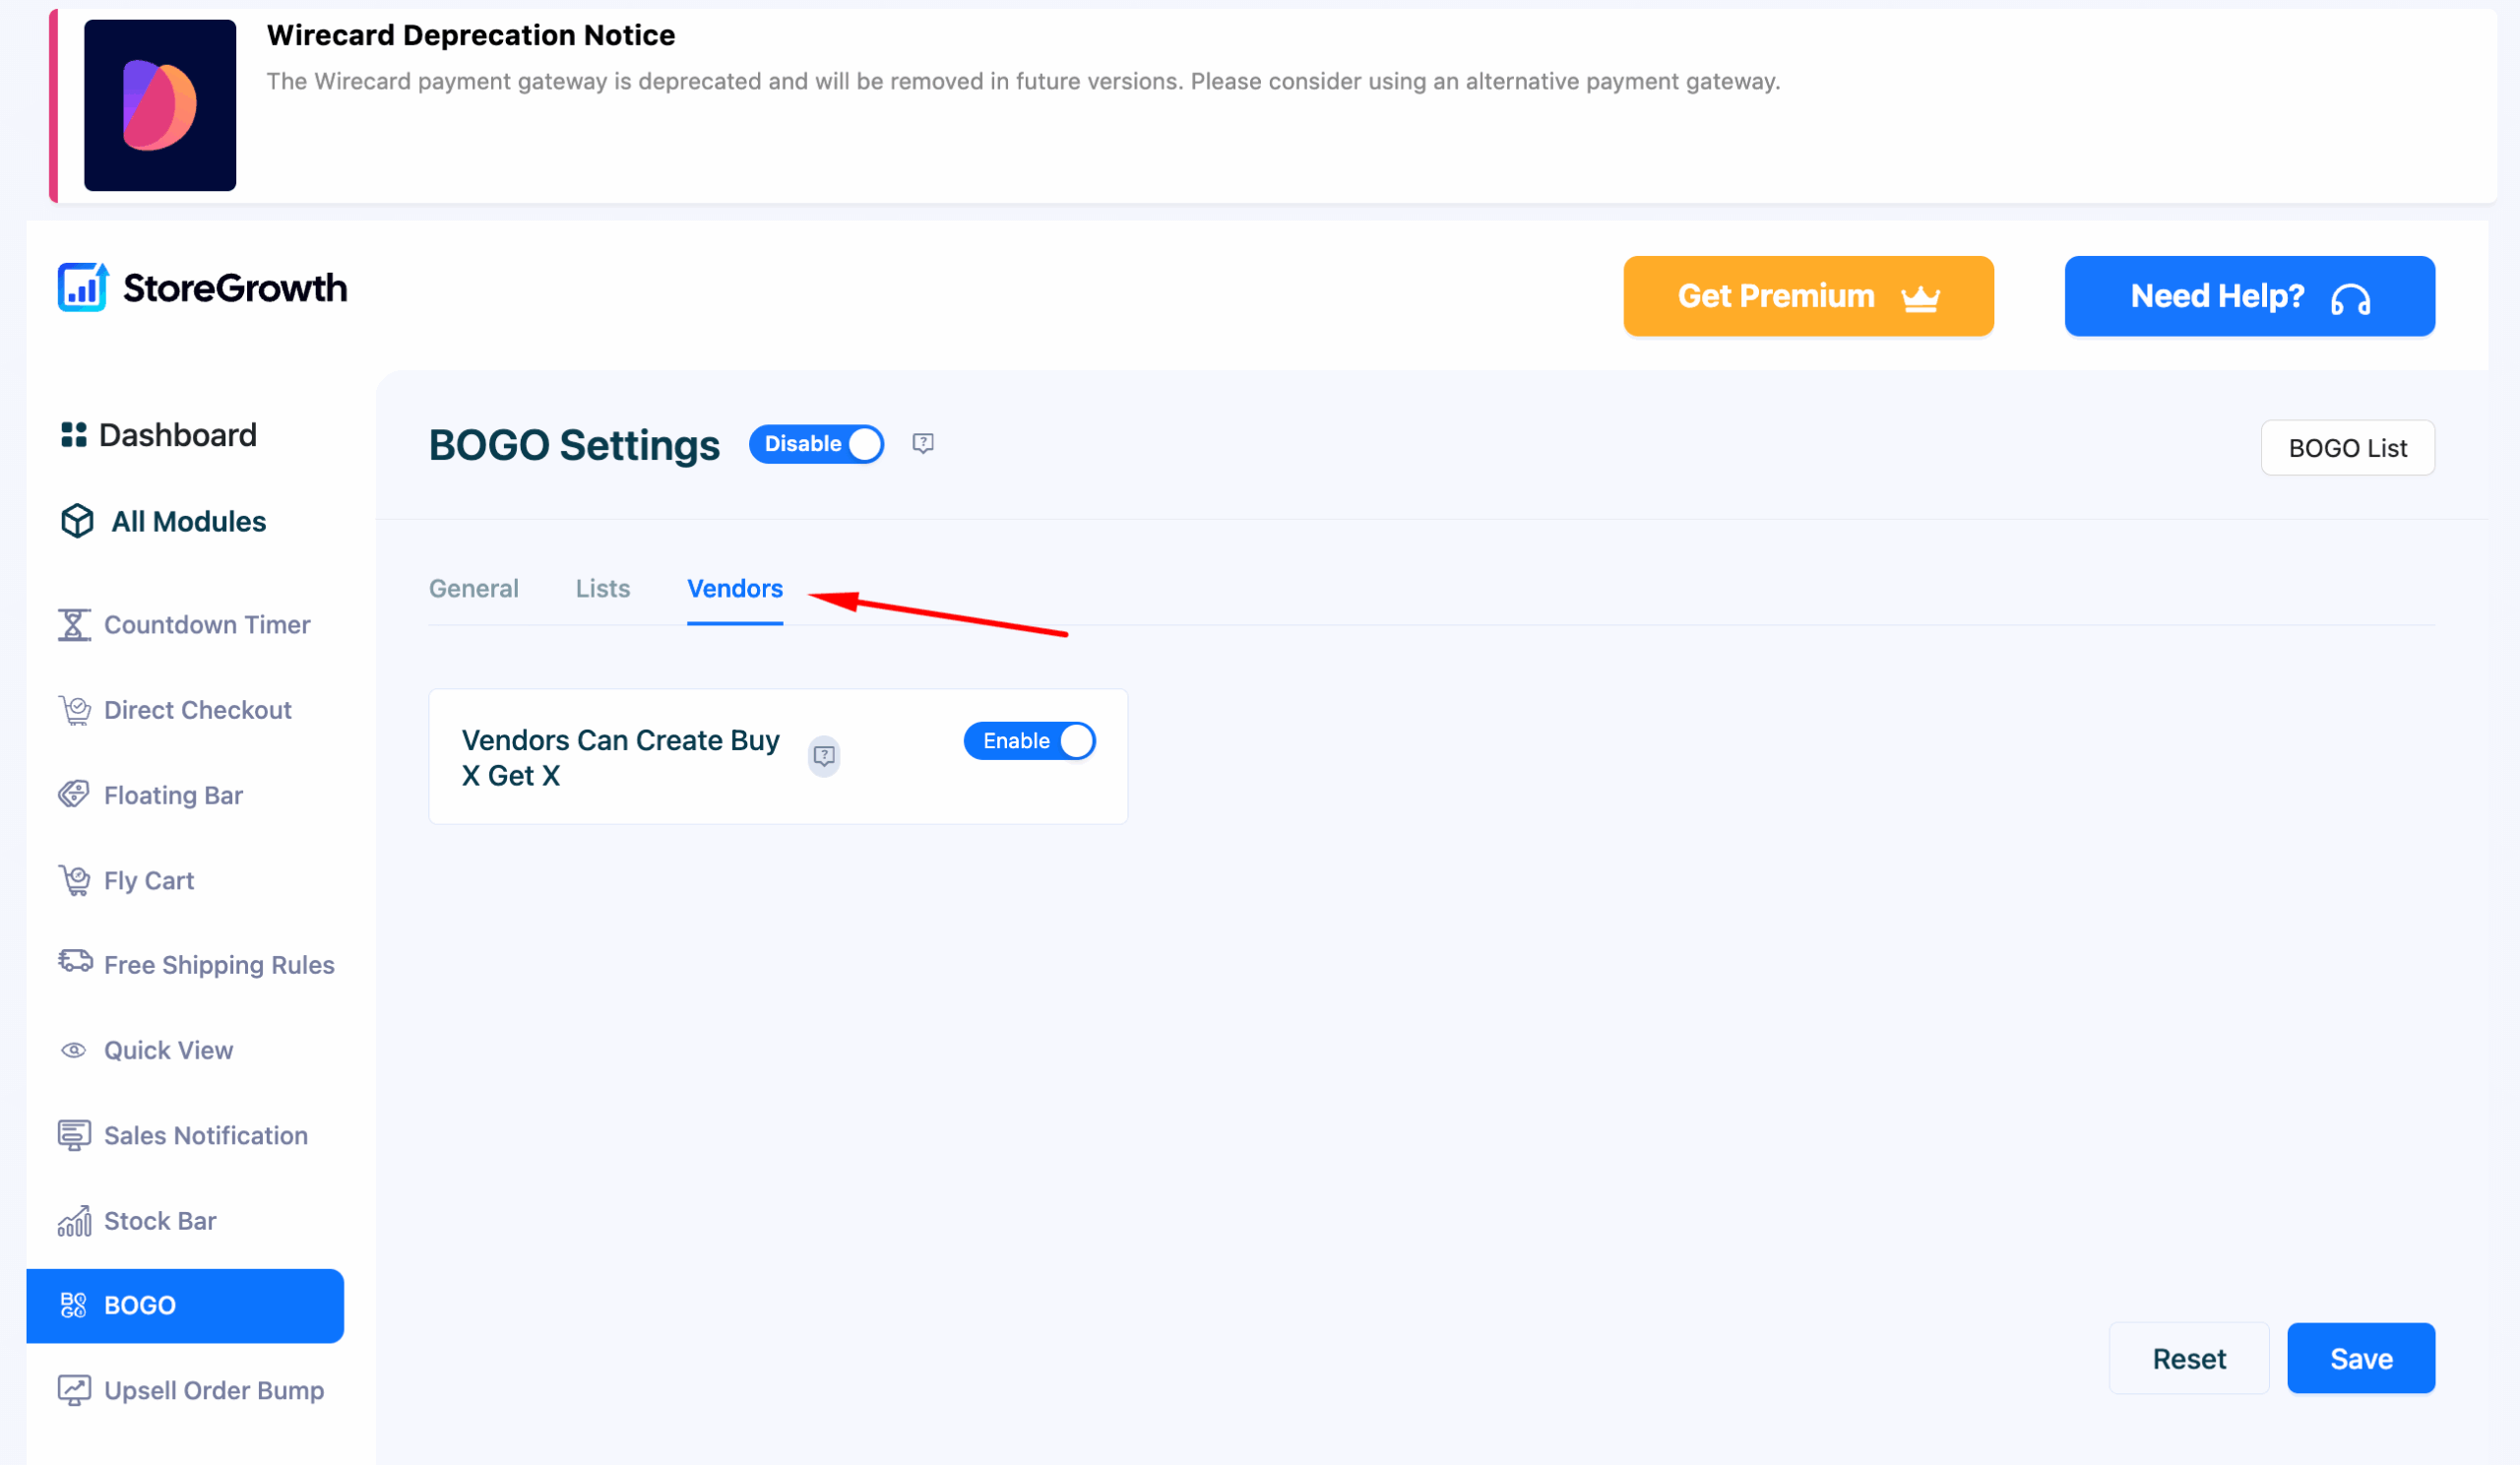
Click on the Save button to finish.
How to Create a BOGO Offer- Vendor
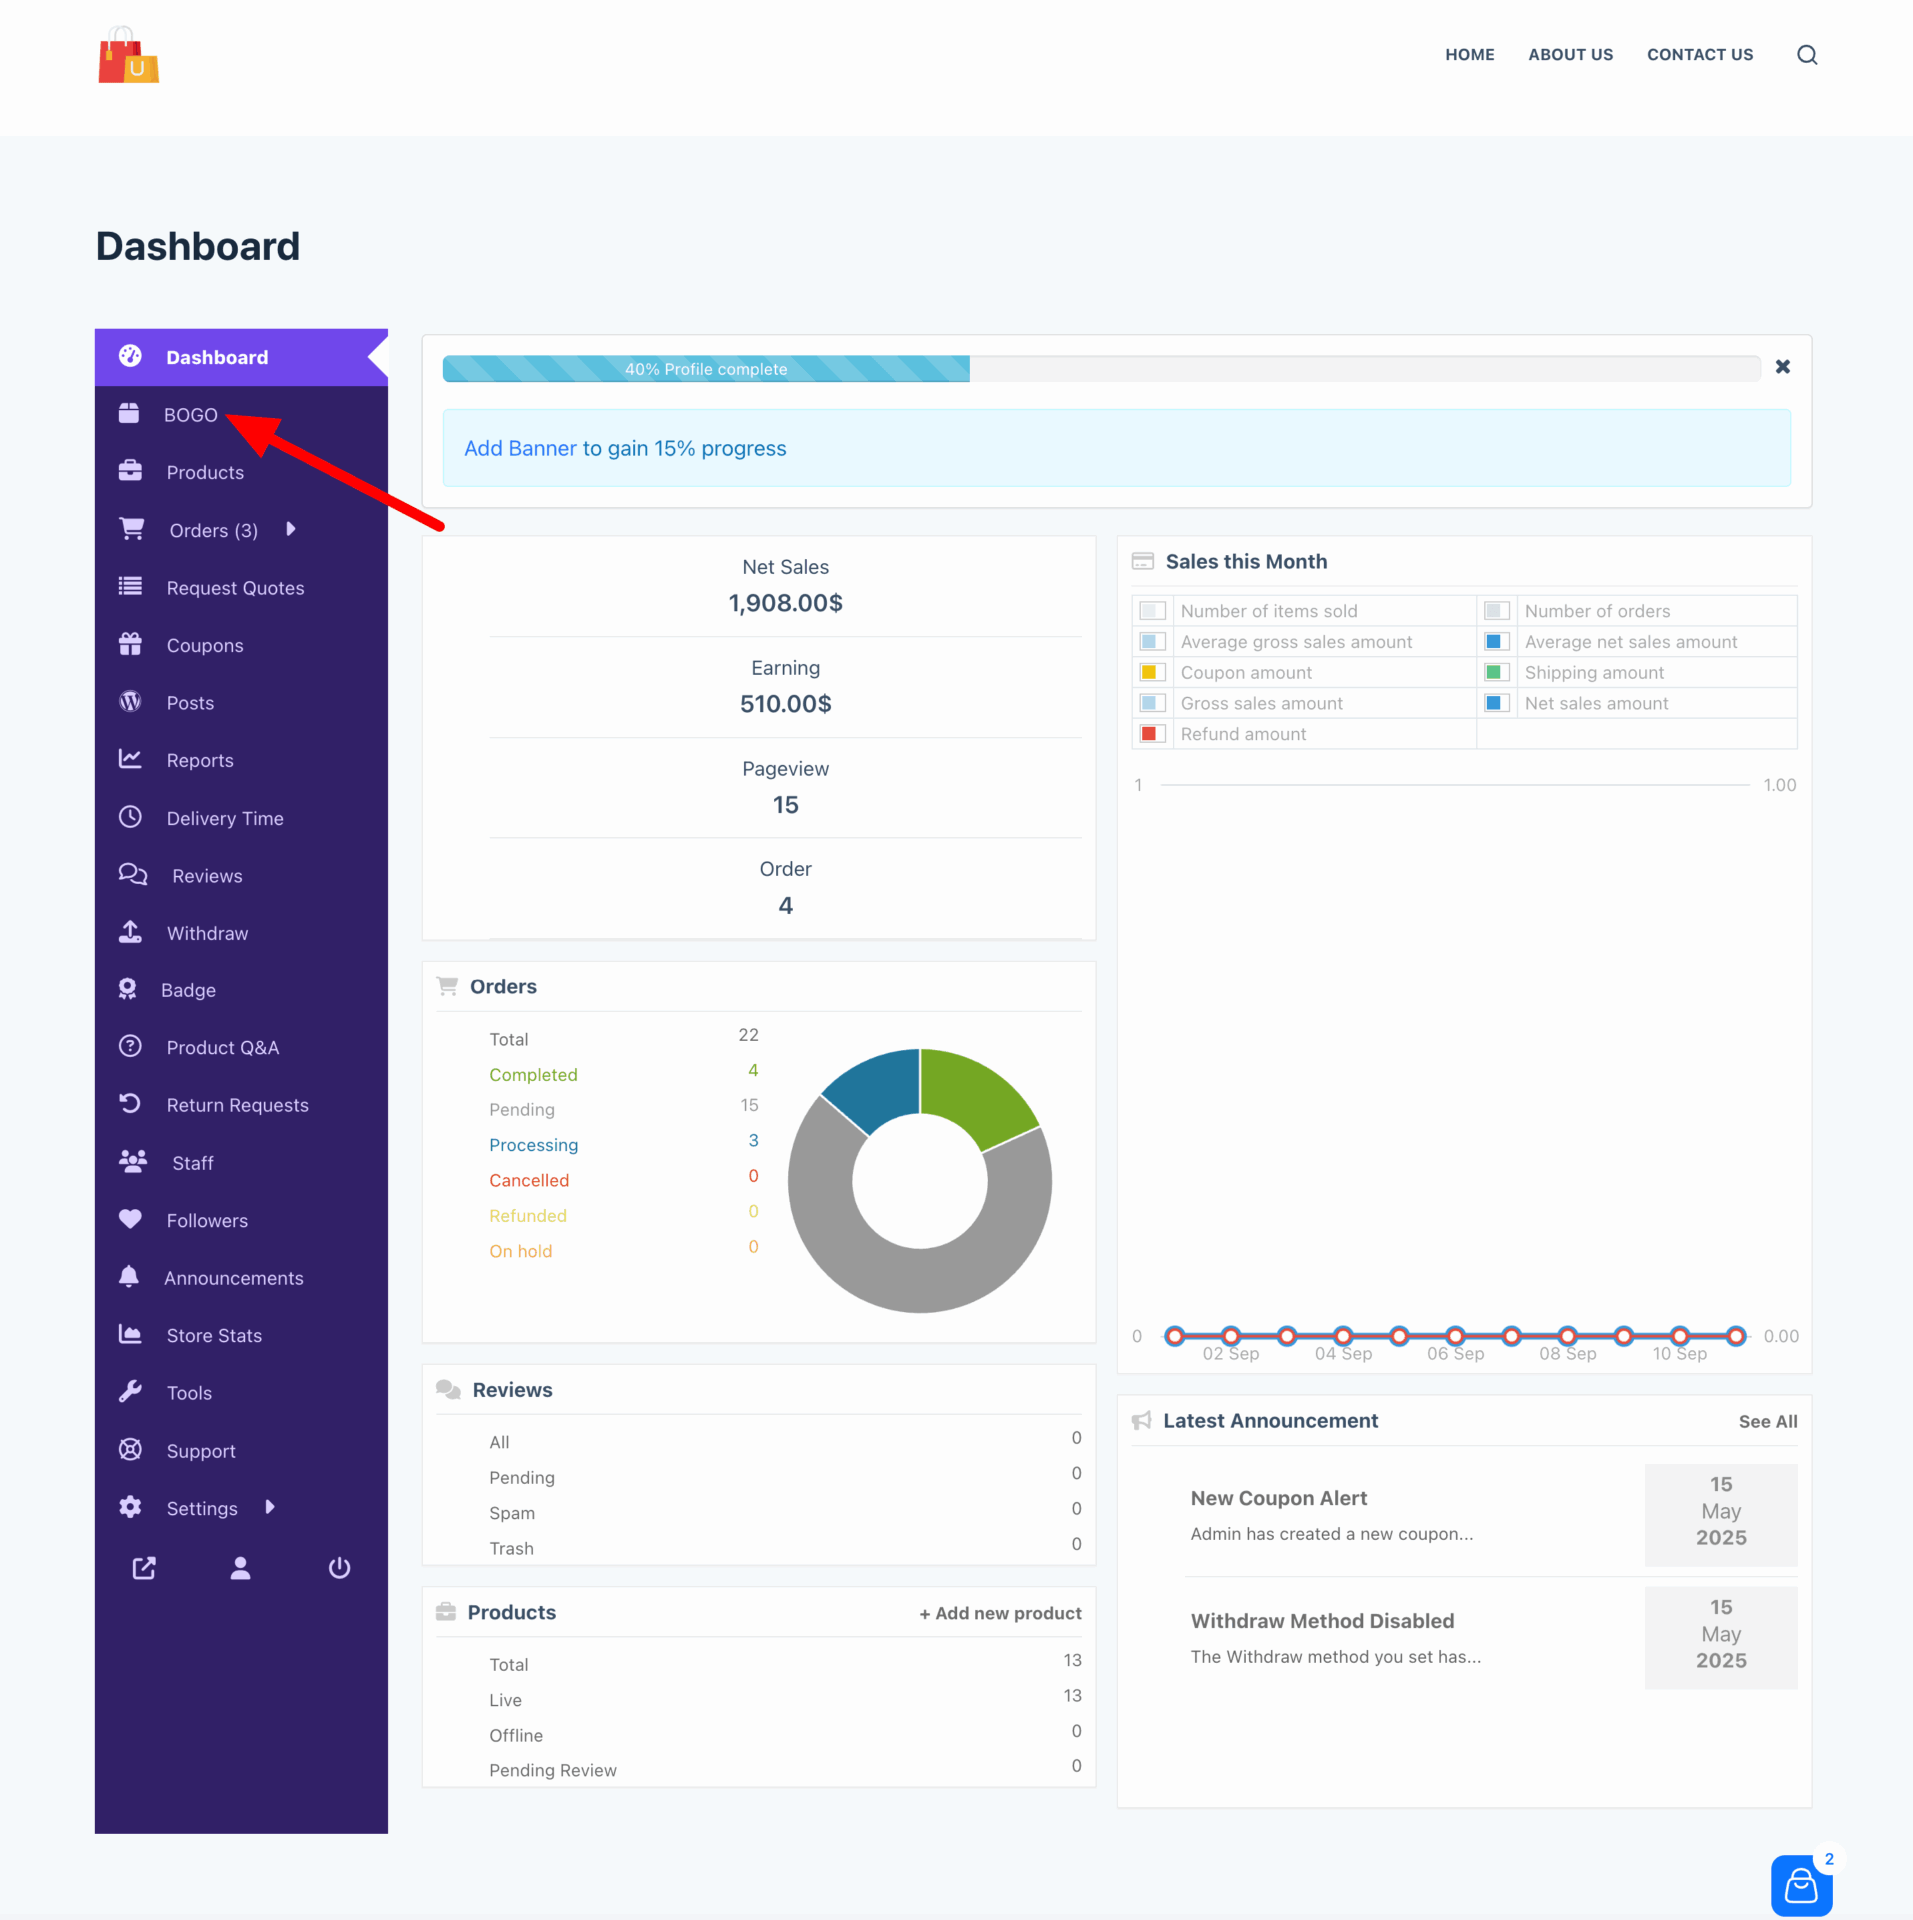
For the vendor to create a BOGO offer, go to the vendor dashboard and click on the BOGO option-
Then click on the “Create New Offer” button-
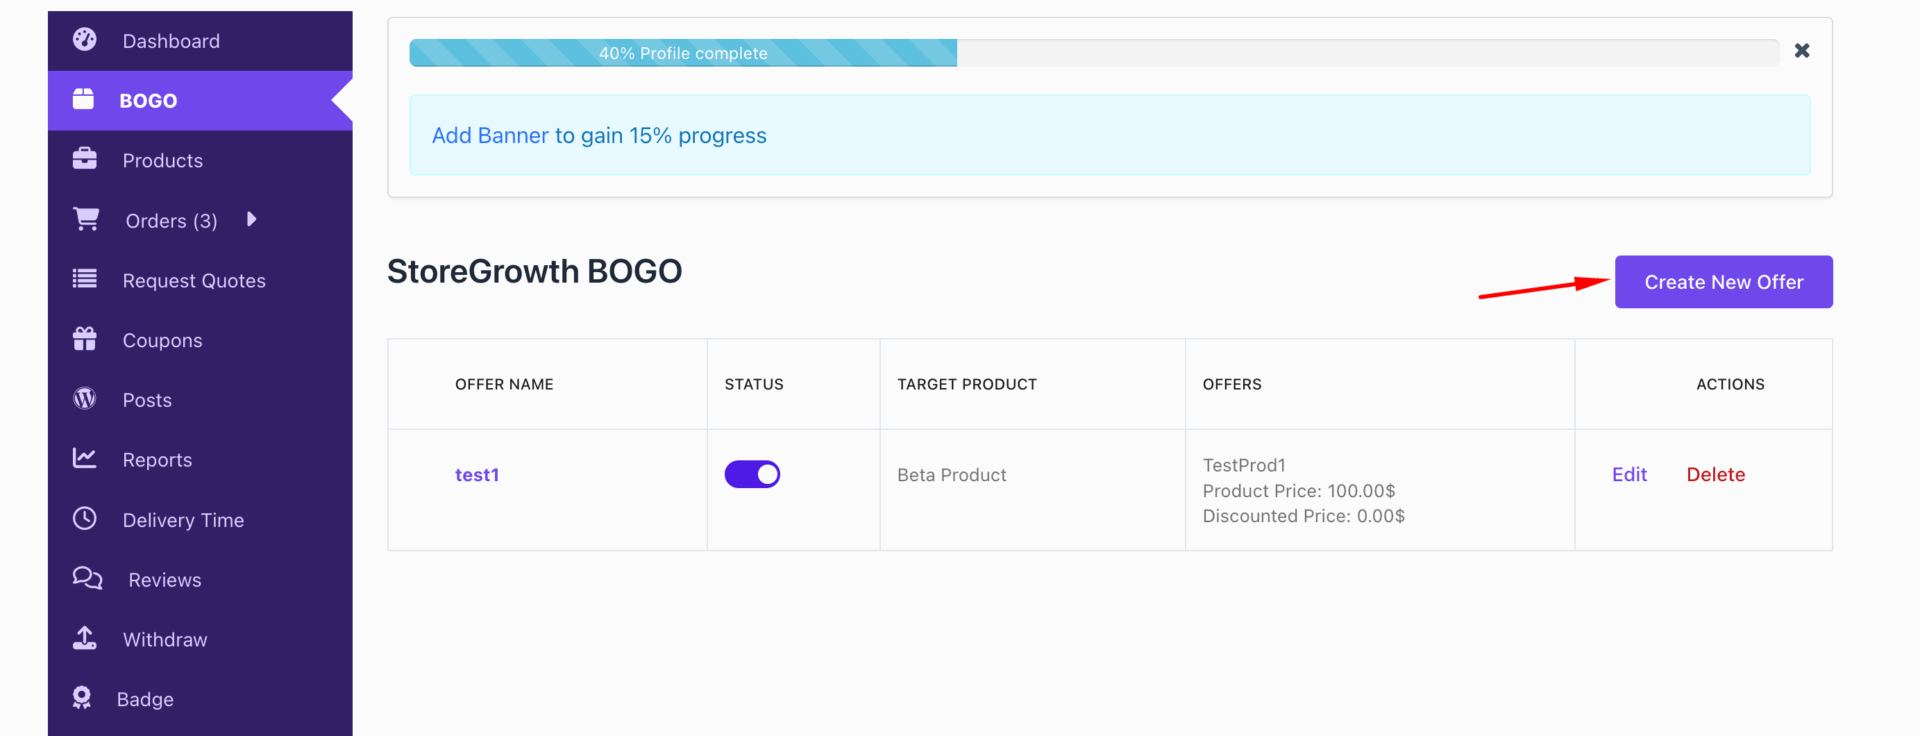
Then you will see the BOGO offer creation page-
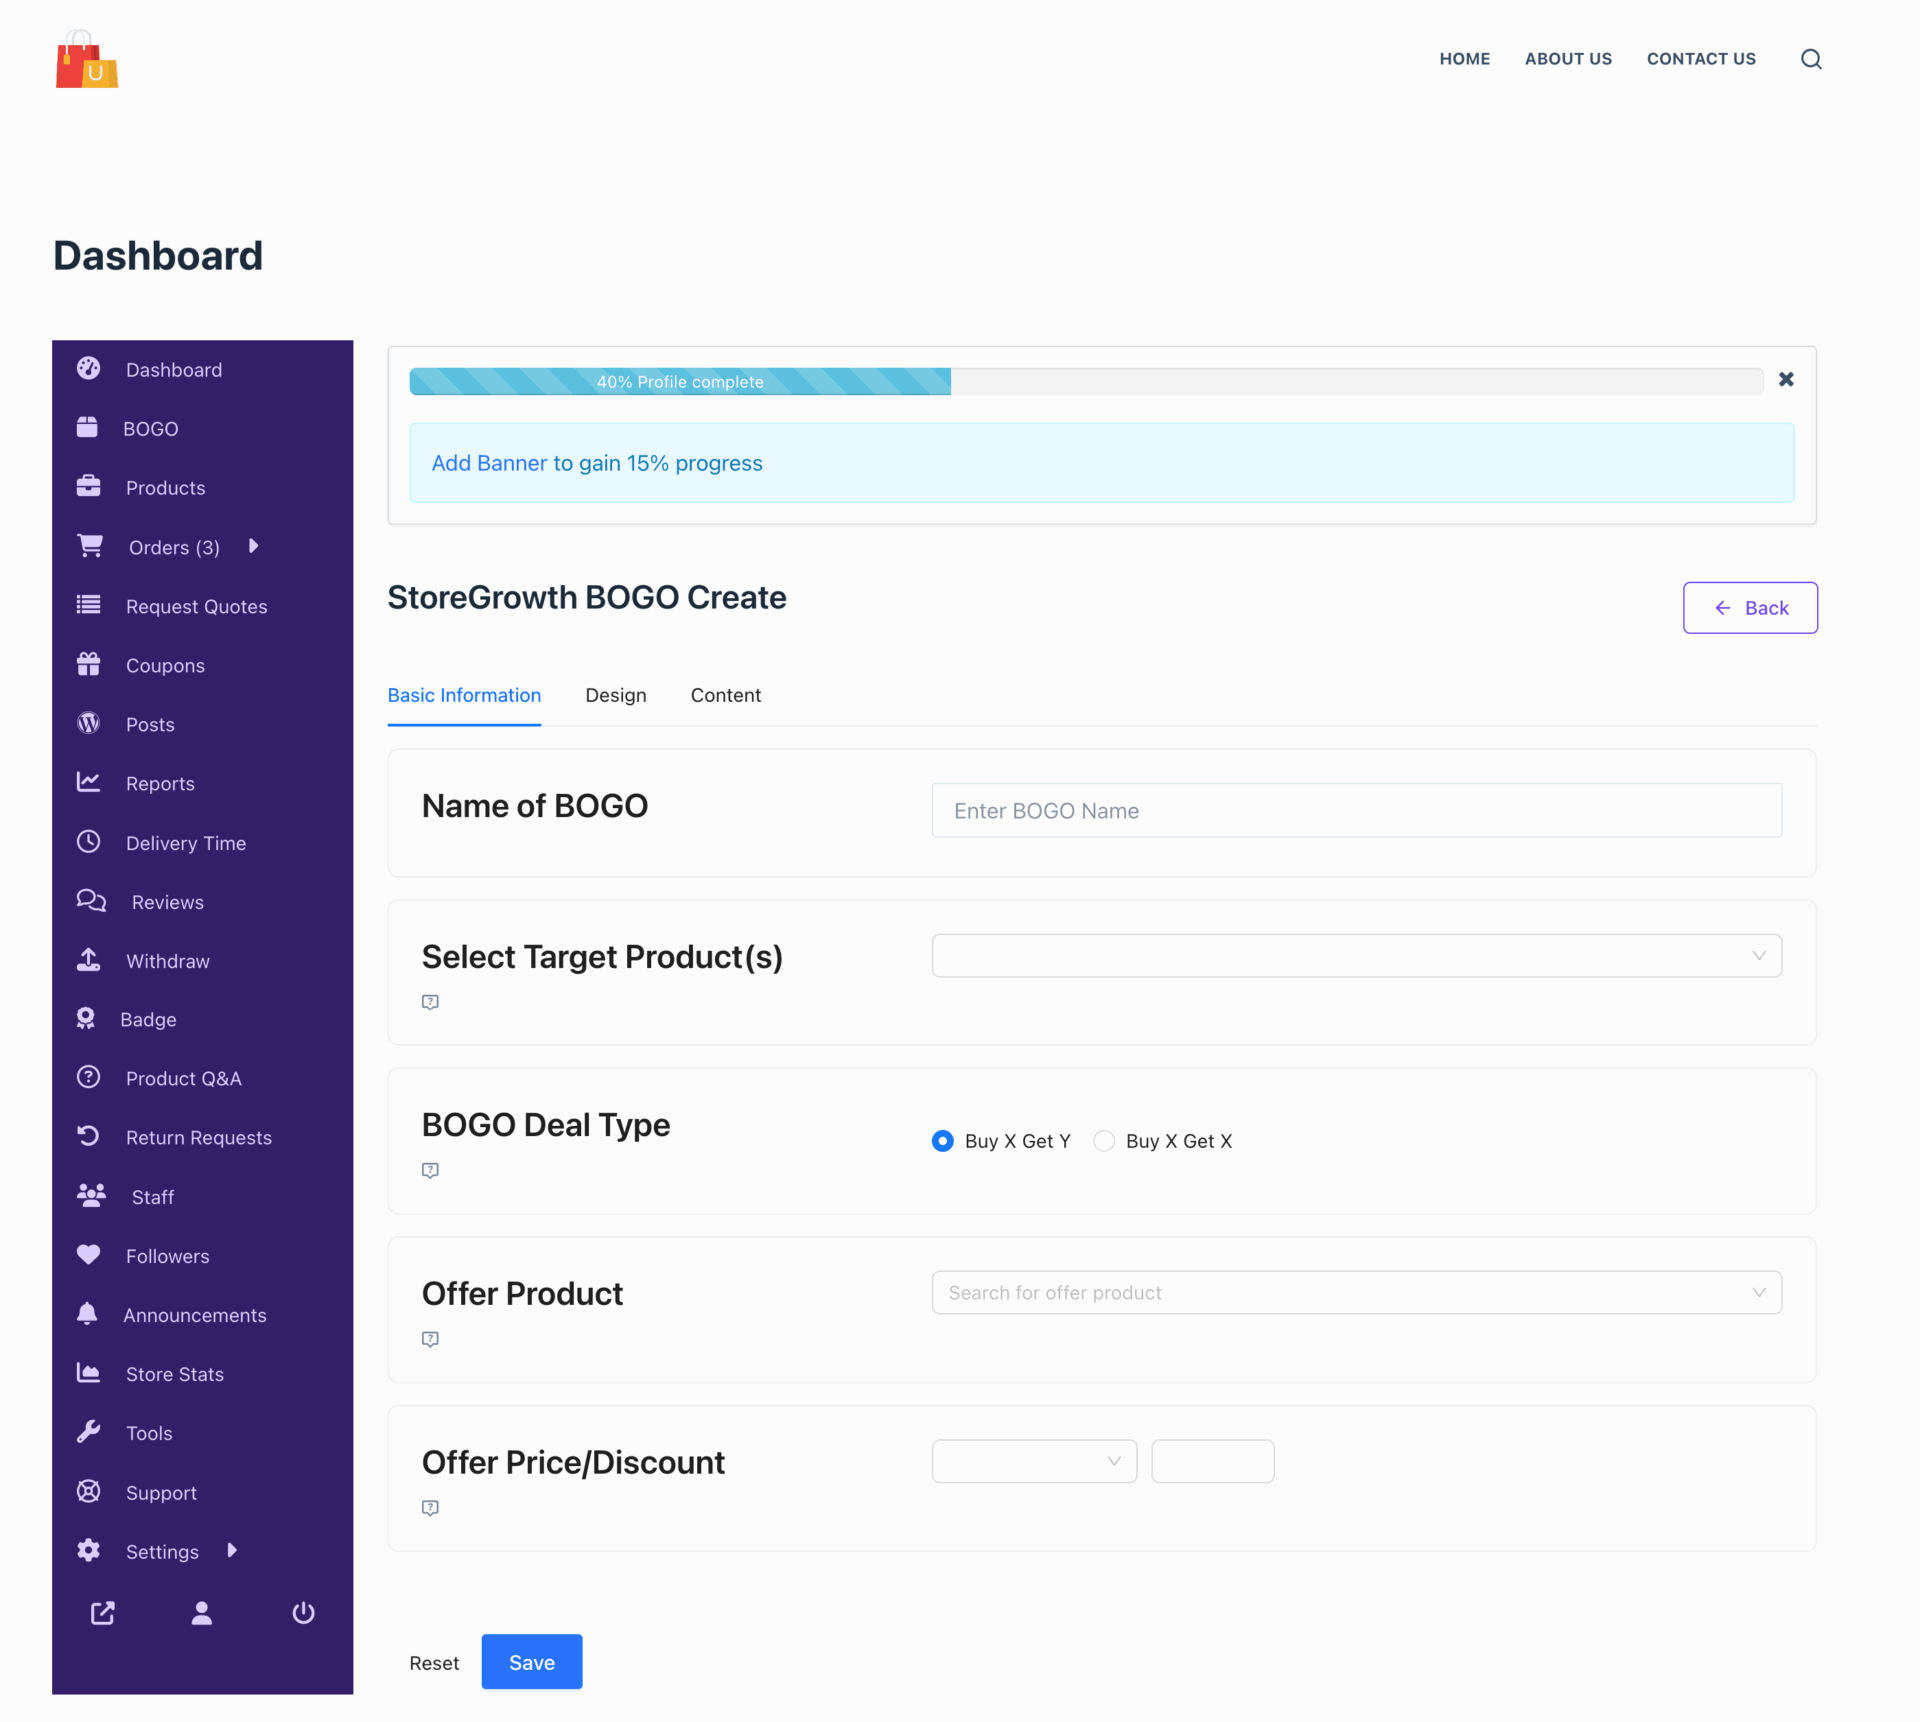
You need to select the BOGO title, Select the Product you want to give offer for from the dropdown list, and BOGO Deal Type-
- Buy X Get Y: Buy X Get Y means when a customer buys one product, they receive another, different product as a bonus — either free or at a discount. For example: Buy 1 Laptop, Get a Mouse Free or Buy 2 Coffee Packs, Get a Mug at 50% off.
- Buy X Get X: Buy X Get X (BOGO) means when a customer buys one product, they get another of the same product for free or at a discount. For example: Buy 1 Shirt, Get 1 Shirt Free.
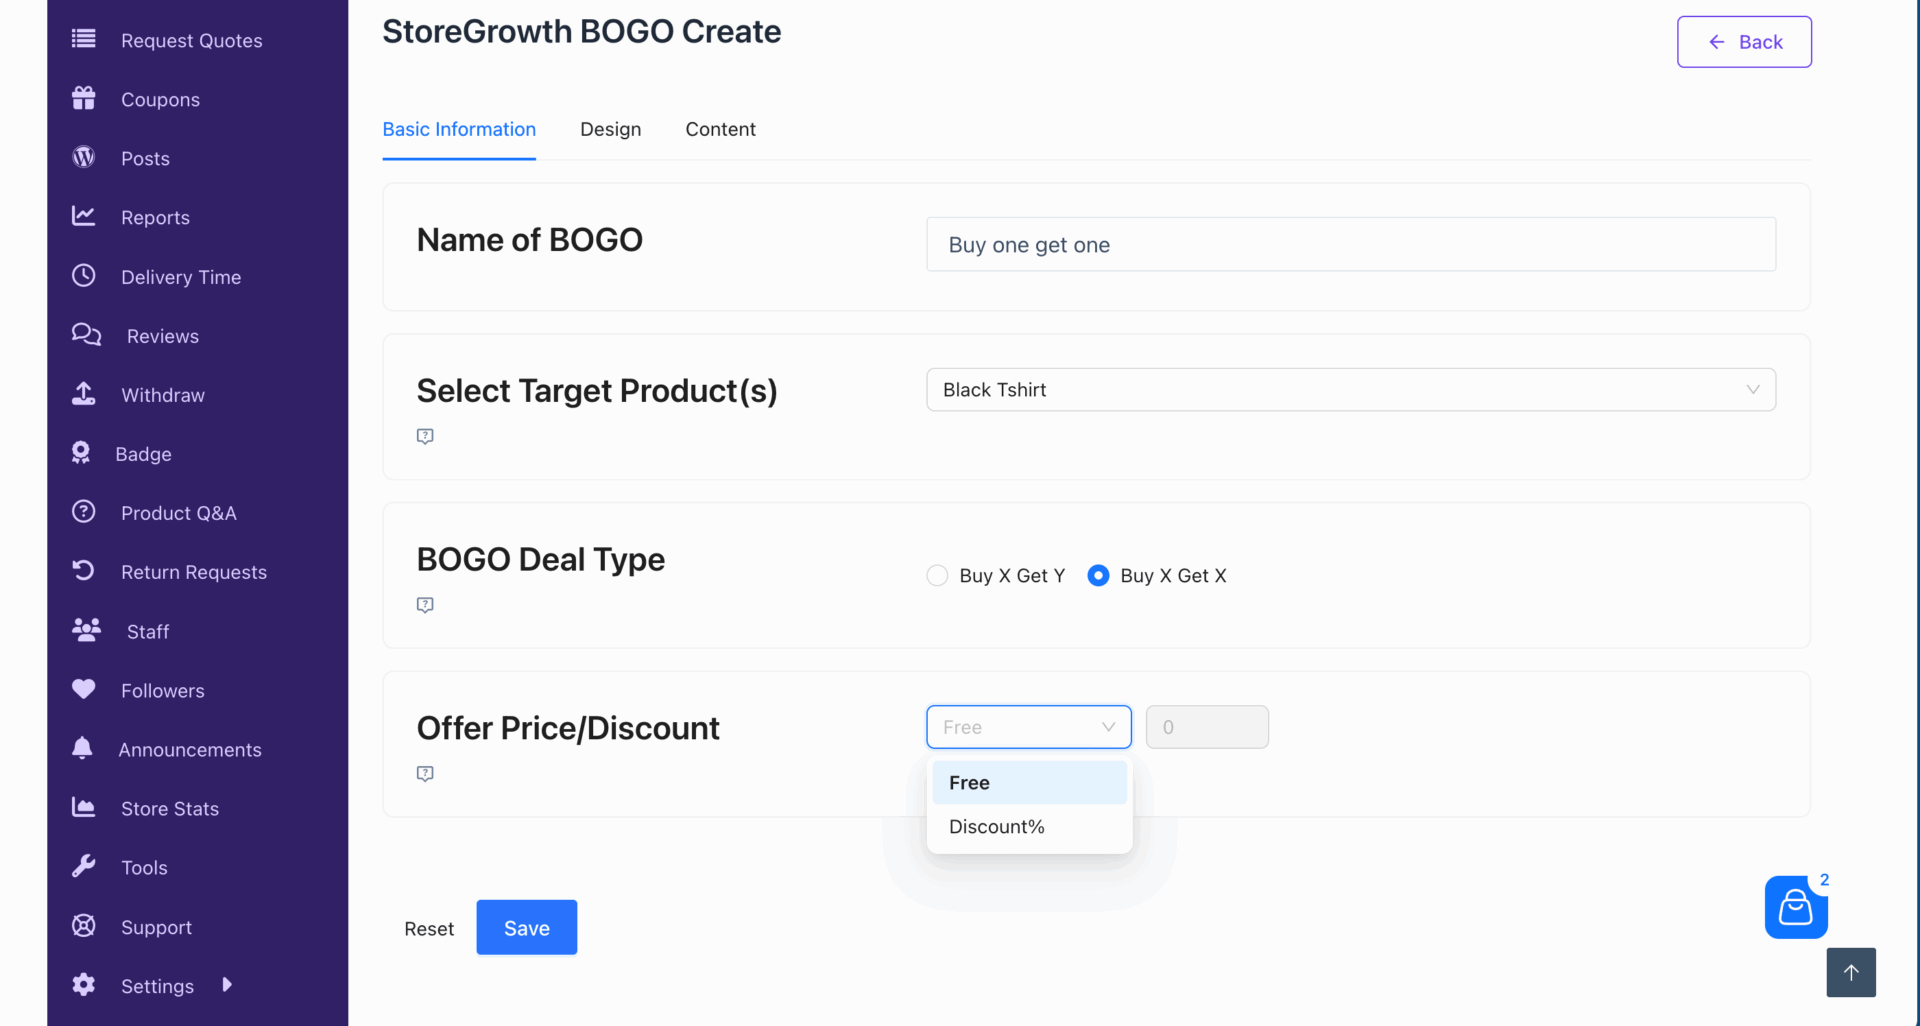
For, Buy X Get X, you don’t need to select an Offer product. You also need to select the price/discount type.
You can either give it for free or you can offer a percentage discount-
For, Buy X Get Y, you need to select the Offer product-
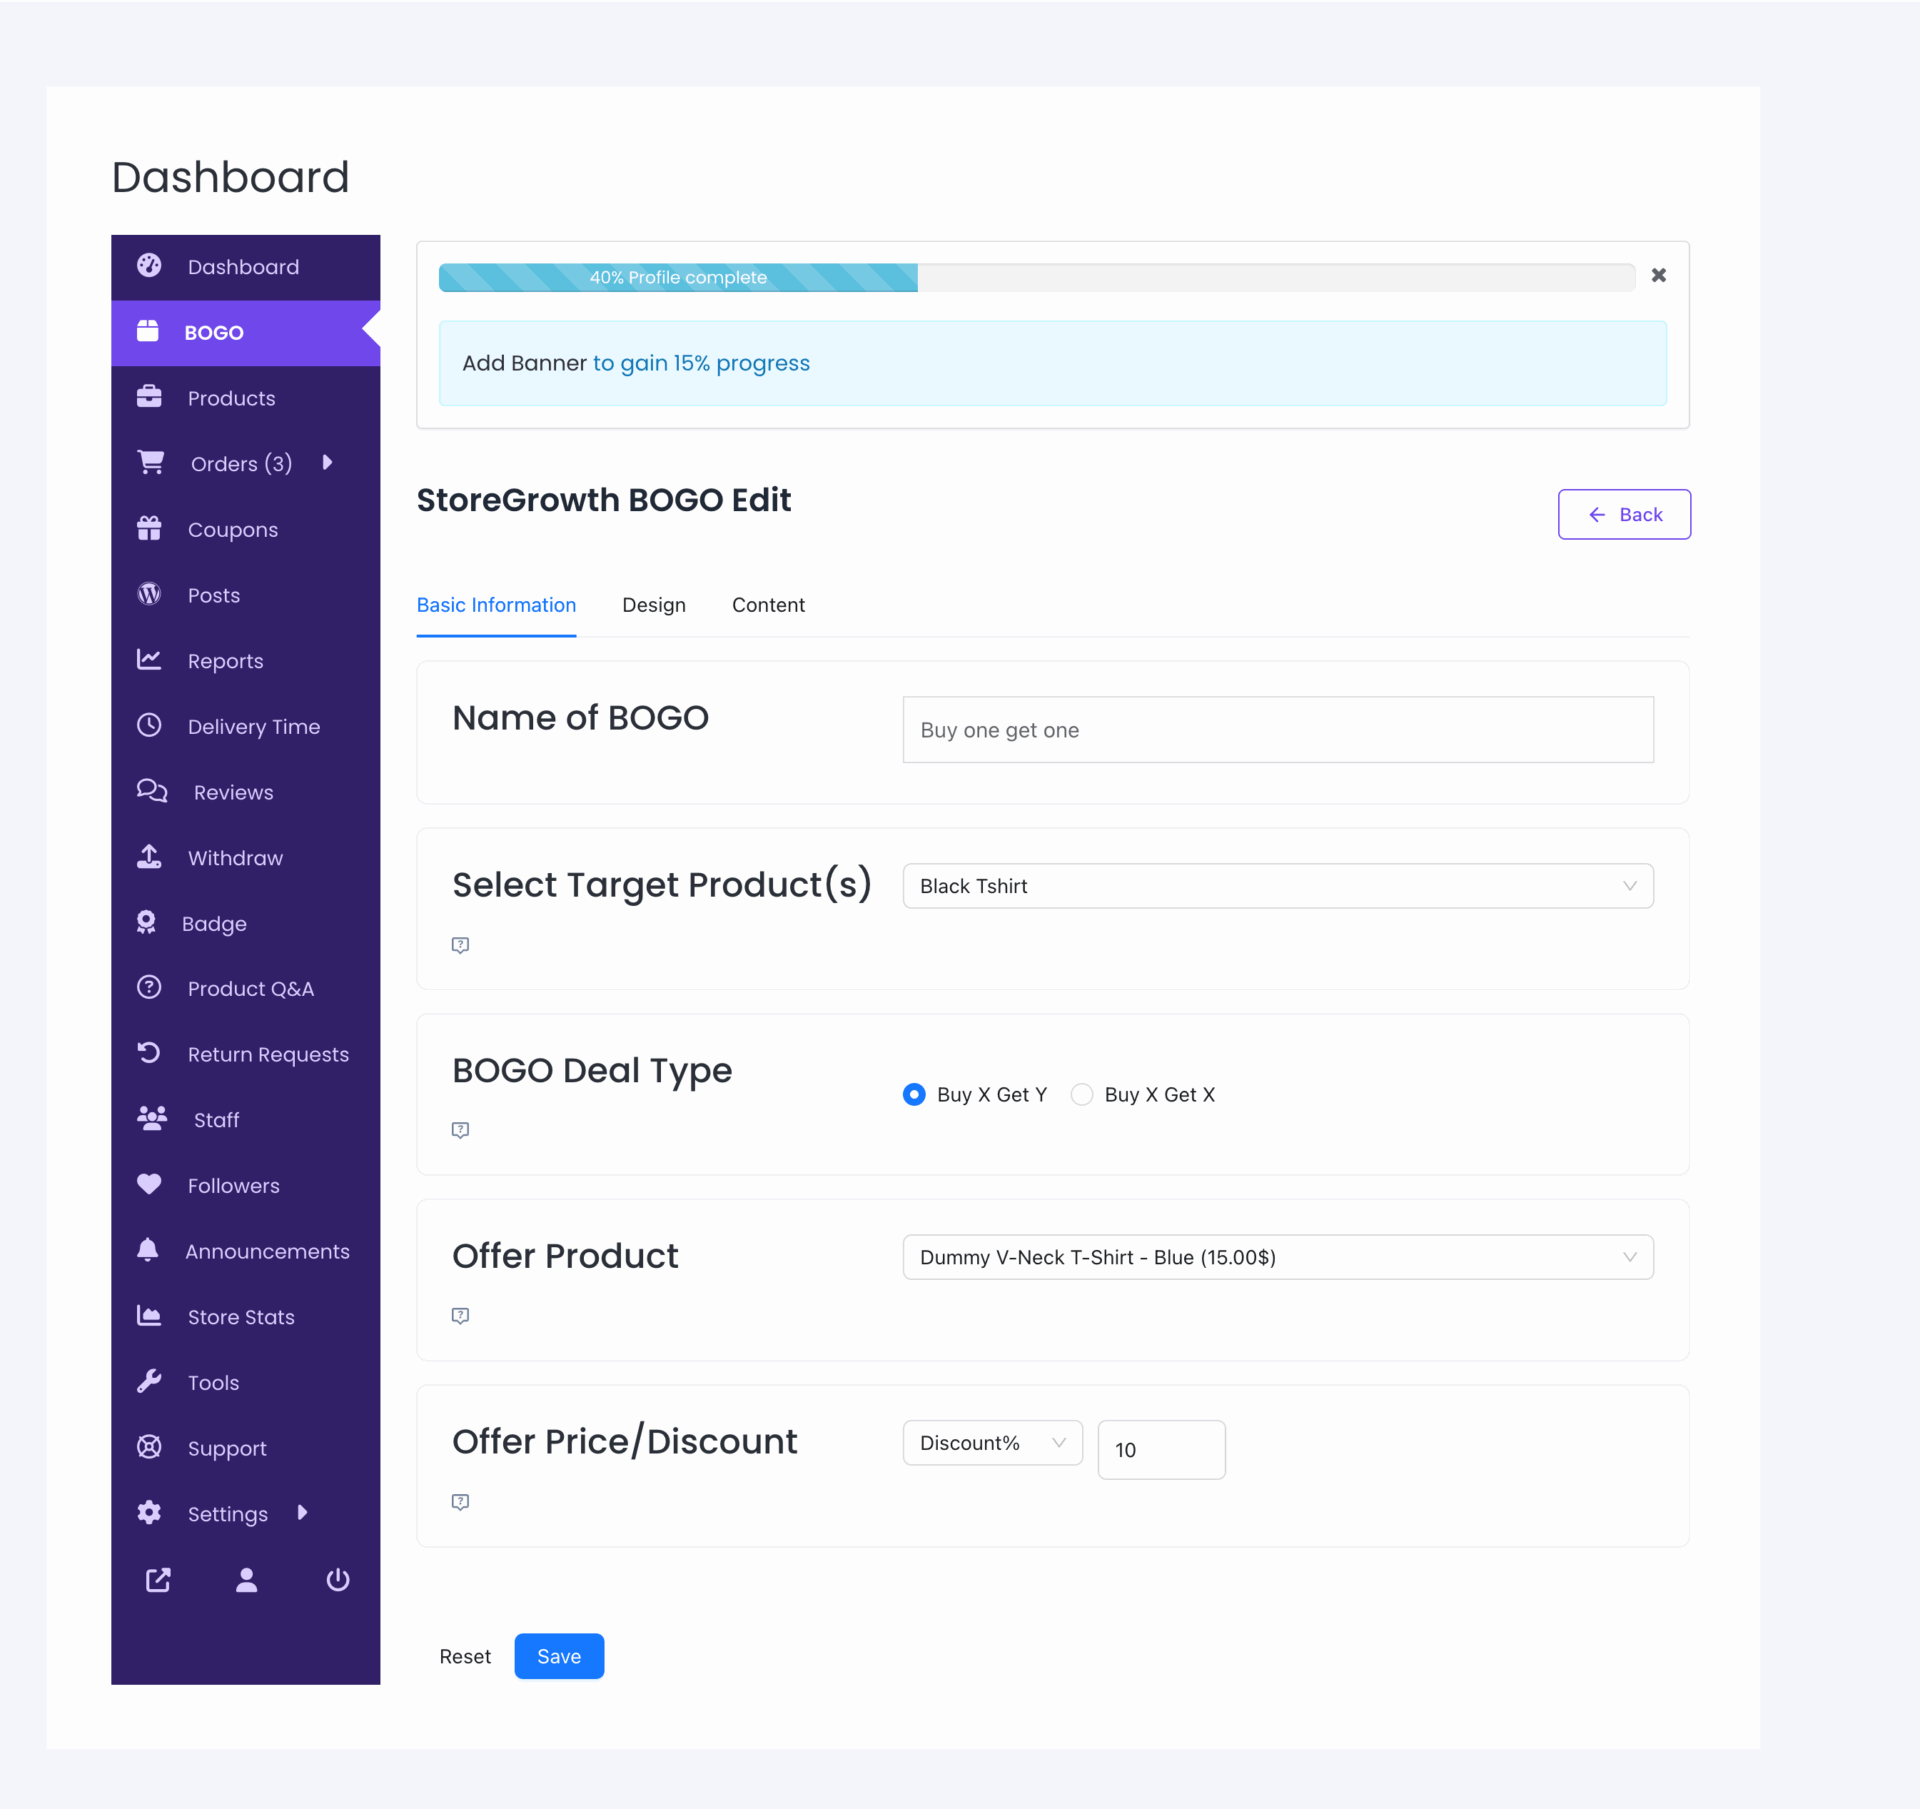
If you want you can design how the offer will look-
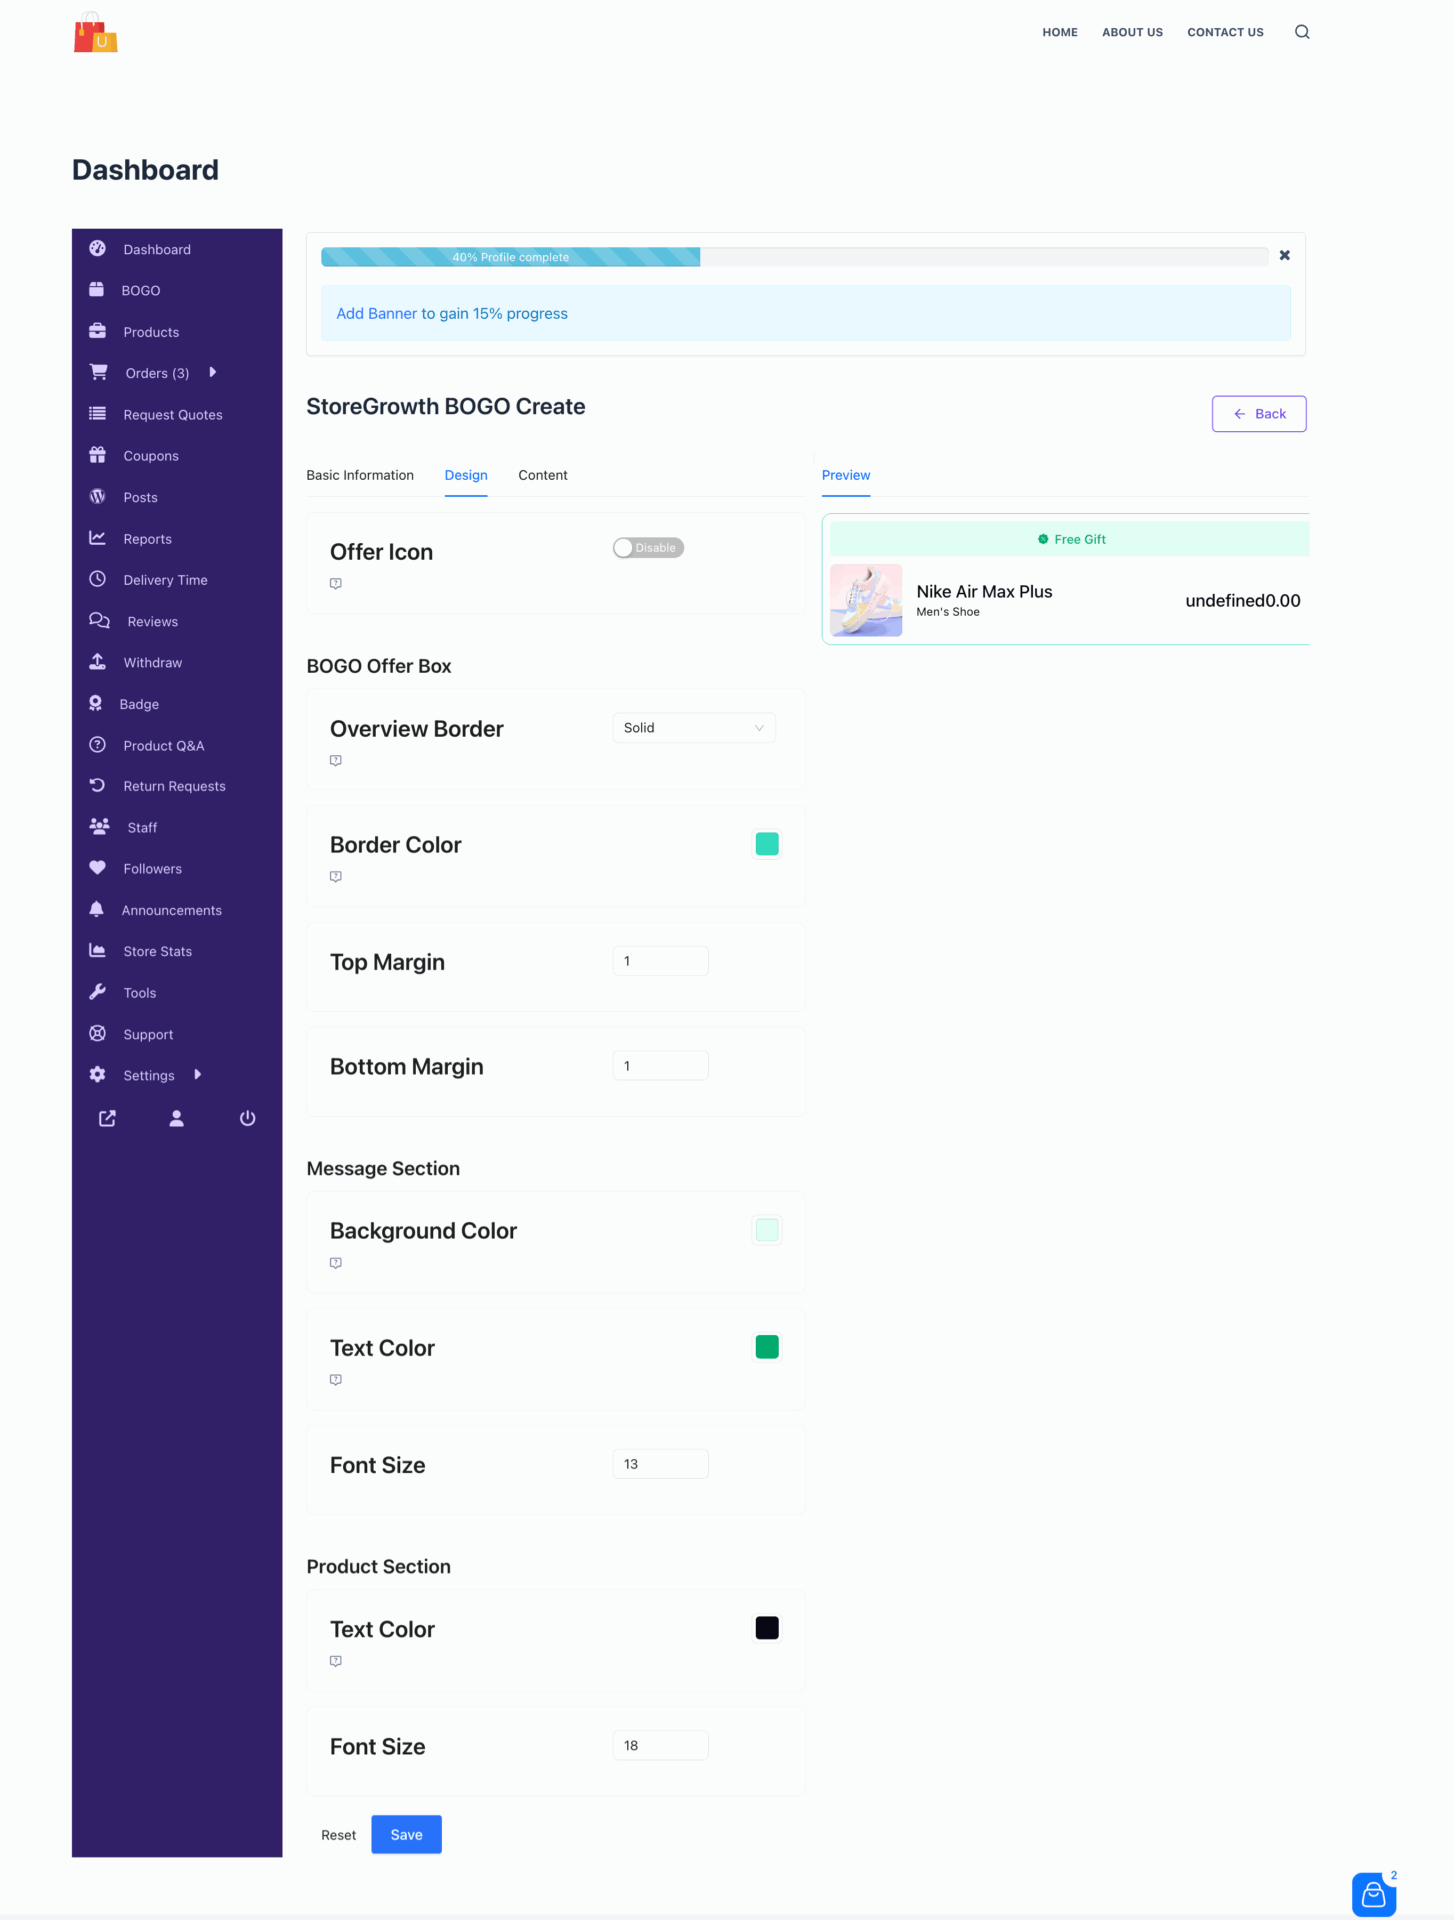
Also, you can configure the content as well, like what message you want to show-
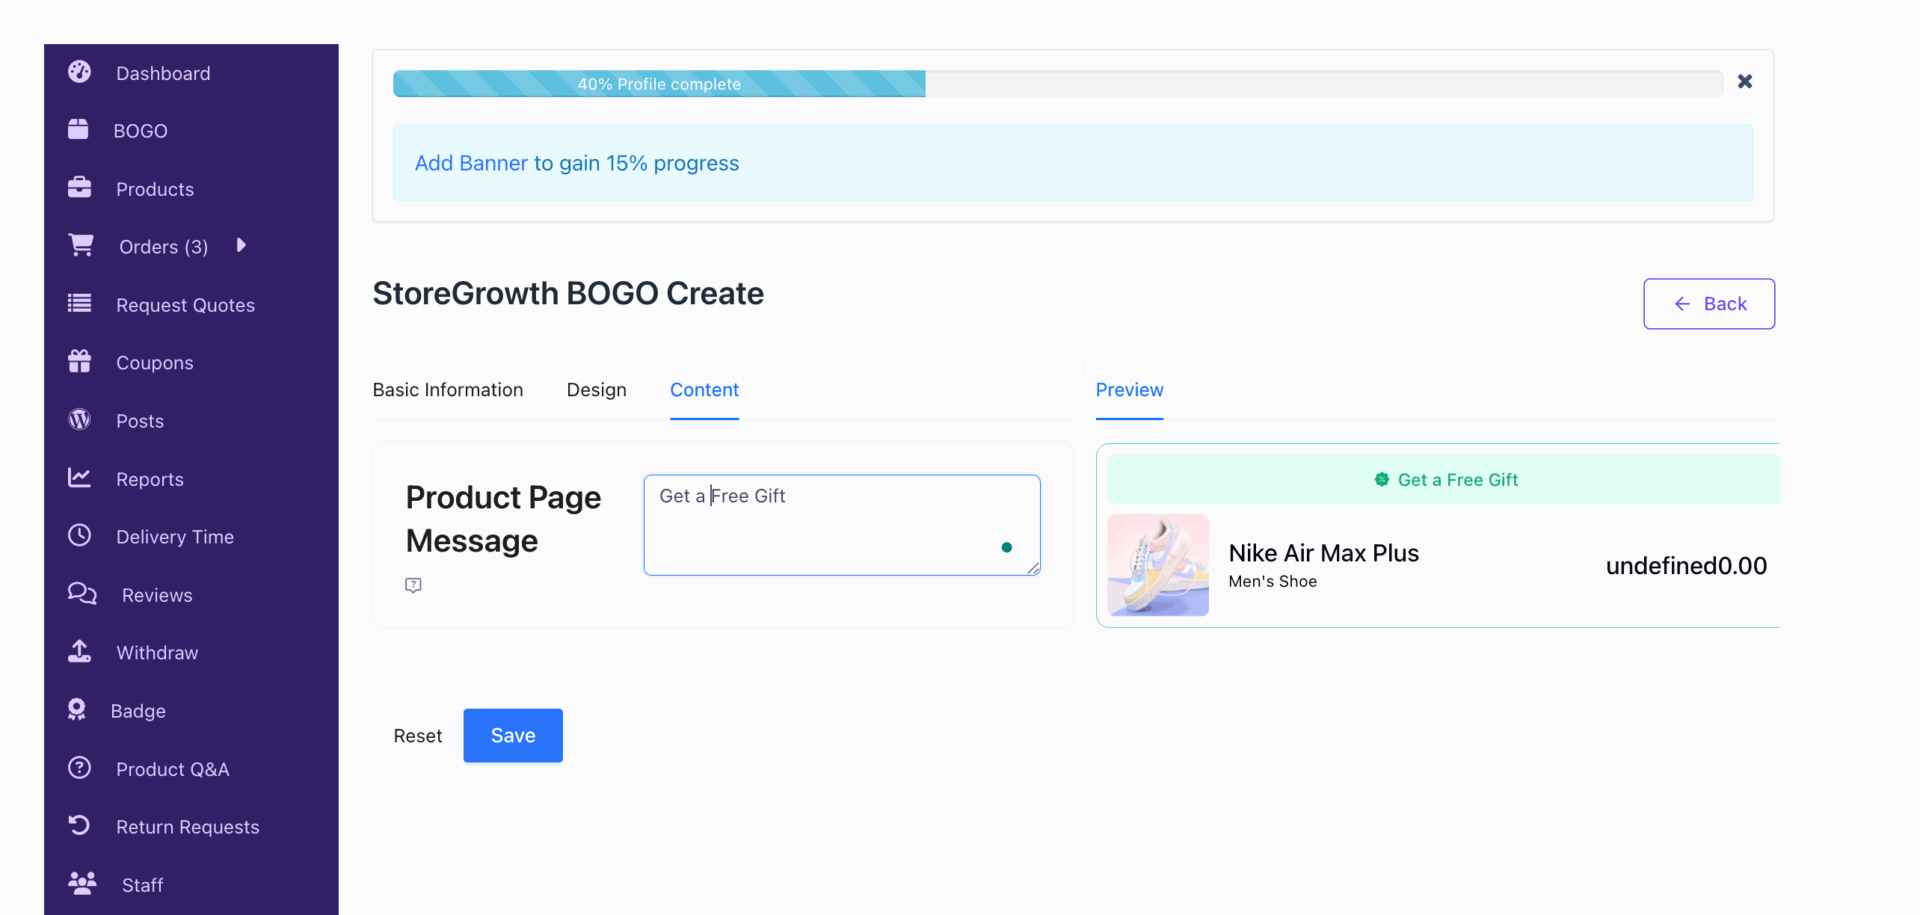
Then Save the settings and you are done.
So, when a customer add the BOGO offer product, the offered product will automatically add in the cart-
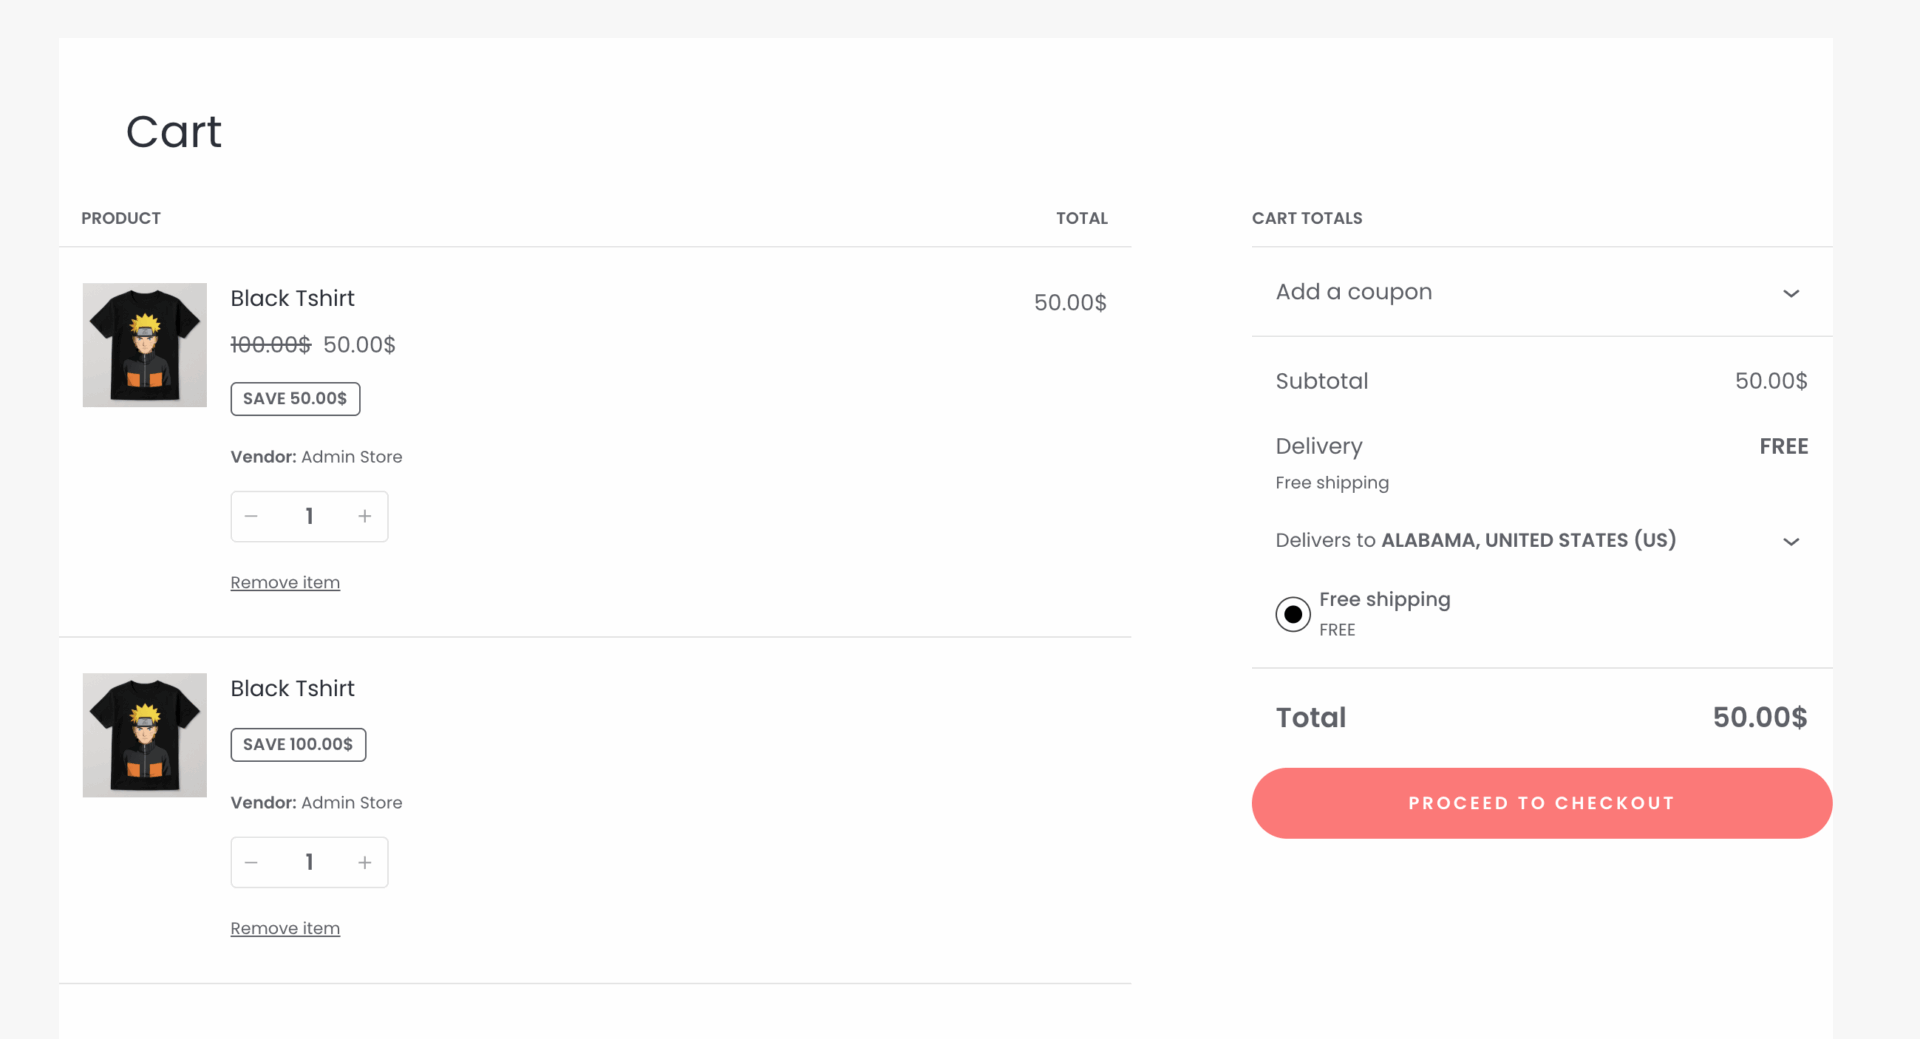
This is how vendors can create BOGO offers right from their dashboard.
How to Create a Countdown Timer-Admin
To let users create a Countdown timer from their dashboard, the admin needs to enable two options from StoreGrowth–> Settings–> CountdownTimer.
- Vendors Can Create Countdown Timer
- Vendors Can Schedule Timer
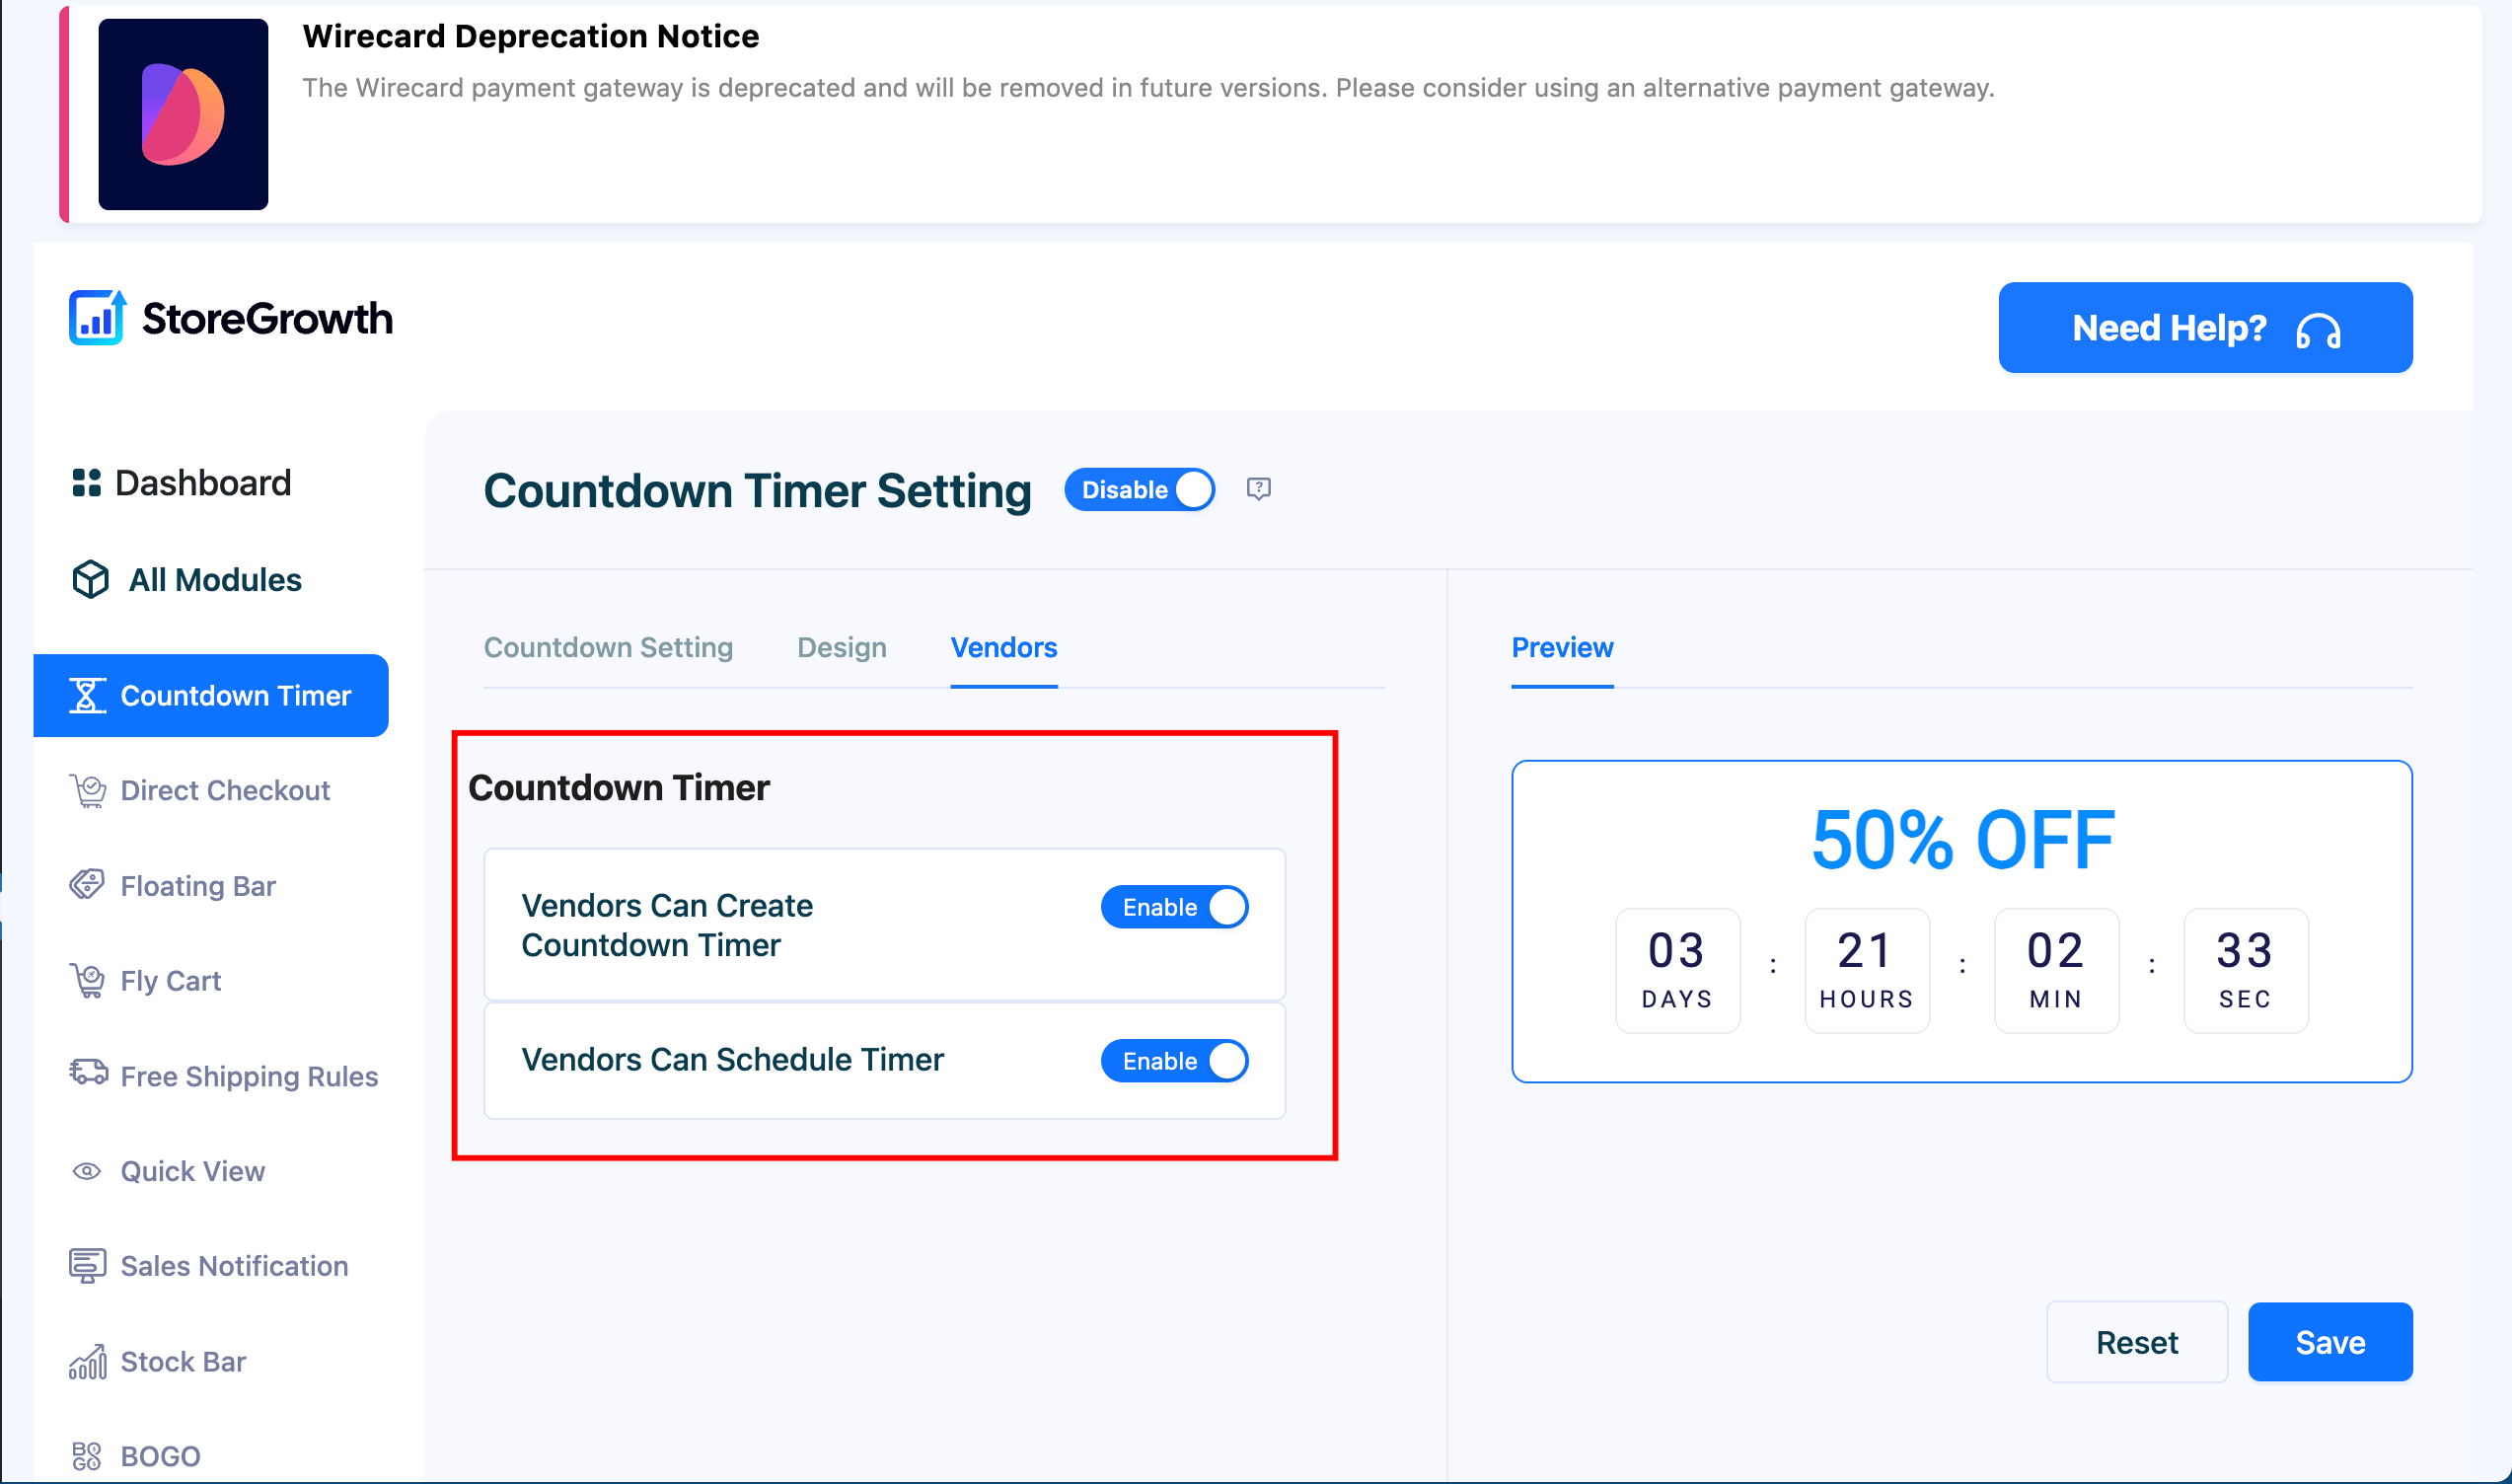
Save the settings and you are done.
How to Create a Countdown Timer-Vendor
For vendors to create a countdown timer, they need to go to Vendor Dashboard –> Products–> Create/Select a product. If you scroll down, you will get the Countdown timer option.
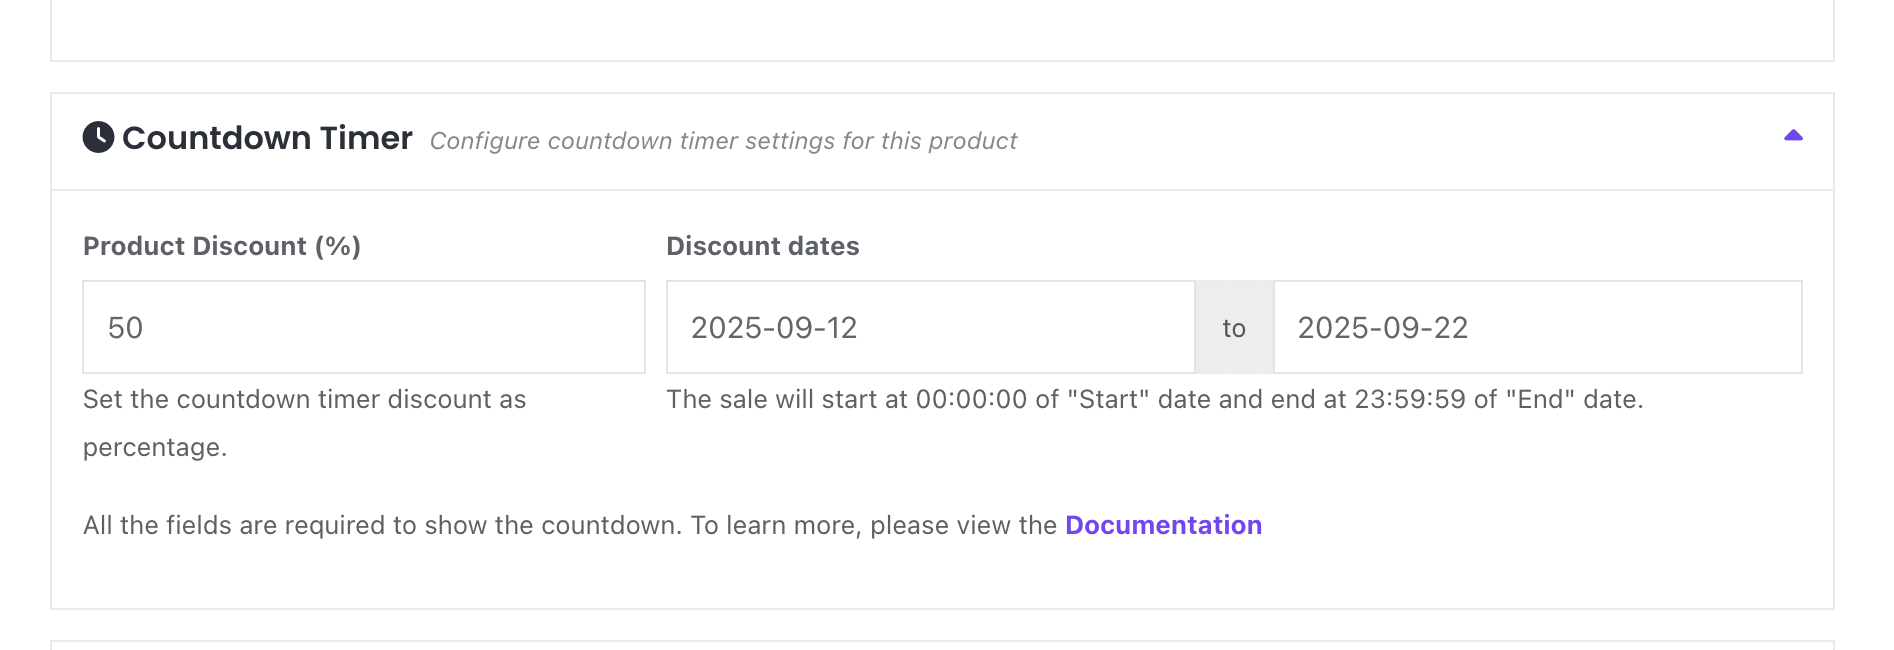
You can set the price discount, starting and ending dates.
Customers will see the timer in the product page-
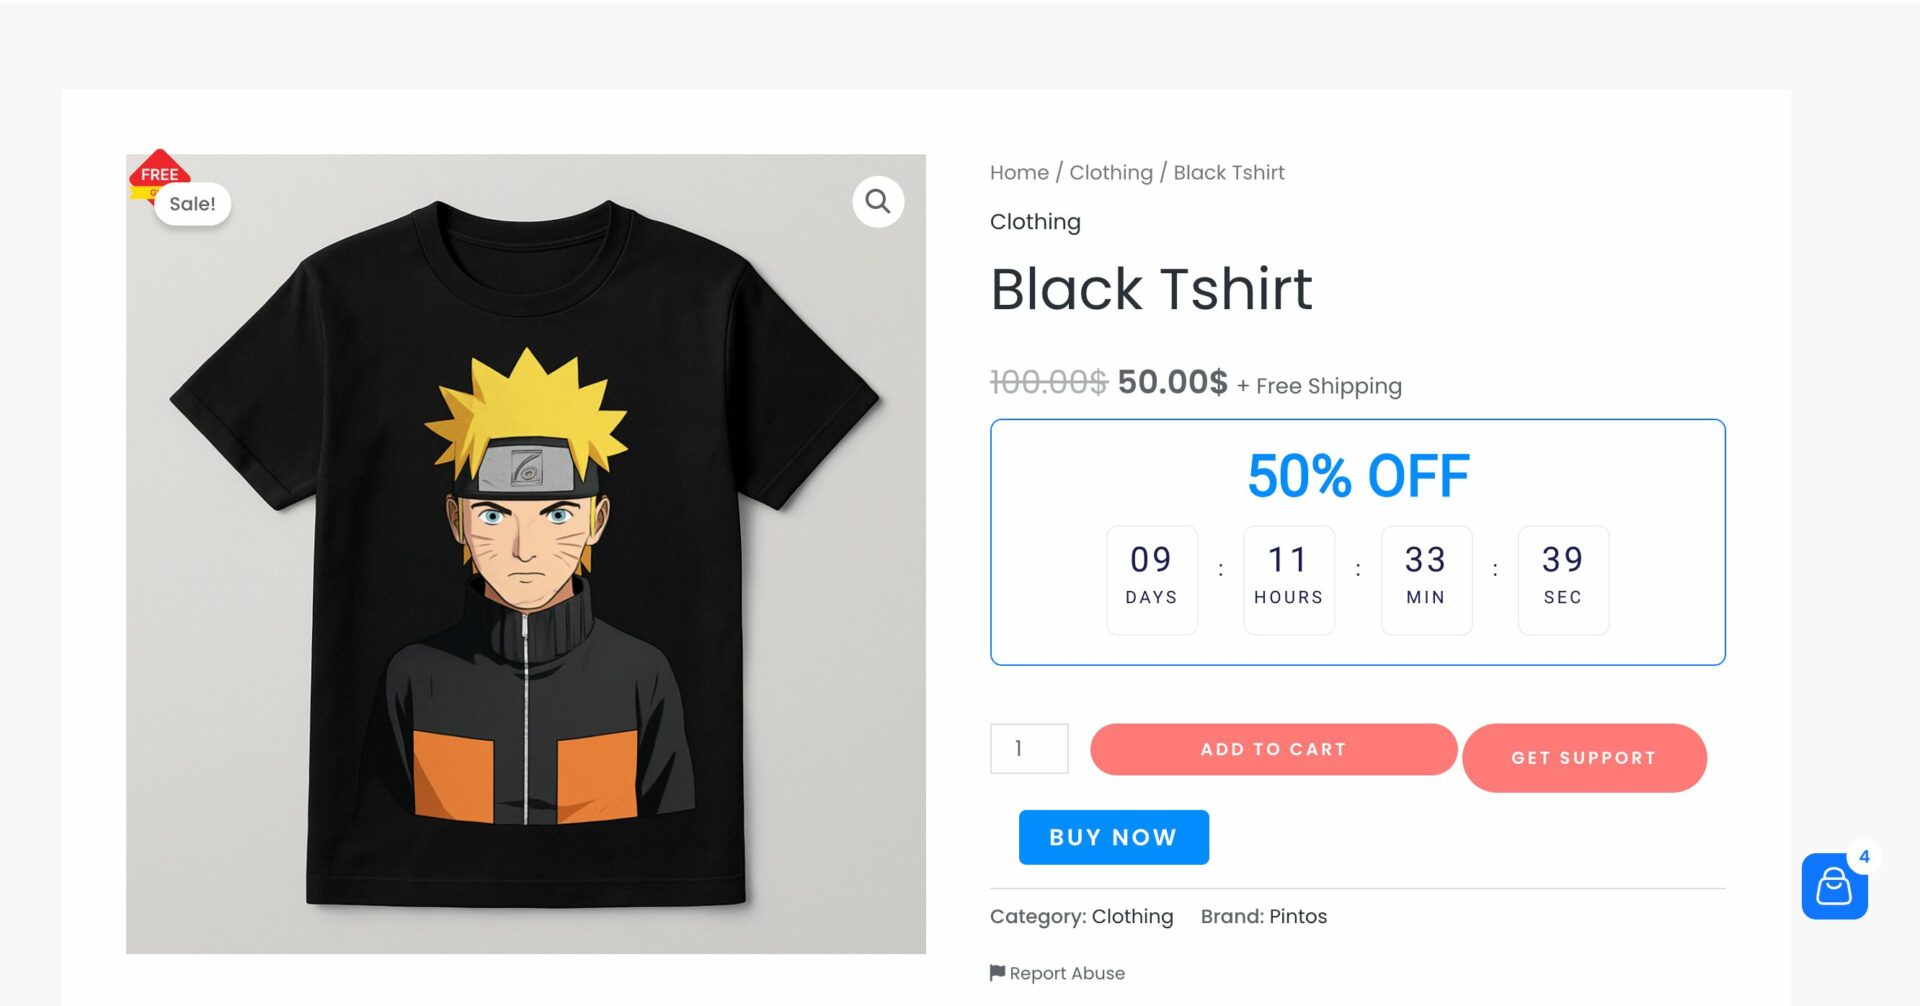
That’s it.
How to Enable Fly Cart-Admin
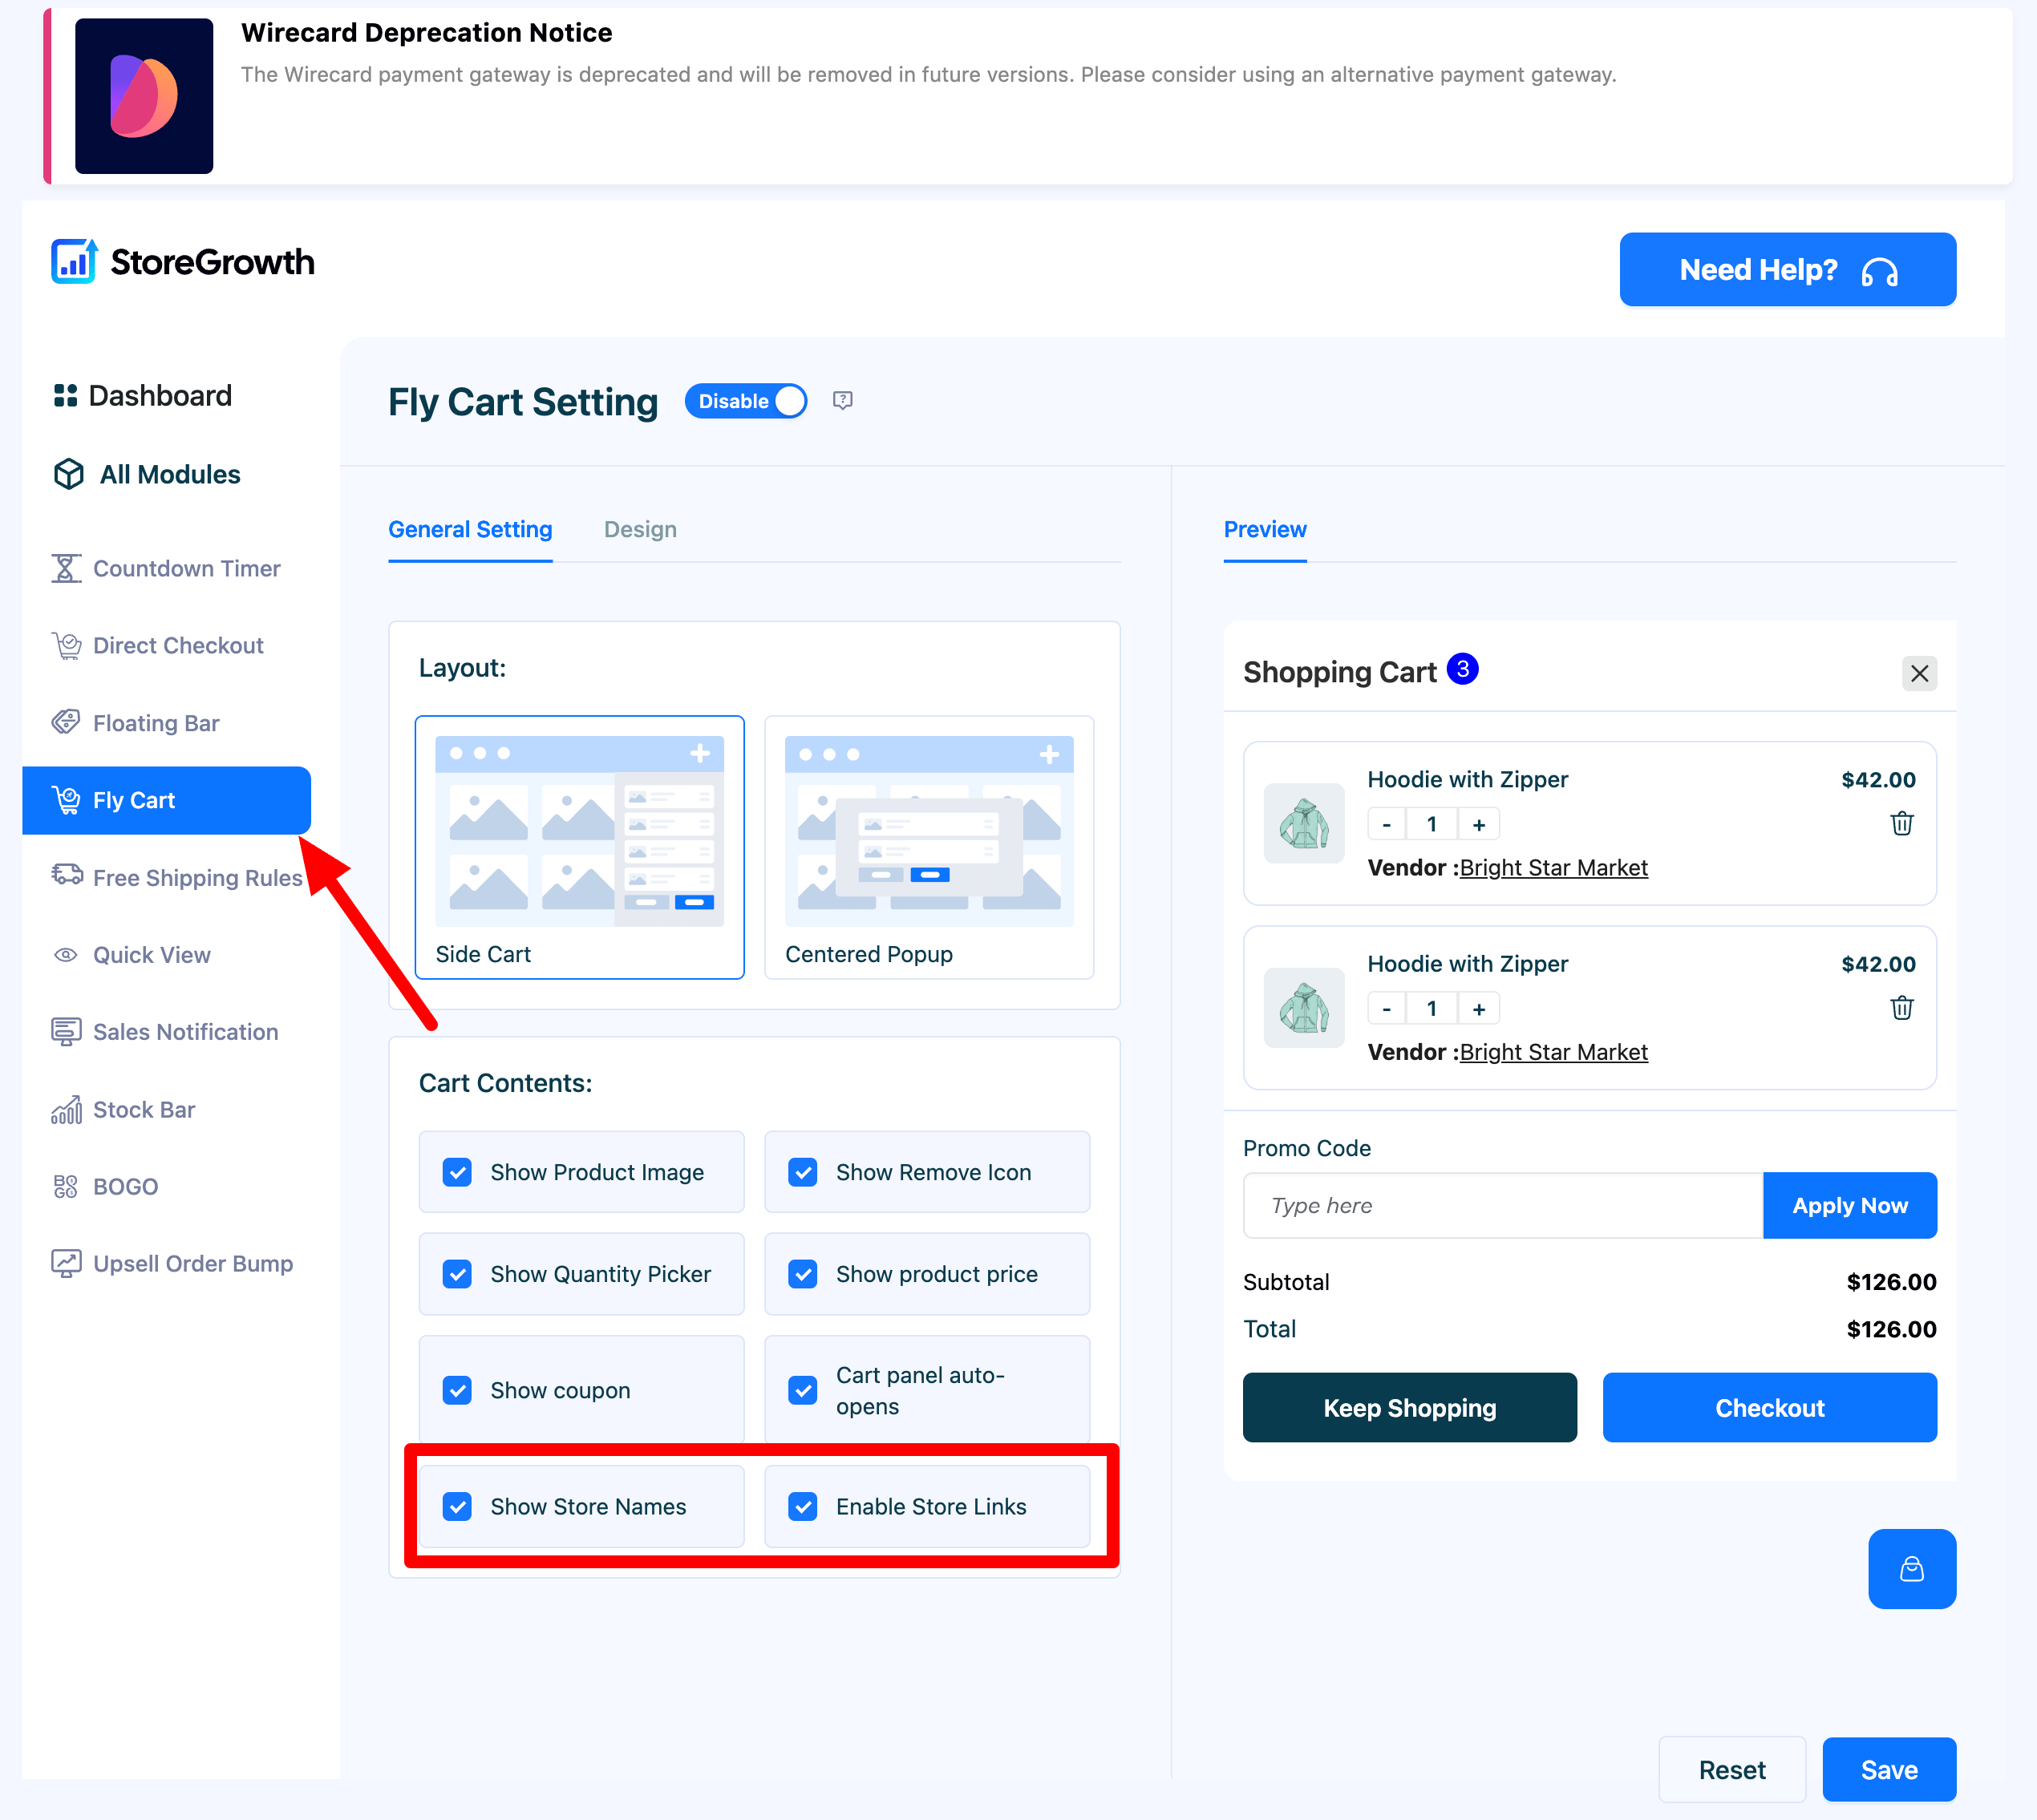
To enable the fly cart feature for vendors, the admin needs to enable two options from StoreGrowth–> Settings–> Fly Cart-
- Show Store Names
- Enable Store Links
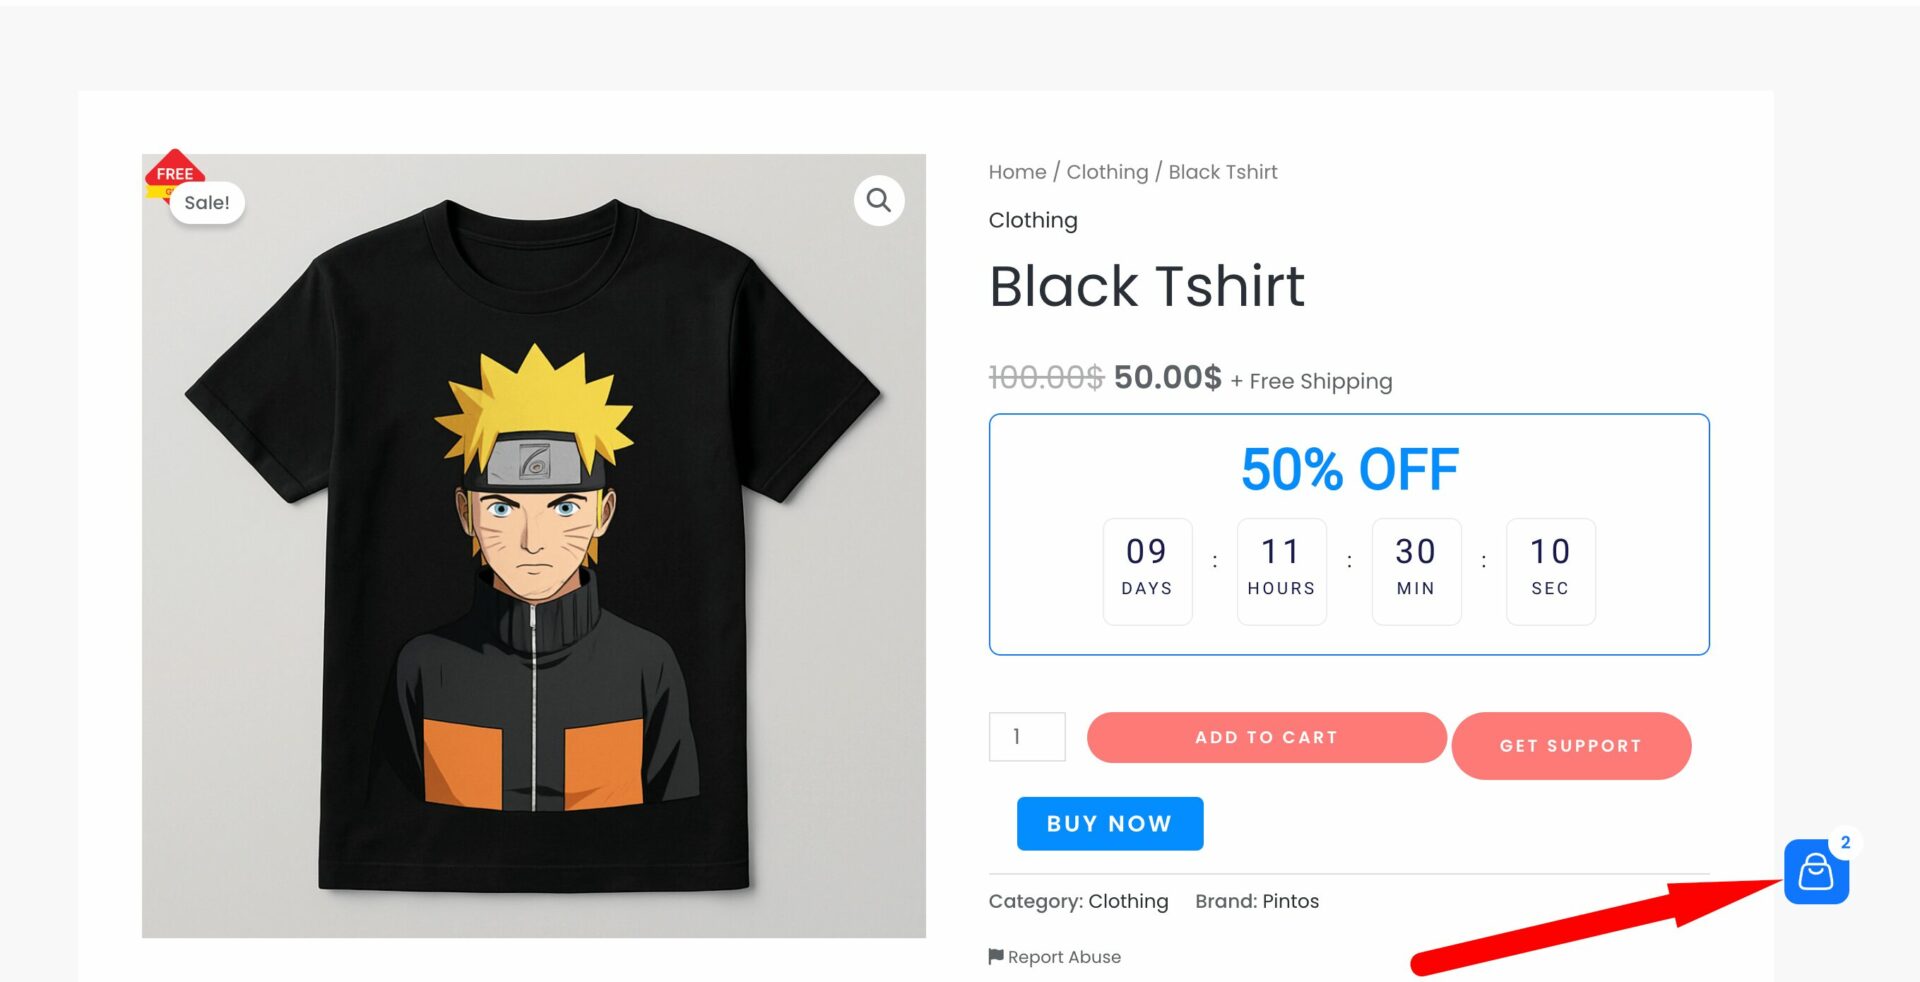
Then the customer will see the Cart option in the site-
In the cart page, they can see the vendor store name and their links-
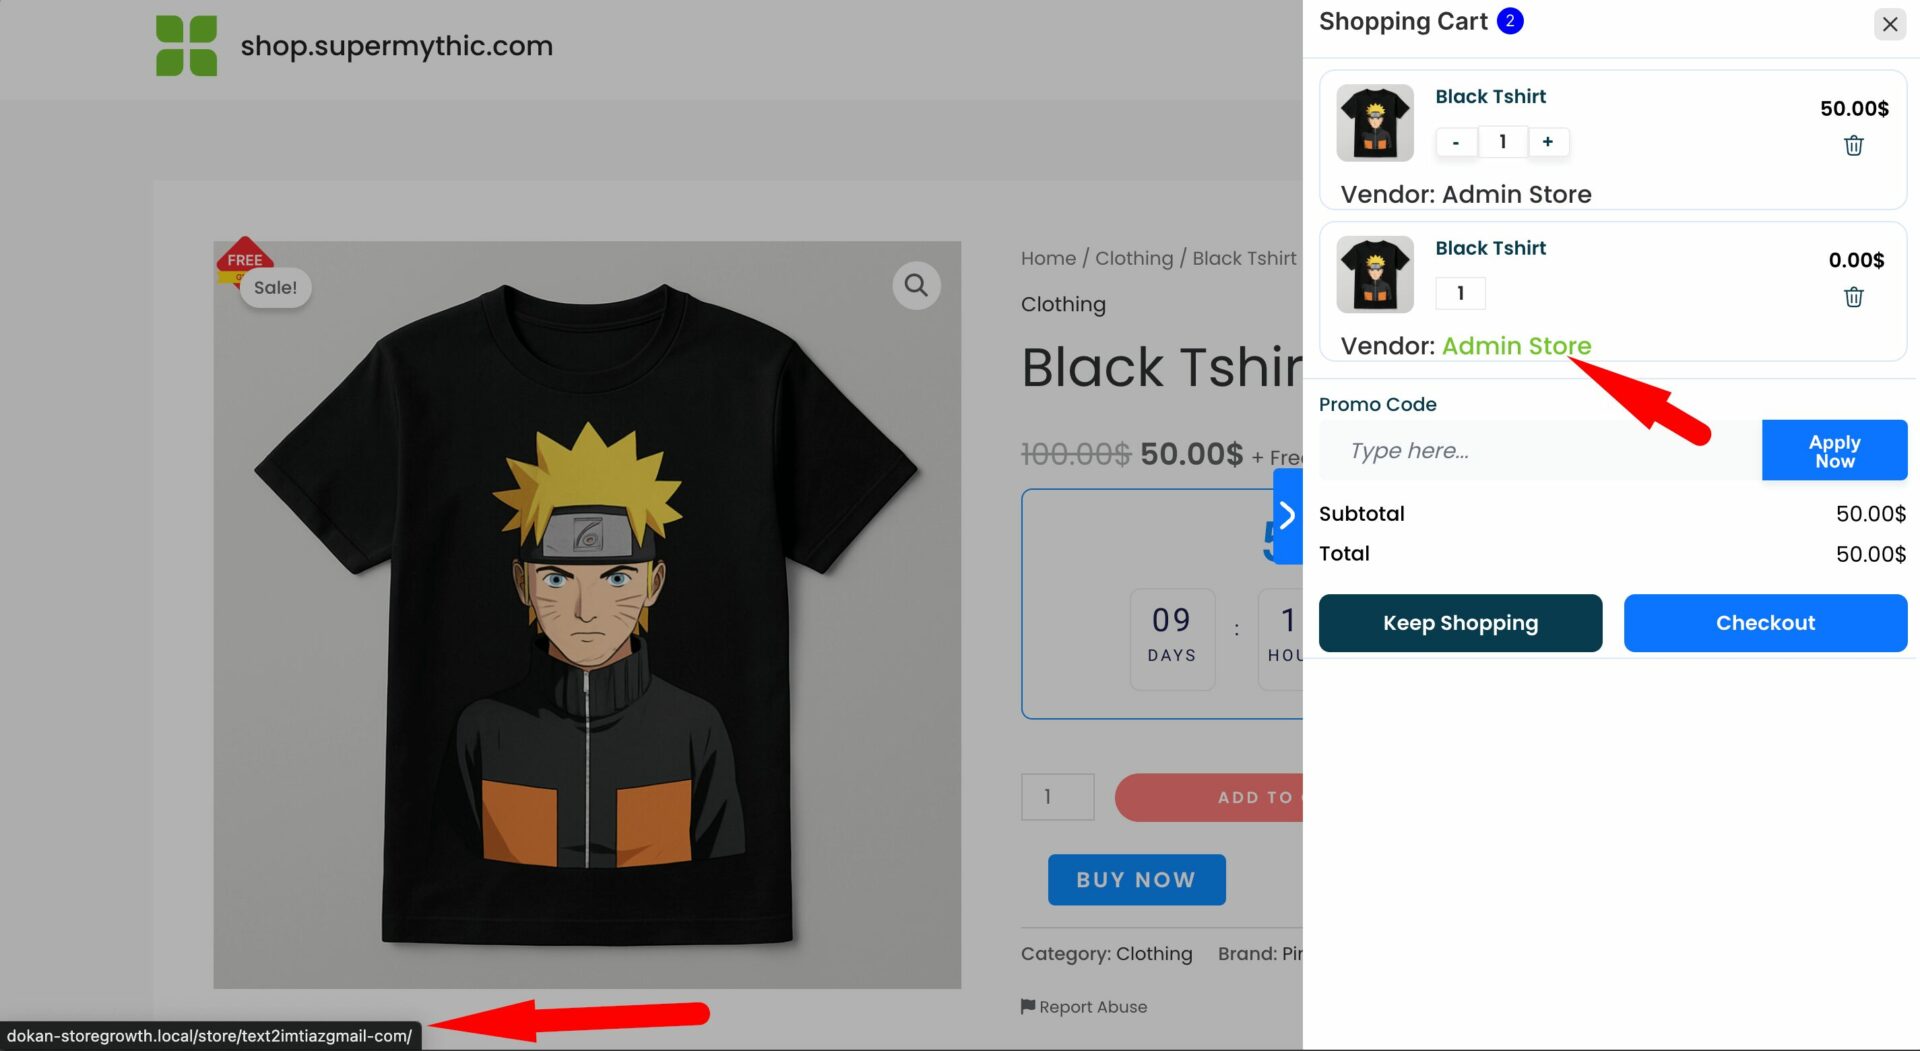
This is how you can enable the Fly Cart option.

