In this documentation, we’ll show you how you can easily install Dokan – Multivendor marketplace on your WordPress site.
Let’s check out the following steps very carefully.
Prerequisites
Note: Do make sure that you have successfully installed & activated Dokan on your live server or local host.
Installing & Activating Dokan
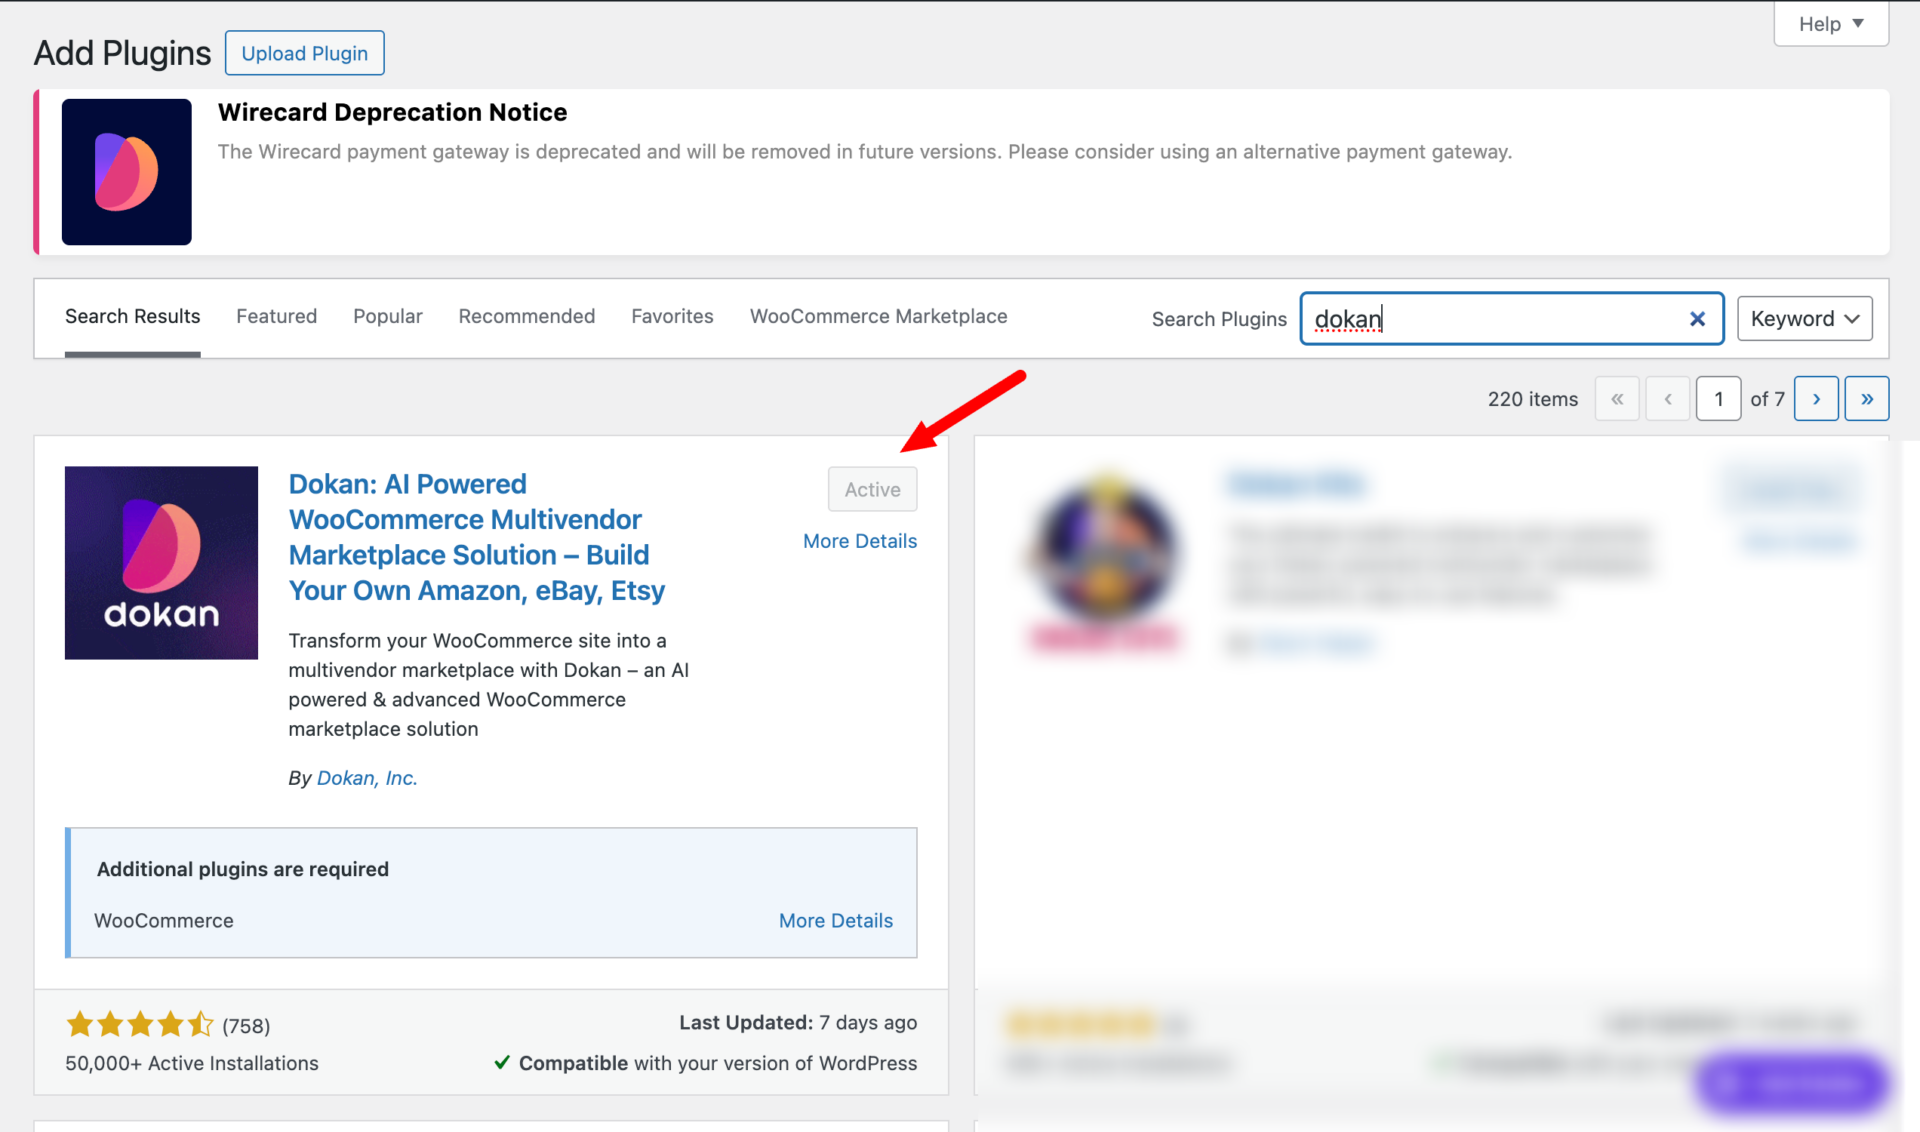
- First of all, log in to the admin panel of your WordPress site. And navigate to Plugins → Add New → Dokan and. Click Install & Activate. After activating Dokan, you’ll get a multistep setup wizard screen. So you need to carefully fill out the wizard.
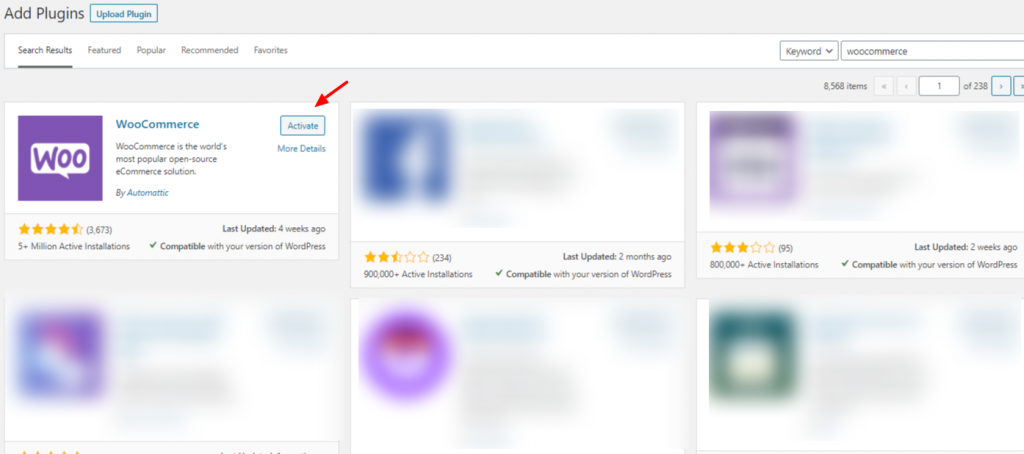
- Next, you’ll need WooCommerce to run Dokan. So like the same way, you’ll need to install it. Therefore, navigate to Plugins> Add New> WooCommerce> Install> Activate.
Note: To know more about the configuration of WooCommerce, you can follow their documentation here.
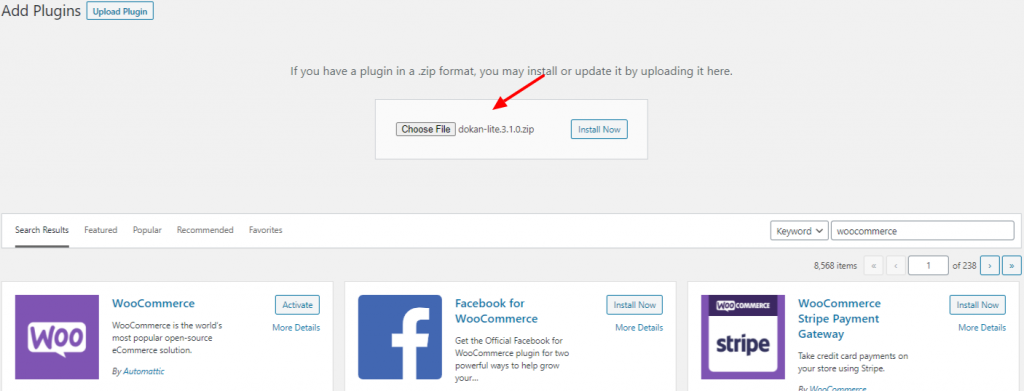
However, you can also install any plugin using the downloadable ZIP file. In that case, you need to download the ZIP file from WordPress.Org and then upload it to your website.
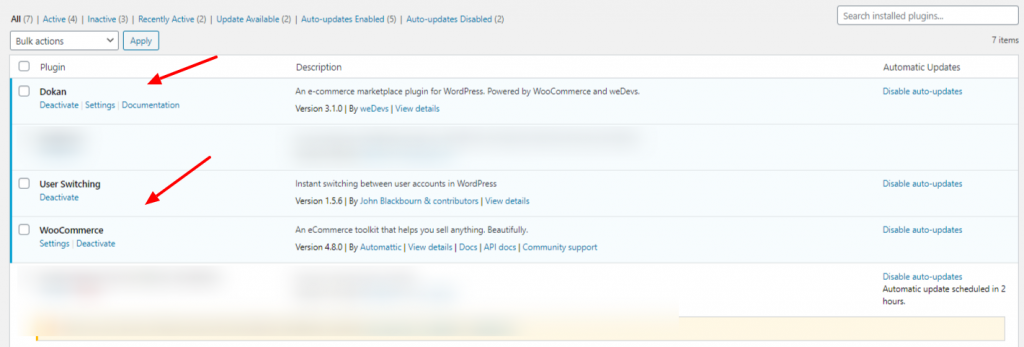
So after you successfully install Dokan & WooCommerce, here is what they will look like.
You can read the documentation about Dokan Admin Setup Wizard for more information.
How to Upgrade from Free To Pro Version
If you are using the free version of Dokan Multivendor Marketplace and want to upgrade to pro version, just download the dokan.zip from https://app.dokan.co/downloads and install it. Now, click on the Activate button. You are done!
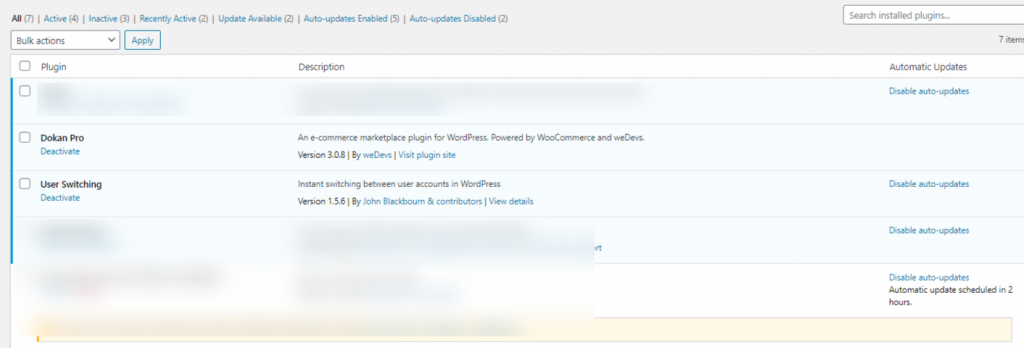
If you are using FTP to transfer your files to your server. Then just unzip the plugin and upload dokan-plugin directory to your /wp-content/plugins/ directory.
To activate your license, you can follow this documentation.
If you want to upgrade your existing package to a higher one, for example, if you are using Dokan Starter and now want to upgrade to Professional or Business, you can read this documentation.
Installation of the Pro version of the Dokan Plugin
First, you need to download the Dokan Pro plugin from your Dokan.co Account > Downloads screen.

You will see that a .zip file will be downloaded. Then you need to go to the WordPress Admin Dashboard > Plugins > Add New screen and click on the “Upload Plugin” button.
Select the Dokan plugin .zip file that you have downloaded and click on the “Install Now” button.
Once the installation is complete, click on the “Activate Plugin” button.
As soon as you have completed these steps, Dokan should be installed on your website. After that, you can go for basic configuration.
How to Install Dokan Lite without Uploading
As you already know that Dokan Lite is a Free Multivendor Marketplace Plugin for WordPress. You can download Dokan from here and upload it from your WordPress site. However, there is another alternate way that allows you to install Dokan without uploading.
Dokan lite is available at wordpress.org for free, it is very easy to install. Now we will discuss the simplest and easiest way of installing Dokan to your WordPress site.
Installing Dokan Directly from WordPress Dashboard
Login to your WordPress Site and visit the WordPress Dashboard. Navigate to – wp-admin → Plugins → Add New.
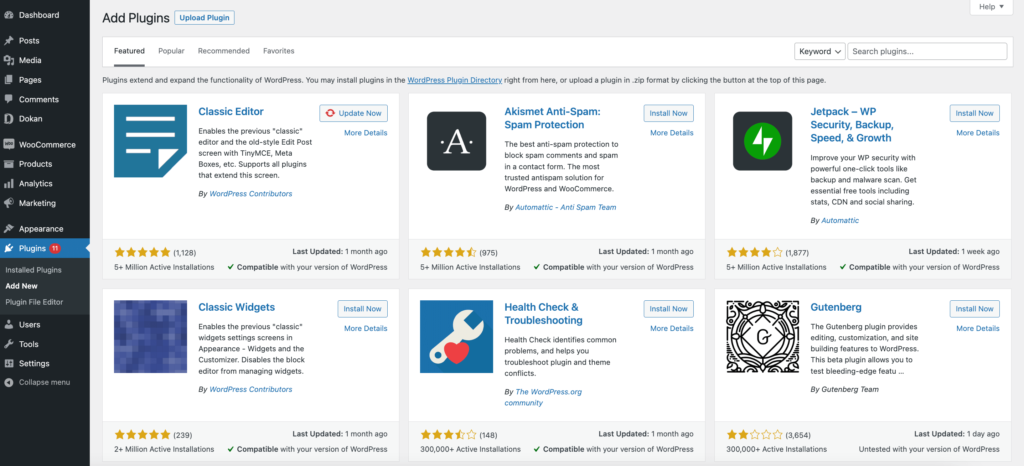
WooCommerce is a must if you want to use Dokan. Click on the Popular tab and look for WooCommerce. Install and Activate.
Note: However, with the new Dokan version, you don’t need to install WooCommerce separately. Dokan will install WooCommerce for you.
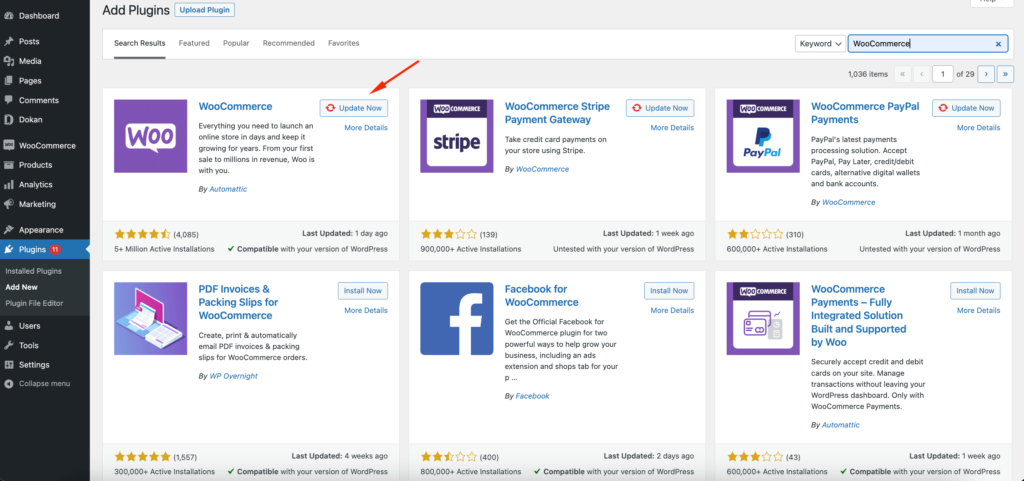
Now, type Dokan in the Search Plugins field. You will find Dokan lite available on the List. Simply click on the Install Now button and wait for the system to add Dokan lite to your WordPress site. Finally, Activate it. That’s it.
After activation, you will get Setup Wizard or Getting Started page. Simply configure your marketplace the way you want and you are done.
Quick Overview
That’s it!